
Sharing a fun little card today that I was inspired to make from the SUO Challenge (#114) to make a card with dots.
Who doesn’t love some fun polka dots?!
This was my second “go” at making a dot card for the challenge. I made the one you will see below first, and I like it, but not sure I LOVE it. You’ll have to let me know… I so struggle with “simplicity” and “clean and simple” designs that I so admire others do!
But I do kinda love this one. It screams happy and celebrate and big day to me!
And…. it’s covered with DOTS! I sponged some on the background white piece using the Stampin Up (SU) circle background stencil with Real Red, Tangelo Twist, and Crushed Curry [ red, orange, and yellow in “layman” terms 🙂 ].
The sentiment from SU’s “Big Day” stamp set has some more dots on it, and then I added matching colored candy dots as an additional embellishment.
The silver metal buttons – a smaller one stacked on top of a larger one and held together with some red and white striped baker’s twine add just a few more dots.
I first had it laid out all lined up and symmetrical, but I thought it gave it some more interest and whimsy by offsetting the the angles of the layers a bit.
Here is the inside…
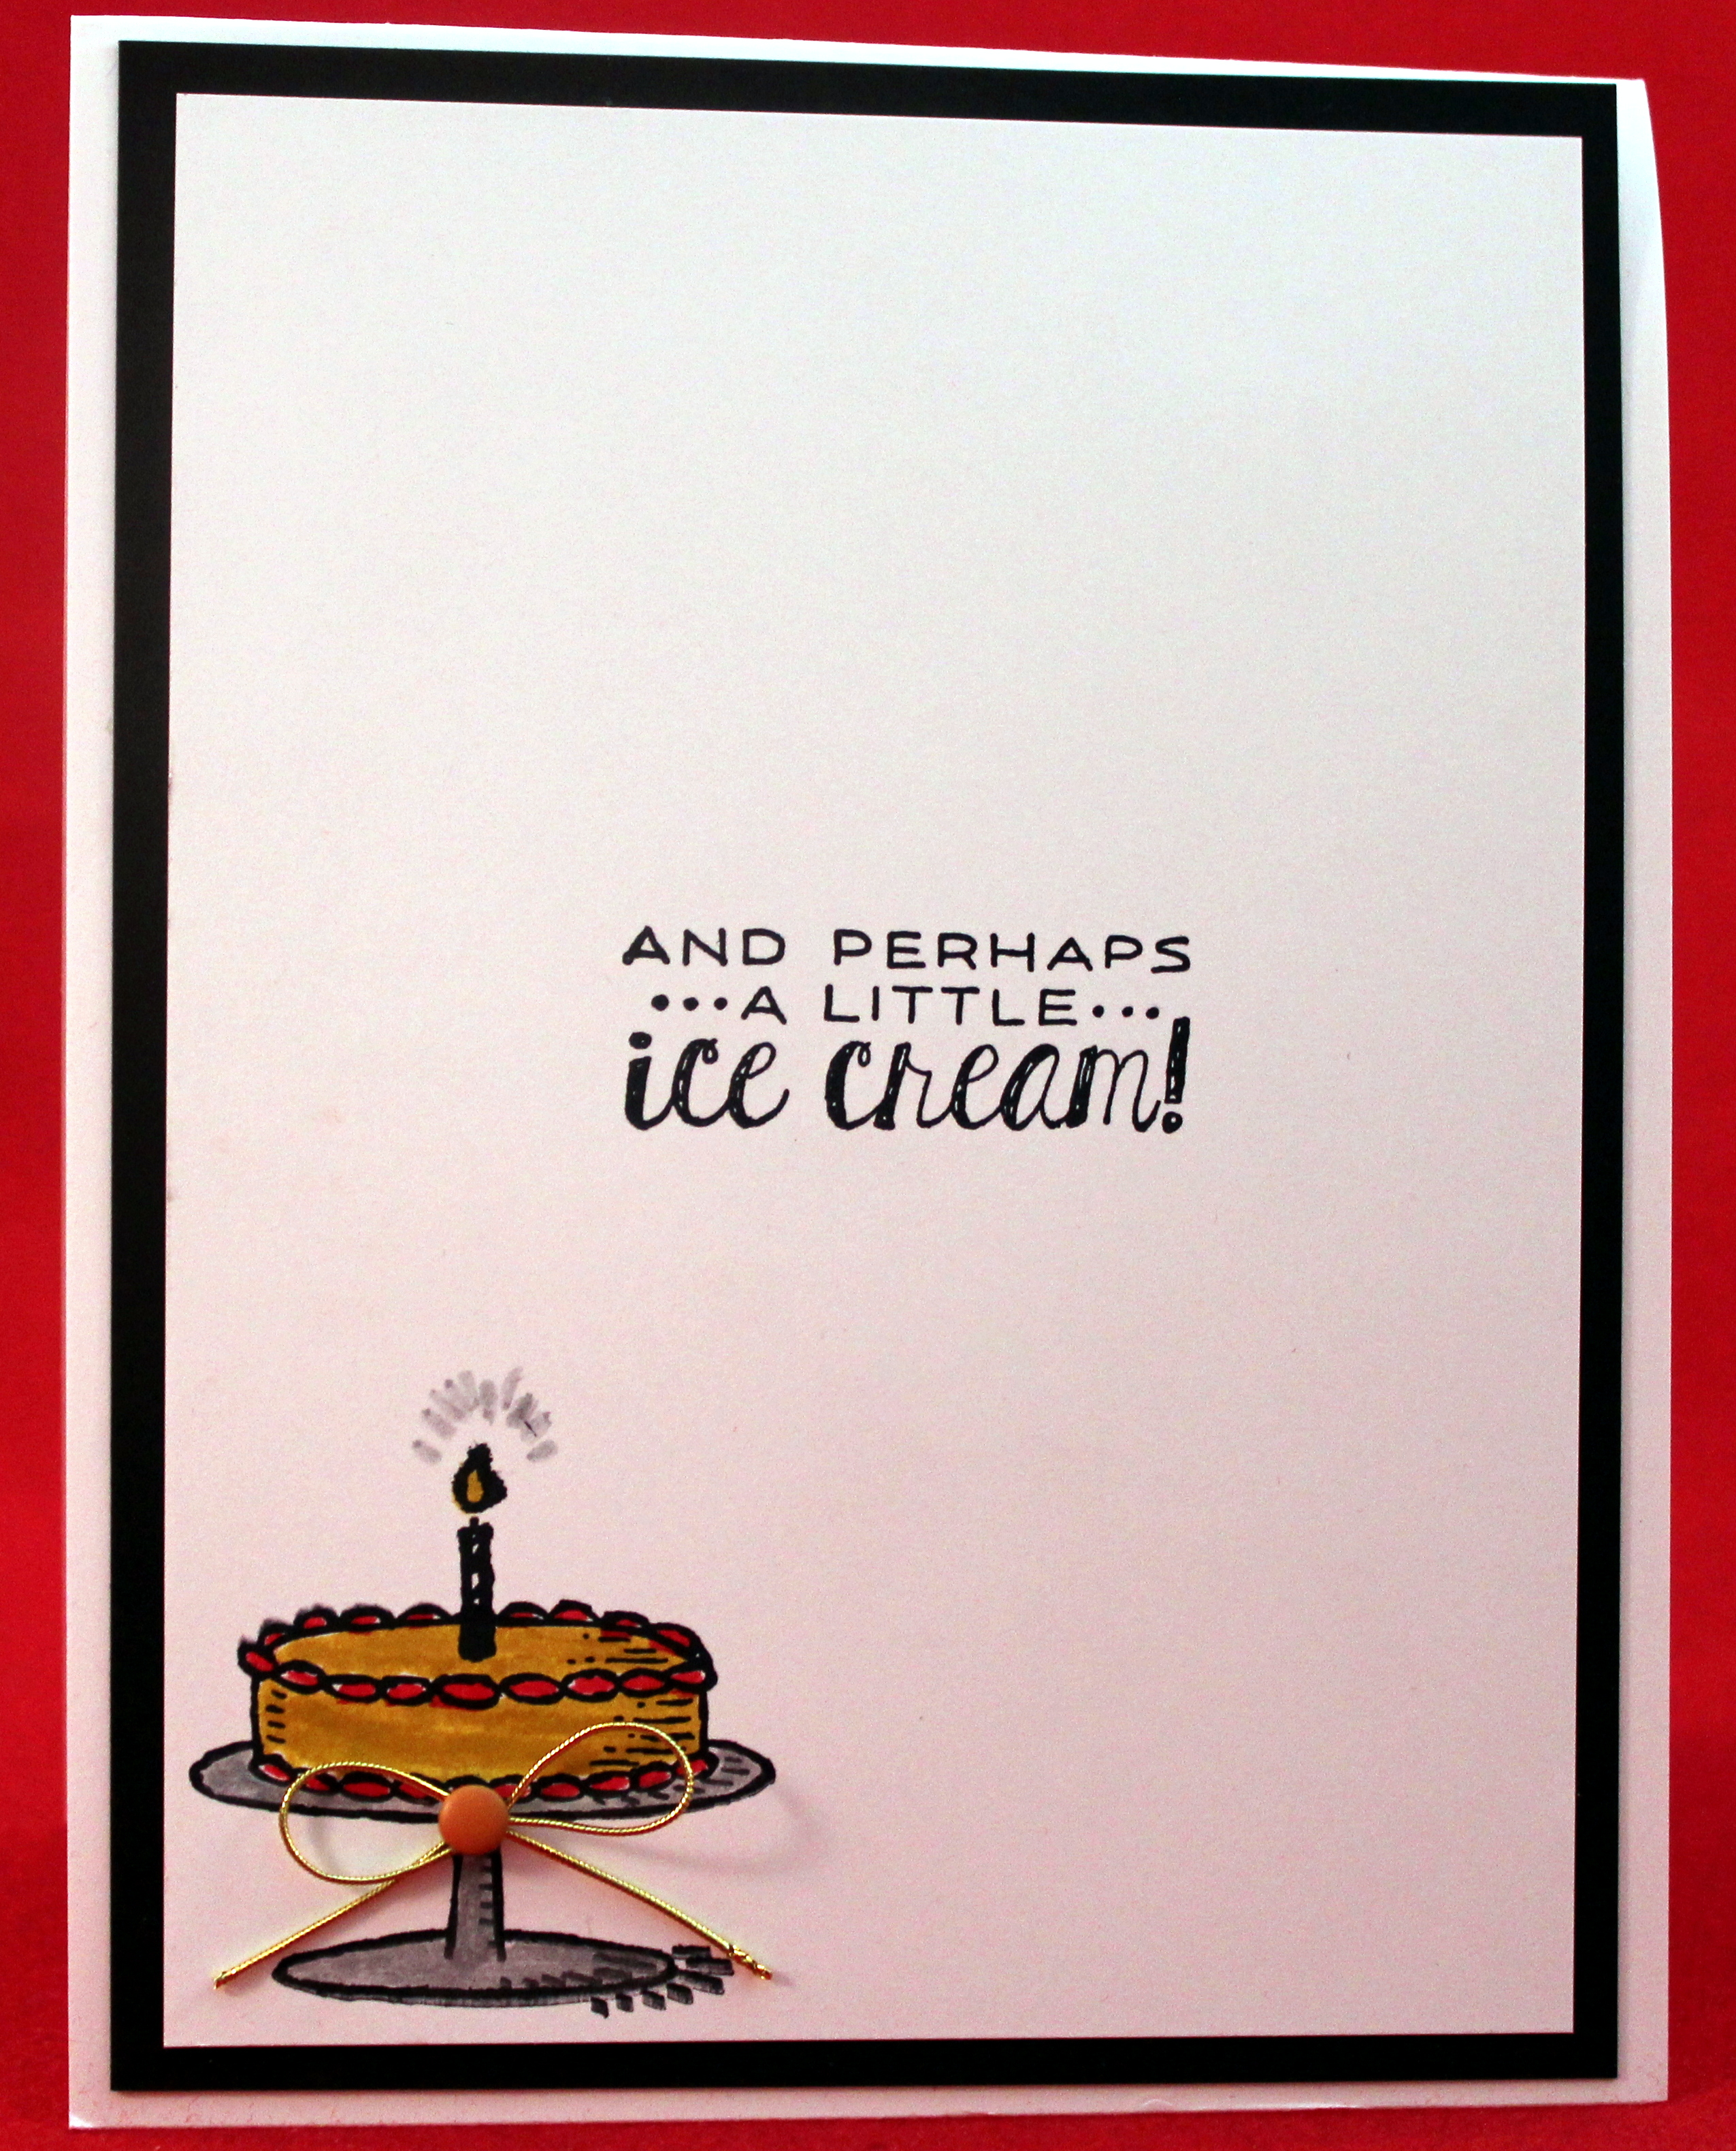
where I snuck one more orange candy dot in! 🙂
I added some Wink of Stella over top of the colored words on the front, but it is so hard to capture in a photo. Under the right light or with just a slight twist or movement, it sparkles with delight though!

Here is the first one I made that I mentioned above.
This one was made with the Stampin Up Cheerful Critters Stamp Set. (They are so stinking cute – there are three that I’m sure I’ll feature in future posts.)

Again, it is hard to see, but after coloring the little critter’s polka dot “shirt,” I hit it with my Wink of Stella pen for a bit of glitz and glitter, and I also love the softness and plushness of the Blackberry Bliss thin velvet ribbon trim contrasting with the cool metal button.
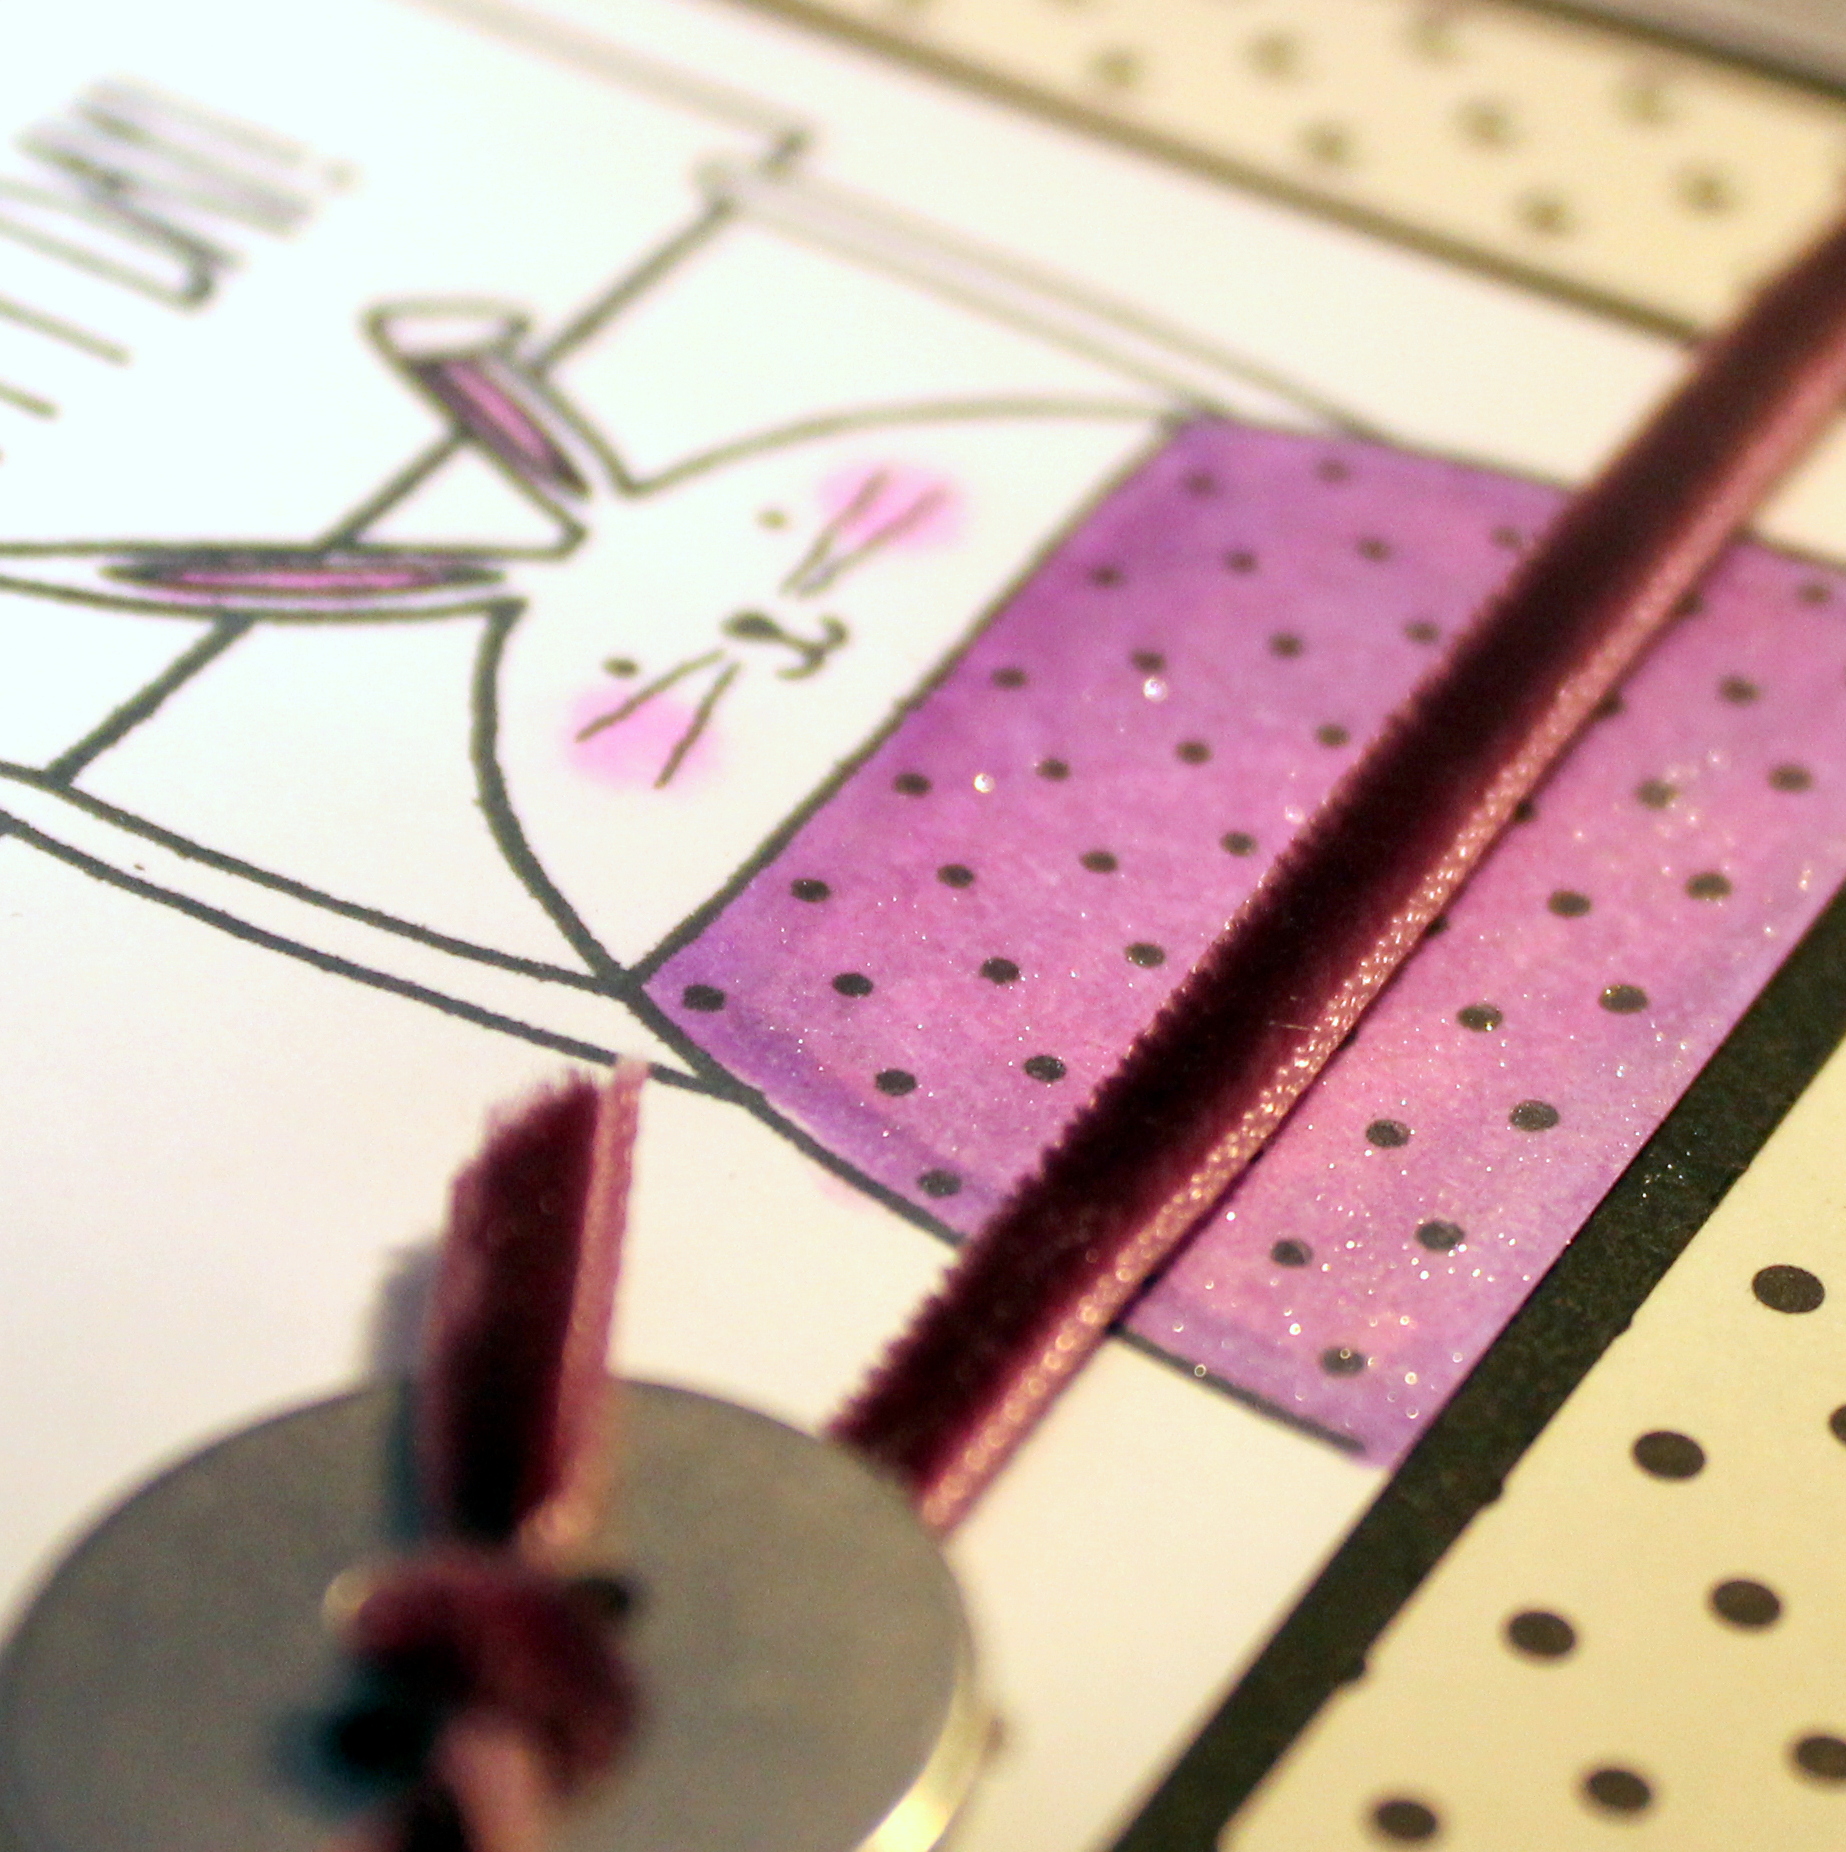
Can you tell I was dying to use those metal buttons this week? I really like them and the contrast they give. It’s all in the little details kids! 🙂
Wishing you a Big and Happy Day discovering things you love.
Cheers & Hugs,
Jodi


