A Special Cookbook from Mom

Nicks Cookbook from mom

I have one more special little homemade Christmas gift to share this week.  This is one I was excited to give to my son, Nick.

Nick had requested I put a cookbook together of his favorite recipes I make, and especially those that are EASY, so that he will have and be able to make wherever life takes him.

For the cover of this little book, I used a photo of our kitchen in the frenzy of pots boiling, cookies cooling, and flour and sugar and other ingredients out on the counter.  I am hoping as he takes this little book with him throughout his life, he will remember the smell and feel and love of our family kitchen.

For the intro page, I wrote Nick a short note:

Nicks cookbook from mom introduction page

Nick is a chicken lover, so I tried to remember all of his favorite chicken dishes.

nick cookbook chickfila chicken sandwiches

But remembering the “easy” part, I tried to include those simple things he always enjoyed.

Nicks Cookbook page

So – it’s not a masterpiece or an Amazon bestseller, but it is simple gesture of a Momma’s love that I hope Nick will treasure.

Cheers & Hugs,

Jodi

Watch me Whip – Watch me Bake Bake

watch me whip watch me bake bake christmas aprons

I’m guessing most of you are familiar with the current party dance song if you’ve been to a wedding or holiday party recently or listen to the radio:  Whip Nae Nae!   (I dare you not to wiggle when you hear this song!)

So taking on this twist, I made 12 aprons for a Holiday Cookie Swap my daughter-in-law hosted last night.  ( and I can’t wait to share more on the amazing party she threw when I get a chance!)

For now, gotta BOP BOP BOP to wear off those cookies!  🙂

#watchmedance

Cheers & Hugs,

Jodi


Homemade Old-Fashioned Coconut Cream Pie

coconut cream pie slice

One of the ways I express love is through my baking.  And amidst all of the darkness and sadness of the past few days, I thought it time to share some love.

coconut cream pie

When my dear “Oh Rob” sweetly requested an old-fashioned coconut cream pie for Thanksgiving this year, I was so happy to oblige.

coconut cream pie slice2

As it turns out, his mom always made a coconut cream pie (or two) for Thanksgiving.  Coconut Cream is also one of hubby’s faves and our dear 92-year old Aunt Francie’s too, who joined us this year to celebrate.

coconut cream pie2

This pie was a huge hit – even with the kiddos.

Made with lots of love and dreamy, creamy awesomeness.

Delicious, nostalgic, and oh so yummy!

Old-Fashioned Coconut Cream Pie

Ingredients:coconut cream pie slice

For the crust:

  • 1 cup flour
  • 1/3 cup Crisco shortening
  • Dash of salt
  • Approximately 1/2 cup cold water

Coconut Cream Filling:

  • 3 cups Half and Half (or whole milk)
  • 1/3 cup flour
  • 2/3 cup white sugar
  • pinch of salt
  • 1 cup sweetened shredded coconut
  • 3 large egg yolks, beaten
  • 4 Tbsp butter
  • 2 tsp vanilla extract
  • 1/2 tsp almond extract

Whipped Cream Topping:

  • 1 cup heavy whipping cream
  • 1 1/2 tsp vanilla extract
  • 3 Tbsp powdered sugar

Directions:

  • Prepare pie crust by blending flour, shortening, and salt with a pastry blender until mixture resembles coarse crumbs.
  • Gently blend in water until dough forms.  Do not overwork.
  • Roll dough out into approximately 12 inch circle, and place into a  9 inch pie plate.  Flute edges and poke bottom of crust with a fork 6-8 times.
  • Bake at 400 degrees for 12-15 minutes.
  • Cool completely before adding the filling.
  • For the filling, scald the milk in the microwave or on stove top to almost boiling.
  • Combine flour, sugar, salt and coconut into a saucepan.
  • Over medium heat, whisk 1 cup of the scalded milk into the flour/sugar mixture.
  • As this mixture begins to thicken, add another cup of scalded milk and continue whisking until it begins to thicken again.
  • Add the final cup of milk, and cook over medium heat until mixture  begins to thicken.
  • Remove from heat, and pour 1/2 cup of thickened mixture into the beaten egg yolks, continuing to whisk.
  • Pour this mixture back into the pot and continue to whisk.
  • Cook for an additional 2-3 minutes until mixture reaches pudding consistency.
  • Remove from heat, and stir in butter, vanilla and almond extract.
  • Cool for 15-20 minutes.
  • Pour into baked pie shell.
  • Chill completely before adding vanilla whipped cream.
  • For whipped cream, combine heavy whipping cream, powdered sugar, and vanilla.  Beat until soft peaks form.
  • Spread on top of cooled coconut cream filling.
  • Garnish with toasted coconut

Enjoy!

Cheers & Hugs,

Jodi


Old-Fashioned Hard Tack Christmas Candy

Old Fashioned Hard Tack Christmas Candy

Making Old-Fashioned Hard Tack Christmas Candy is more than just “making candy.”

It is an opportunity to pass down family holiday traditions.

It is an opportunity to create memories.

A chance to spend time with those you love,

and a way to make a homemade Christmas gift.

hard tack candy flavors

So when my daughter-in-law, Colleen asked if we could make hard tack candy this year, I was so excited!

It has been quite a few years since the days when I was about her age and my mother-in-law taught me.

My sister-in-laws and I got together every year with my mother-in-law to make hard tack candy around this time (Thanksgiving weekend), so that the guys could take a bagful in their pockets for their annual deer-hunting trip, which always opens the Monday after Thanksgiving in our neck of the woods, and we would have plenty to enjoy and share as a special homemade gift.

hard tack christmas candy boiling

The recipe is quite simple, but also a bit messy, so we were very fortunate to have an extra helper this year in Charlie, who kept the floor lickety-split clean from any powdered sugar, butter or flying candy that hit it!

charlie christmas 2015

Colleen and her sweet sister, Katie, caught on amazingly quick, and we ended up making 10 batches to split between the three of us.

colleen hard tack christmas candy

katie hard tack christmas candy


hard tack jodi colleen katie 2015 christmas candy

We were happy with our results, and now the tradition has been started for the next generation.

hard tack christmas candy 2015

I hope you will give it a try!

Old Fashioned Hard Tack Christmas Candy 2

There is still plenty of time to make this sweet treat and create some memories with a new family tradition.

Here’s our recipe:

Old-Fashioned Hard Tack Christmas Candy

  • Servings: approx. 2 cups
  • Print

Ingredients:Old Fashioned Hard Tack Christmas Candy 2

  • 1 cup water
  • 3 3/4 cup white sugar
  • 1 1/4 cup Karo Corn Syrup
  • Food Coloring
  • 1 dram (tsp) LorAnn Oil & Candy Flavoring of your choice (we used Cherry, Lemon, Strawberry, Raspberry, Watermelon, Orange, Butterscotch, Spearmint, Peppermint, and Cinnamon)
  • 2 cups powdered sugar
  • Butter (room temperature)

Mix water, sugar, and corn syrup in a saucepan.  Heat to boiling and boil until it reaches 300 degrees F (hard tack) on a candy thermometer (takes about 20 mins).

While that is cooking, prepare your cutting station.  Cover counter or table with an old tablecloth.  Pour powdered sugar directly onto the tablecloth and spread around. Amply butter three dinner plates and place on table amidst the powdered sugar.  Sterilize scissors or kitchen shears in a pot of boiling water.

When the mixture reaches 300 degrees F, remove from heat and add food coloring and oil flavoring.  Stir until combined.

Pour onto prepared buttered dishes, dividing evenly between the three.  Let it cool for up to a minute, then begin gently pulling with scissors to edge of plate.  With buttered hands, begin to pull and cut it off into the powdered sugar.  You can snip a little at a time, or pour off large dollops into the powdered sugar.  Let cool slightly and turn over to assure both sides have powdered sugar on them, but do not allow the powdered sugar to mix INTO the candy.  Snip with shears into bite-sized pieces.  Place in a colander and shake off excess powdered sugar.  Spread out on a platter to cool completely.   Store in air-tight containers, mason jars, or Ziploc baggies.

A couple of pointers:

  • I can’t even imagine making this by myself.  I think a minimum of three people are needed to keep it moving as you need to work fast once you pour it as it cools quickly.  Plus – it is so much more fun doing it together!
  • It is HOT!  Be prepared!  Butter your hands and plate liberally to be able to deal with it, and work quickly.
  • Be careful when pouring in the oil flavorings as some are very potent – cinnamon and the mints especially.  Be sure not to breathe in directly over the pot, and have the room well ventilated – open the door or window if necessary and have your exhaust fan on.
  • Some people pour the hot liquid into a pan, let it cool, and then crack it by banging the pan on the counter or table or using a gentle small hammer or tool to pound and crack.  I think that makes it very sharp, but you can do that if you prefer.
  • If you make cinnamon and mint along with fruit flavors – store separately until you put together to gift or serve as the cinnamon and mint flavors can overpower all others.

I hope this was helpful.  Any questions, let me know.

What is your favorite flavor?

Do you have a favorite holiday cooking or baking or crafting tradition?

Cheers & Hugs,

Jodi

Best Ever Dry Rub Mix for Ribs and Pork

dry rub seasoning mix

I recently mixed up a batch of seasonings for a dry rub mix that has rocked our world (well – that might be a teensy bit of an exaggeration… but I really wanted to catch your attention.)  

But seriously – who knew mixing spices could be so exciting…  Pack so much punch…. add such “zip” to what would otherwise be so … ordinary?!

And once you make a batch of this, you will have it for a while…  But you will want to use it often!

I’ve used it so far for slow roasted oven baked ribs where I rubbed it on and baked them for 8 hours on a low heat in the oven.  O. M. G!

I’ve also rubbed it all over a couple of pork tenderloins and marinated all day in the refrigerator, then grilled.  YUM!

Both ways turned out amazing.

I’m looking forward to trying it on more things… Maybe chicken?  Beef?  I’ll bet it would even be a nice seasoning for roasted potatoes.

This mix smells so amazing, that we sometimes just open the jar and breathe it in!

I am sure you can mix and match the ingredients as you see fit or as you have on hand, but I believe the two most key ingredients are the SMOKEY paprika (oh how I wish we had smell-a-blog or scratch and sniff photos on our phones and computers so you could experience this smell if you never have – it is very different from “regular” or Spanish paprika) and cinnamon (the smell and bit of sweet bite that you don’t quite expect takes it over the top!).

dry rub seasoning on ribs

Here is the recipe.  I hope you will give it a try.  If you do, let me know how you liked it.

Best Ever Dry Rub Seasoning Mix for Ribs and Pork

  • 3 Tbsp paprika
  • 2 Tbsp Penzey’s smoked paprika (I think this is one of the KEY ingredients)
  • 3 Tbsp chili powder
  • 3 Tbsp coarse salt
  • 1 Tbsp coarsely ground black pepper
  • 1 Tbsp ground ginger
  • 6 Tbsp brown sugar
  • 1 Tbsp freshly micro-planed nutmeg (or ground)
  • 1 Tbsp ground oregano
  • 1 Tbsp ground thyme
  • 1 Tbsp curry powder
  • 2 Tbsp dry mustard powder
  • 2 Tbsp garlic powder
  • 3 Tbsp dried onion flakes
  • 1 tsp ground cumin
  • 1 tsp cinnamon (another KEY ingredient)

Mix all together and store in airtight jar.

To use, sprinkle and rub liberally over all sides of ribs, pork tenderloin, pork chops, or anything you like.  Let marinade for several hours or overnight.  Bake or grill to your liking.

This really is an amazing seasoning mix to kick up your pork tenderloin and ribs.
It would also make a great gift to give in pint size jars for the holidays for gourmet cooking friends on your holiday gift list.

The guys we had over for dinner this past Saturday evening loved it.  I think you will too!

Cheers & Hugs,
Jodi

My Happy Place

Nick Winston CJ Zach

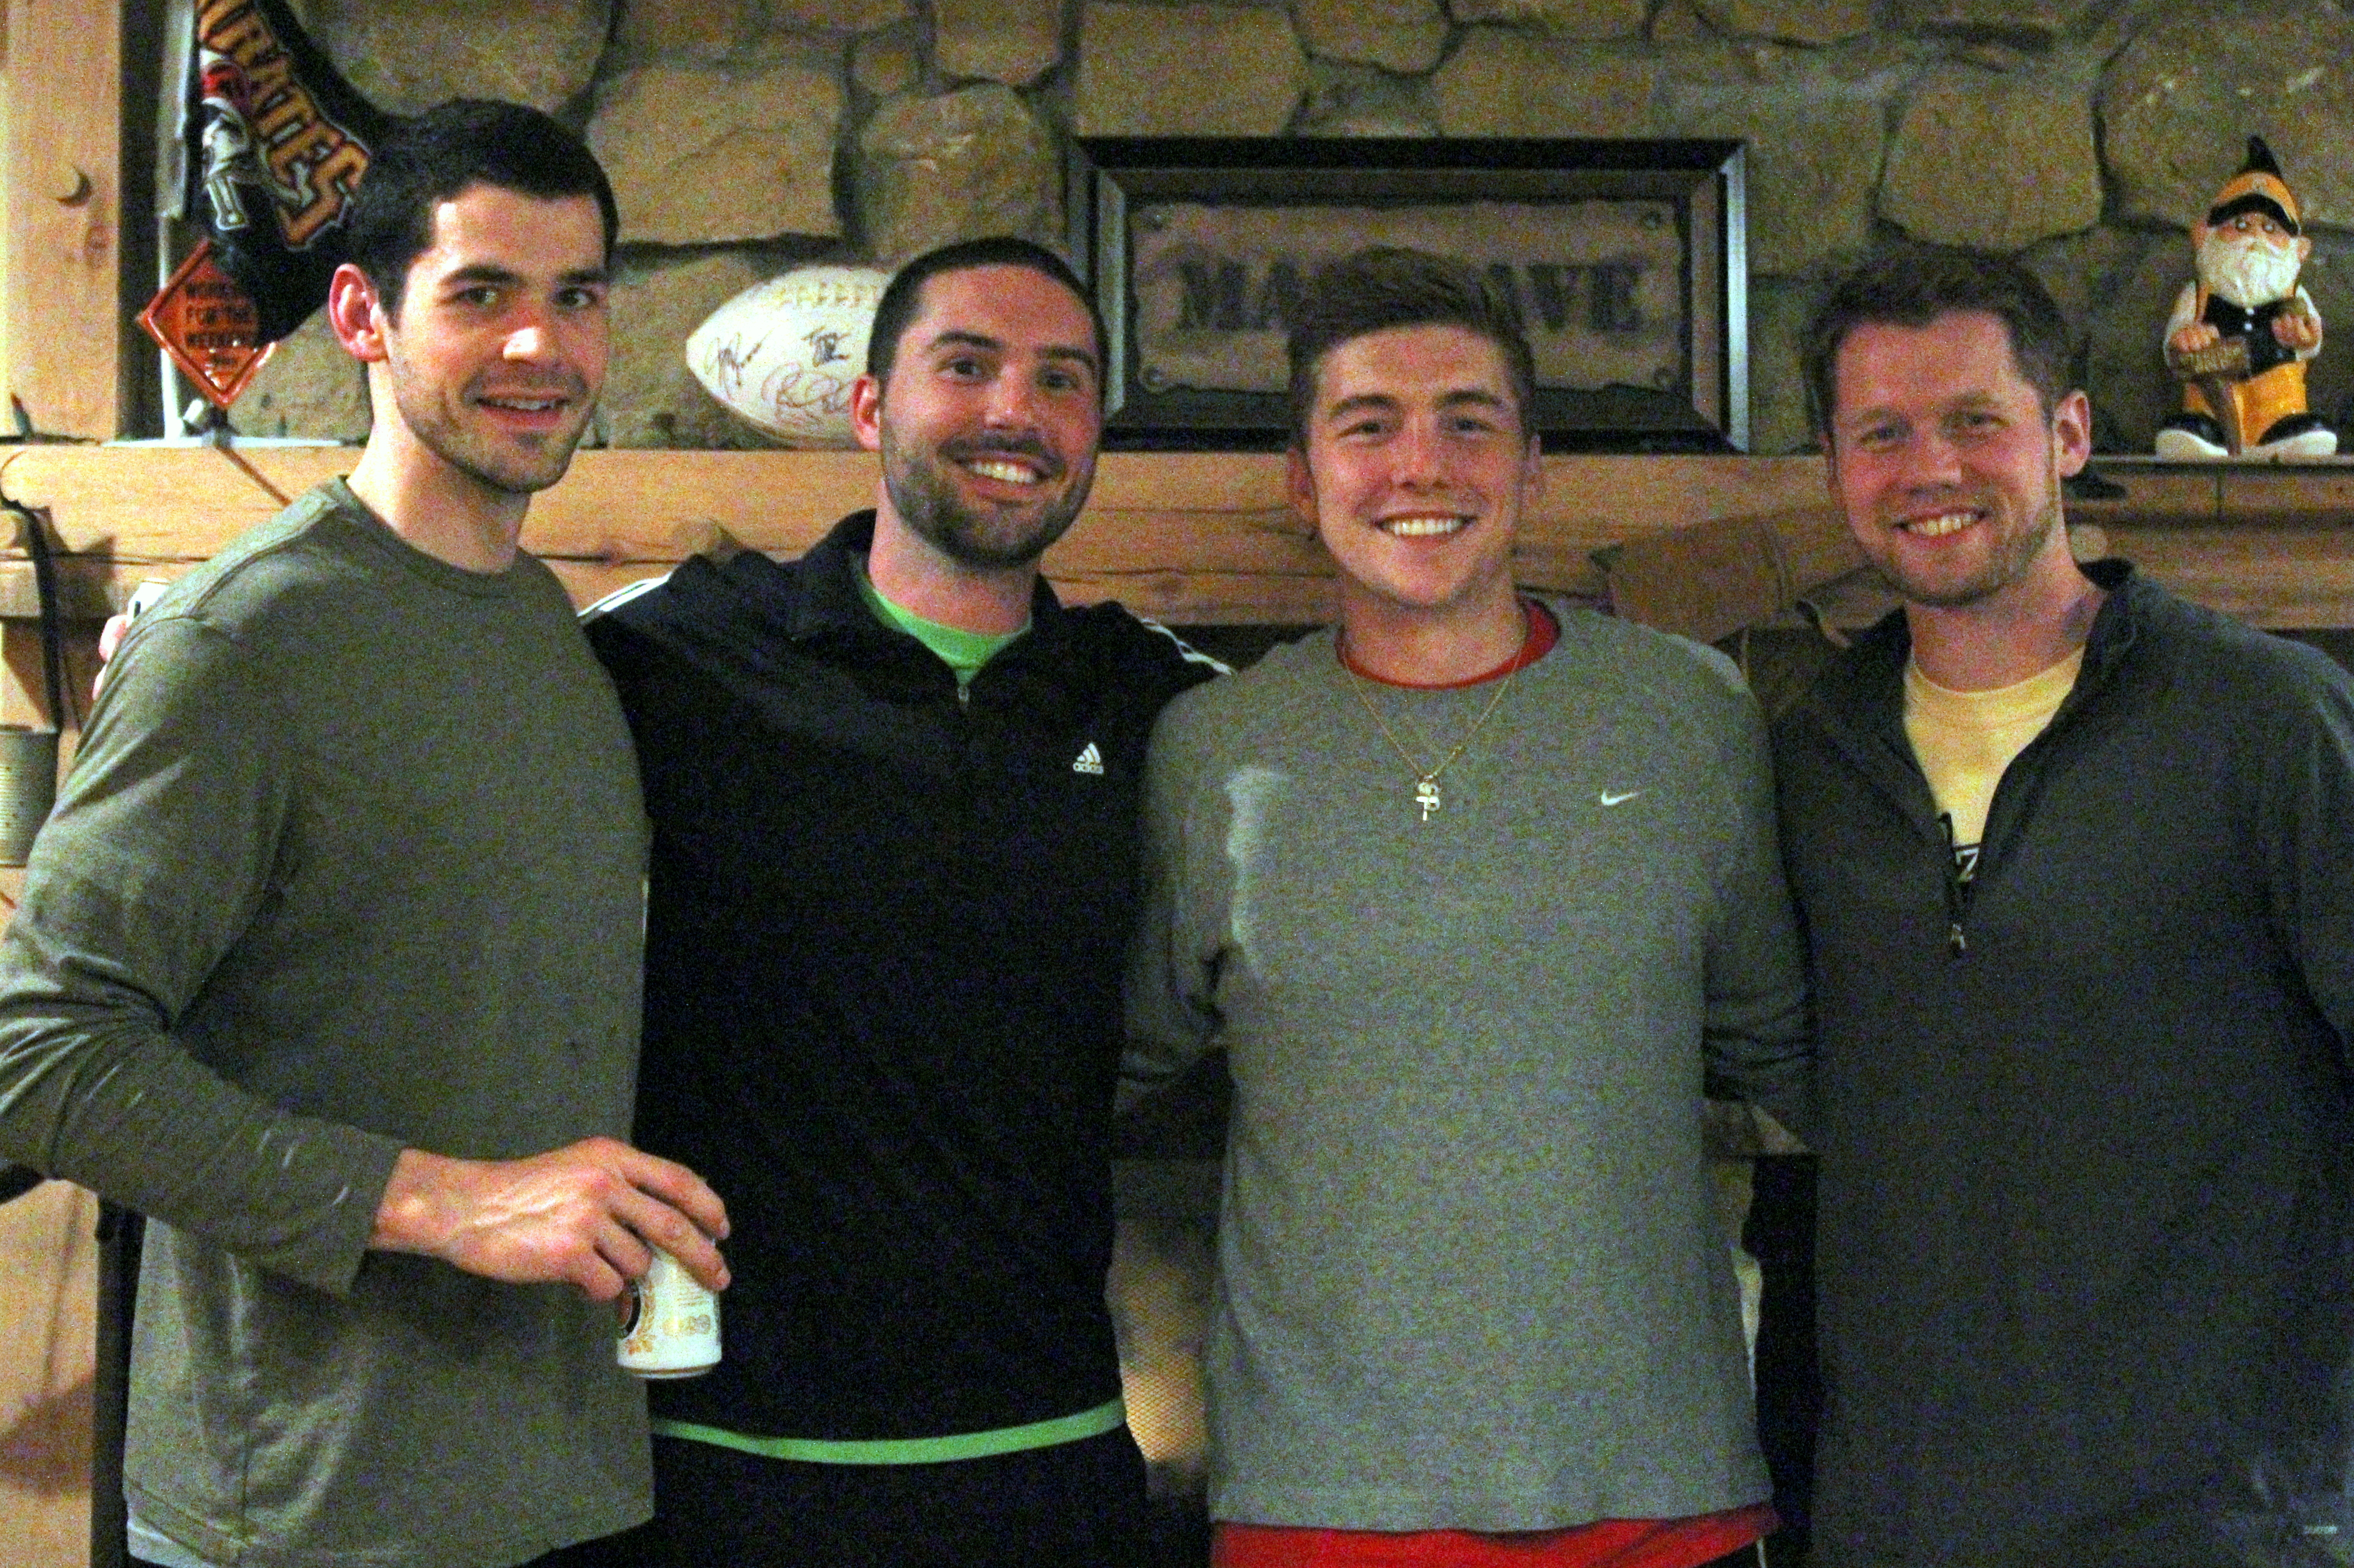
Nick, Winston, CJ, Zach

Look at these handsome guys!

Could I be any happier than to have the opportunity to have them over and cook for them?

Does that make me a little strange?… unusual?…. old-fashioned….?

I was really looking forward to – and totally enjoyed – the opportunity to cook and bake for my youngest son, Nick (far left in the photo above) and a group of his old college buddies (Winston, Zach, and CJ – two of whom are married already!), who decided to get together for a Saturday afternoon of basketball and an evening of pool and poker, with a short break in between to be nourished by Momma ME!

In talking with my friend, Tracy, on our Sunday morning walk yesterday, I remarked upon reflection that it is good to be 52 and not so worried about what is the right or wrong way to be a woman today.

For a while, I tried to be a “modern” business woman – one who enjoys working as much as the rest of “the guys” and has no time for such silliness as cooking and baking….

But I can’t help it….

It is my happy place.

It is in my DNA.

When I was a young girl, if asked what I wanted to be when I grow up, I most often would say, “A Mom.”

Being a mom is a job that should be as equally admired as those that serve as doctors and lawyers and teachers and executives.

It really is a tough job.  Little training is provided.  Little recognition is provided.  The monetary rewards are quite minimal.  The days are long.  Then nights are short.  The worries are many.

But the rewards…..

especially when looking back and knowing you raised your kids to become amazing adults….

well – there really is nothing greater.

So the chance to cherish moments with my “kids” (who aren’t really kids anymore)…

is pretty darn great.

I am most happy when I am cooking or baking or having guests in my home.

I TRULY love my work too.  Don’t get me wrong.

I am extremely fortunate to have a work-life balance that allows me to work as passionately at my job in corporate communications for home health and hospice and enjoy it as much as I do my “life in between” activities.

I also truly and equally admire women who don’t choose to be mothers, but dedicate their lives to noble careers because that is their passion.

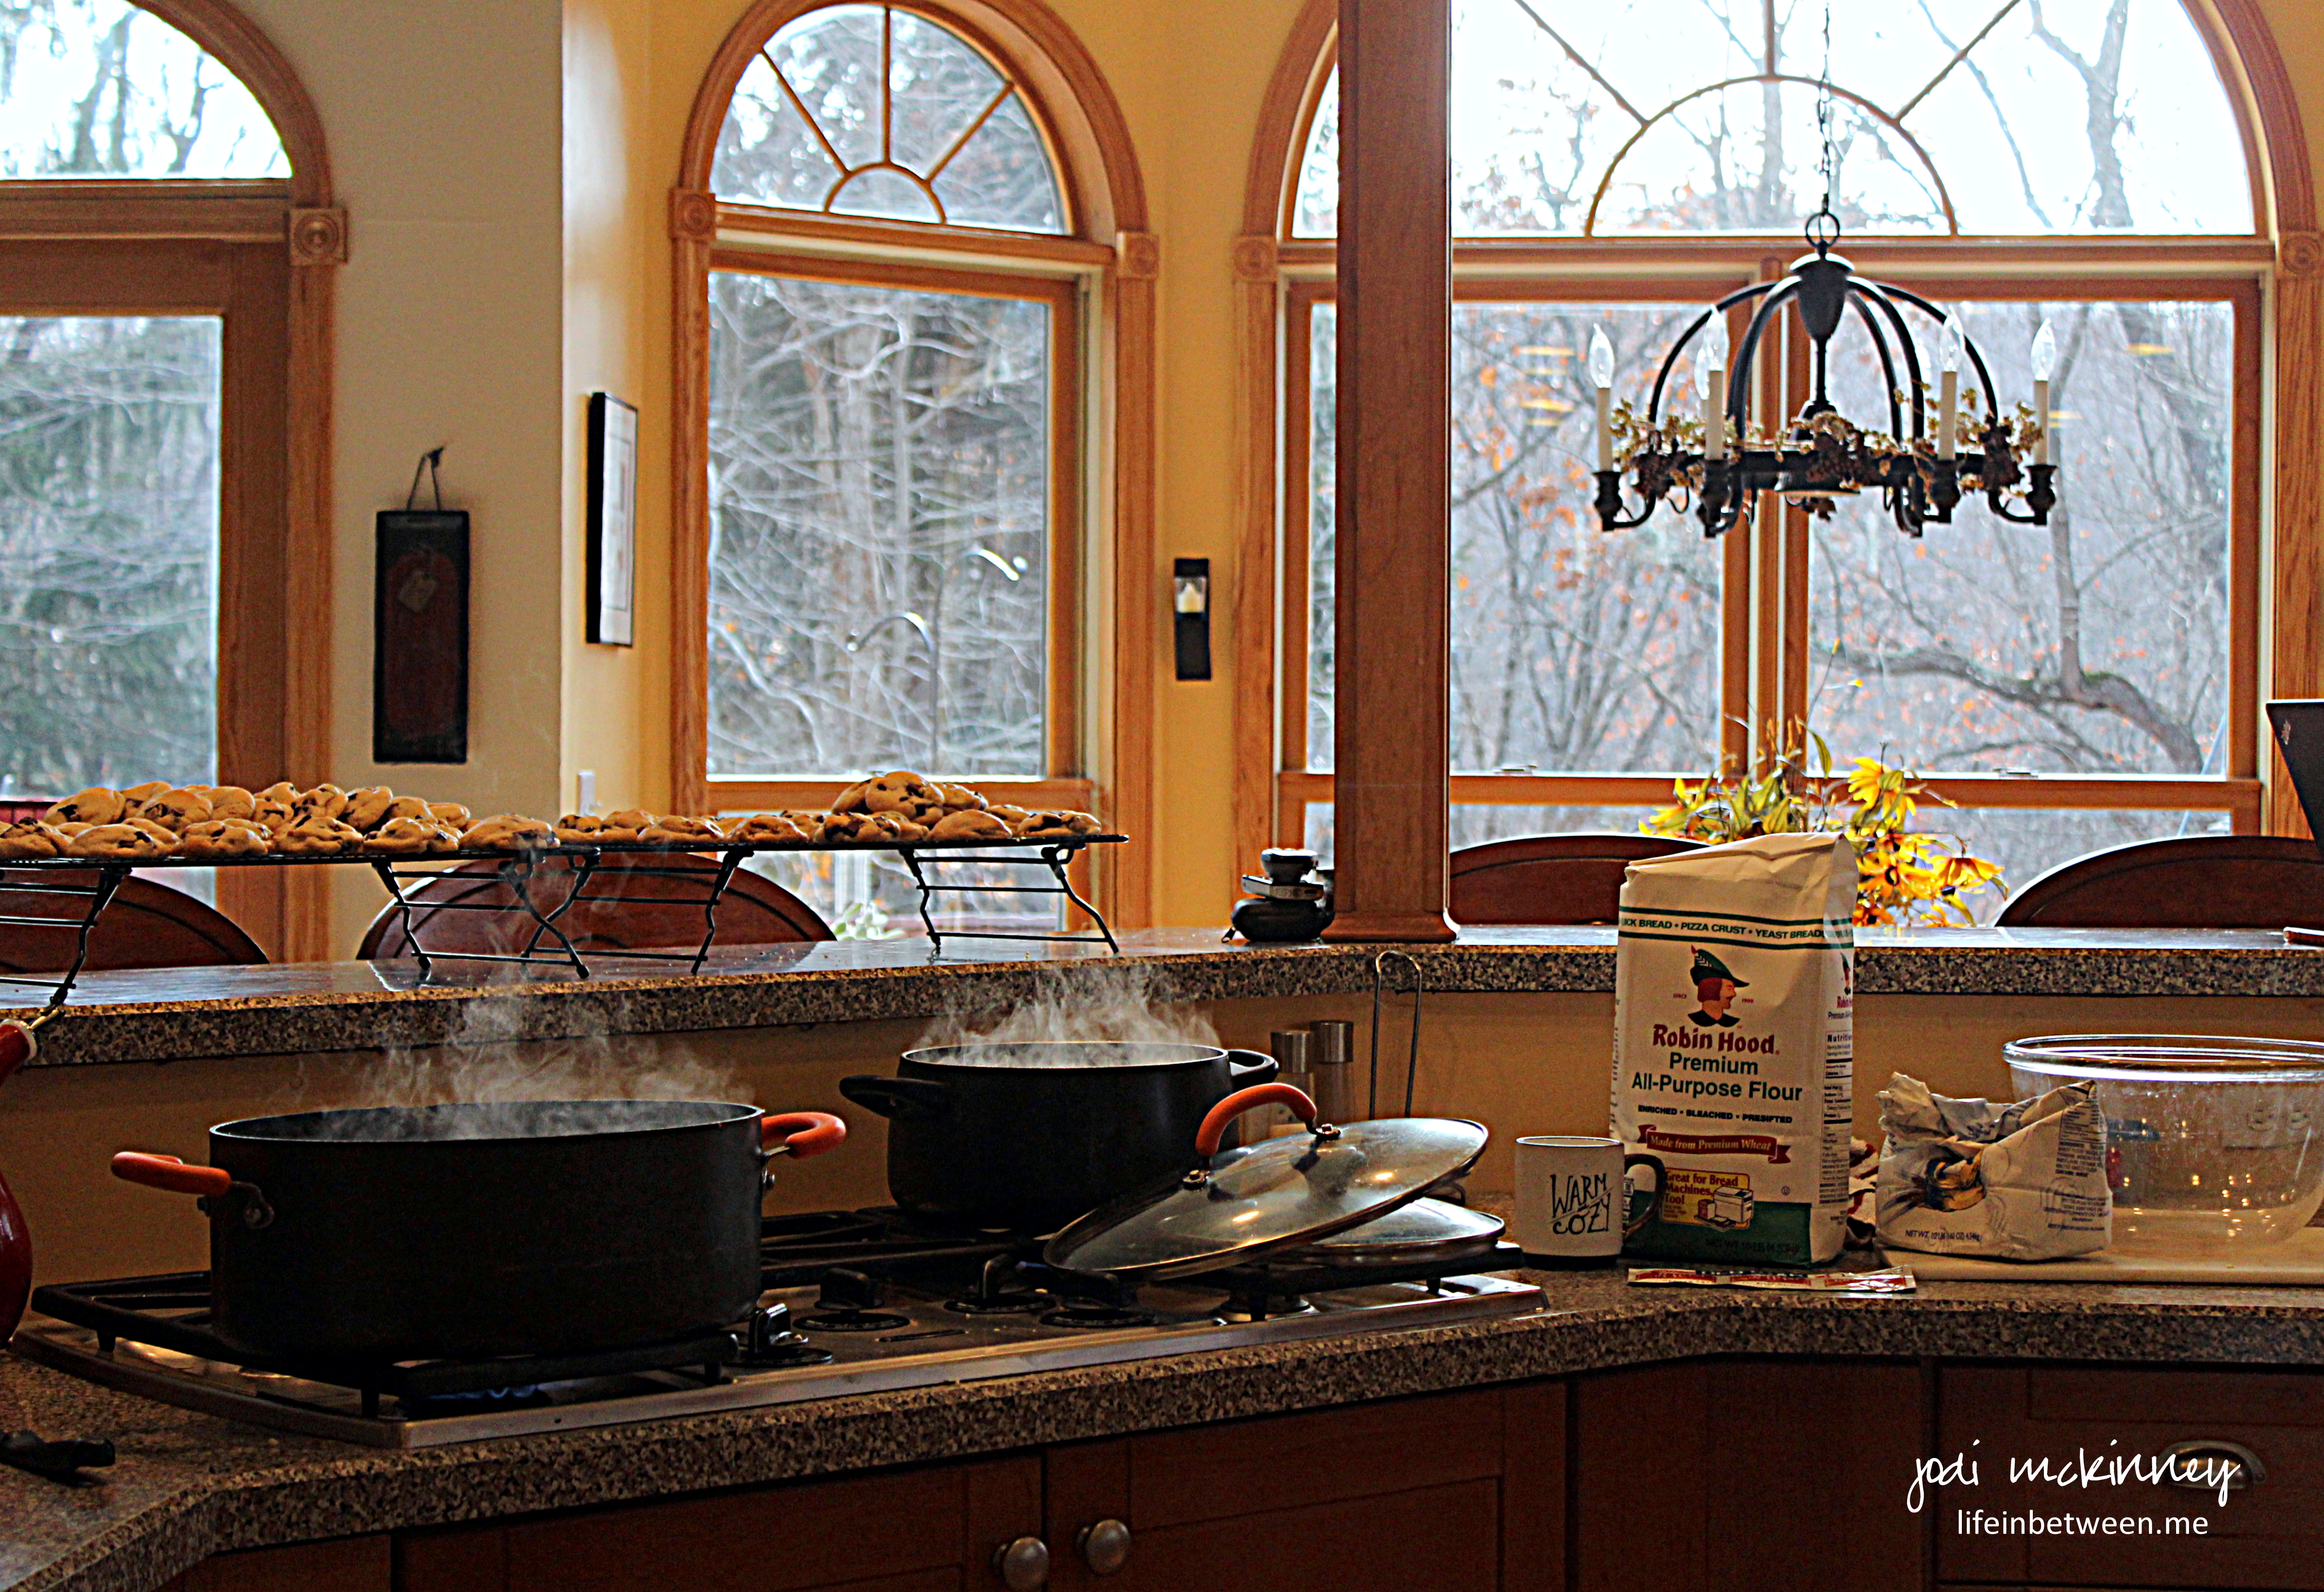
But put me behind the kitchen counter with pots steaming and cookies cooling and bread kneading…..

kitchen

with Charlie by my side napping as the Autumn sunshine streams in the window…

charlie sleeping in the sun

and life is perfect.

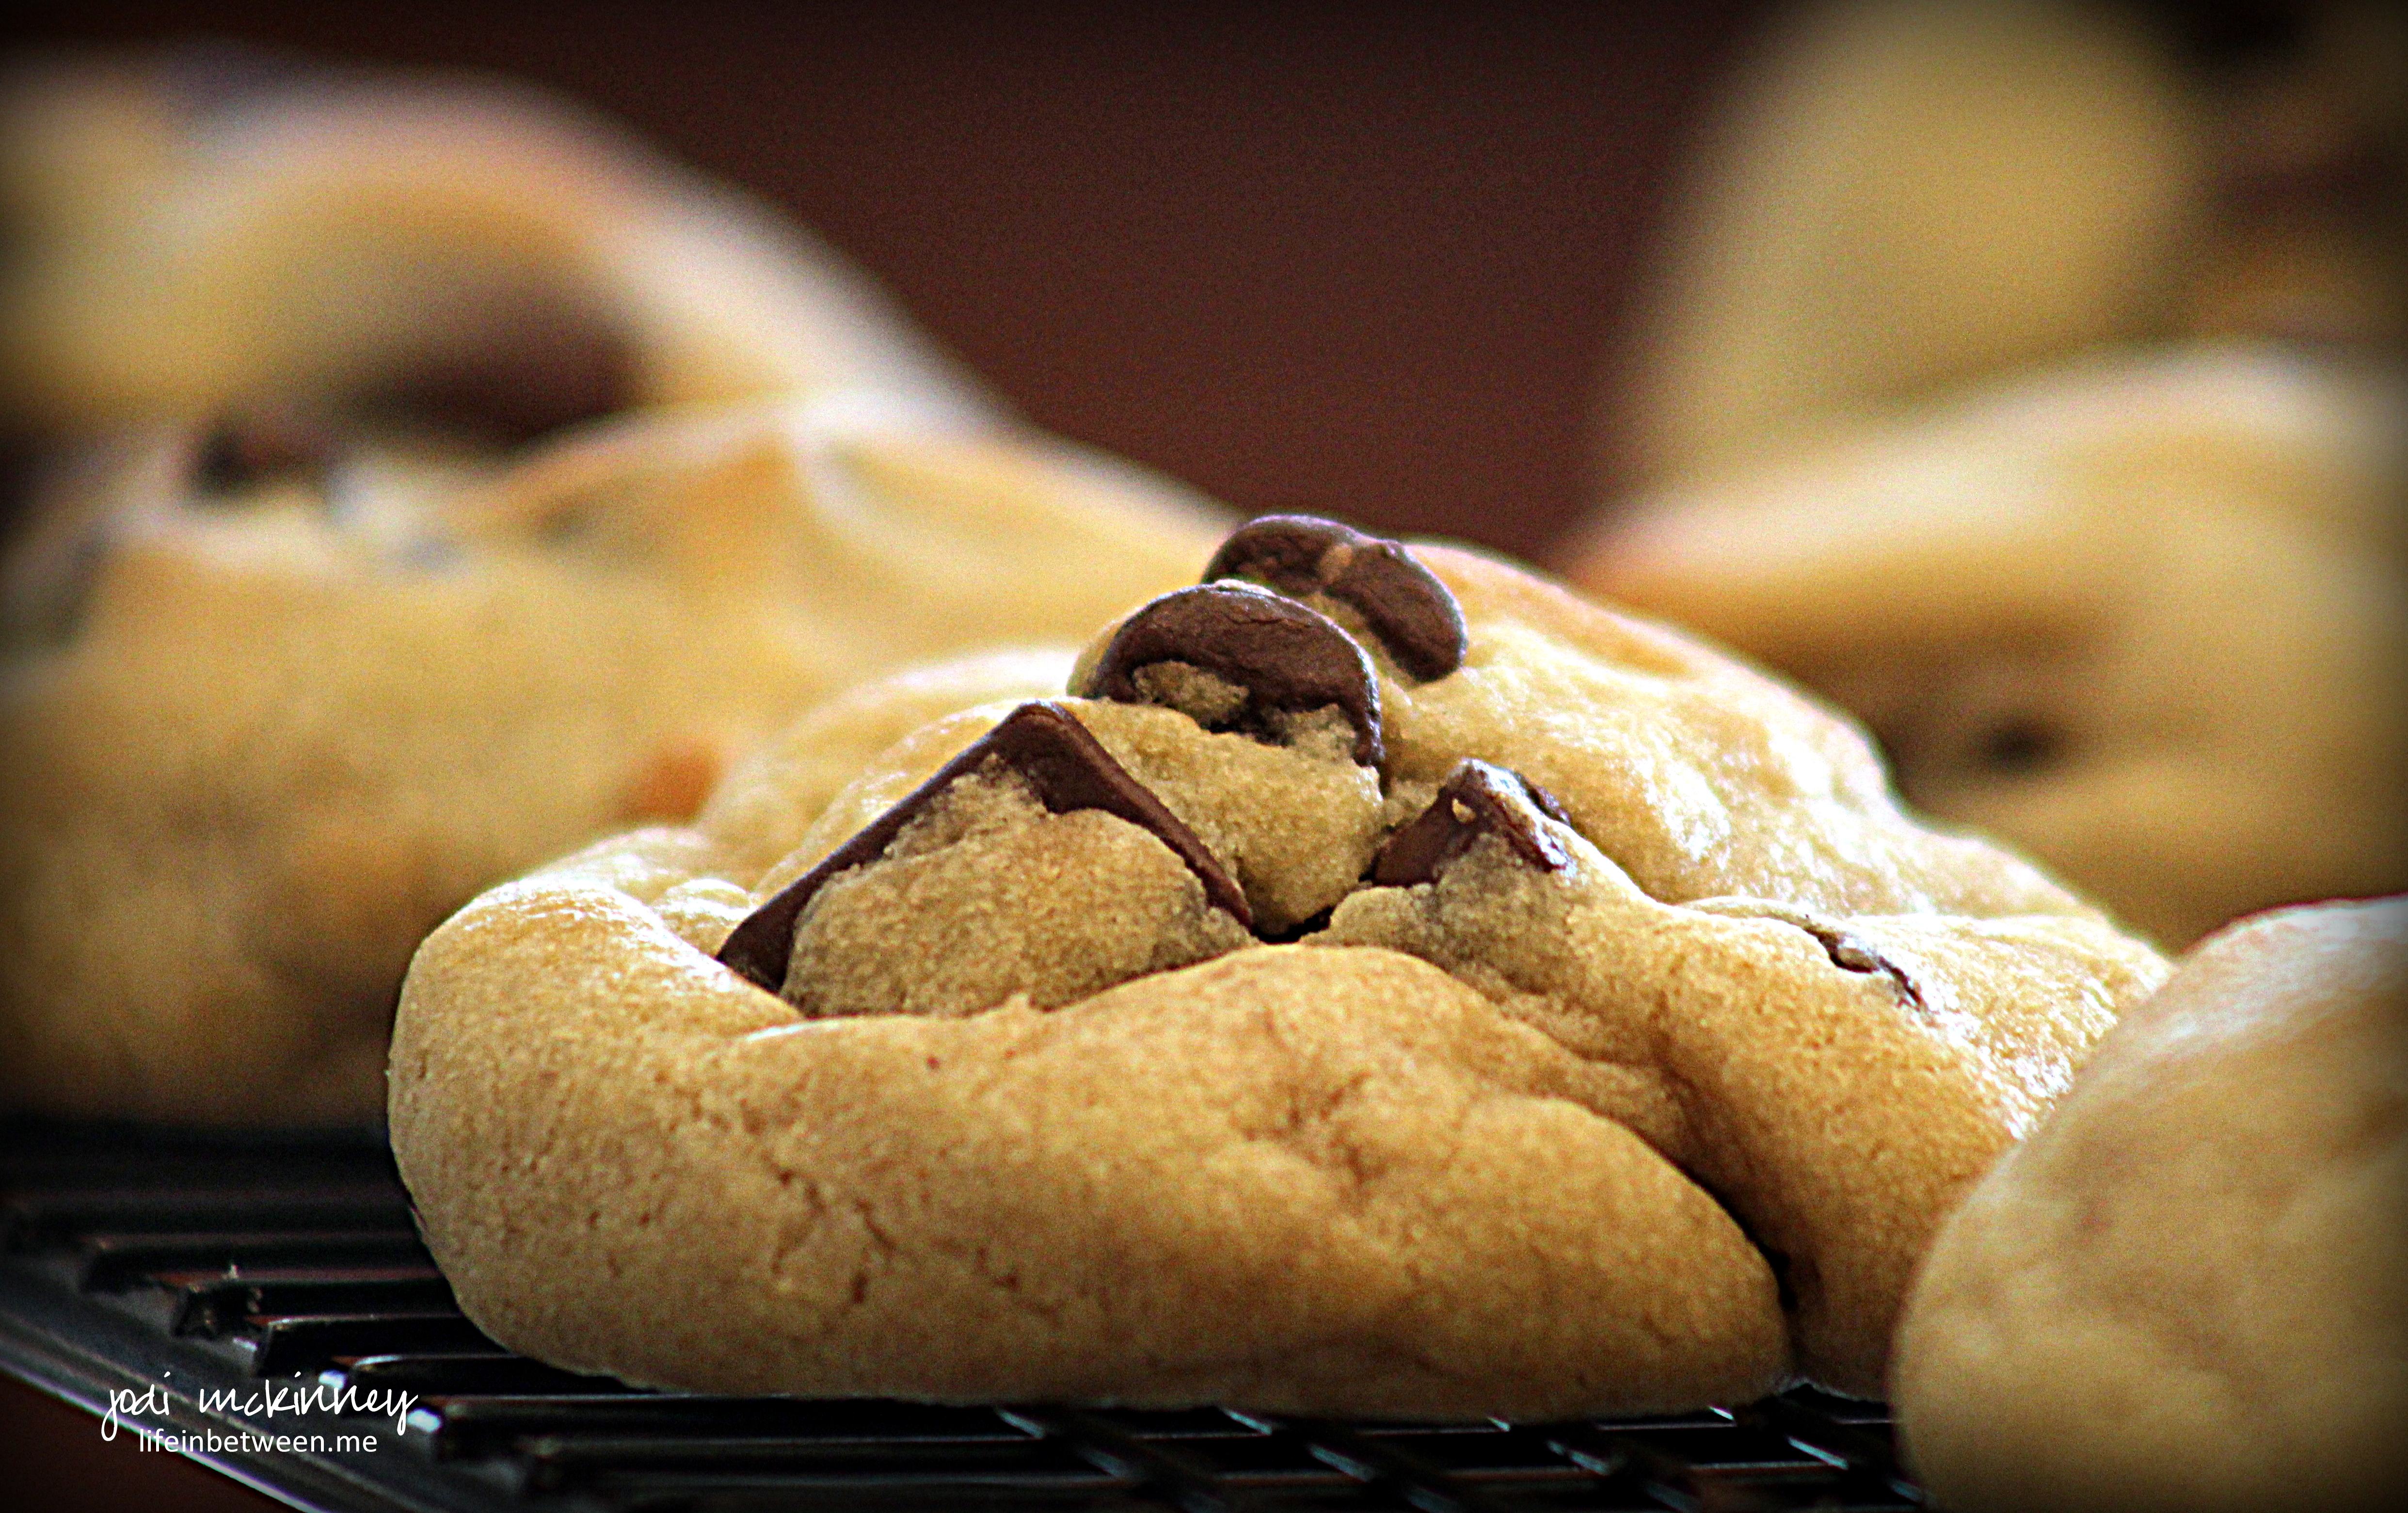
I baked some classic chocolate chips cookies,

chocolate chip cookie

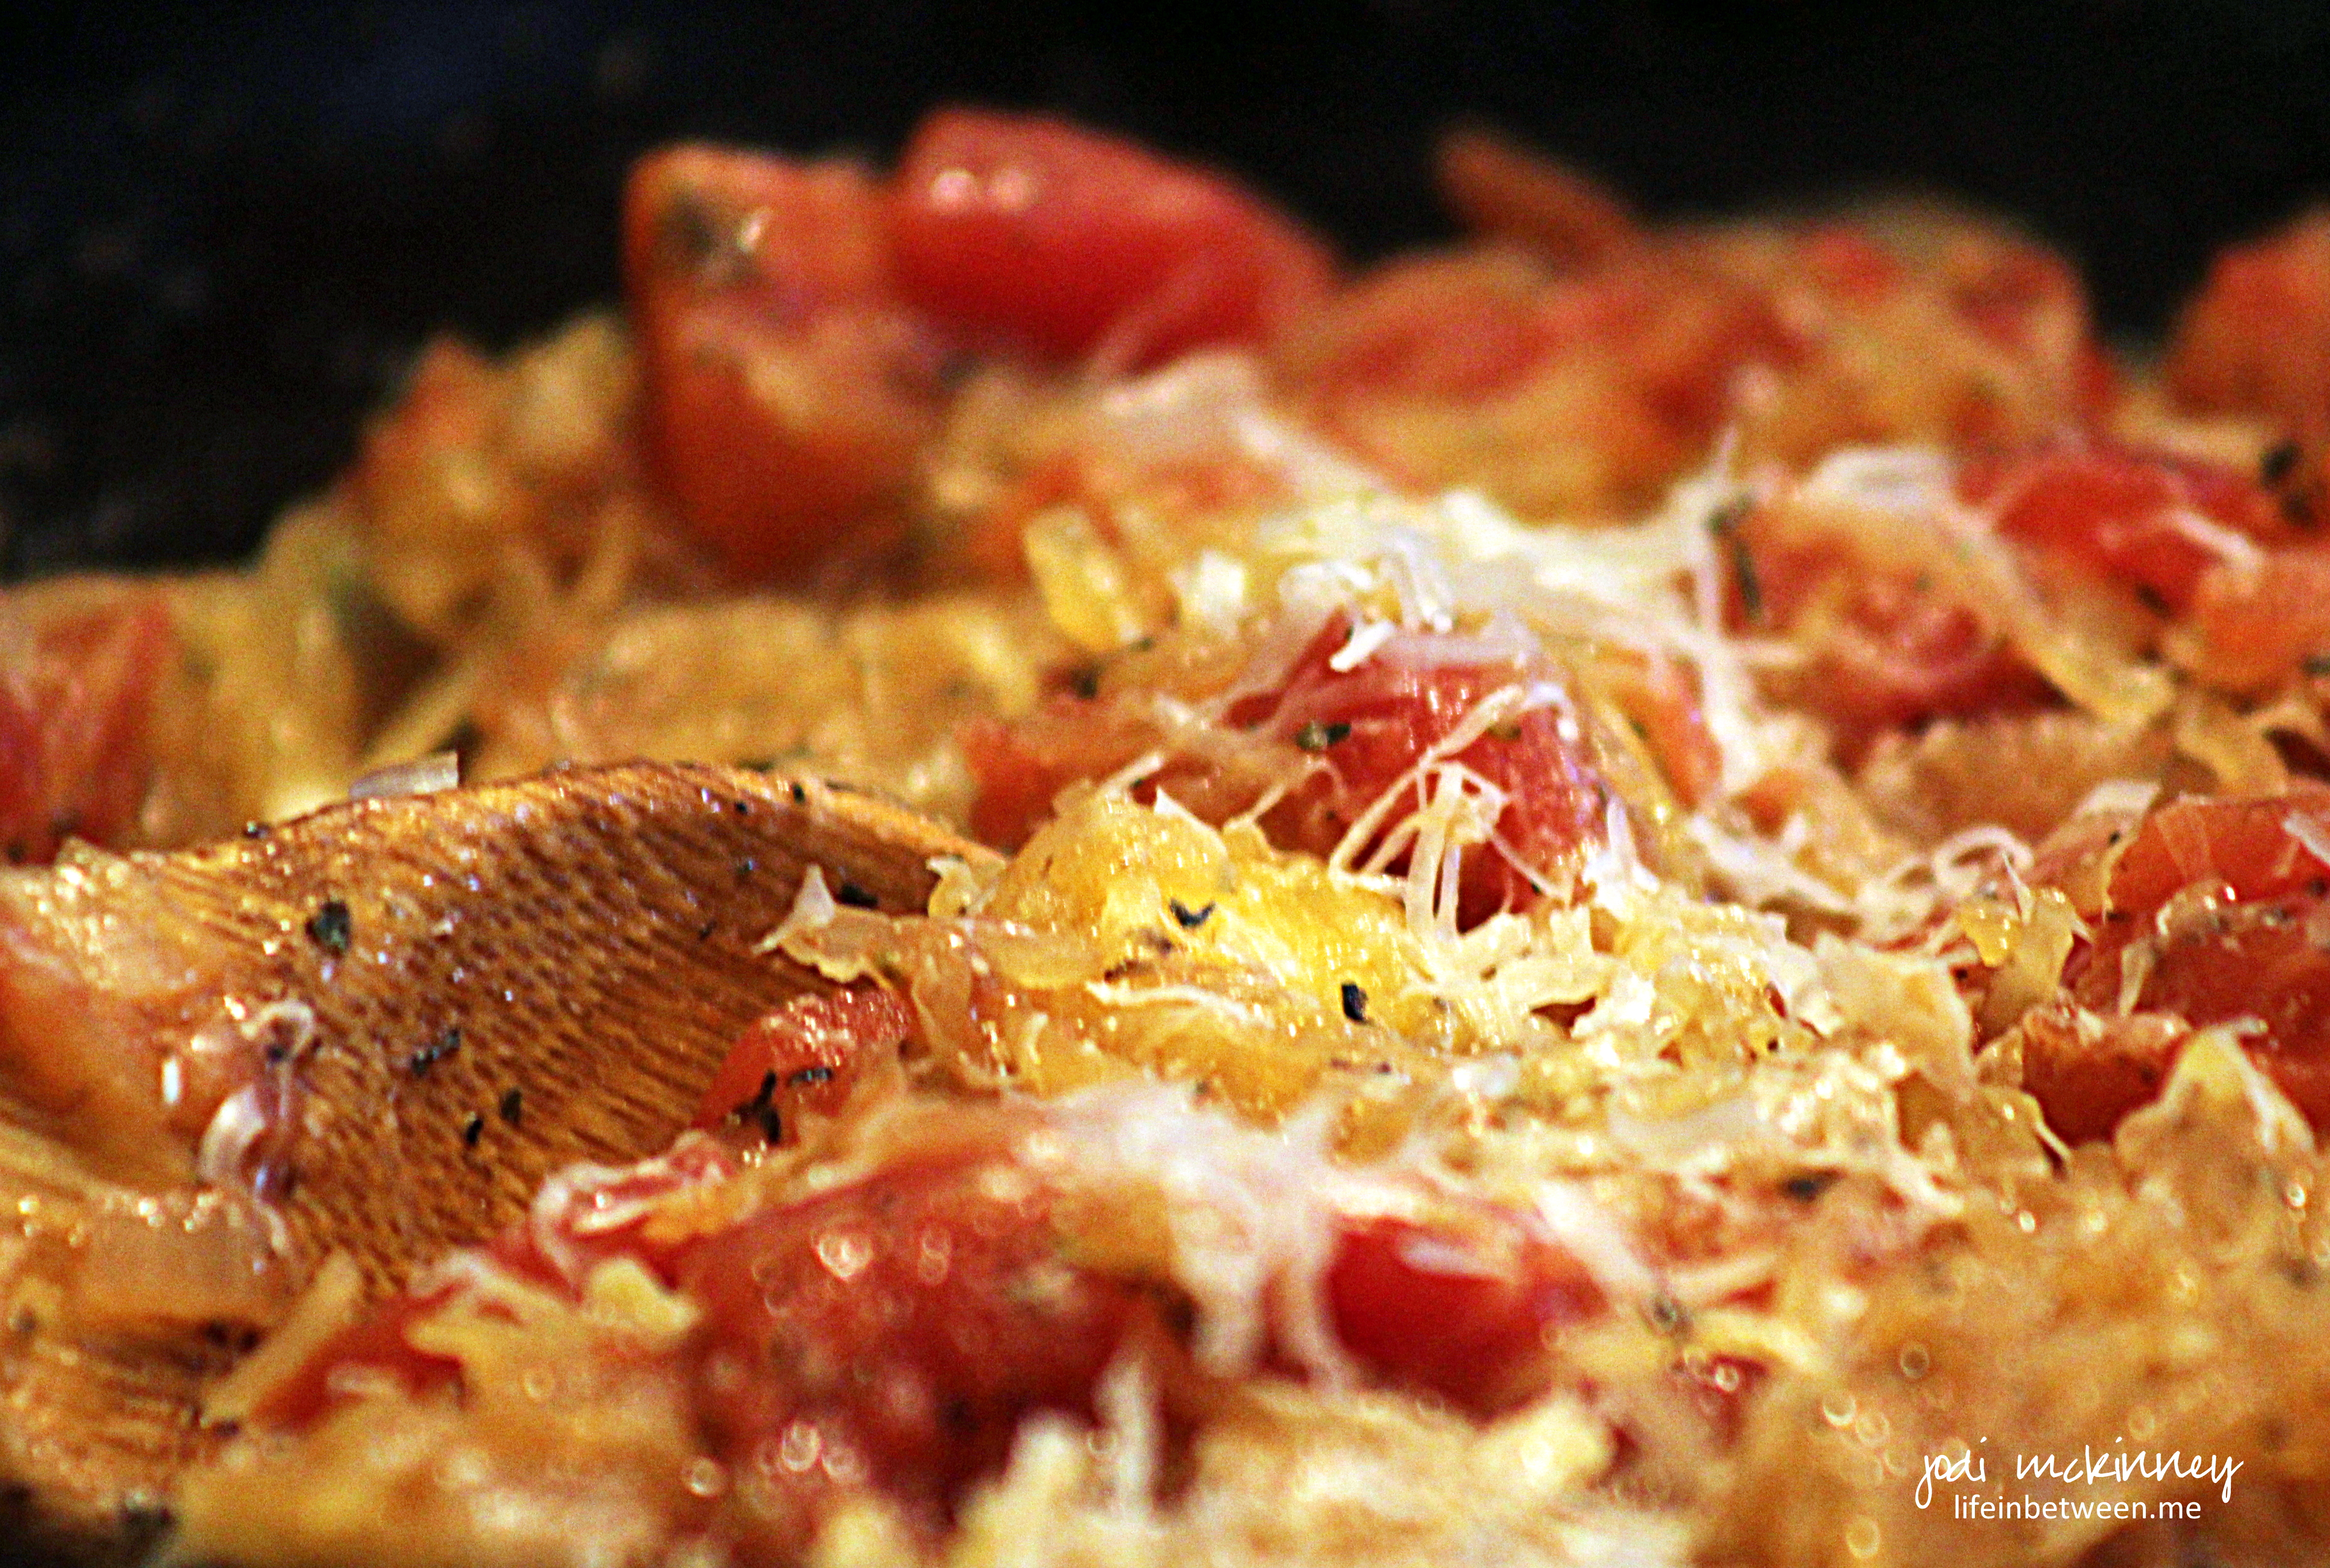
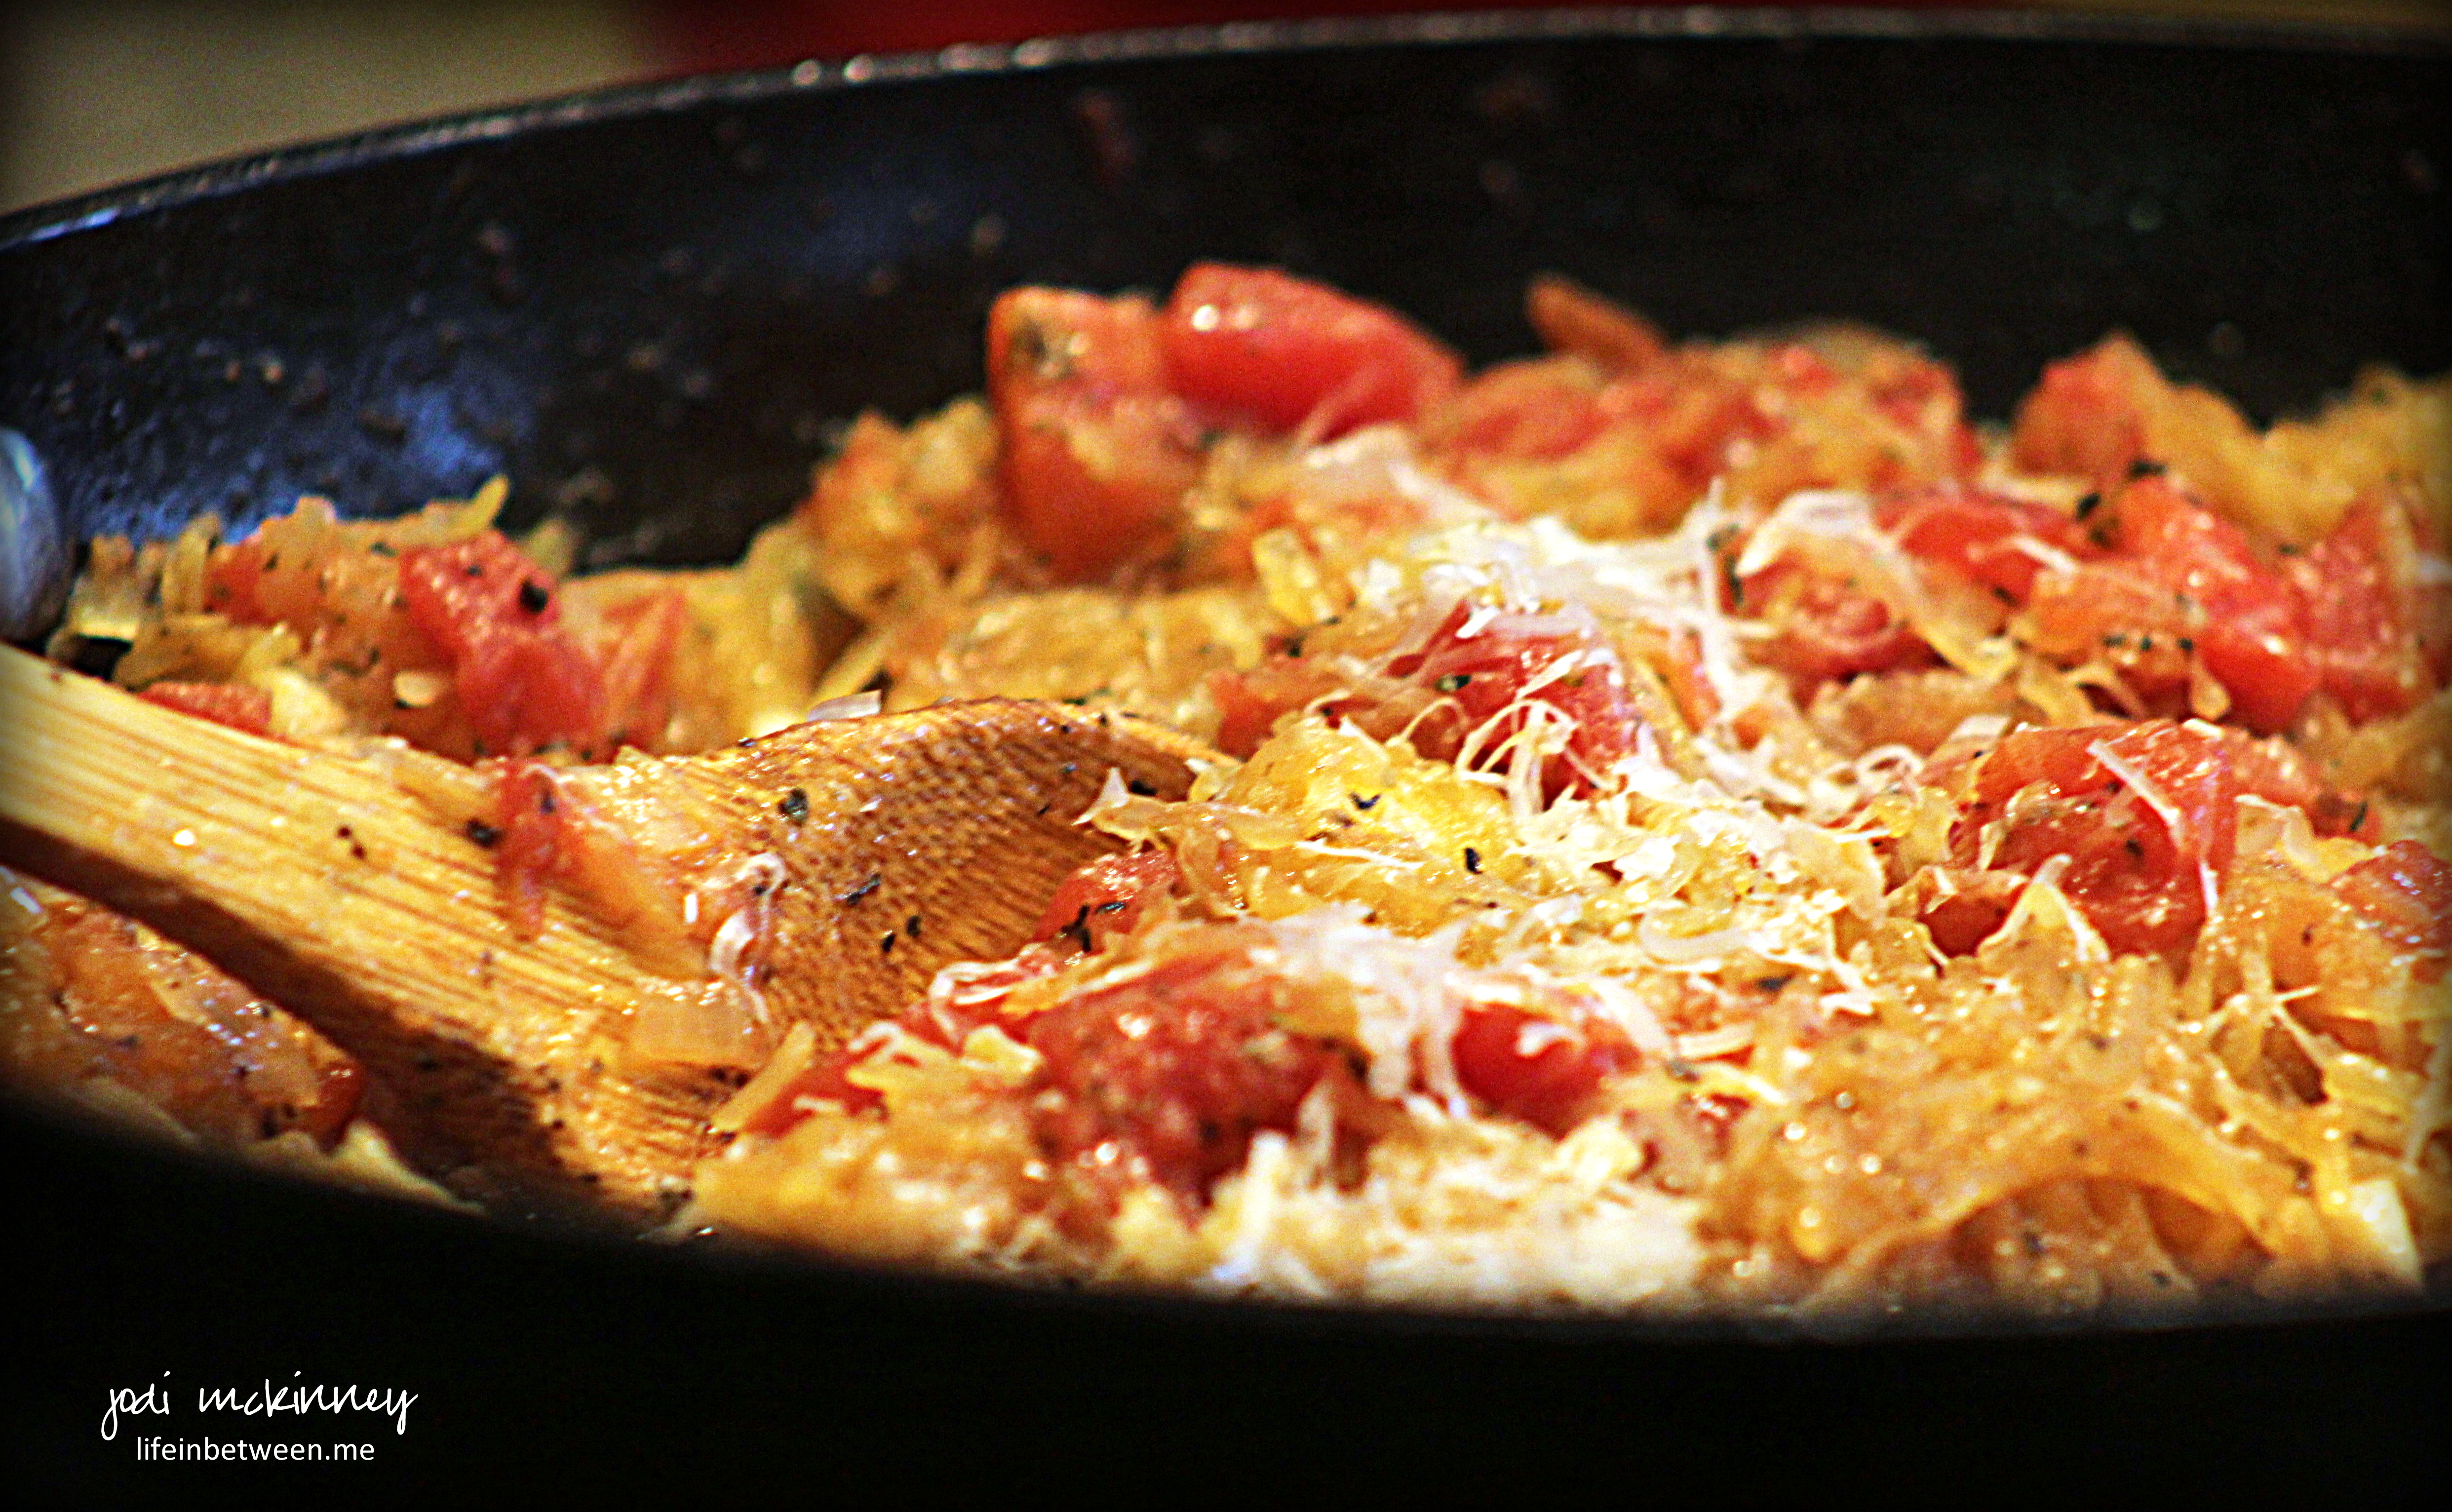
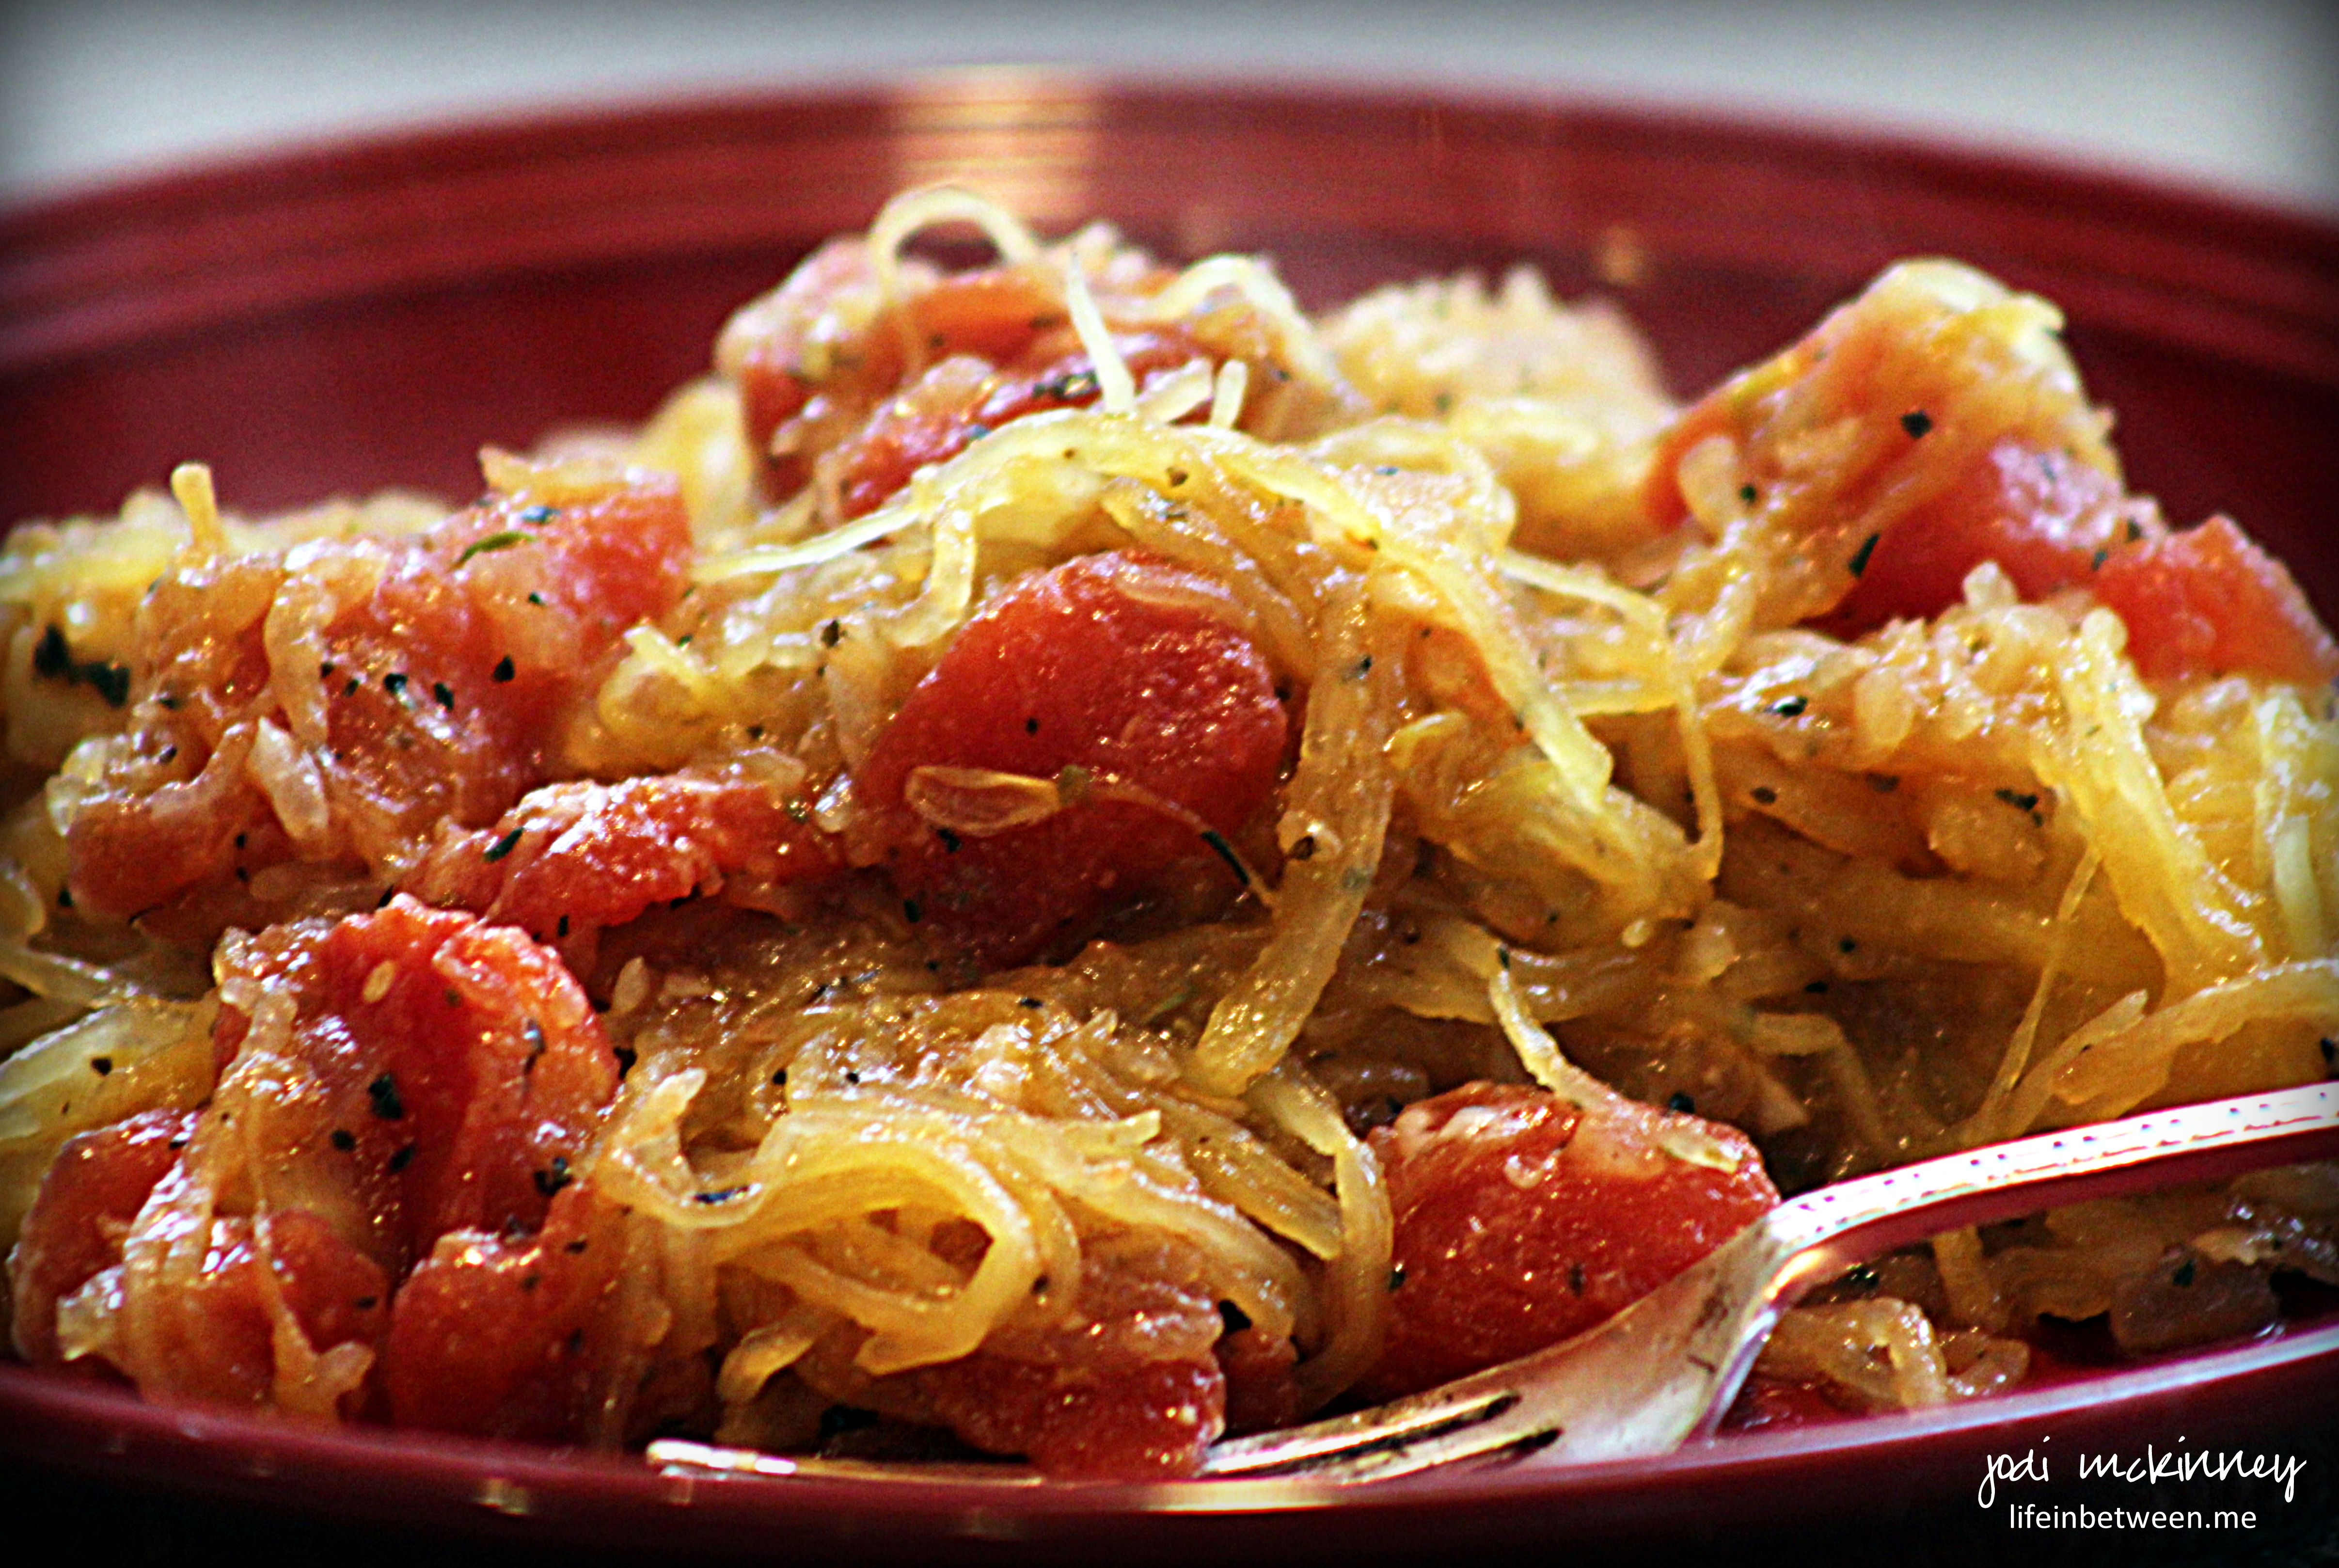
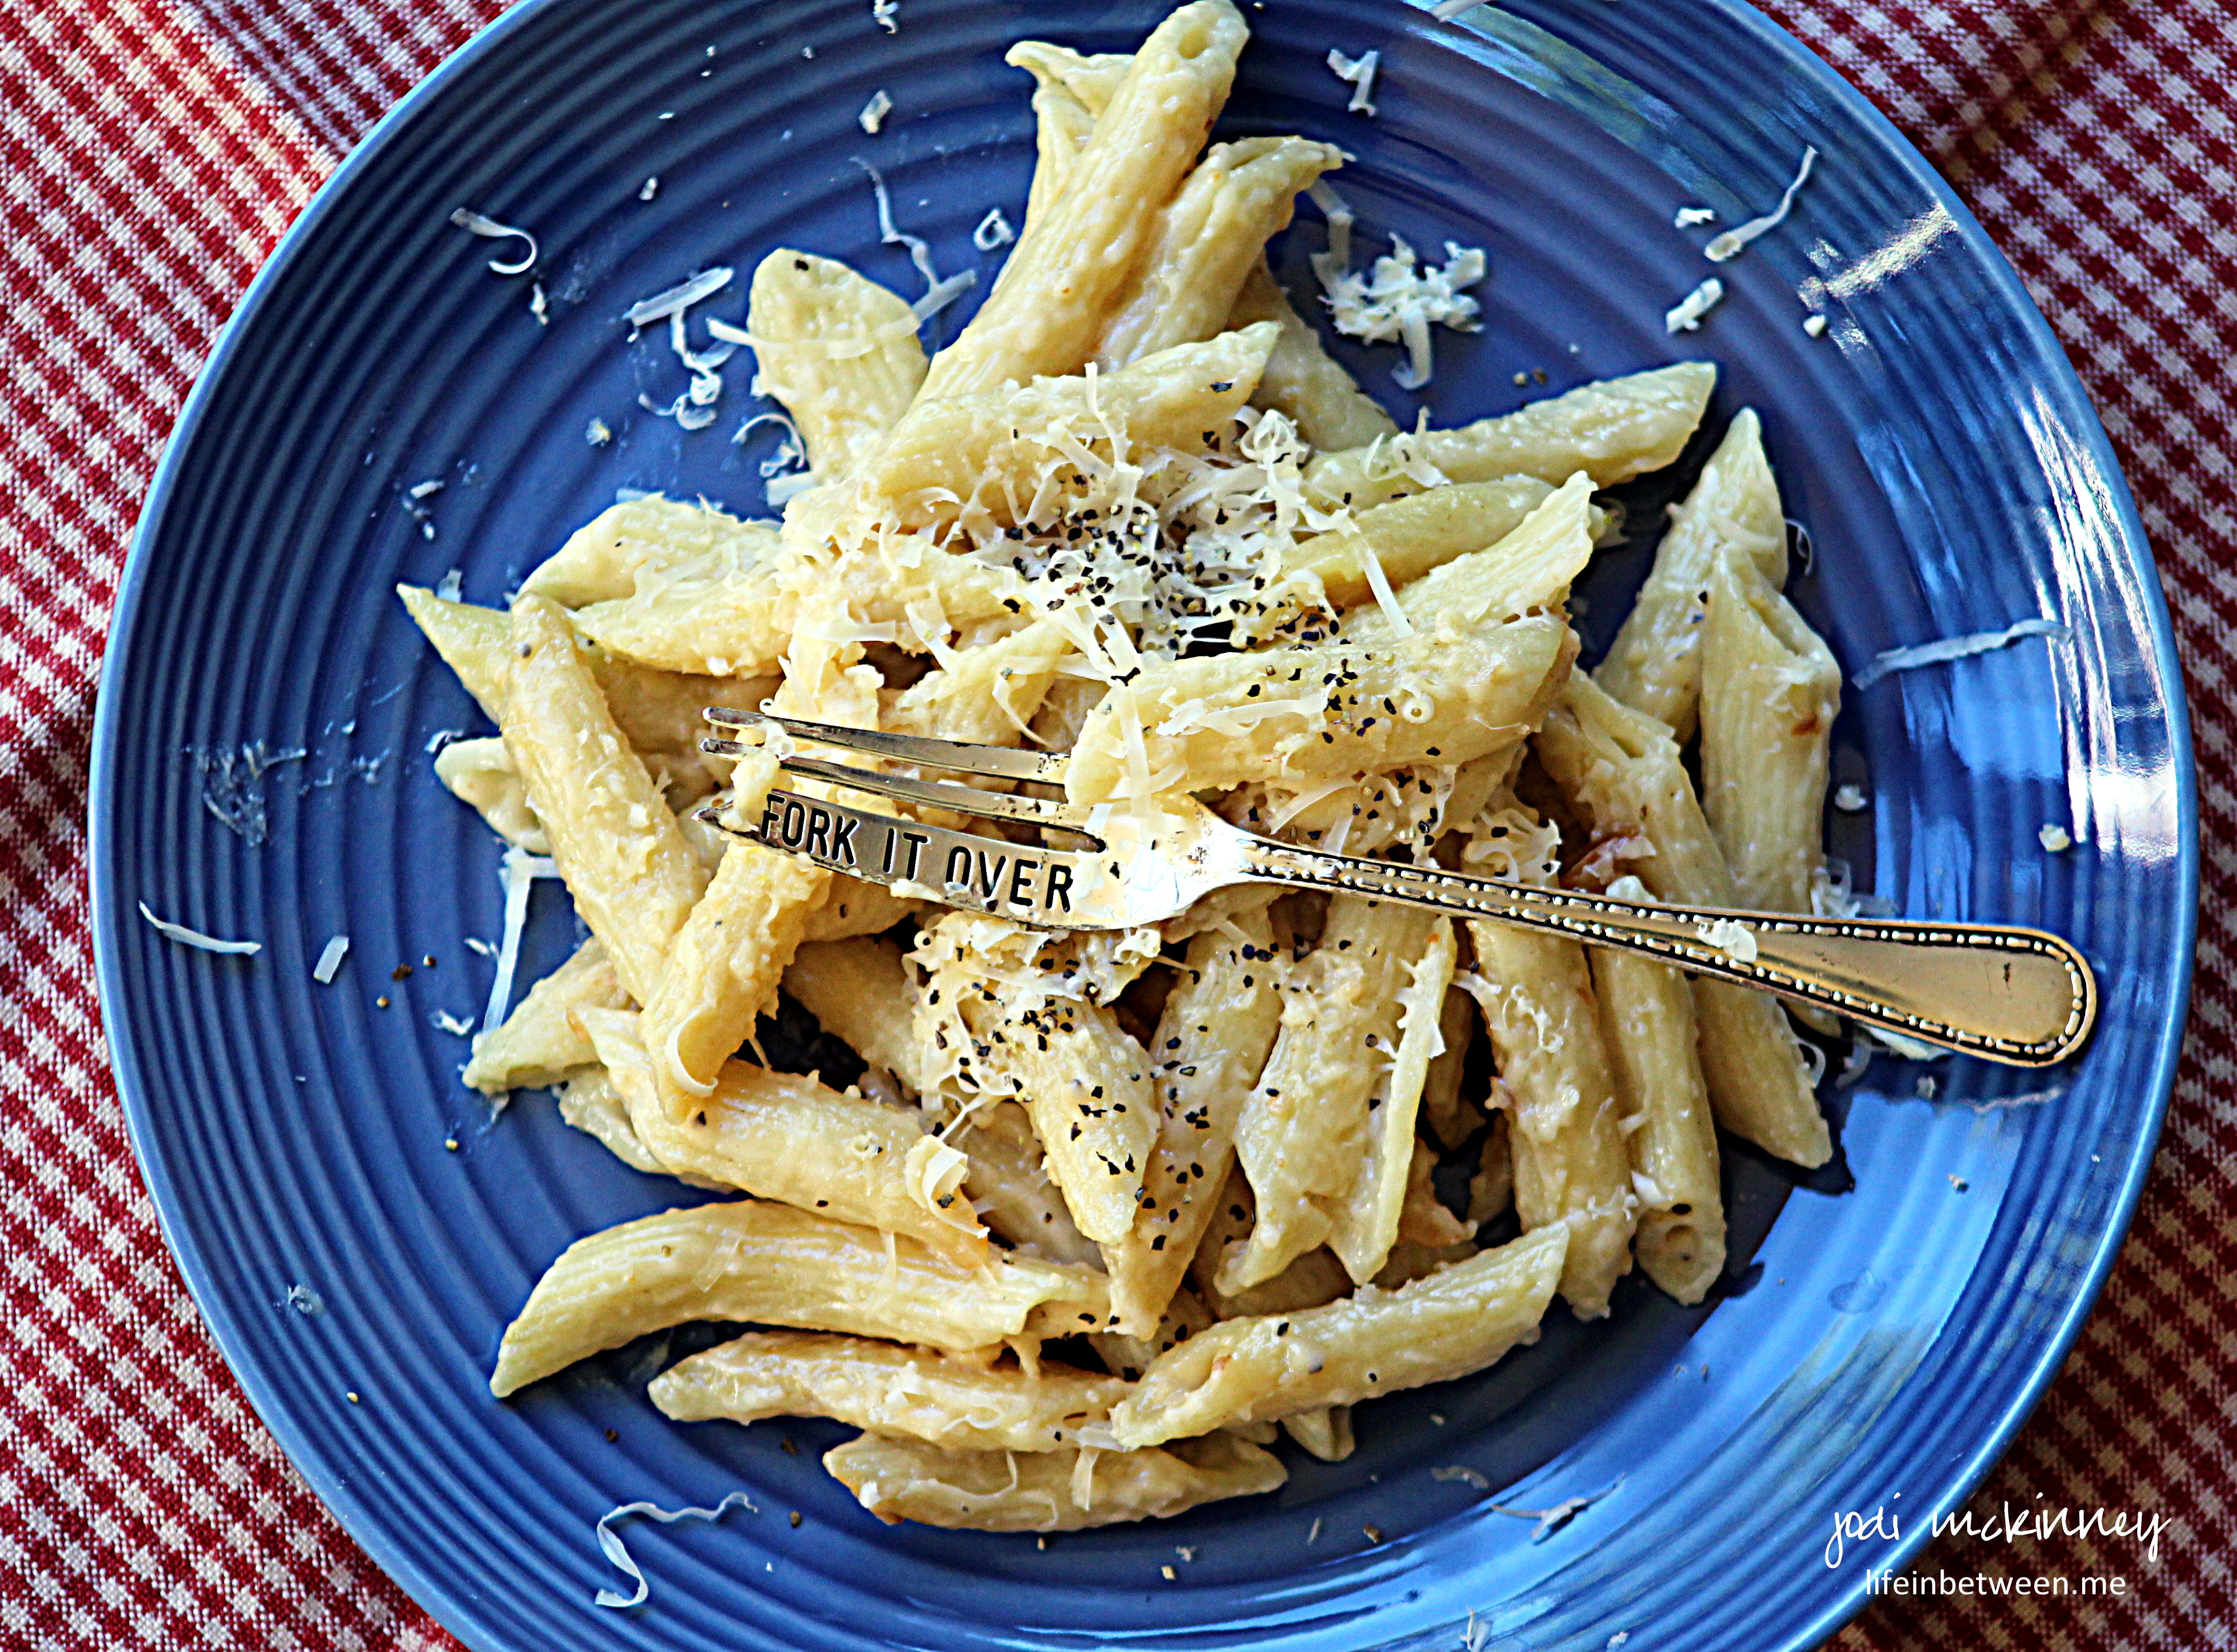
and made Zach’s favorite – good old-fashioned peasant food – Haluski.

halushki cabbage

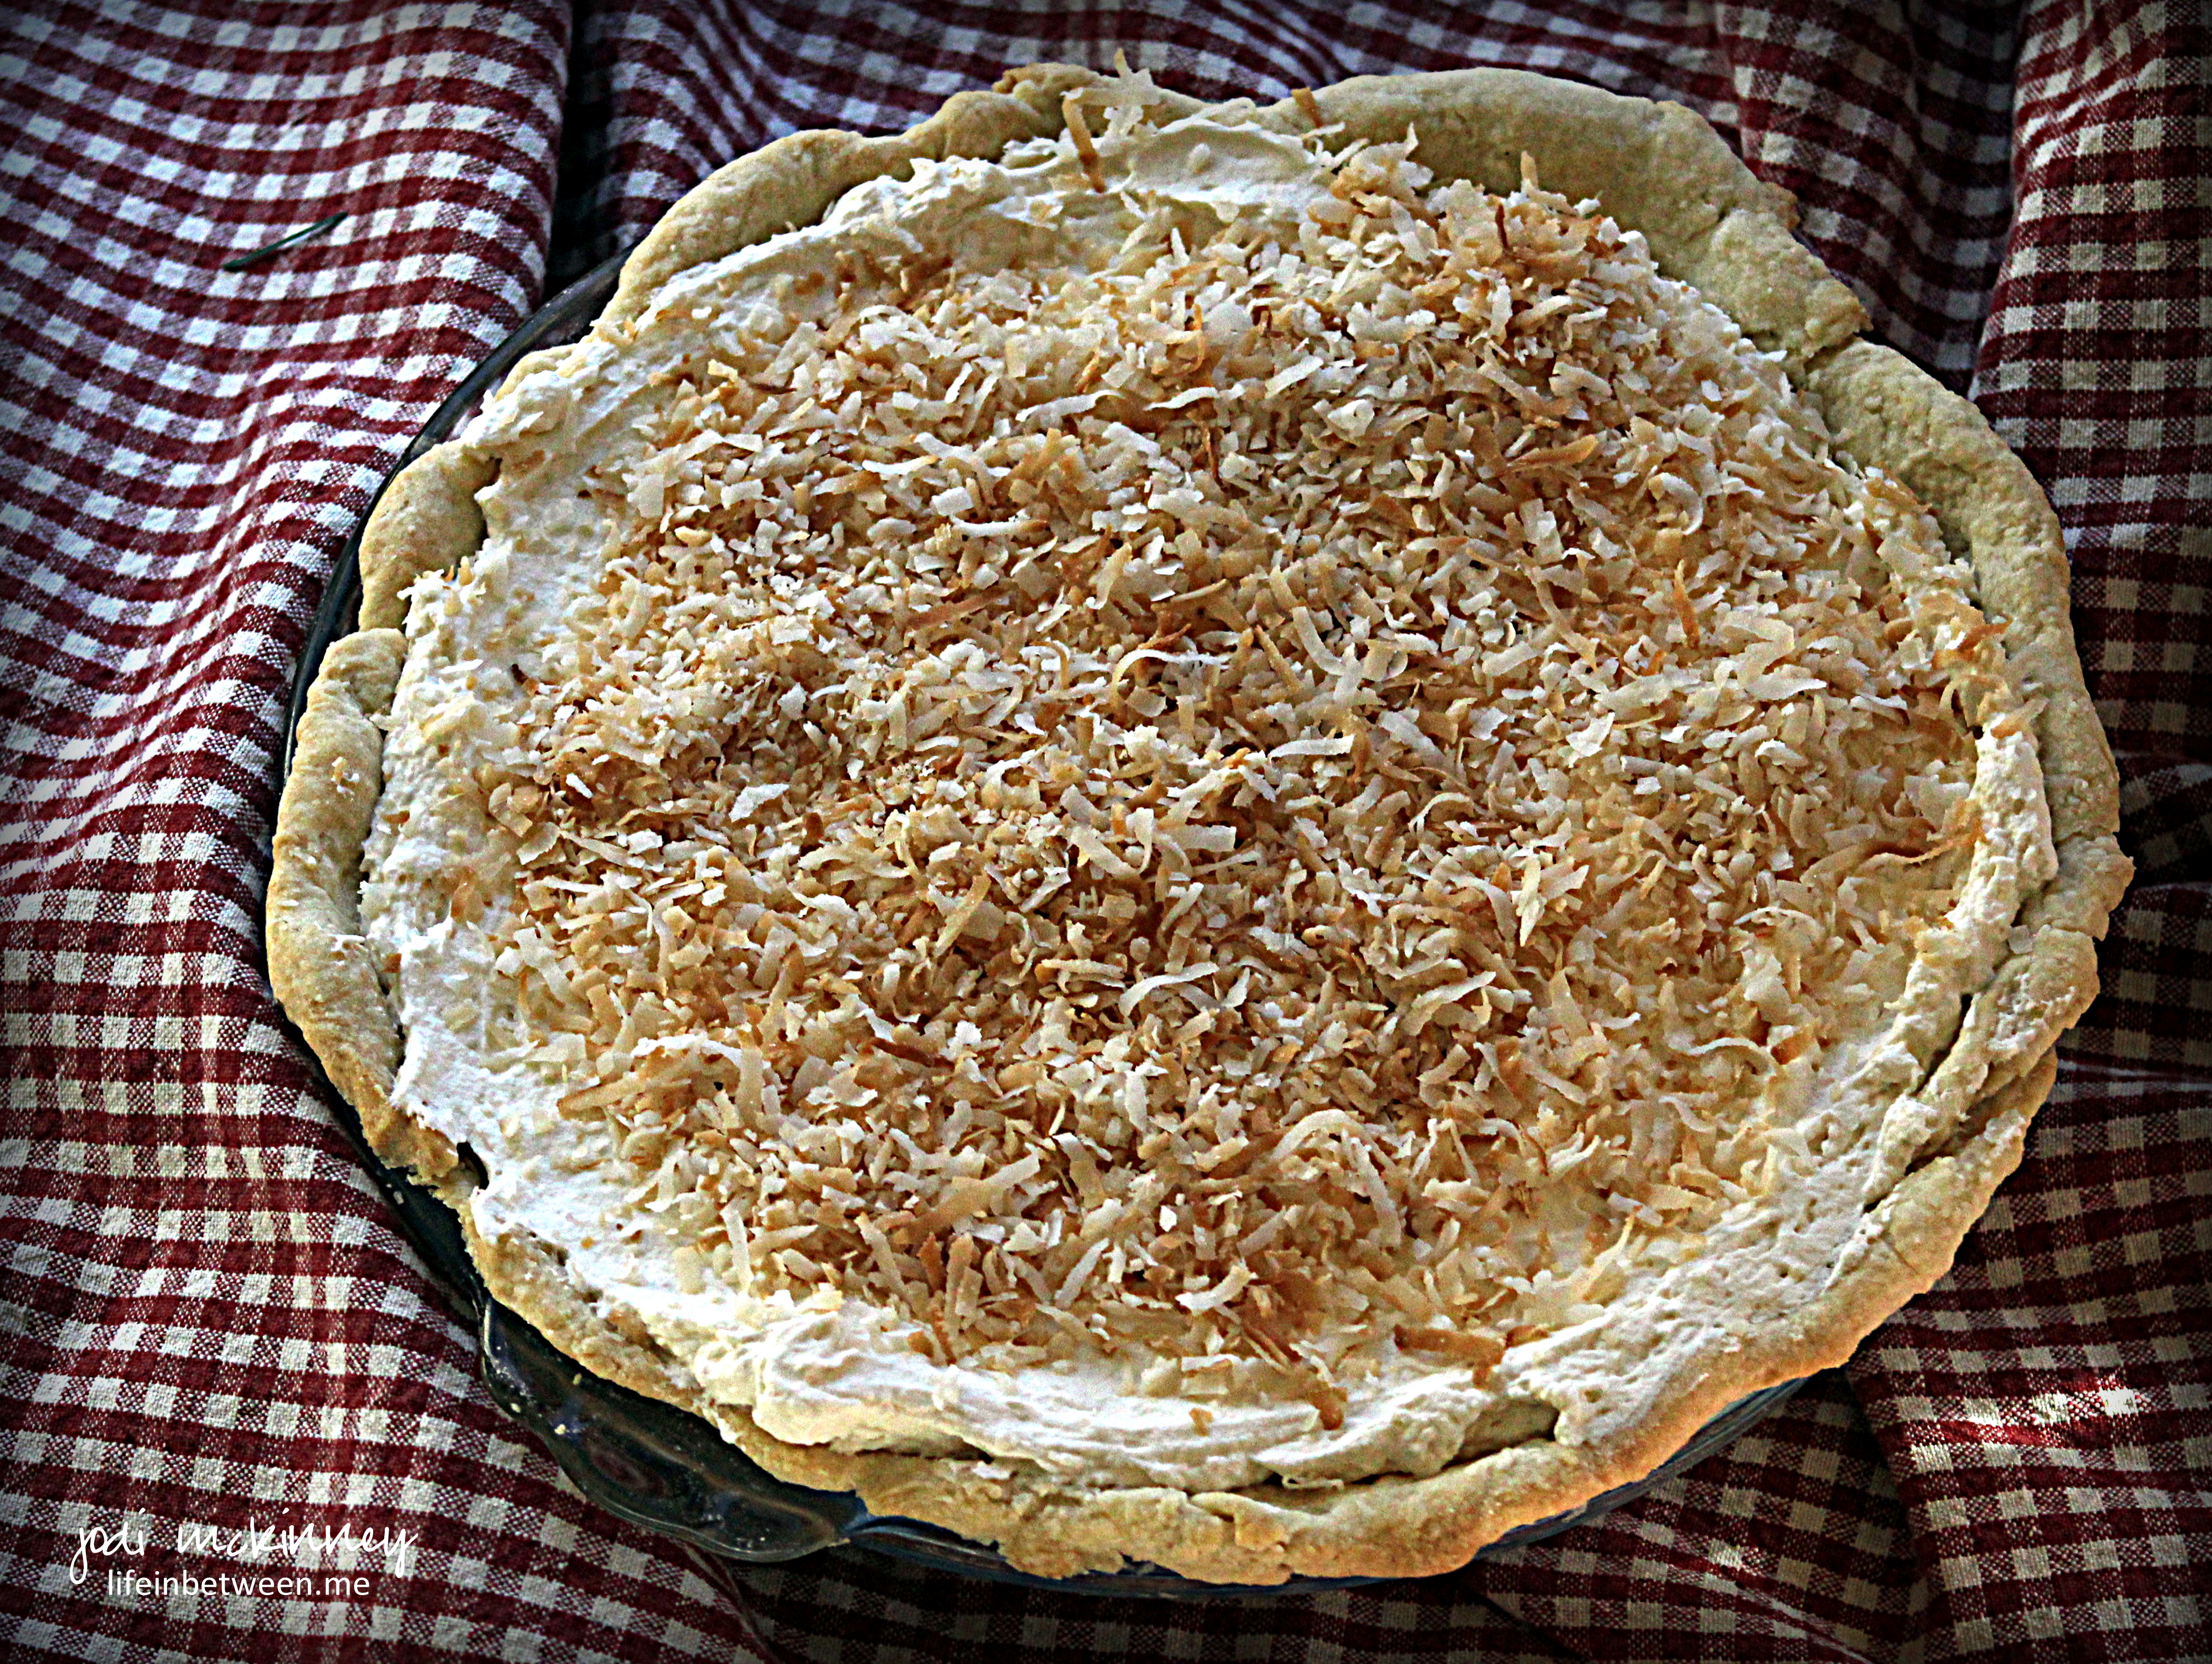
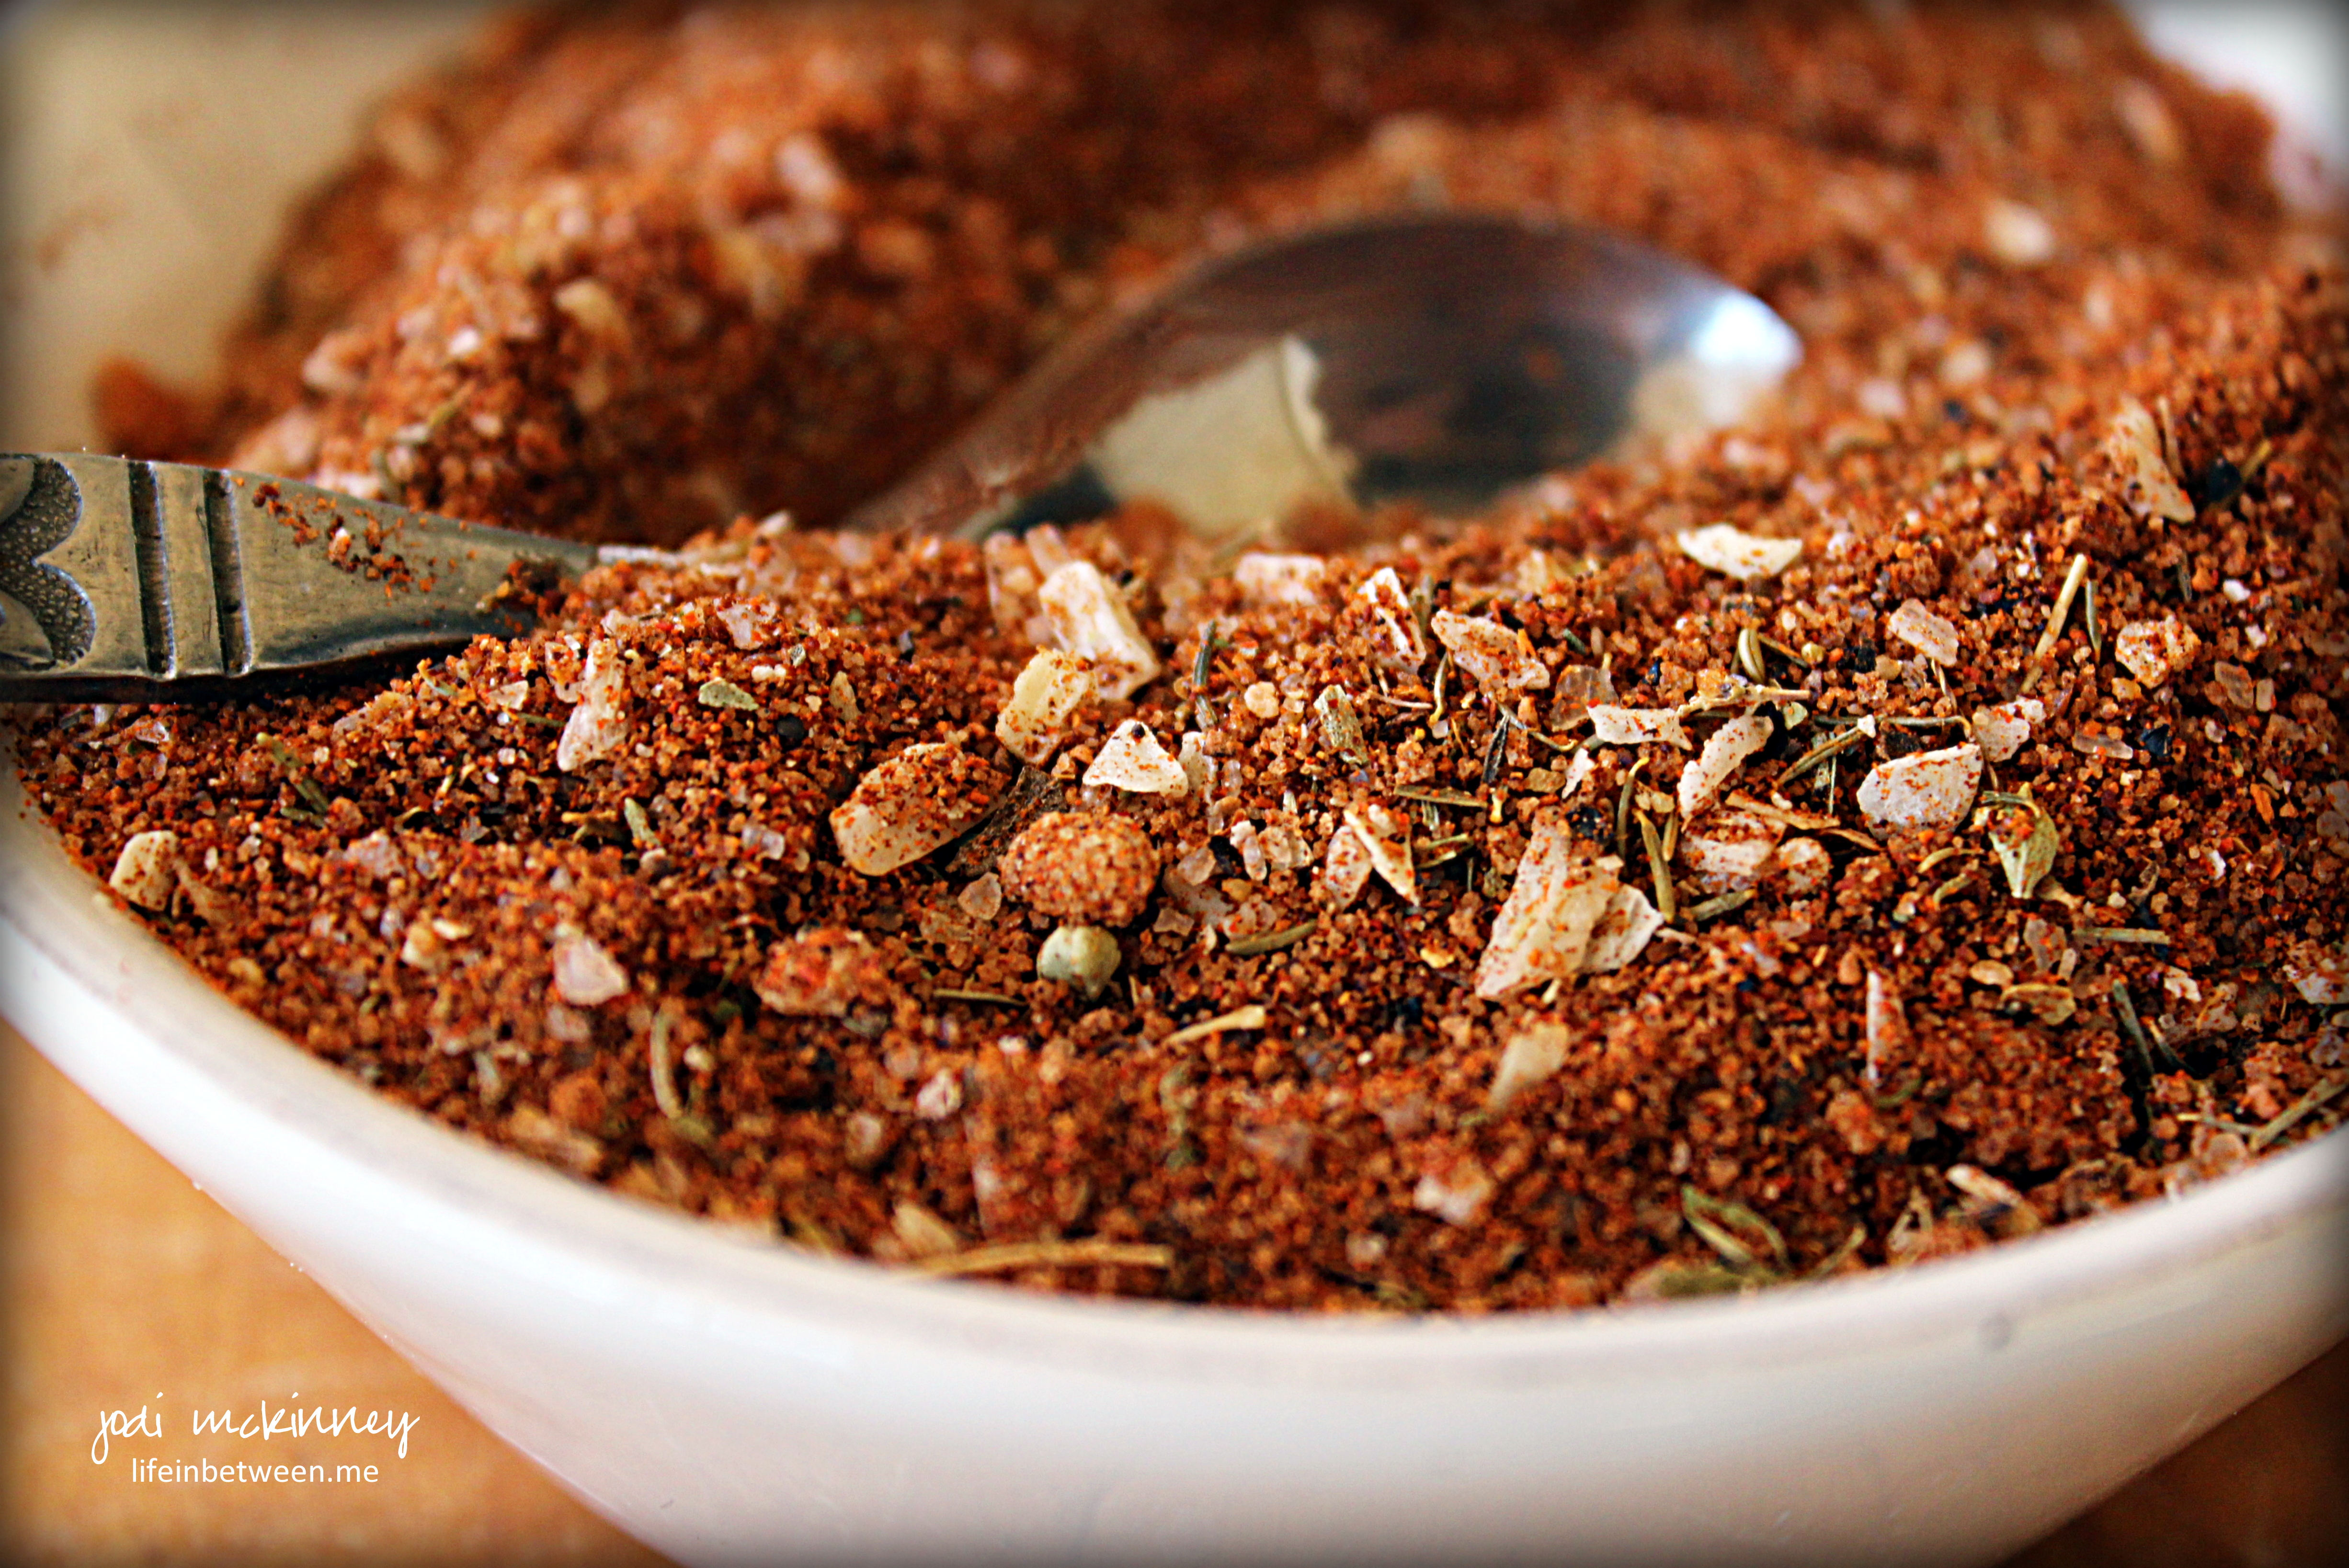
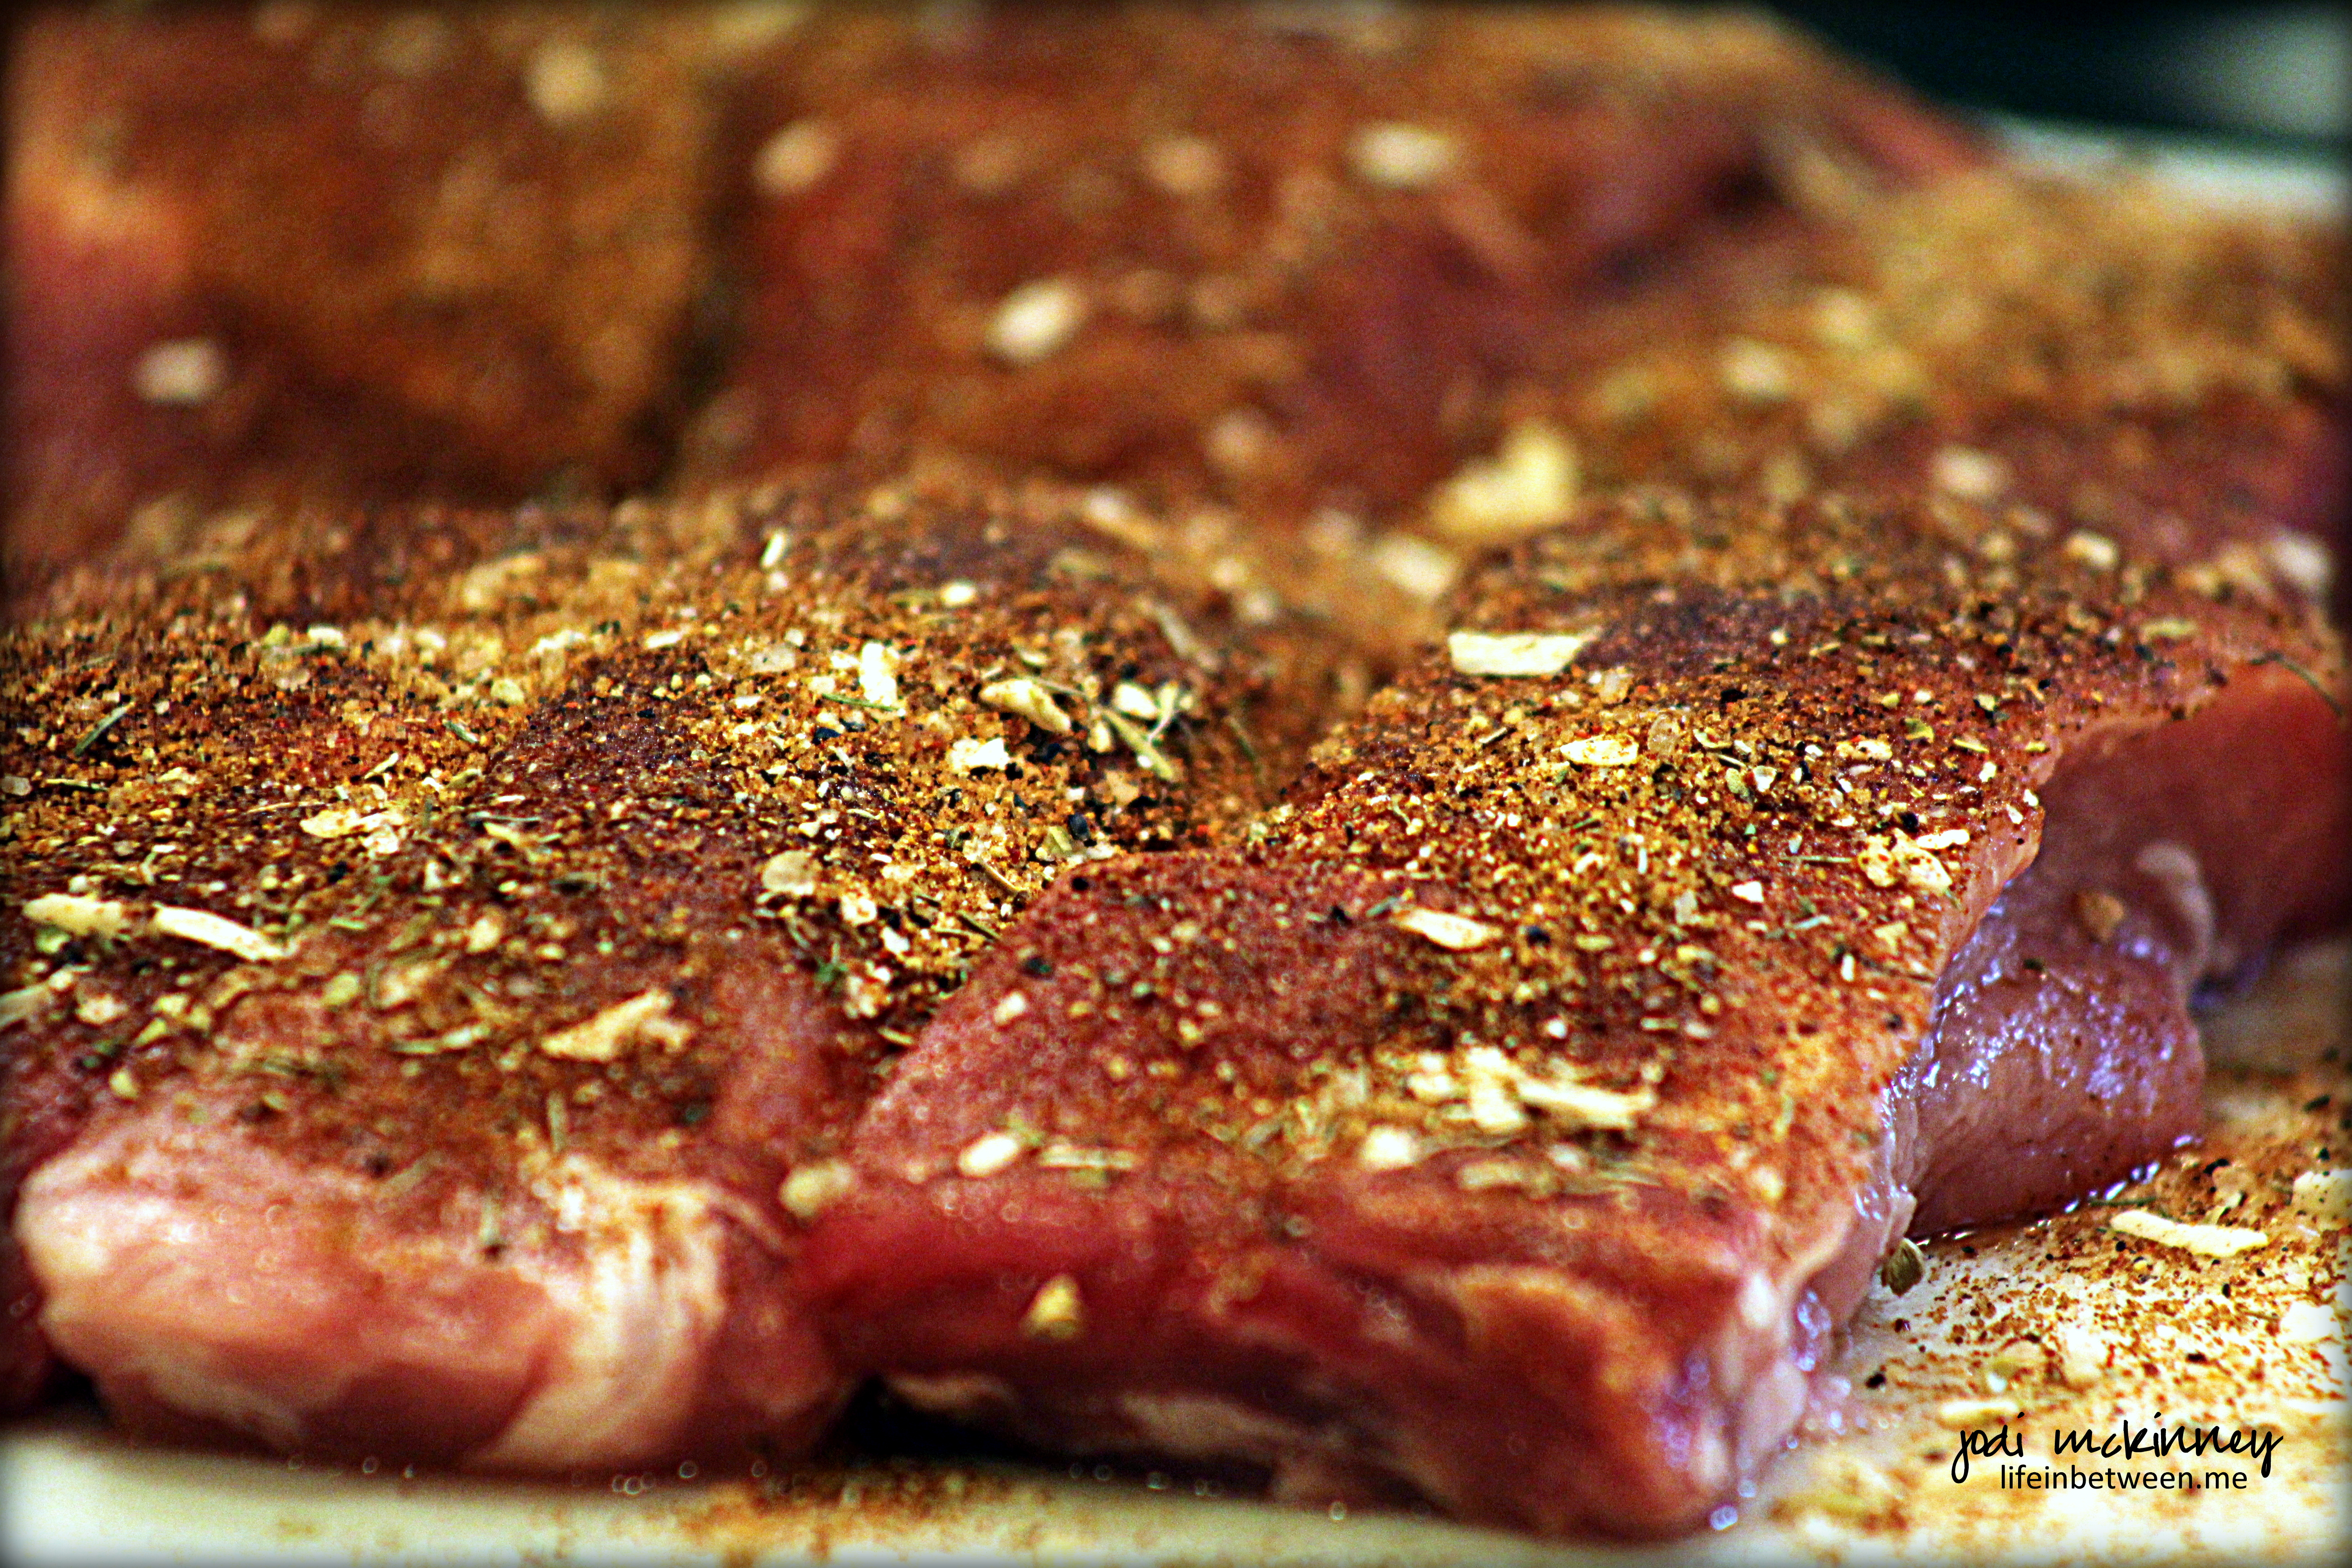
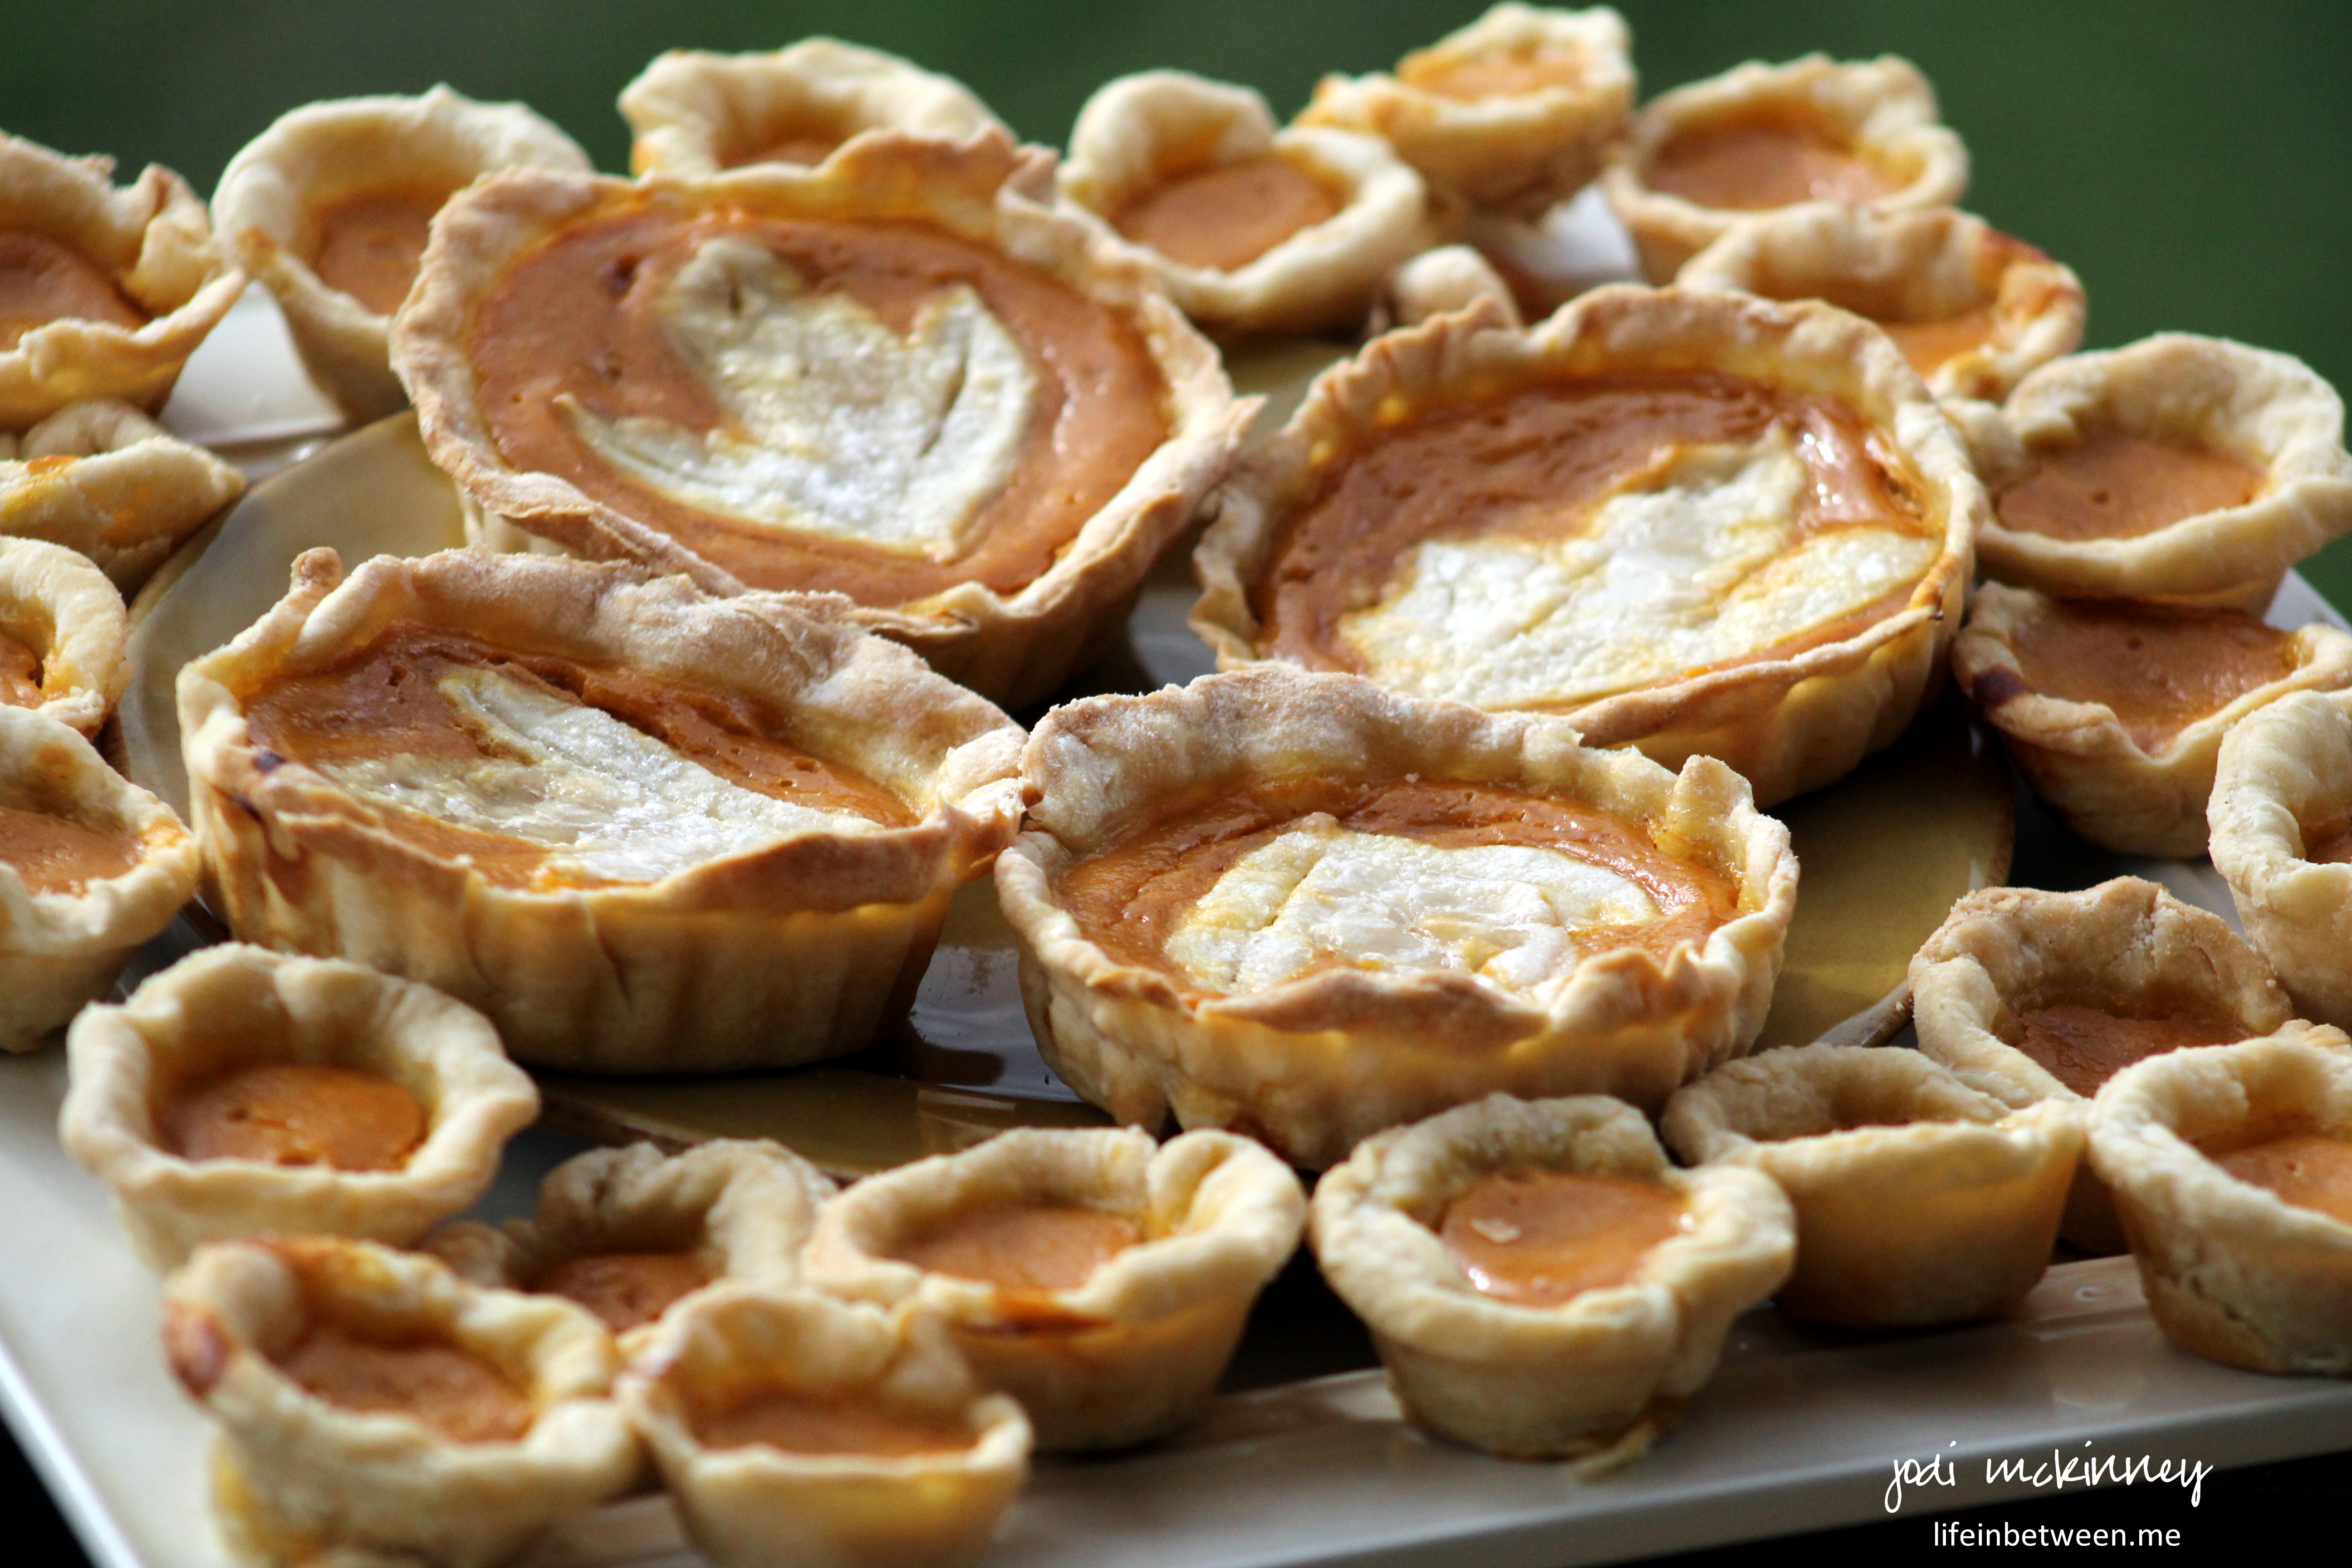
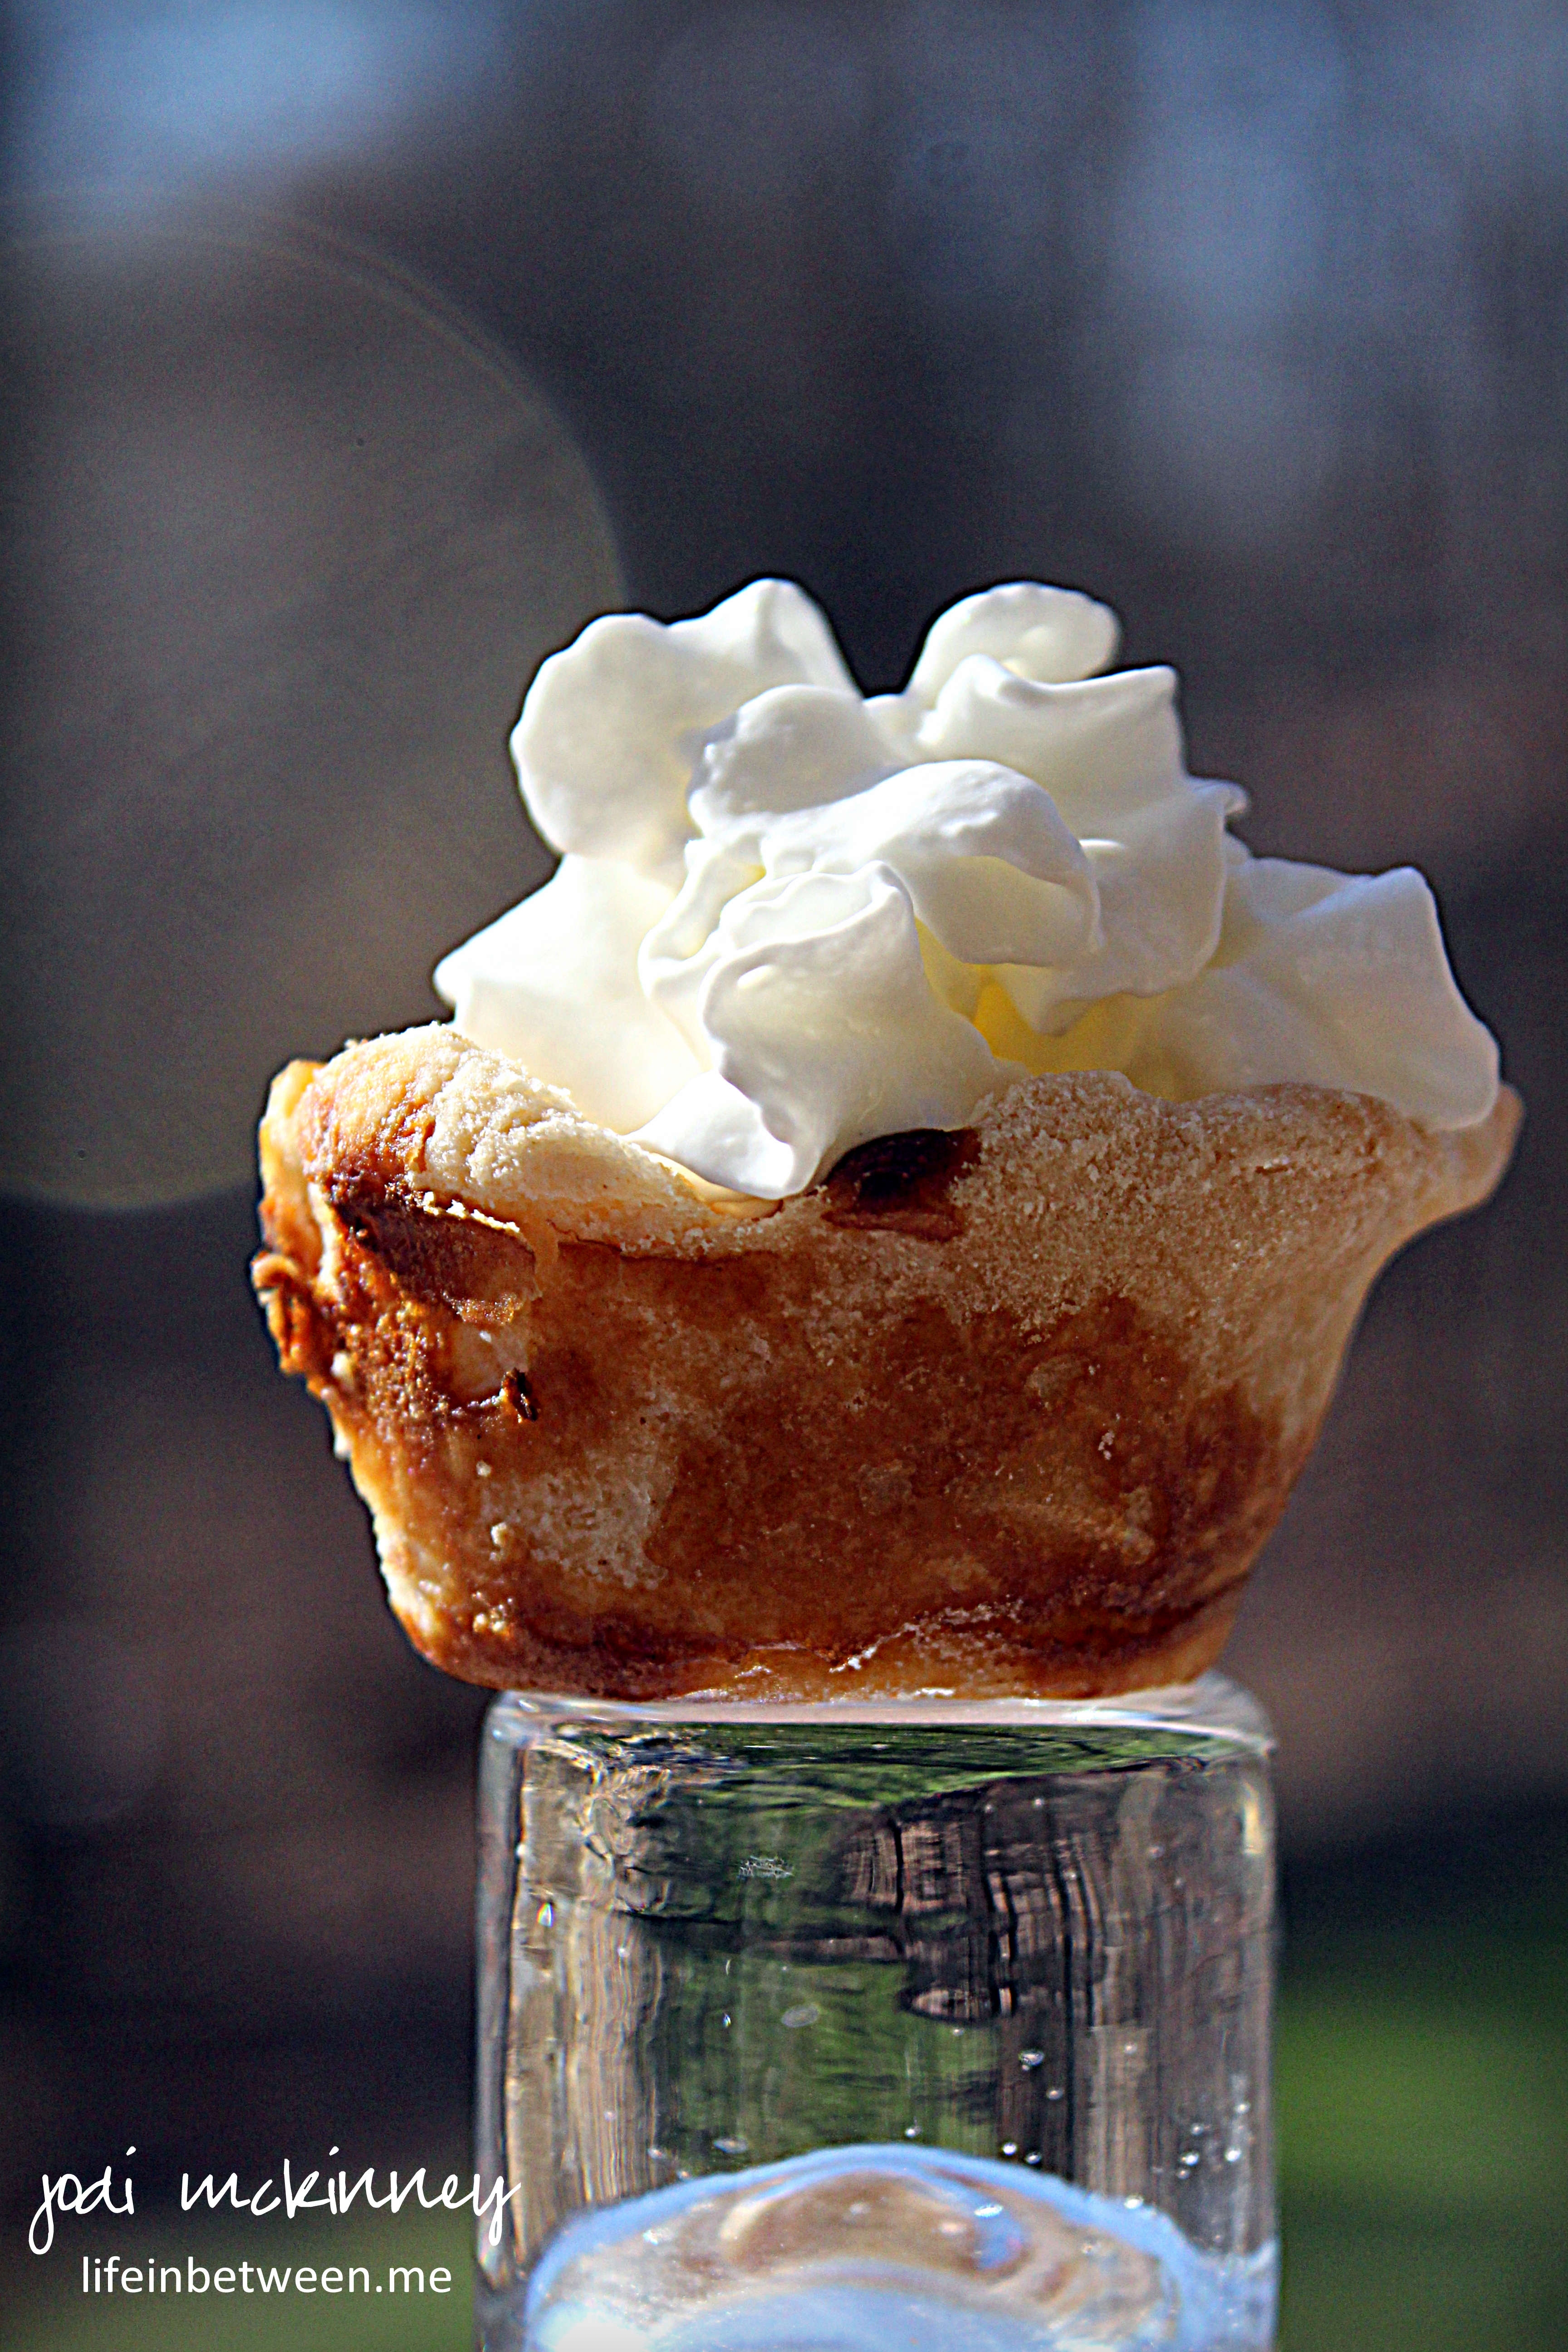
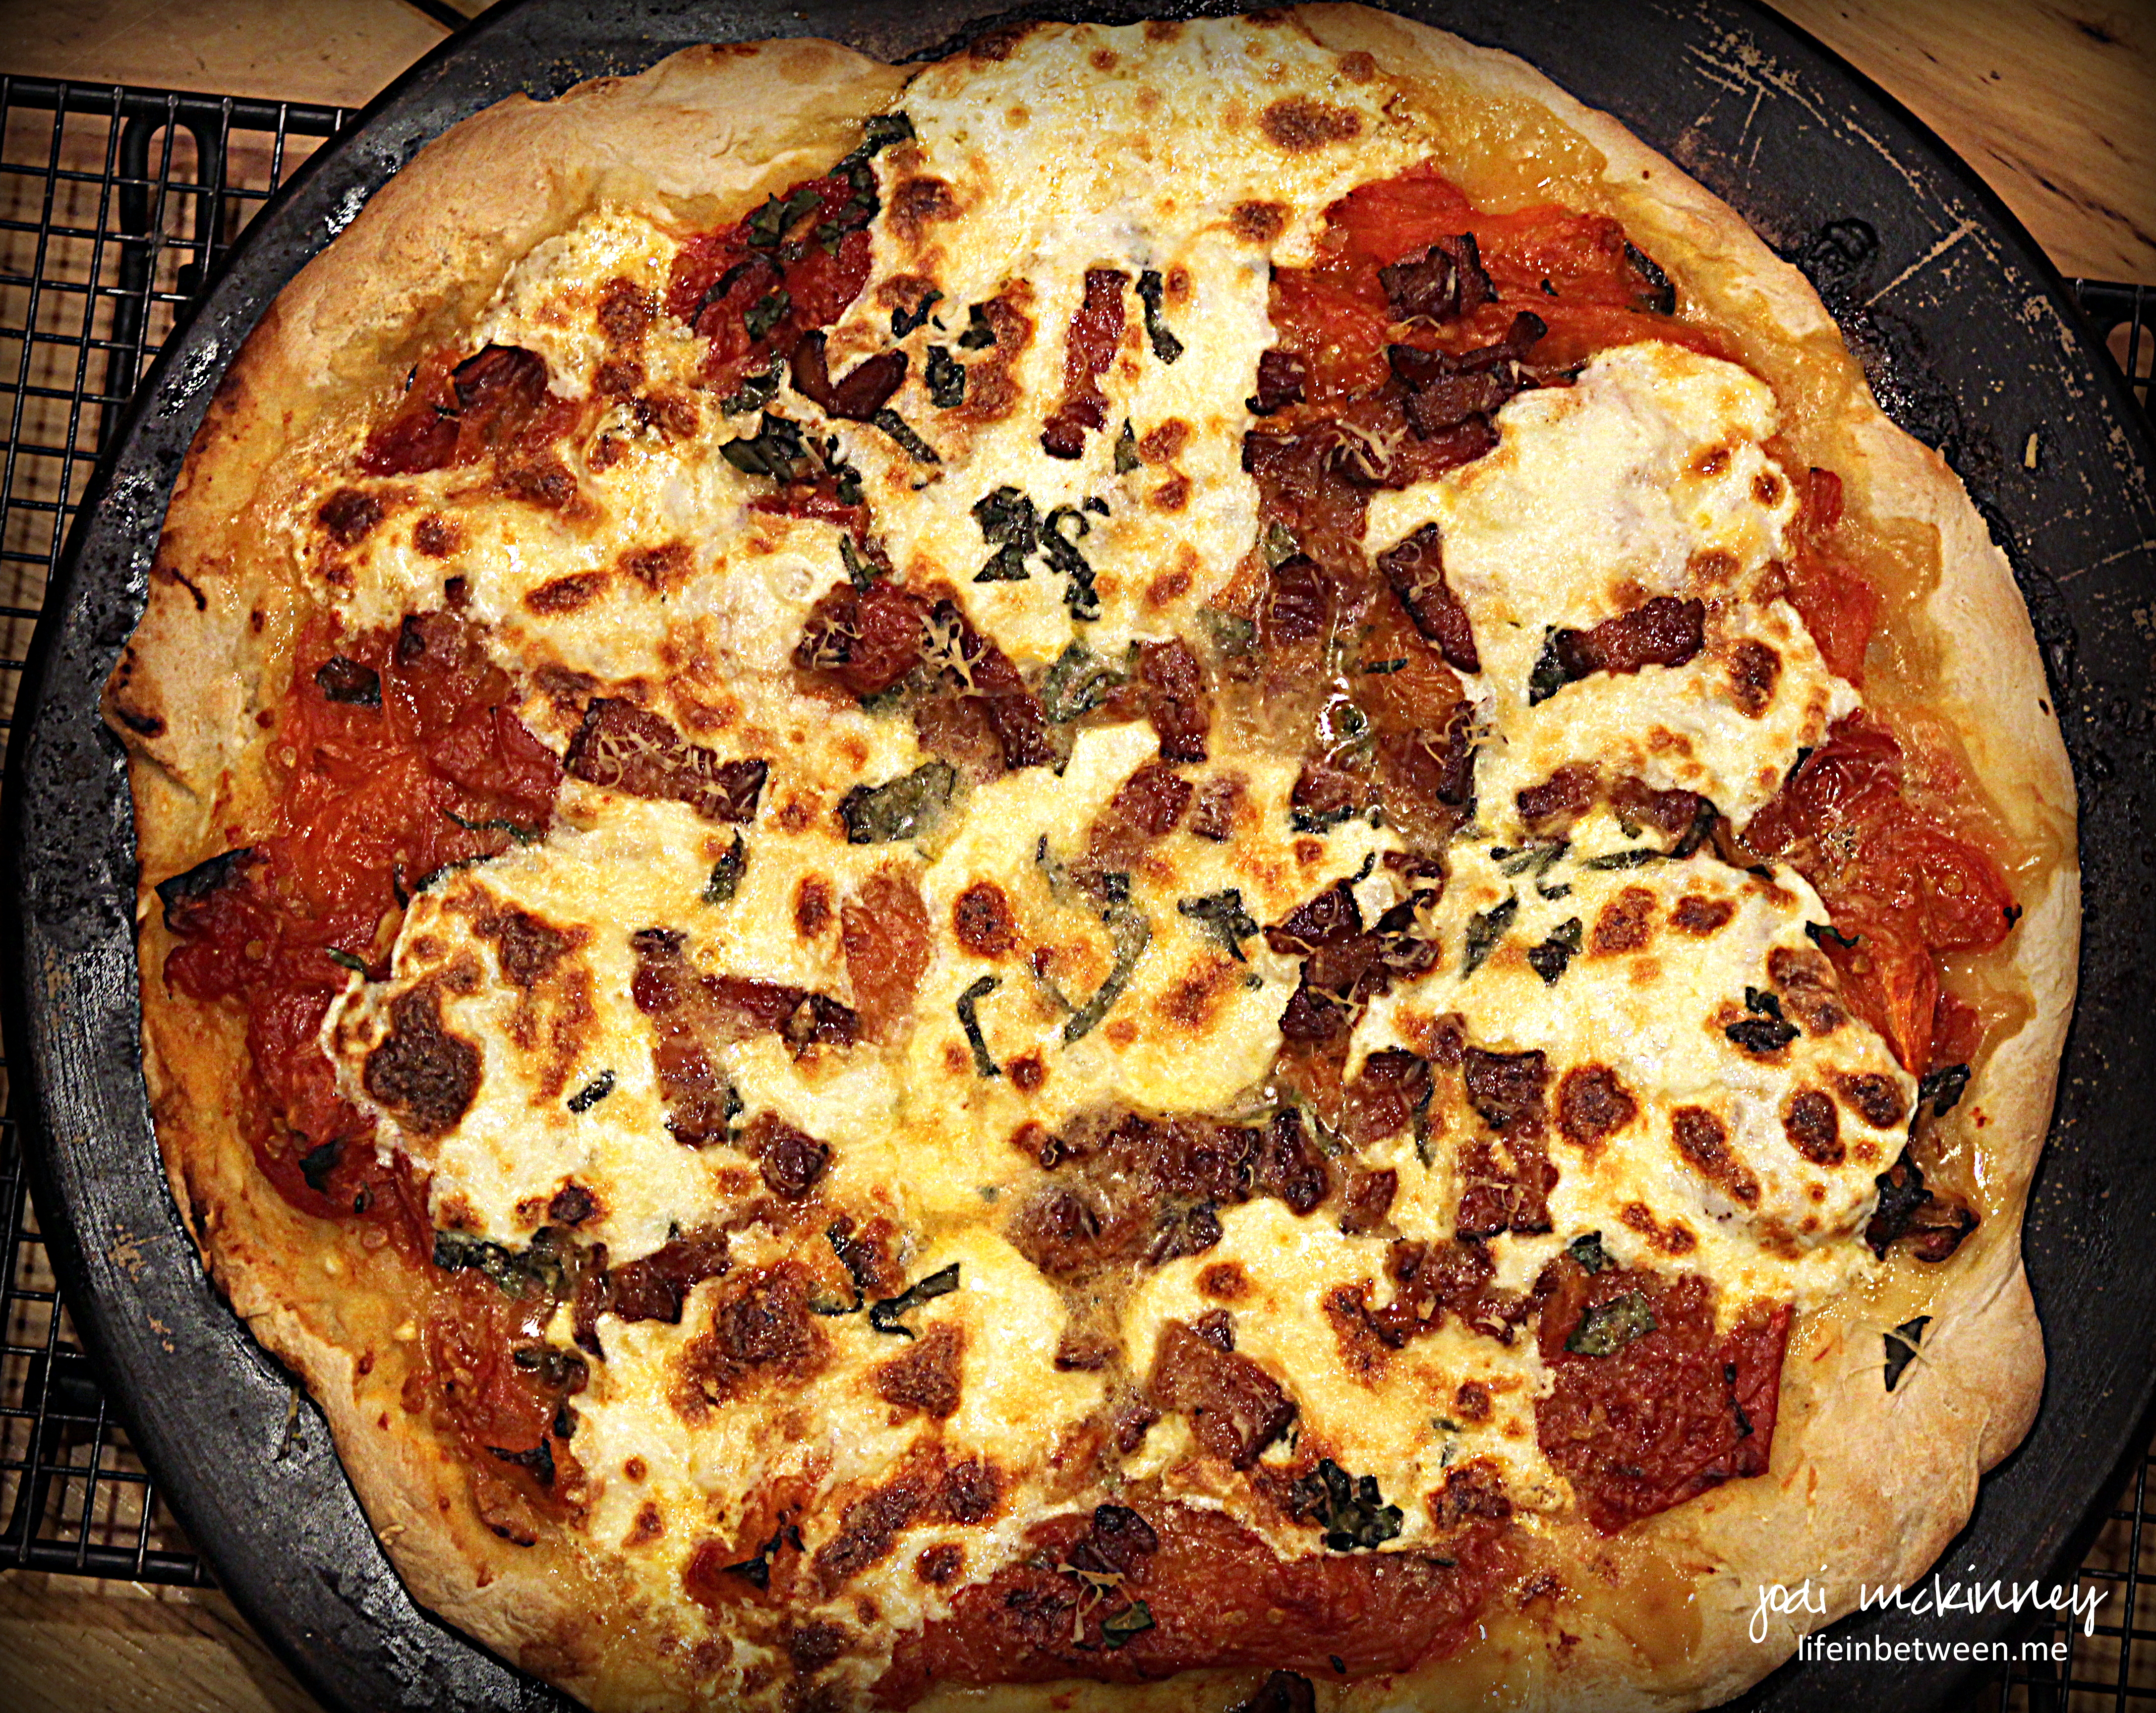
I made some yummy rosemary roasted butternut squash that they all surprisingly LOVED, some freshly baked rustic crusty bread, and some dry rubbed pork tenderloin (recipe in tomorrow’s blog!), as well as some mini pumpkin pies….

mini pumpkin pies

served up with a side of dreamy, creamy whipped cream.

single mini pumpkin pie bite

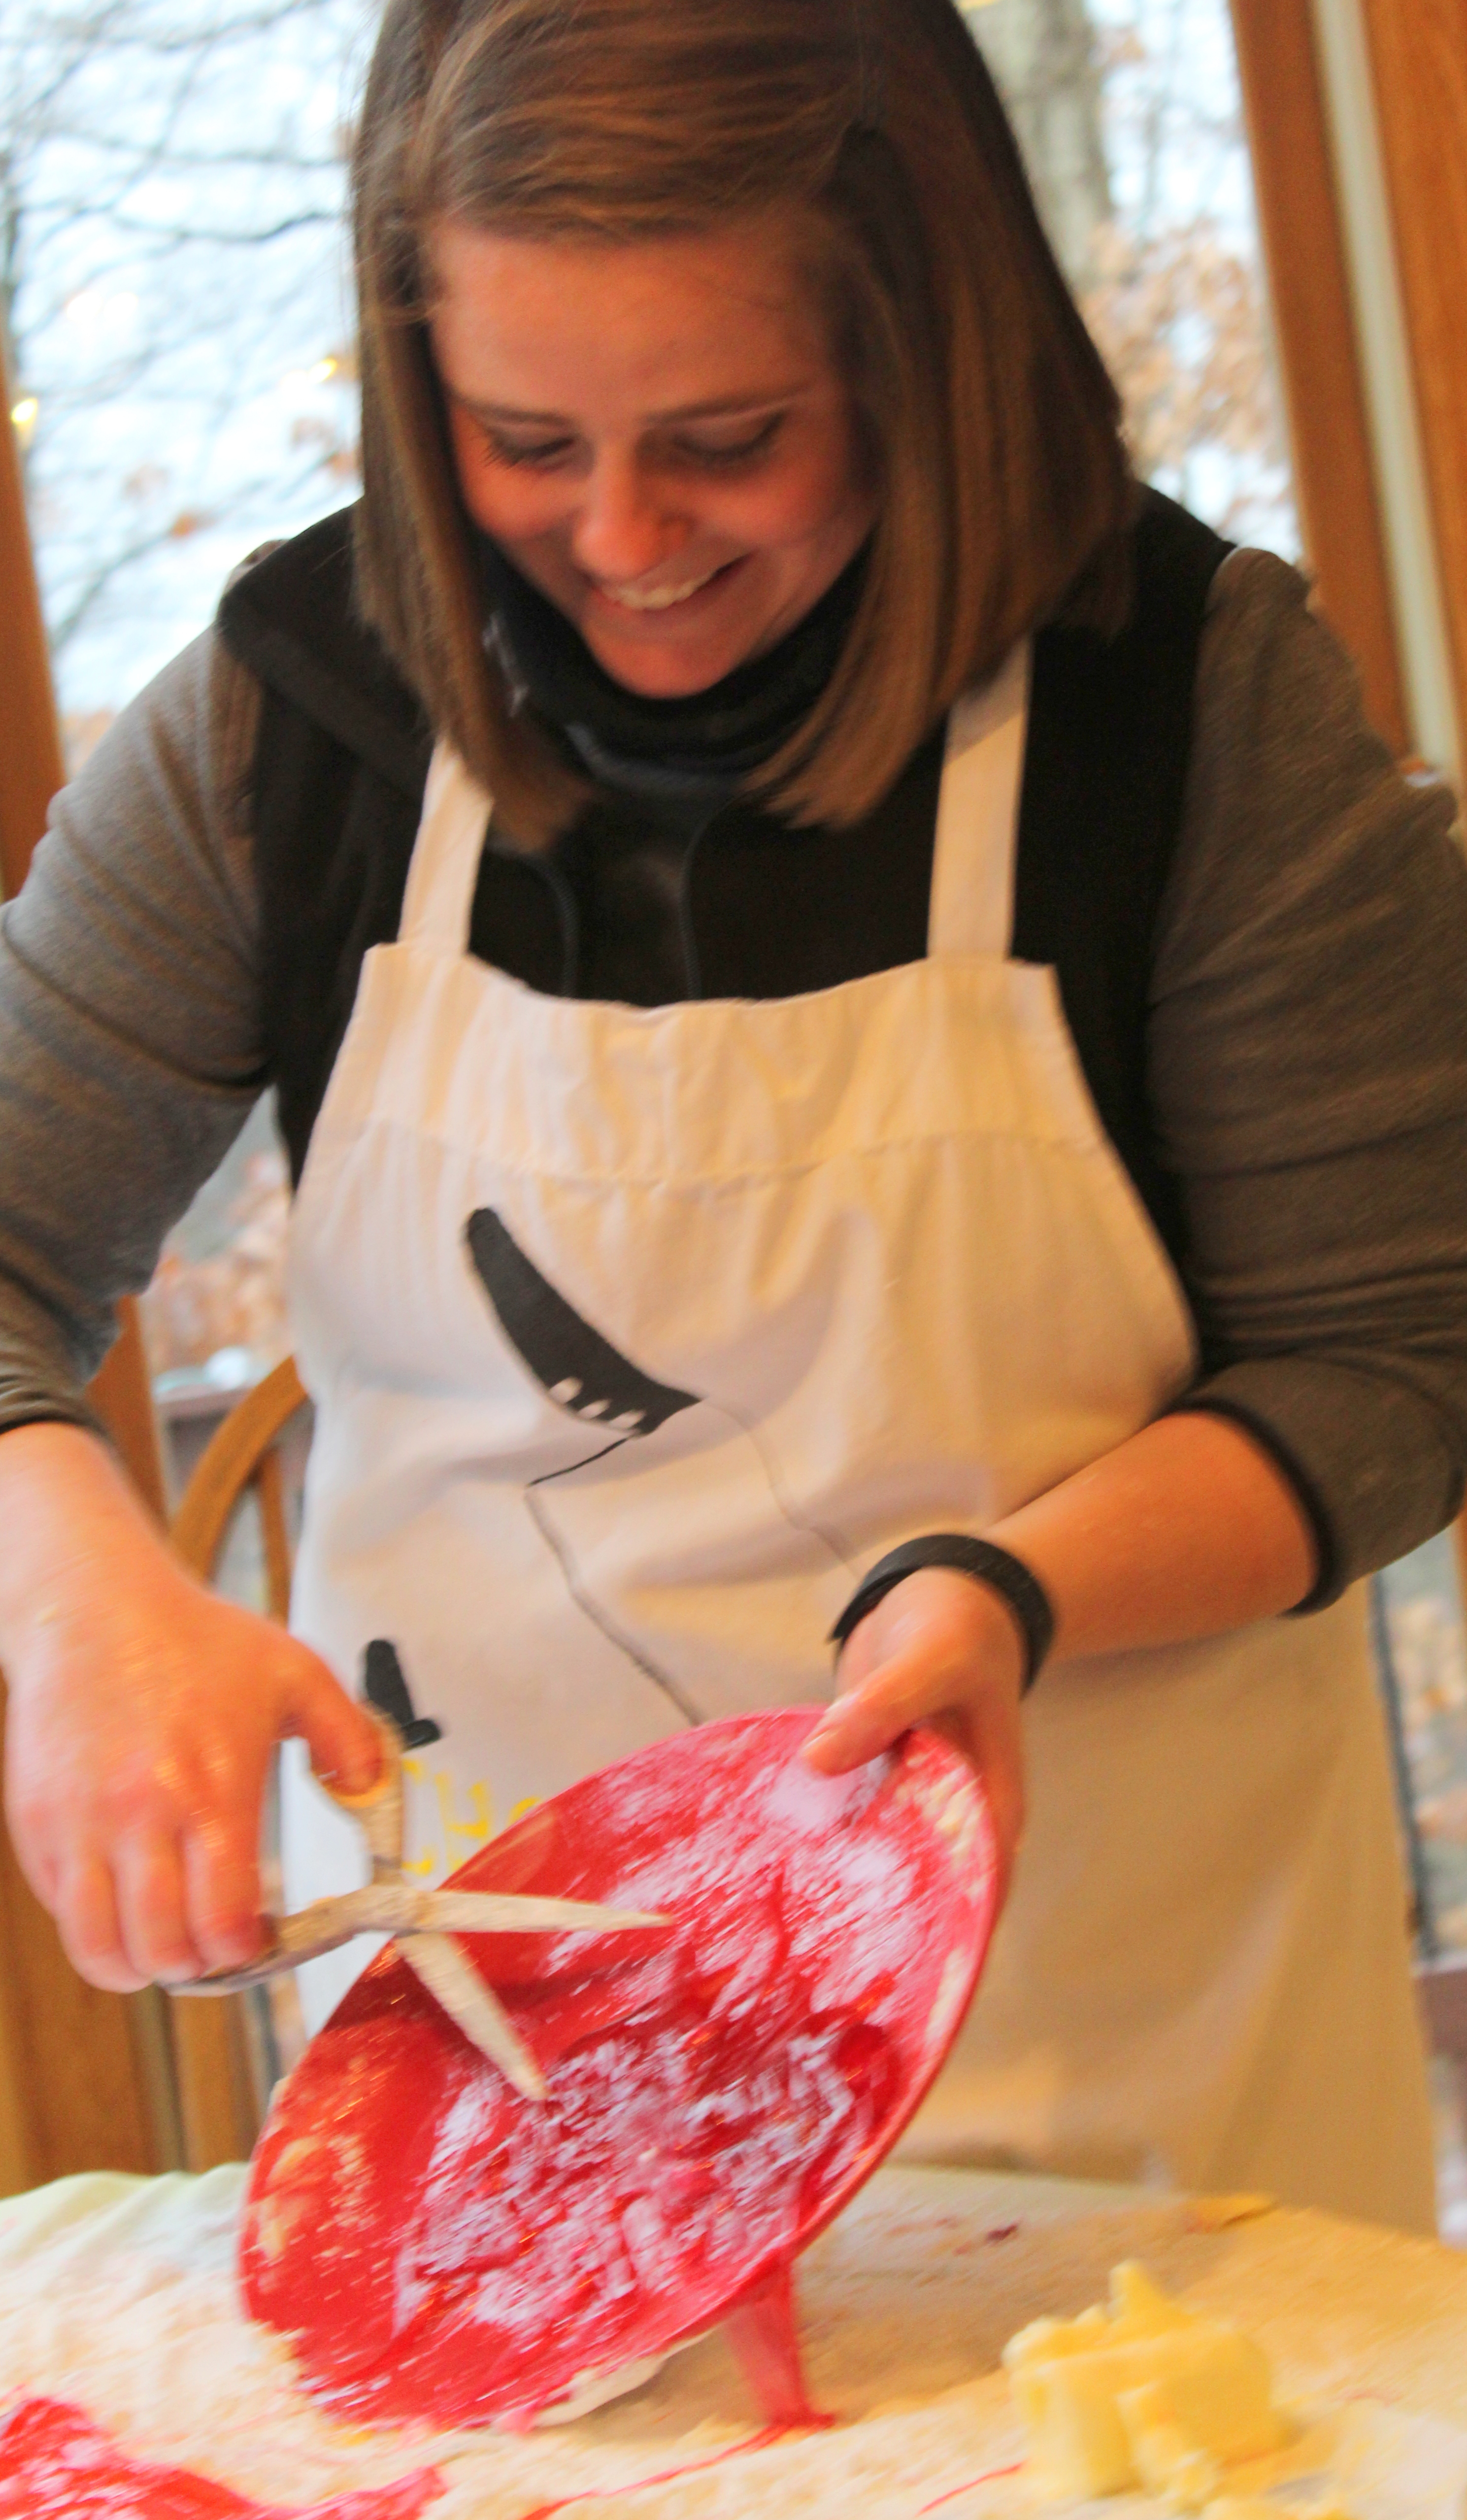
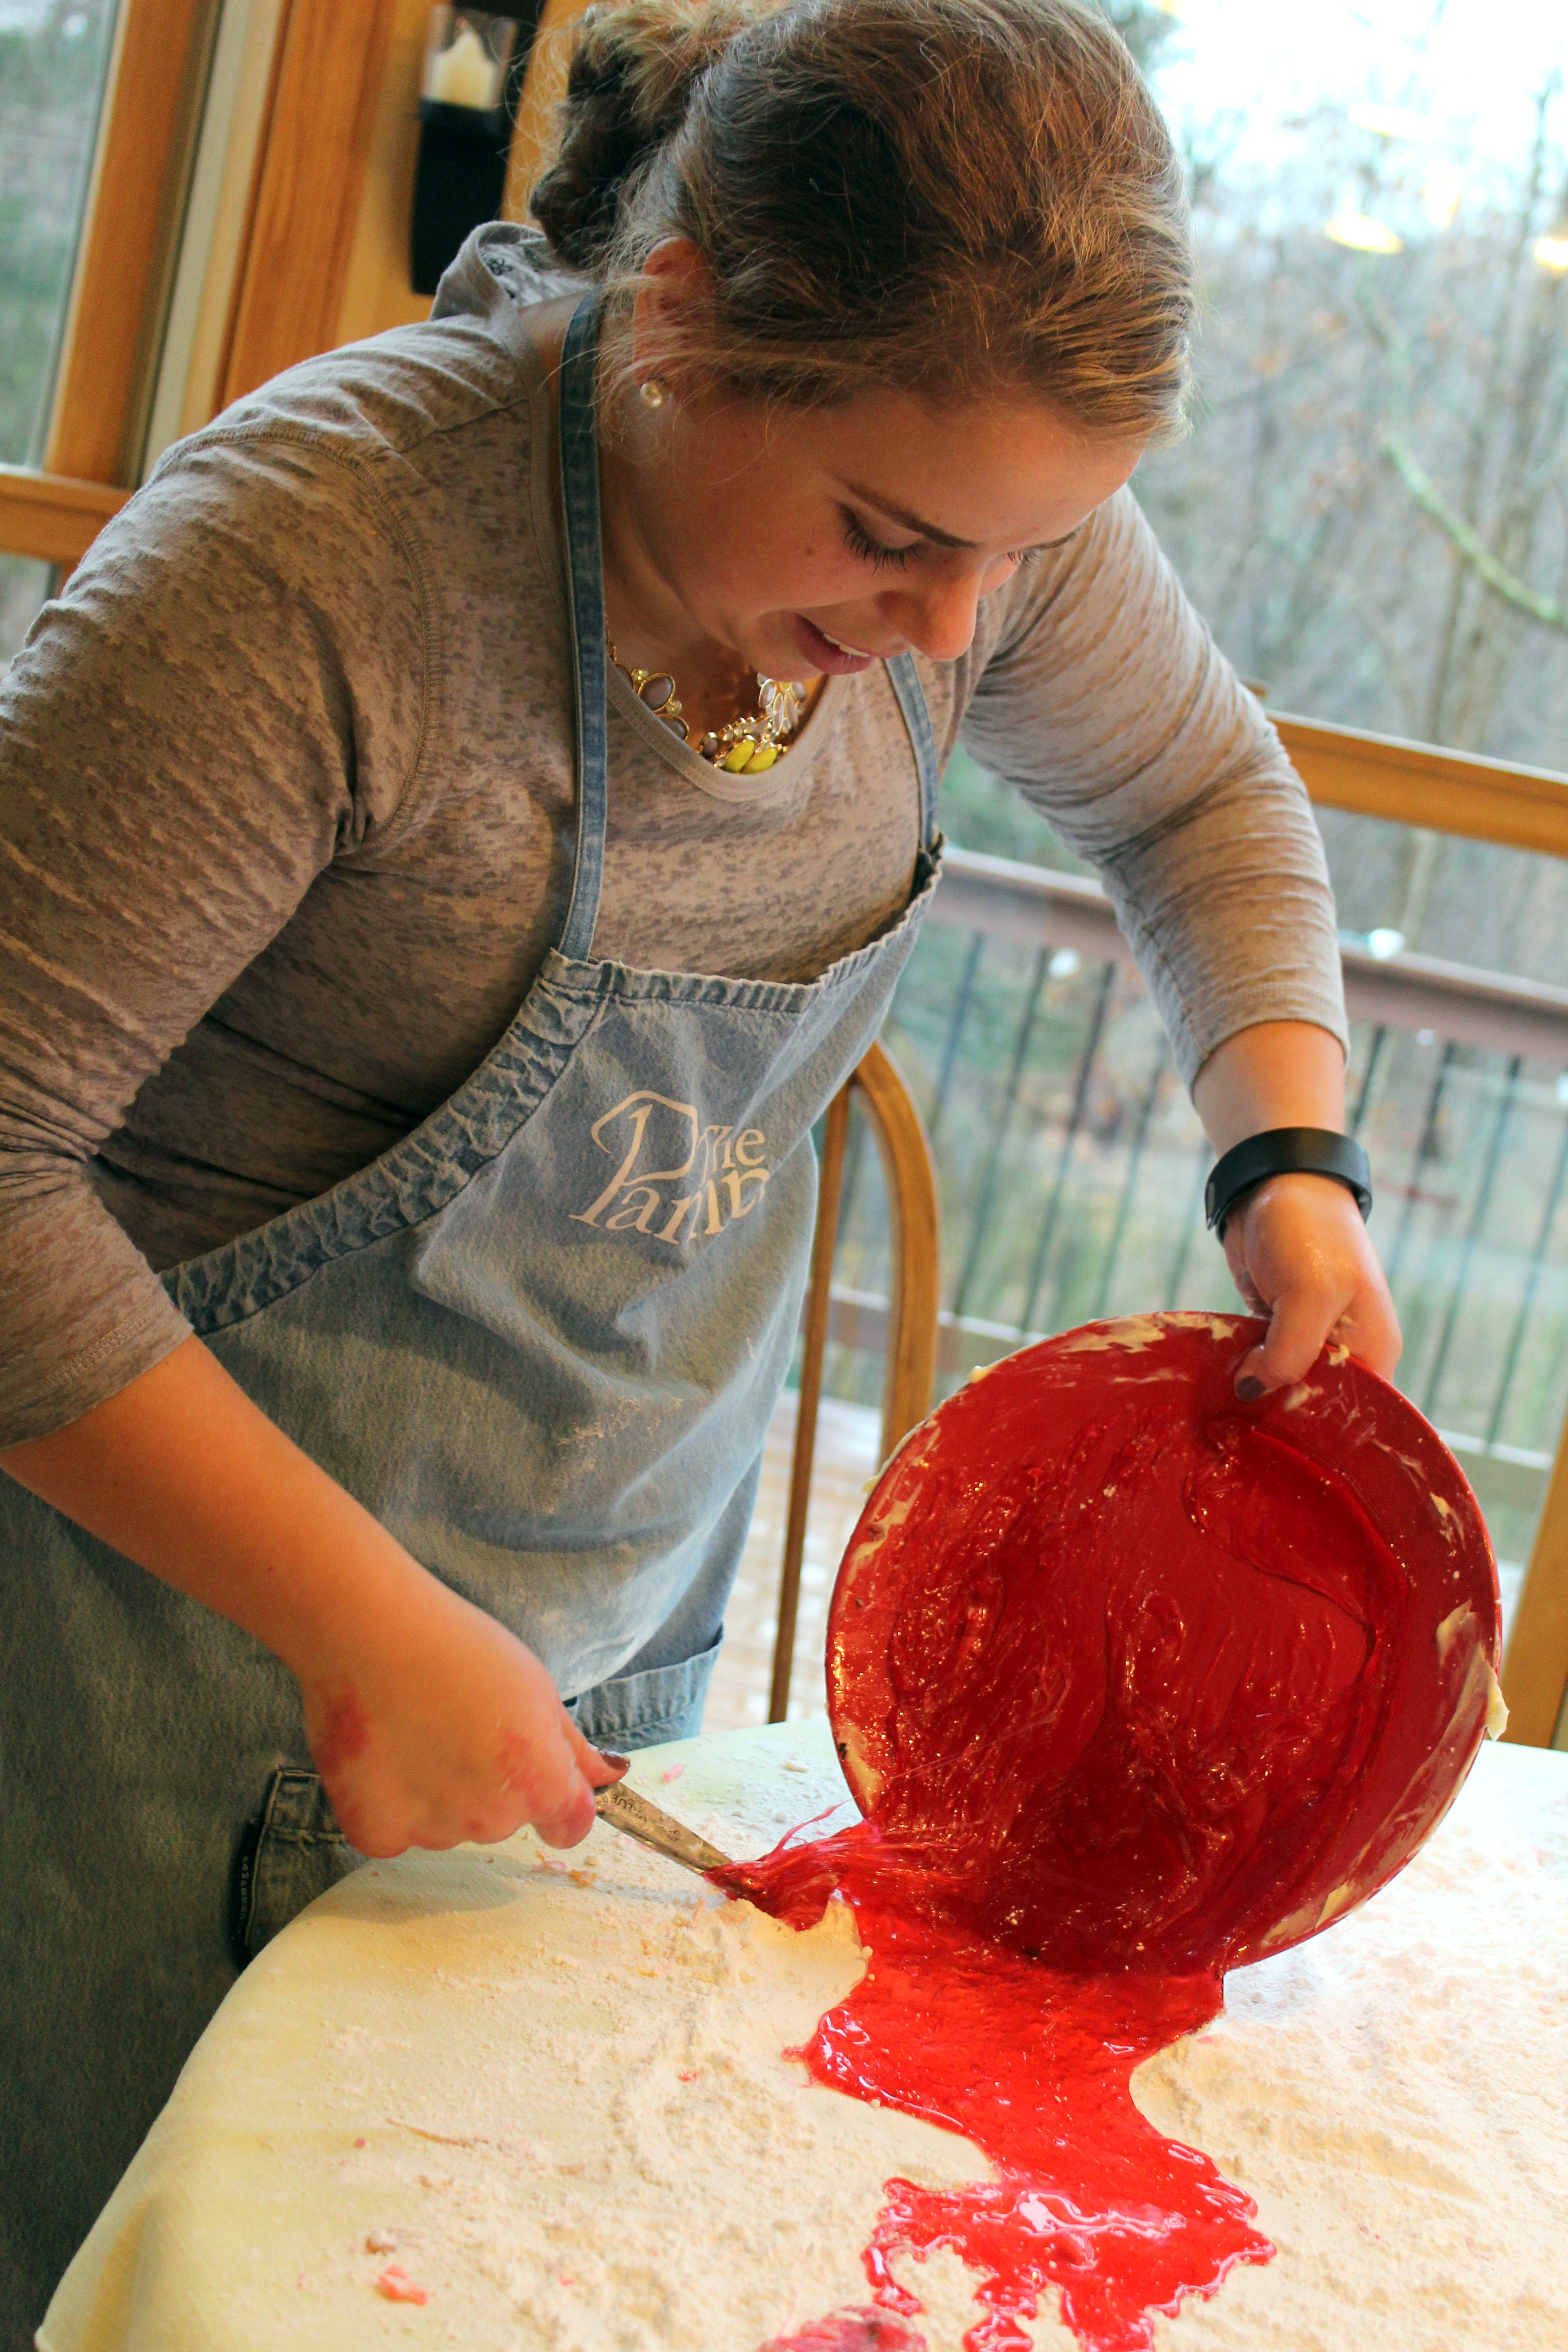
In the midst of it all, with dishes piled high in the sink…

flour all over the counter….

dough in my hair…

Nick asked,

“Do you REALLY ENJOY doing this?”

“Oh YES!,” I didn’t even hesitate when I replied…

“This is my happy place.”

Thanks, guys, for the wine!
Thanks, girls, for the surprise visit!
Thanks, Merv, for being the grill master and my “partner in crime” through it all.
Thanks for allowing me to nourish your bellies as much as you nourish my heart! ❤

Cheers & Hugs,
Jodi

Healthy and Oh So Yummy Italian Spaghetti Squash

spaghetti squash 1

I know I often post yummy cookie and dessert recipes (and do I ever have an amazing Cinnamon Chip Brown Sugar Cookie recipe I will be posting later this week that I think has become my ALL TIME FAVORITE cookie ever!  Get READY cinnamon lovers!)…

But I had to share this amazingly delicious, totally healthy, guilt-free recipe for SQUASH (of all things squash!) that has even won over hubby and son despite it’s “healthiness!”  Yahoo!

spaghetti squash 2

It is spaghetti squash – Italian style, and it barely has any calories despite it’s full-flavor and filling-ness.  You can eat oodles of this and not feel a bit guilty!

spaghetti squash

You can serve it as a vegetarian main course or as a side dish with a protein.

We had it as a side with dry-rubbed pork tenderloin on the grill and a fresh salad for Sunday dinner.

Here’s the recipe as I make it.  Hope you will try, and let me know what you think.  I would love to hear how you make it too!

Italian Spaghetti Squash

  • Servings: approximately 6
  • Print

Ingredients:spaghetti squash

  • 1 large spaghetti squash
  • 3 Tbsp olive oil
  • 1/2 sweet onion, diced
  • 3 large cloves garlic, minced
  • 1 large can diced tomatoes
  • 2 Tbsp dried Italian Seasoning (oregano, basil, thyme)
  • Salt and pepper to taste
  • Fresh Parmesan cheese to taste

Directions:

  • Pierce whole squash 3-4 times with a fork, and microwave for approximately 12 minutes.
  • Let cool slightly until manageable to work with.
  • Cut squash in half and remove seeds.
  • Scrape squash with fork forming strands of “spaghetti,” and set aside.
  • In a large skillet saute chopped onion in olive oil and a sprinkle of salt until “sweated” out – 2-3 minutes.
  • Add minced garlic and saute another 1-2 minutes.
  • Add spaghetti squash and saute all together.
  • Add diced tomatoes and seasonings and saute all together.
  • Top with freshly grated Parmesan cheese.
  • Serve immediately.

I hope you enjoy this as much as we do!  It sure is great when you can find a recipe that is healthy, hearty, and full-flavored too!

Cheers & Hugs,
Jodi

Homemade Margherita Pizza with Roasted Tomatoes

homemade margherita pizza with roasted heirloom tomatoes 1

The other day, our sweet friend and master gardener, Jack, gave us a generous box full of his amazingly beautiful heirloom tomatoes freshly picked from his garden.

Jacks Heirloom Tomatoes

Not only are they practically works of art how beautiful they are, but there is nothing like the taste of these gems!  (I do believe I would trade an entire box of chocolate covered salted caramels for one of these super sweet garden goodies!)

Roasting Heirloom tomatoes

When trying to decide what I could I make with them to give them the showcase they deserved (and eating one for breakfast while contemplating!), I decided to roast them up for fresh homemade Margherita pizza.

Roasting Heirloom tomatoes close up

If EVER I wished for scratch and sniff or “smell-a-computers,” I so wish I could share how my entire house smelled while garlic and fresh basil and thyme infused with these golden and crimson chunks of lusciousness.

roasted heirloom tomatoes

And I even decided to sacrifice one of them to ferment and save some seeds to see if I could master growing these in my own garden next year.

Fermenting heirloom tomato seeds

And then…..

After making some fresh dough, I rolled it out and placed a generous portion of these precious concentrated bursts of flavor atop.

homemade margherita pizza with roasted heirloom tomatoes

I topped that with slices of fresh Mozzarella, finely grated, salty Parmesan cheese, and coarsely chopped fresh basil right from the plant in the garden.


homemade margherita pizza with roasted heirloom tomatoes 2

And just for a bit of extra yumminess (and because I had some in the fridge), I topped it off with some chopped up thickly sliced smokey bacon ( O…. M….. G!!!)

homemade margherita pizza with roasted heirloom tomatoes slice.

This is the BEST pizza I ever ate in my life!  My son Nick took what was leftover for lunch, and I had the one solitary piece that was left in the refrigerator for breakfast the next day – stone COLD – and it was even better than I remembered the night before!

It had to be those tomatoes!  Thanks Jack!

Homemade Margherita Pizza with Roasted Tomatoes

Roasted Tomatoes:homemade margherita pizza with roasted heirloom tomatoes

  • 6-8 large tomatoes
  • 6 cloves garlic, coarsely chopped
  • 1/4 cup coarsely chopped fresh basil
  • 1 Tbsp fresh thyme
  • 1/4 cup olive oil
  • Salt & Pepper to taste

Cut tomatoes into quarters and spread in a baking dish.  Add garlic, basil, thyme, salt and pepper.  Drizzle all with olive oil.  Bake in 350 degree F oven for one hour.  Turn oven off and leave tomatoes in until ready to use.   (I roasted in the morning and let them set all day).

Dough:

  • 4 cups flour
  • 2 tsp salt
  • 1 1/2 cups lukewarm water
  • 2 tsp (1 envelope) active dry yeast

Mix flour and salt in a large bowl.    Mix water and yeast until dissolved in a measuring cup or small bowl.  Combine both until well incorporated.  Turn dough out onto counter and knead for several minutes.  Place in oiled bowl covered with towel, and let rise until ready to use.  (It really doesn’t matter whether it is an hour or several.)

Toppings:

  • Roasted Tomatoes
  • 1 lb Fresh Mozzarella cheese, sliced
  • 1/2 cup freshly grated Parmesan cheese
  • 1/4 cup fresh coarsely chopped basil
  • Any other toppings you like (or not)

Punch down dough and divide into 2 balls.  Stretch and roll out onto two baking stones to form thin crust.
Top with Roasted tomatoes, cheeses, basil, and anything else you like.
Bake at 425 degrees for approximately 20 minutes until crust is done and cheese is browned and bubbly.
Let set for 10 minutes before serving.
ENJOY!  

Cheers & Hugs,
Jodi

Smoked Gouda Penne ‘n Cheese

smoked gouda penne 'n cheese mac n cheese

With the Fall nip in the air, comfort foods like Mac ‘n Cheese come to mind and come to our table!  This kicked up version is super simple, yet amazingly delicious.

This is not your pantry’s boxed macaroni and cheese!  This is a gourmet version to make for your family without having to be a gourmet chef.

smoked gouda penne 'n cheese close up

I pretty much wing it to taste, but I will do my best to list ingredient measurements that you can work with.

This could be served alone with a salad for a vegetarian/meatless meal or you could serve it alongside your favorite protein.  You can even throw some grilled chicken or shrimp or seafood in for a heartier meal.

smoked gouda penne 'n cheese

We had it Sunday with chicken sausages on the grill and some homemade coleslaw with a fresh vinaigrette dressing.

Don’t like smoked gouda cheese?  For shame!  But…. you can throw any kind of your favorite cheese in – cheddar, muenster, brick – or a combination of all!

Have fun and enjoy!

Smoked Gouda Penne 'n Cheese

Ingredients:smoked gouda penne 'n cheese mac n cheese

  • 1 lb Penne Pasta
  • 1/4 cup butter
  • 1/4 cup flour
  • 2 cups milk (I use Skim)
  • 8 oz. freshly grated smoked Gouda cheese
  • Salt & Pepper to taste

Directions:

  • Preheat oven to 400 degrees F.
  • Cook pasta in boiling salted water according to package directions until al dente,  Drain in colander and rinse with cold water.  Set aside.
  • In medium saucepan, prepare a rue by melting butter, then stirring in flour.
  • Bring to a simmer, then gradually whisk in milk slowly to thicken the sauce.
  • Remove from heat and stir in grated cheese until melted.
  • Add salt and pepper to taste.
  • Stir all but 1/4 cup cheese sauce into pasta.
  • Pour all into greased baking dish.
  • Top with reserved cheese.
  • Bake for 20 -30 minutes until browned and crispy on top and edges.

Cheers & Cheesy Hugs,

Jodi

Almost-Homemade Easy Crockpot General Tso’s Chicken

Almost Homemade Easy Crockpot General Tso's Chicken

Gotta love “almost-homemade” recipes – right?

And what is better than a crockpot recipe for those busy days when we need it?!

And WHO does not love General Tso’s Chicken?  Please don’t tell me if you don’t?!  It will shock me beyond belief.

Almost Homemade Easy Crockpot General Tso's Chicken 2

This recipe turned out so yummy that I have to call it yet another……

Winner Winner Chicken Dinner!

A winner because it is YUMMY…

and a winner because it is EASY!

Here is how I made it.

Almost-Homemade Easy Crockpot General Tso's Chicken

Ingredients:Almost Homemade Easy Crockpot General Tso's Chicken

  • 2 1/2 lbs fresh or frozen boneless, skinless chicken breasts, cut into bit-sized pieces
  • 2 cups corn starch
  • 1 tsp. coarsely ground black pepper
  • 2 tsp. salt
  • 1 15-oz bottle Iron Chef General Tso’s Sauce and Glaze (this yummy sauce is what makes it “almost” homemade and VERY easy!)
  • 1/4  cup oil
  • 1/2 cup chopped green onions

Directions:

  • Mix corn starch, salt, and pepper in a gallon-sized Ziploc Bag
  • Add chicken to corn starch mixture and shake to coat well.
  • Heat oil in a stir-fry skillet.
  • Add corn starch coated chicken, and fry 3-4 minutes until lightly browned and crisp.
  • Pour entire contents of skillet into crockpot.
  • Add bottle of sauce.
  • Cook on LOW for 4 hours
  • Add green onions
  • Serve with steamed Jasmine rice

Enjoy!

Cheers & Hugs,
Jodi