Bloody Mary Beef Pot Roast

bloody mary beef pot roast 1

Last weekend was unseasonably rainy and chilly here in Mars, so comfort food was in order for Sunday supper.

I had recently read a recipe KR posted on AnotherFoodieBlogger for Bloody Mary Beef Stew and was inspired to use up a bottle of Bloody Mary Mix I had in the fridge that I bought on a whim a while back when in the mood for that particular cocktail I only hanker for occasionally.

bloody mary beef pot roast

Here is what I came up with, and it was a definite HIT with my guys here.  Served with some homemade mashed potatoes (which I haven’t made in forever) just sealed the deal.  Enjoy!

Bloody Mary Beef Pot Roast

Ingredients:bloody mary beef pot roast 1

  • 2 1/2 – 3 lb. beef chuck roast
  • 2 cups bloody mary mix (your favorite)
  • 1/2 cup water
  • A shot of two of vodka (or not – whatever you like)
  • 1 head (or bunch) celery, chopped, including some of the leaves
  • 1 large sweet vidalia onion, chopped
  • 3-4 cloves garlic, minced
  • 2 tsp fresh rosemary, minced
  • 1 Tbsp horseradish
  • Salt and pepper to taste
  • 2 Tbsp olive oil

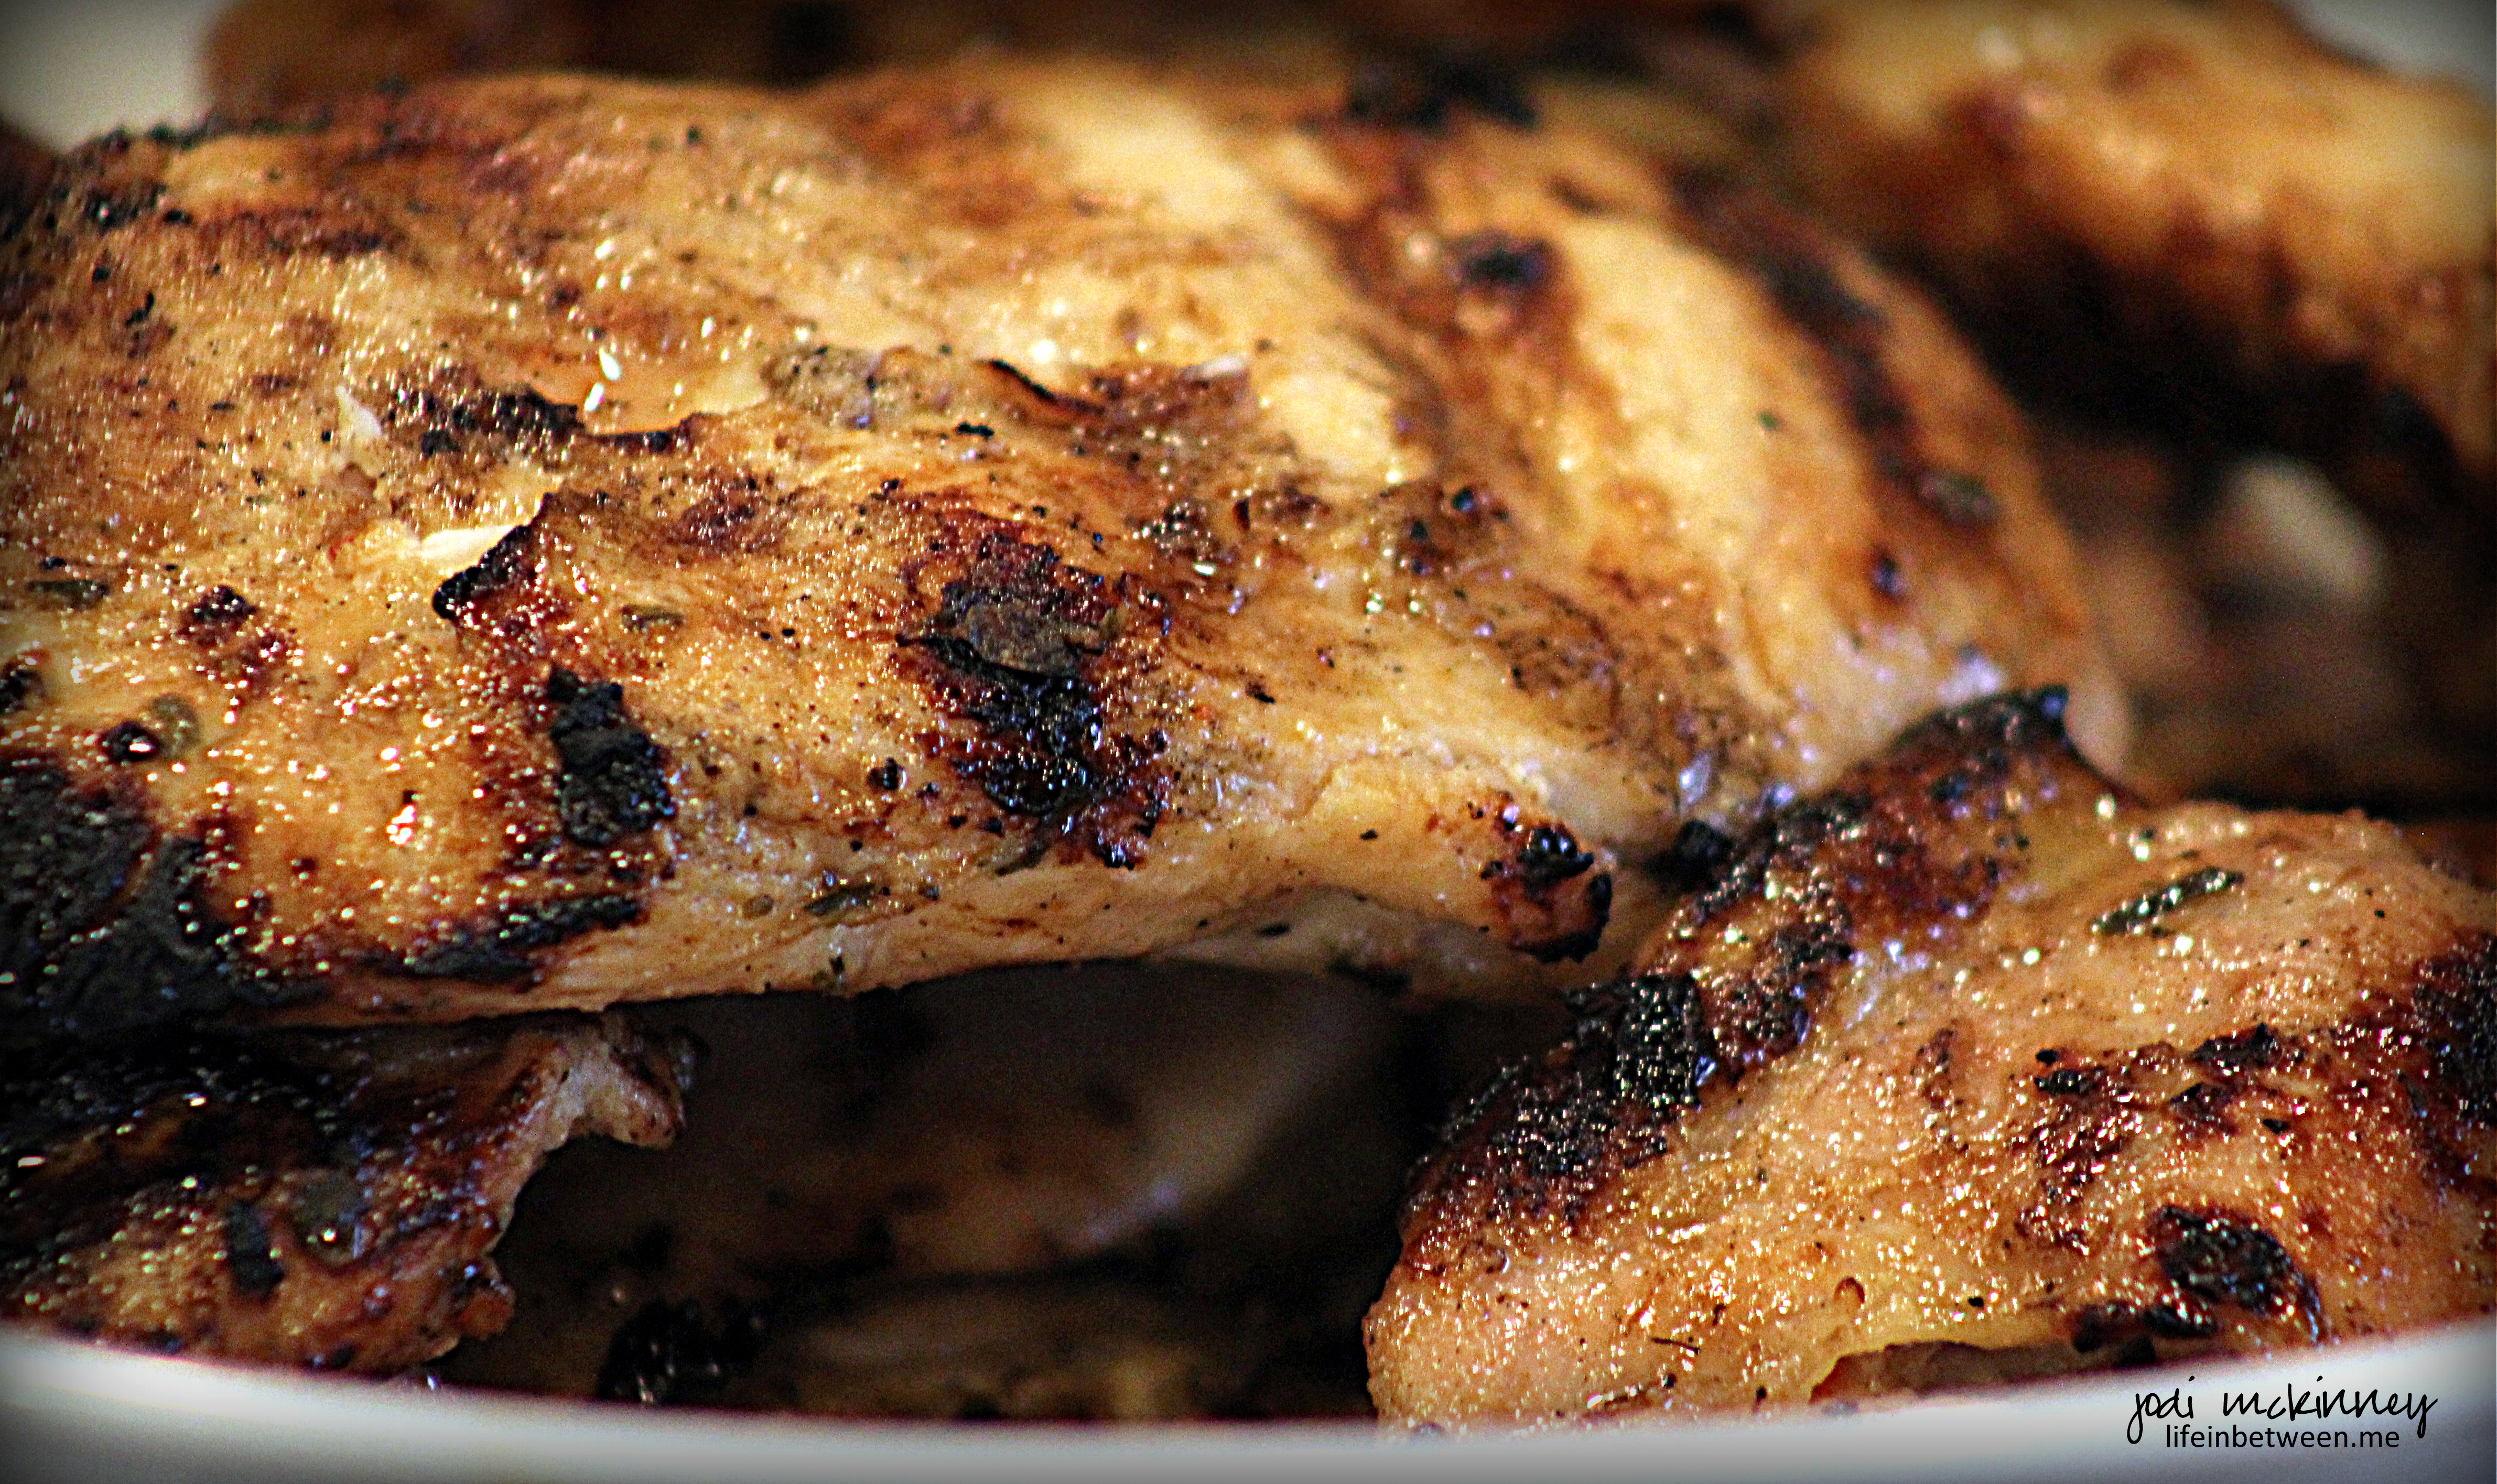
In a large skillet, saute celery, onion, and garlic (the heavenly trinity!) in olive oil for a few minutes until softened and turning translucent.  Add salt and pepper to taste, rosemary, and horseradish, and continue sauteing for a few more minutes until you start to get some little brown bits.

Make room for the beef roast in the center and brown on both sides along with the veggies.  Once the meat is browned, pour all into crockpot.

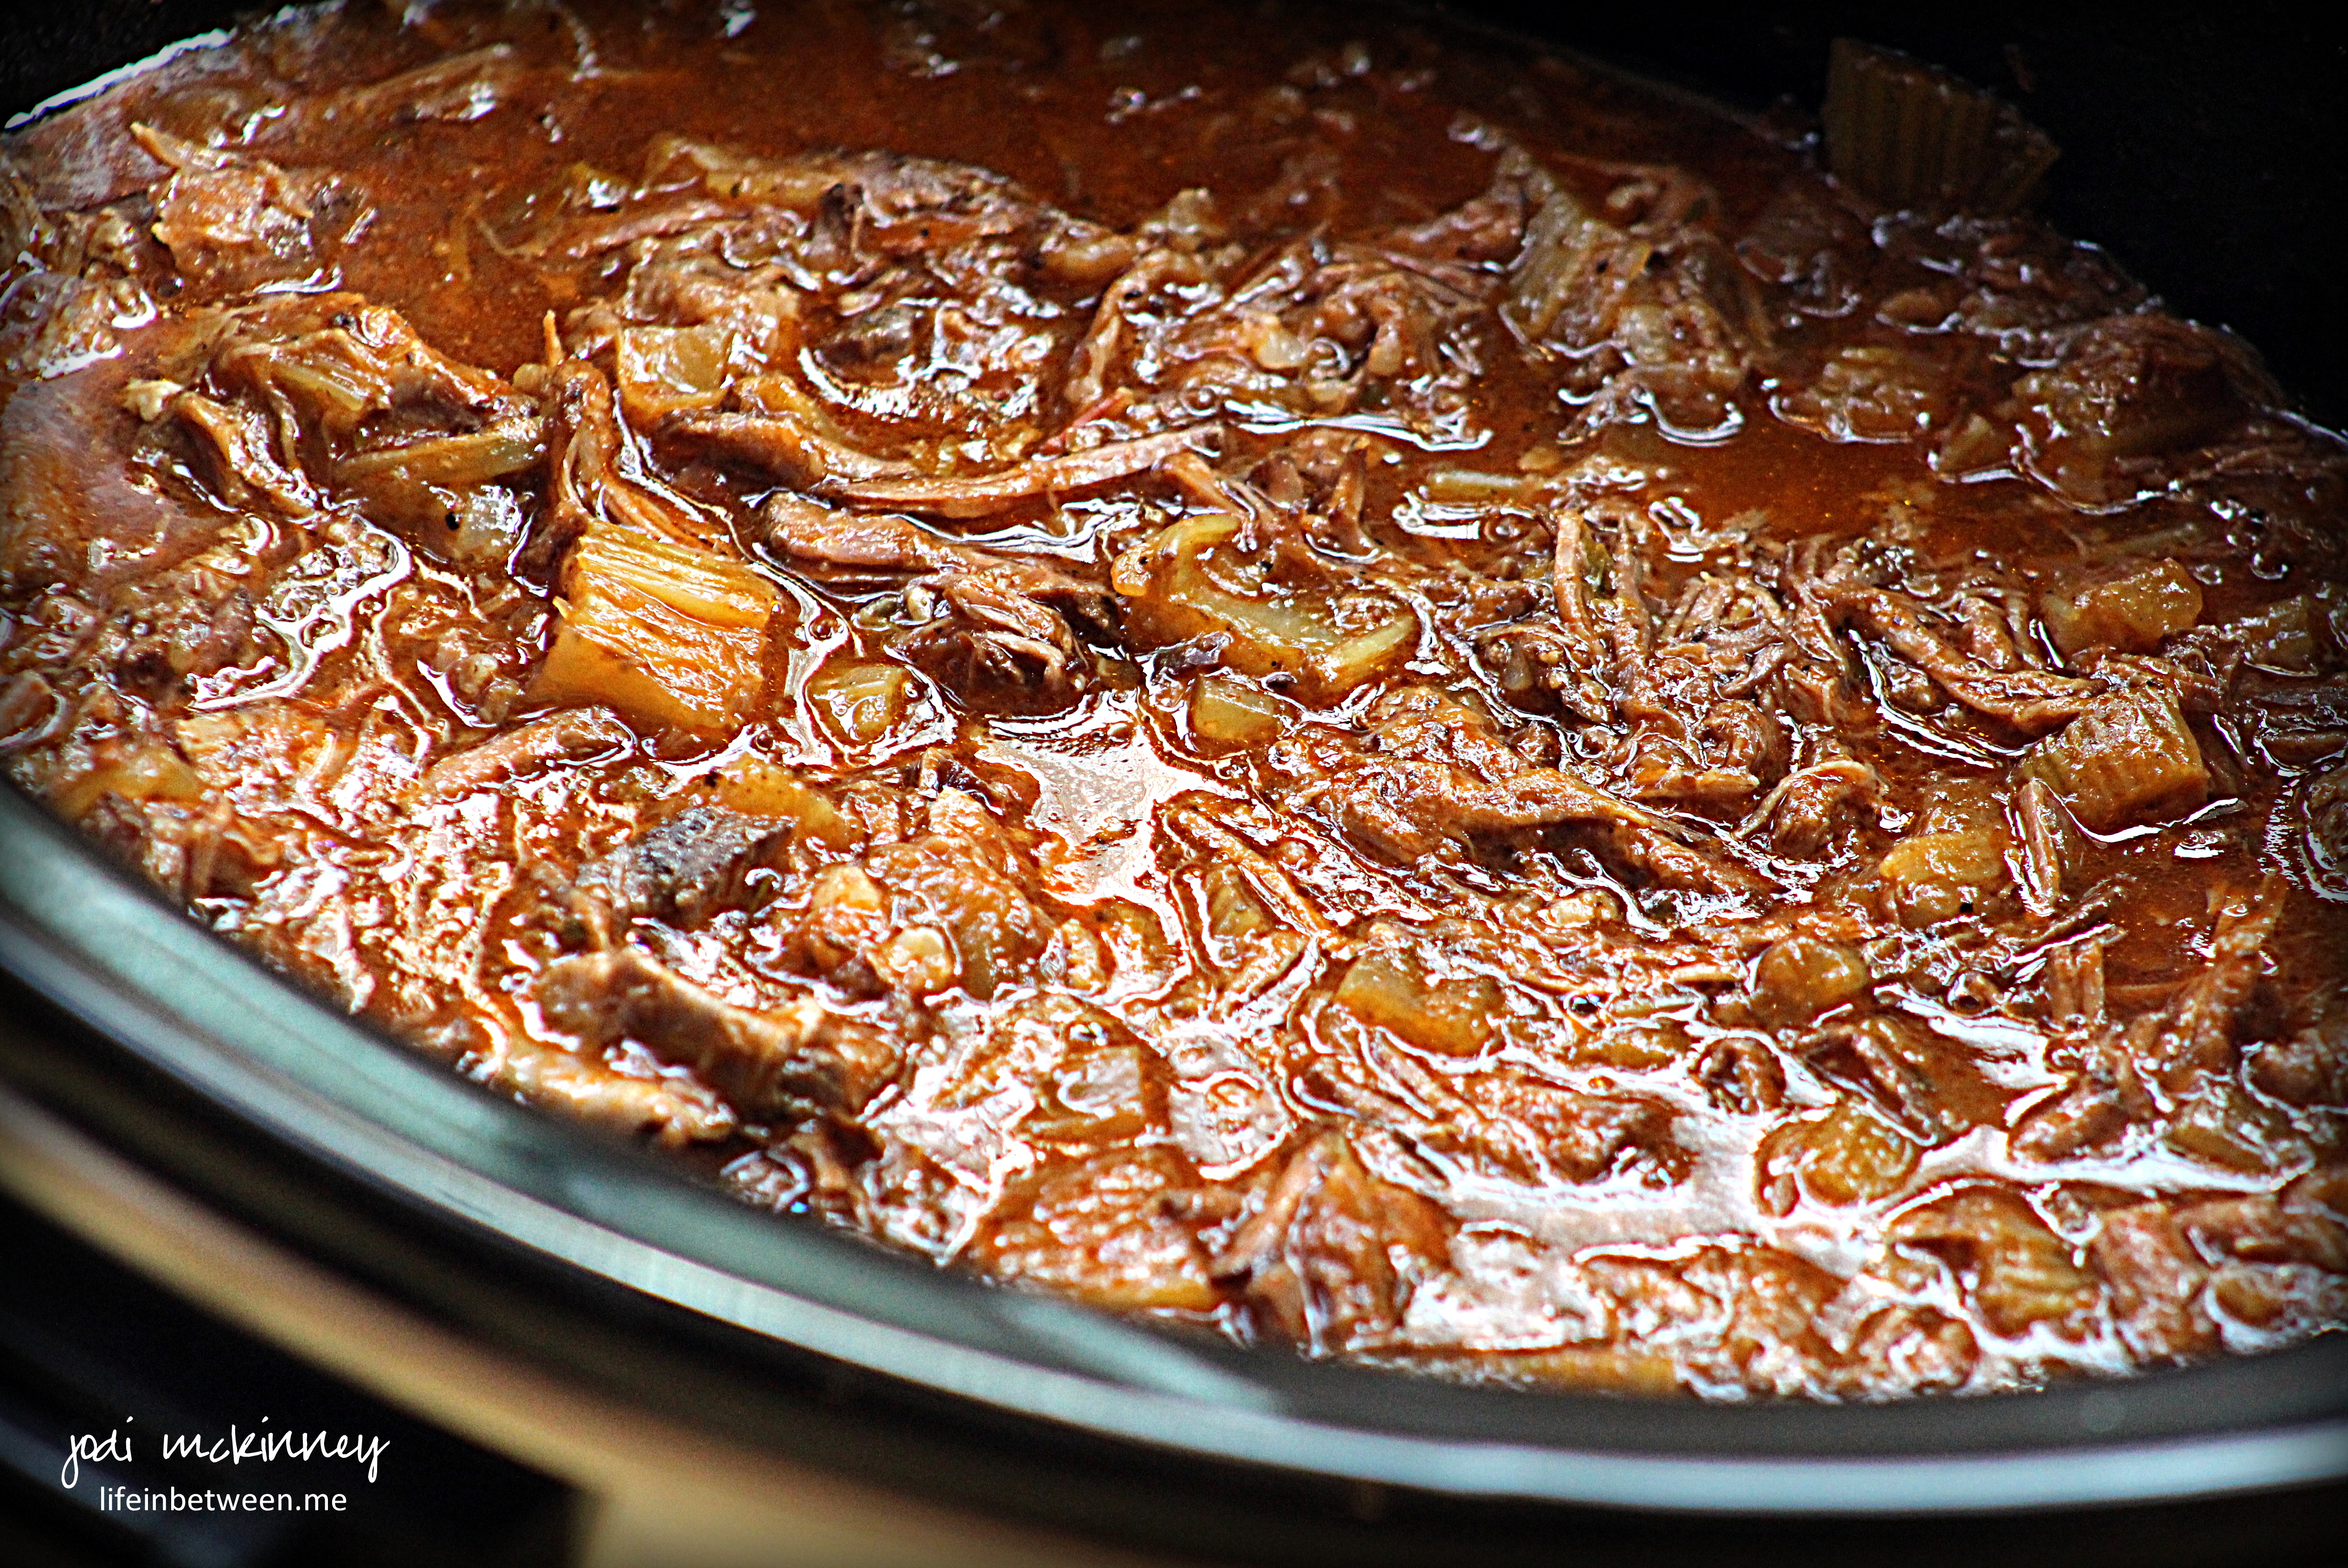
Combine bloody mary mix, water, and vodka and pour over all.  Cook on high for approximately 6 hours or until beef begins to fall apart with the touch of a fork.  Break apart and stir shredded meat into sauce.  Cook on low another hour if time allows.

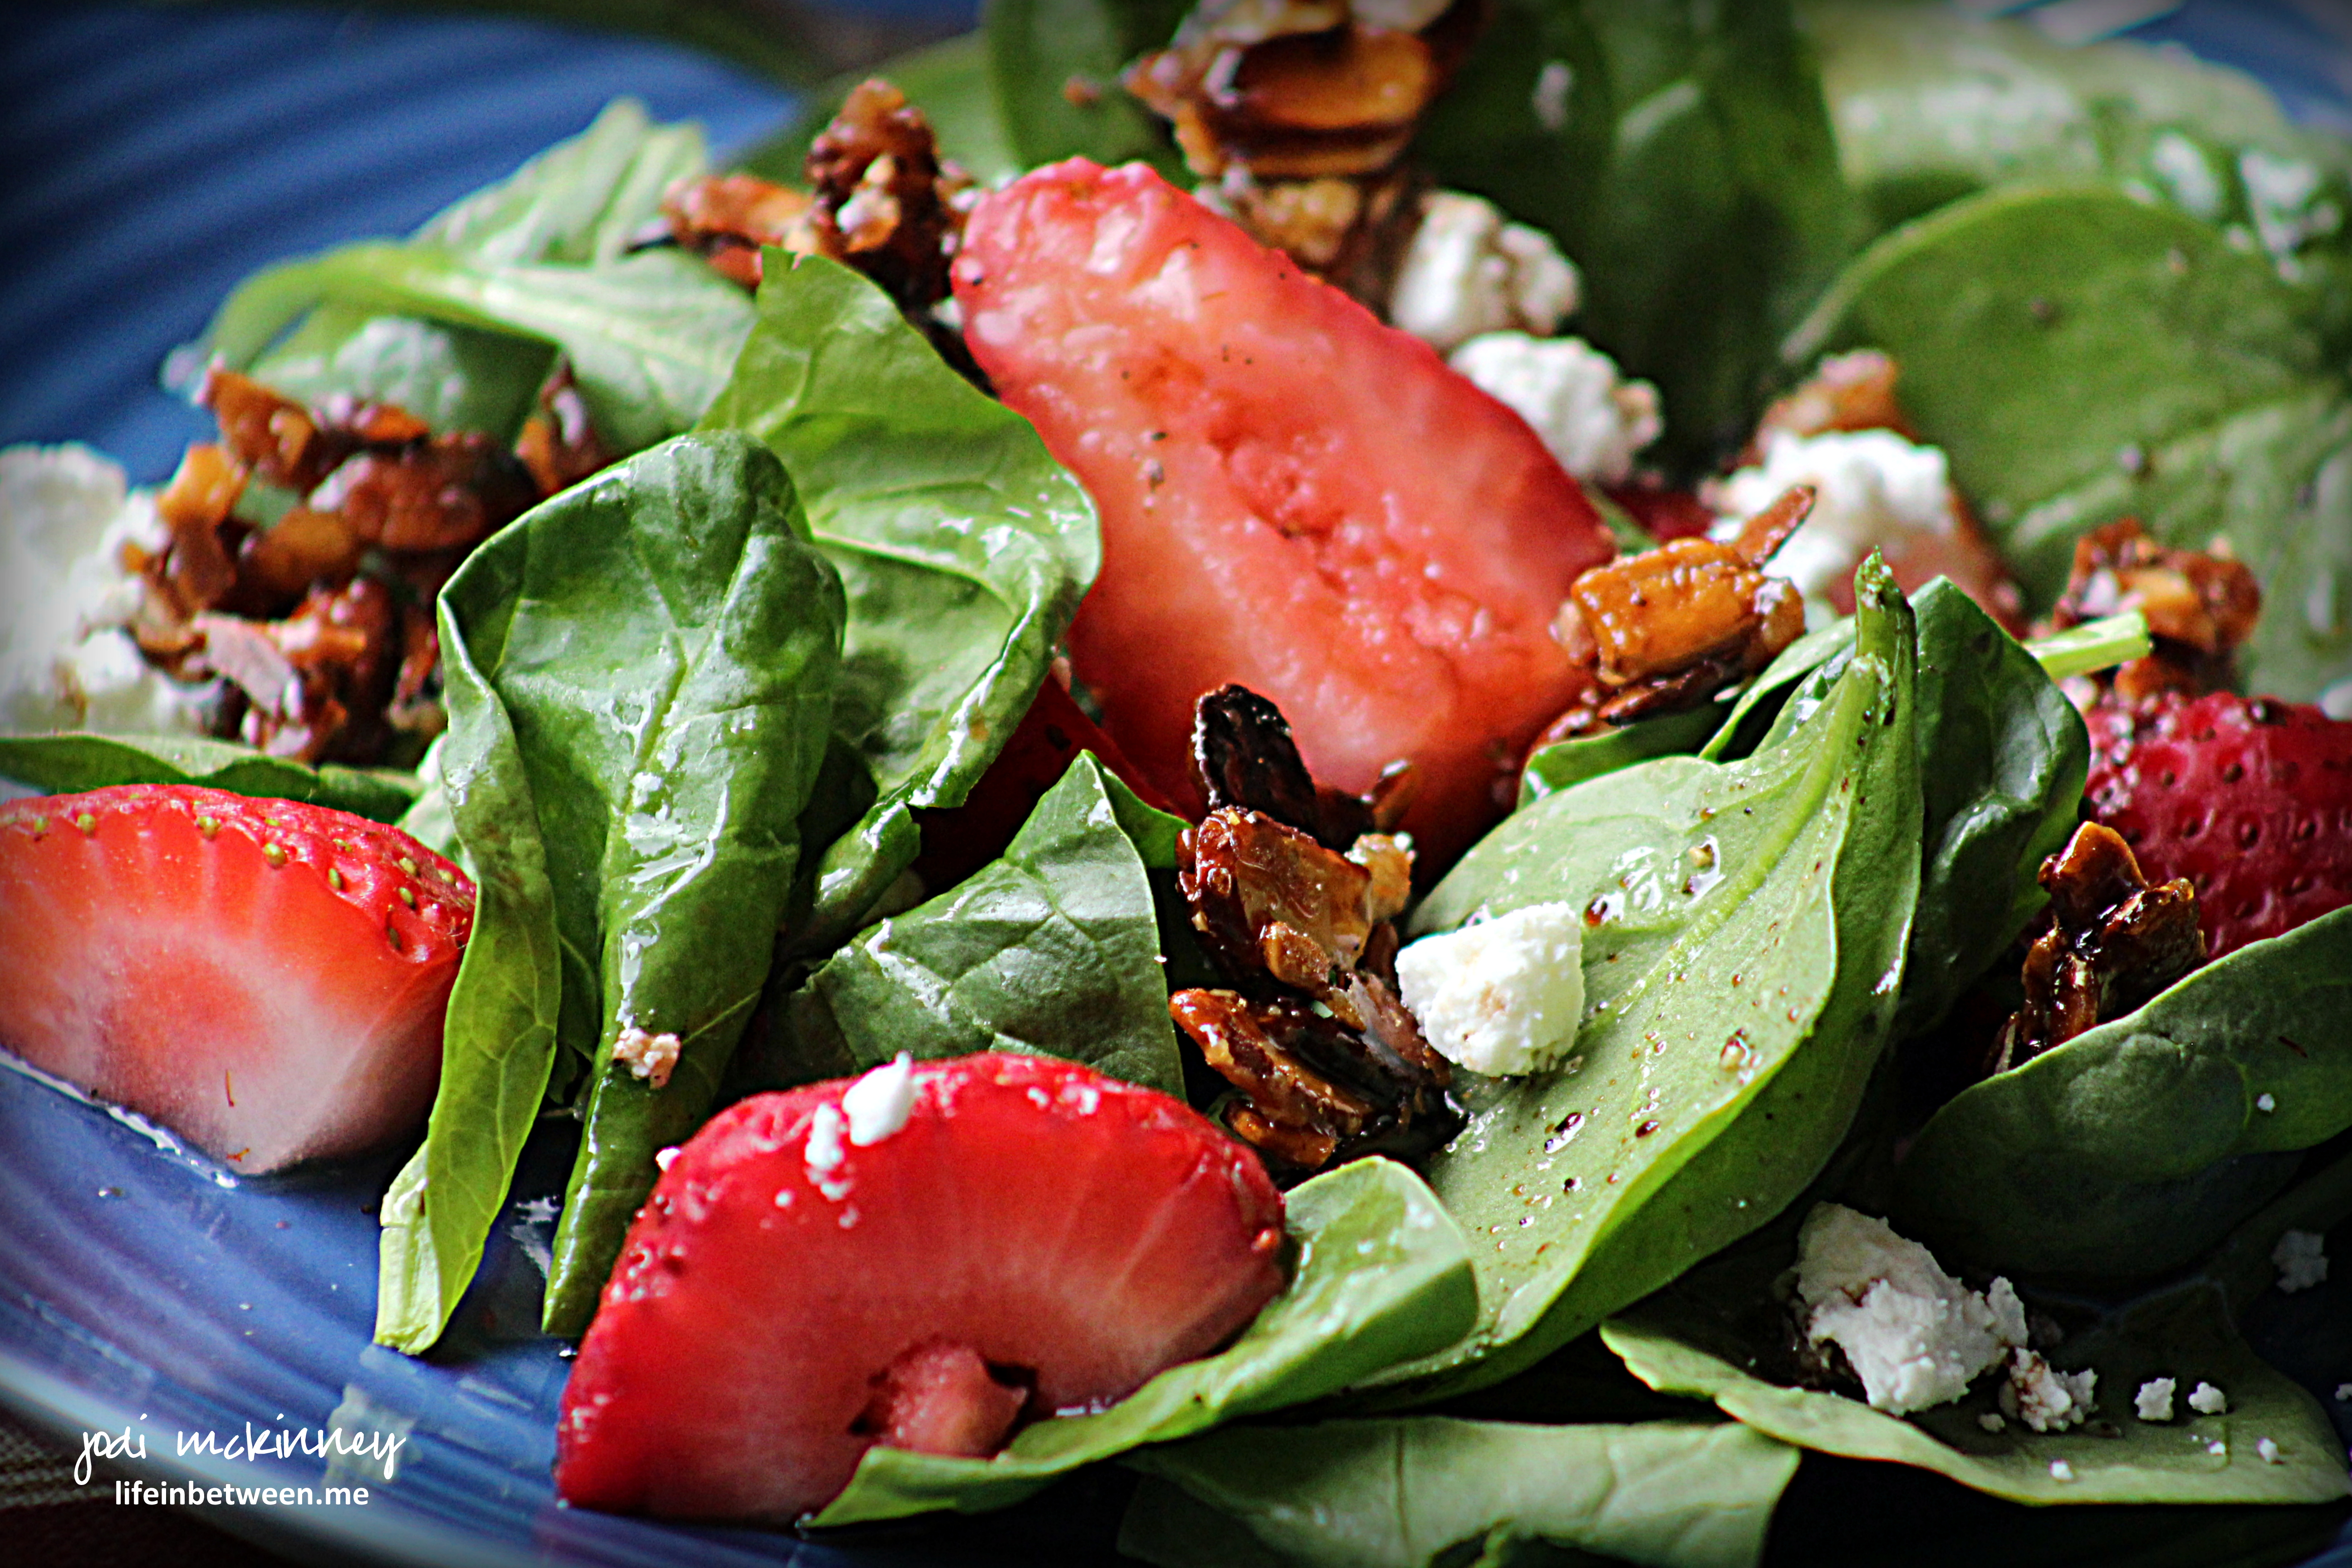
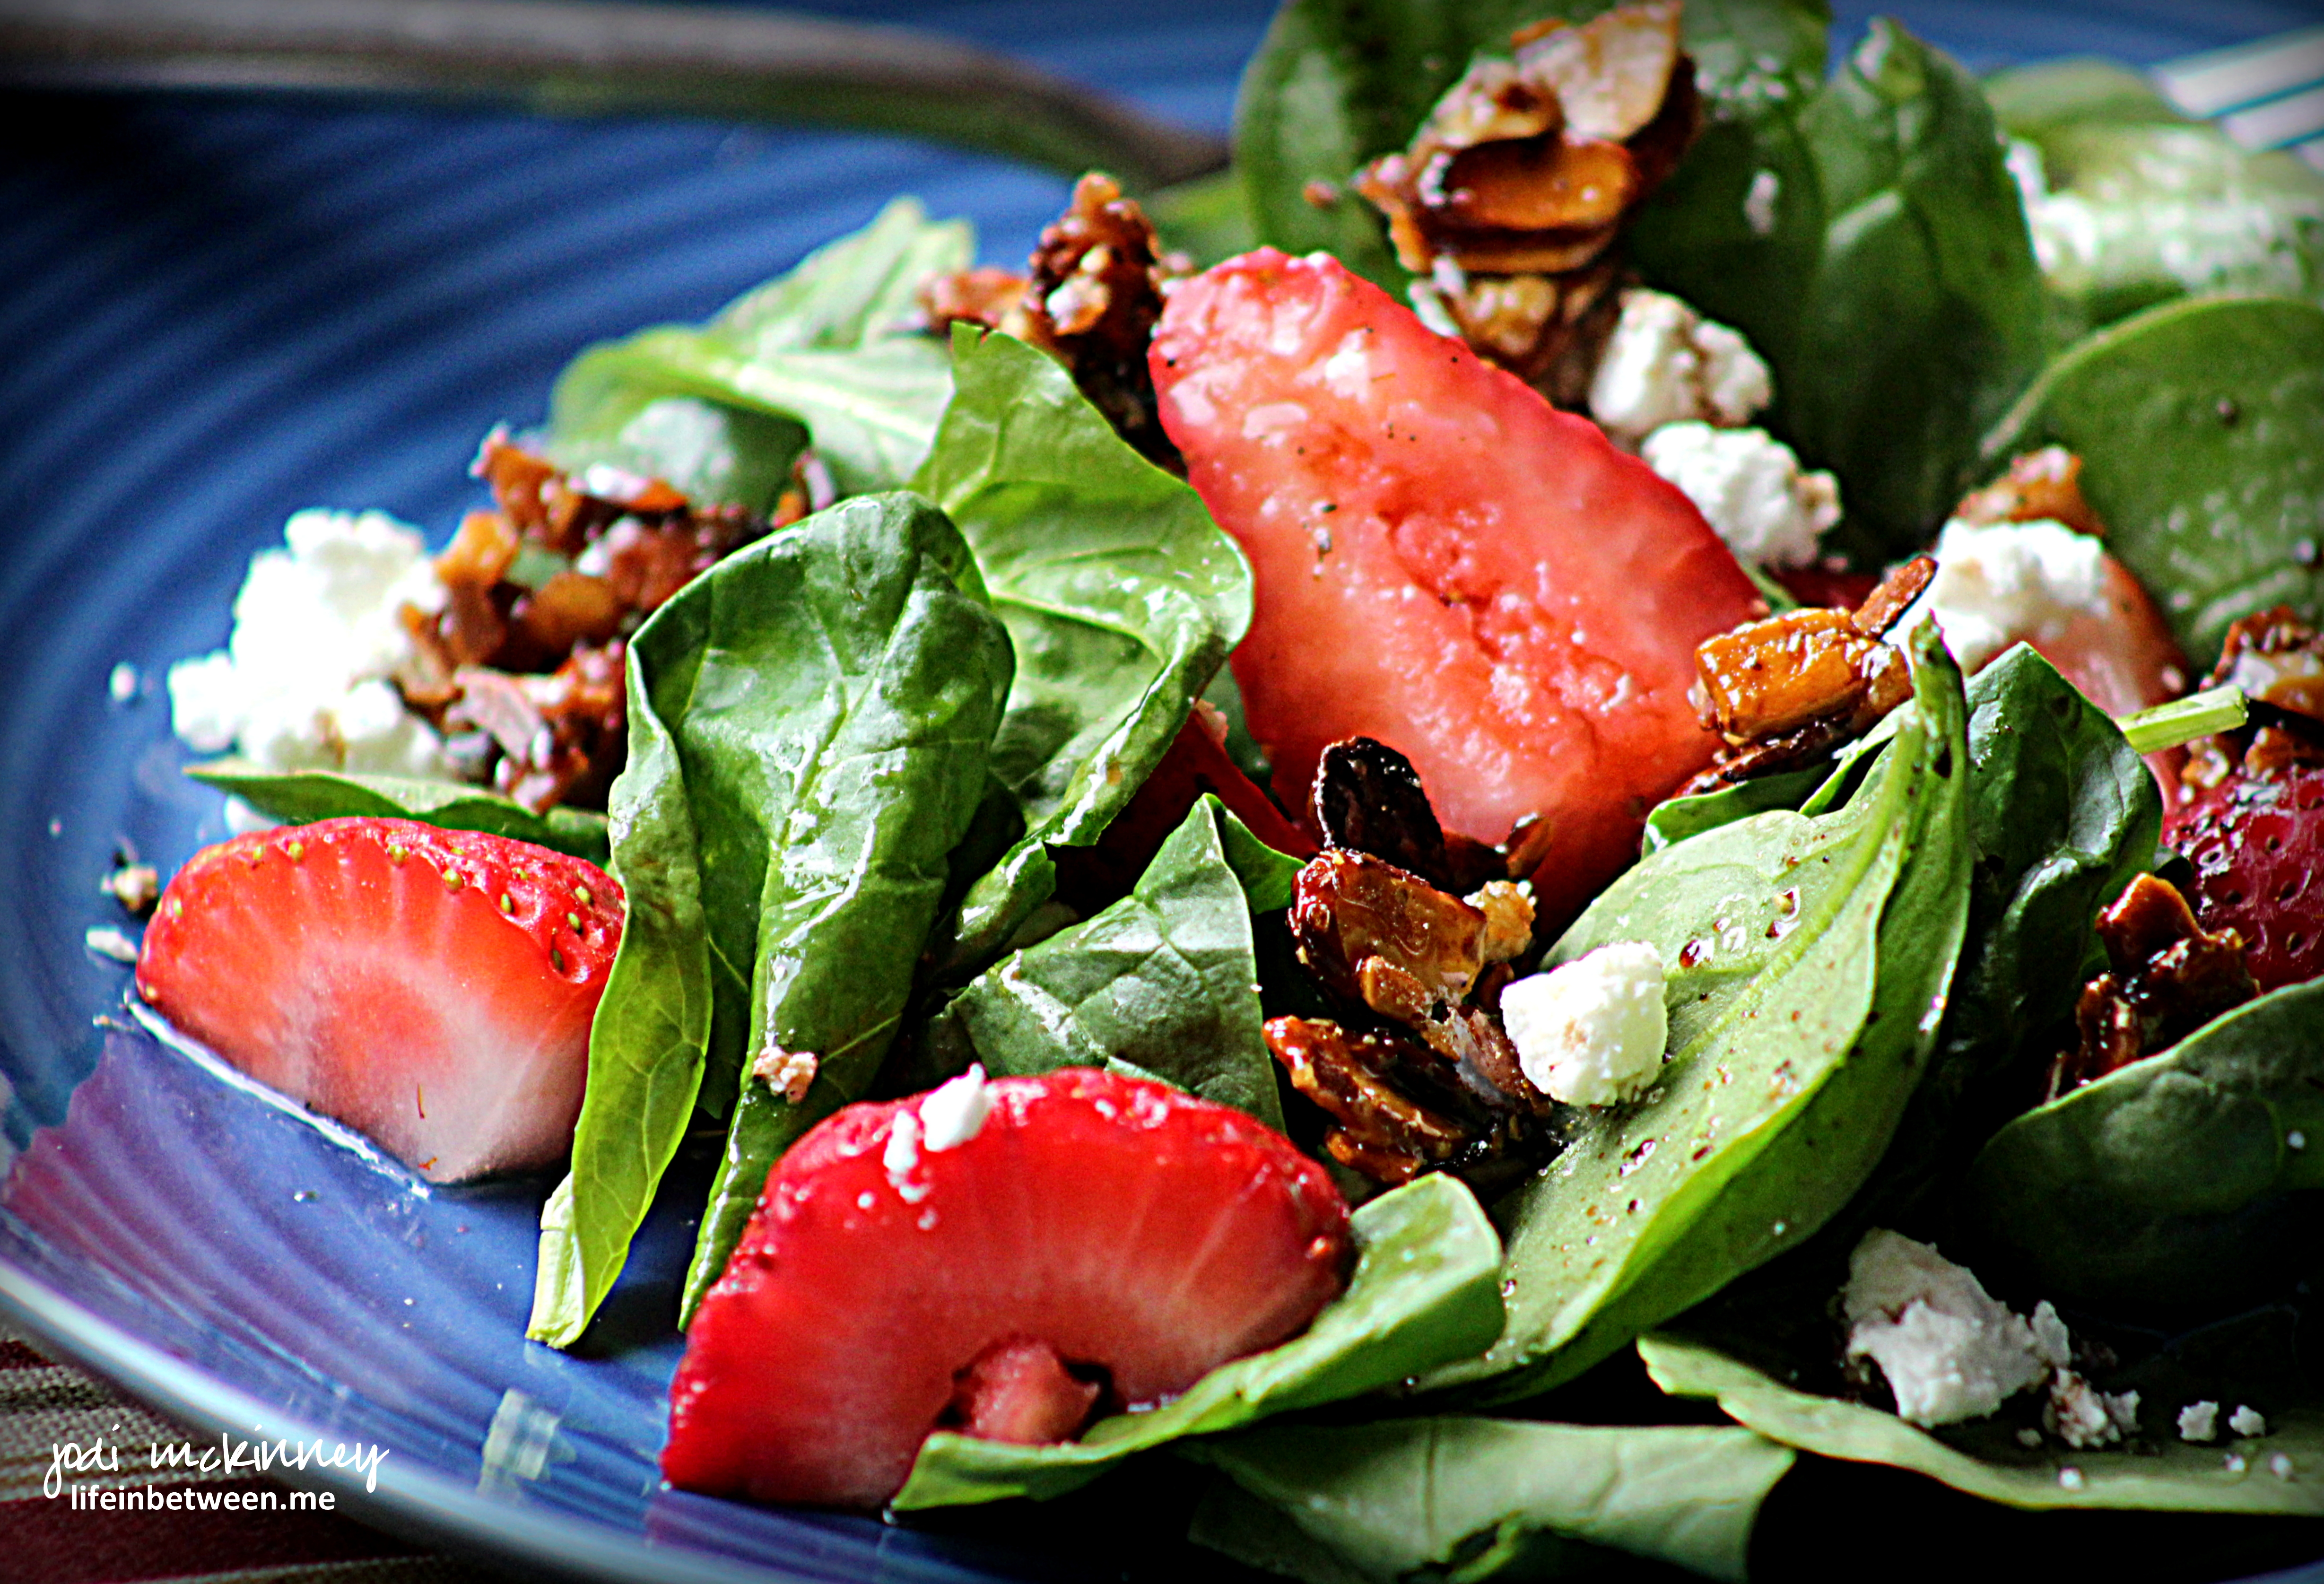
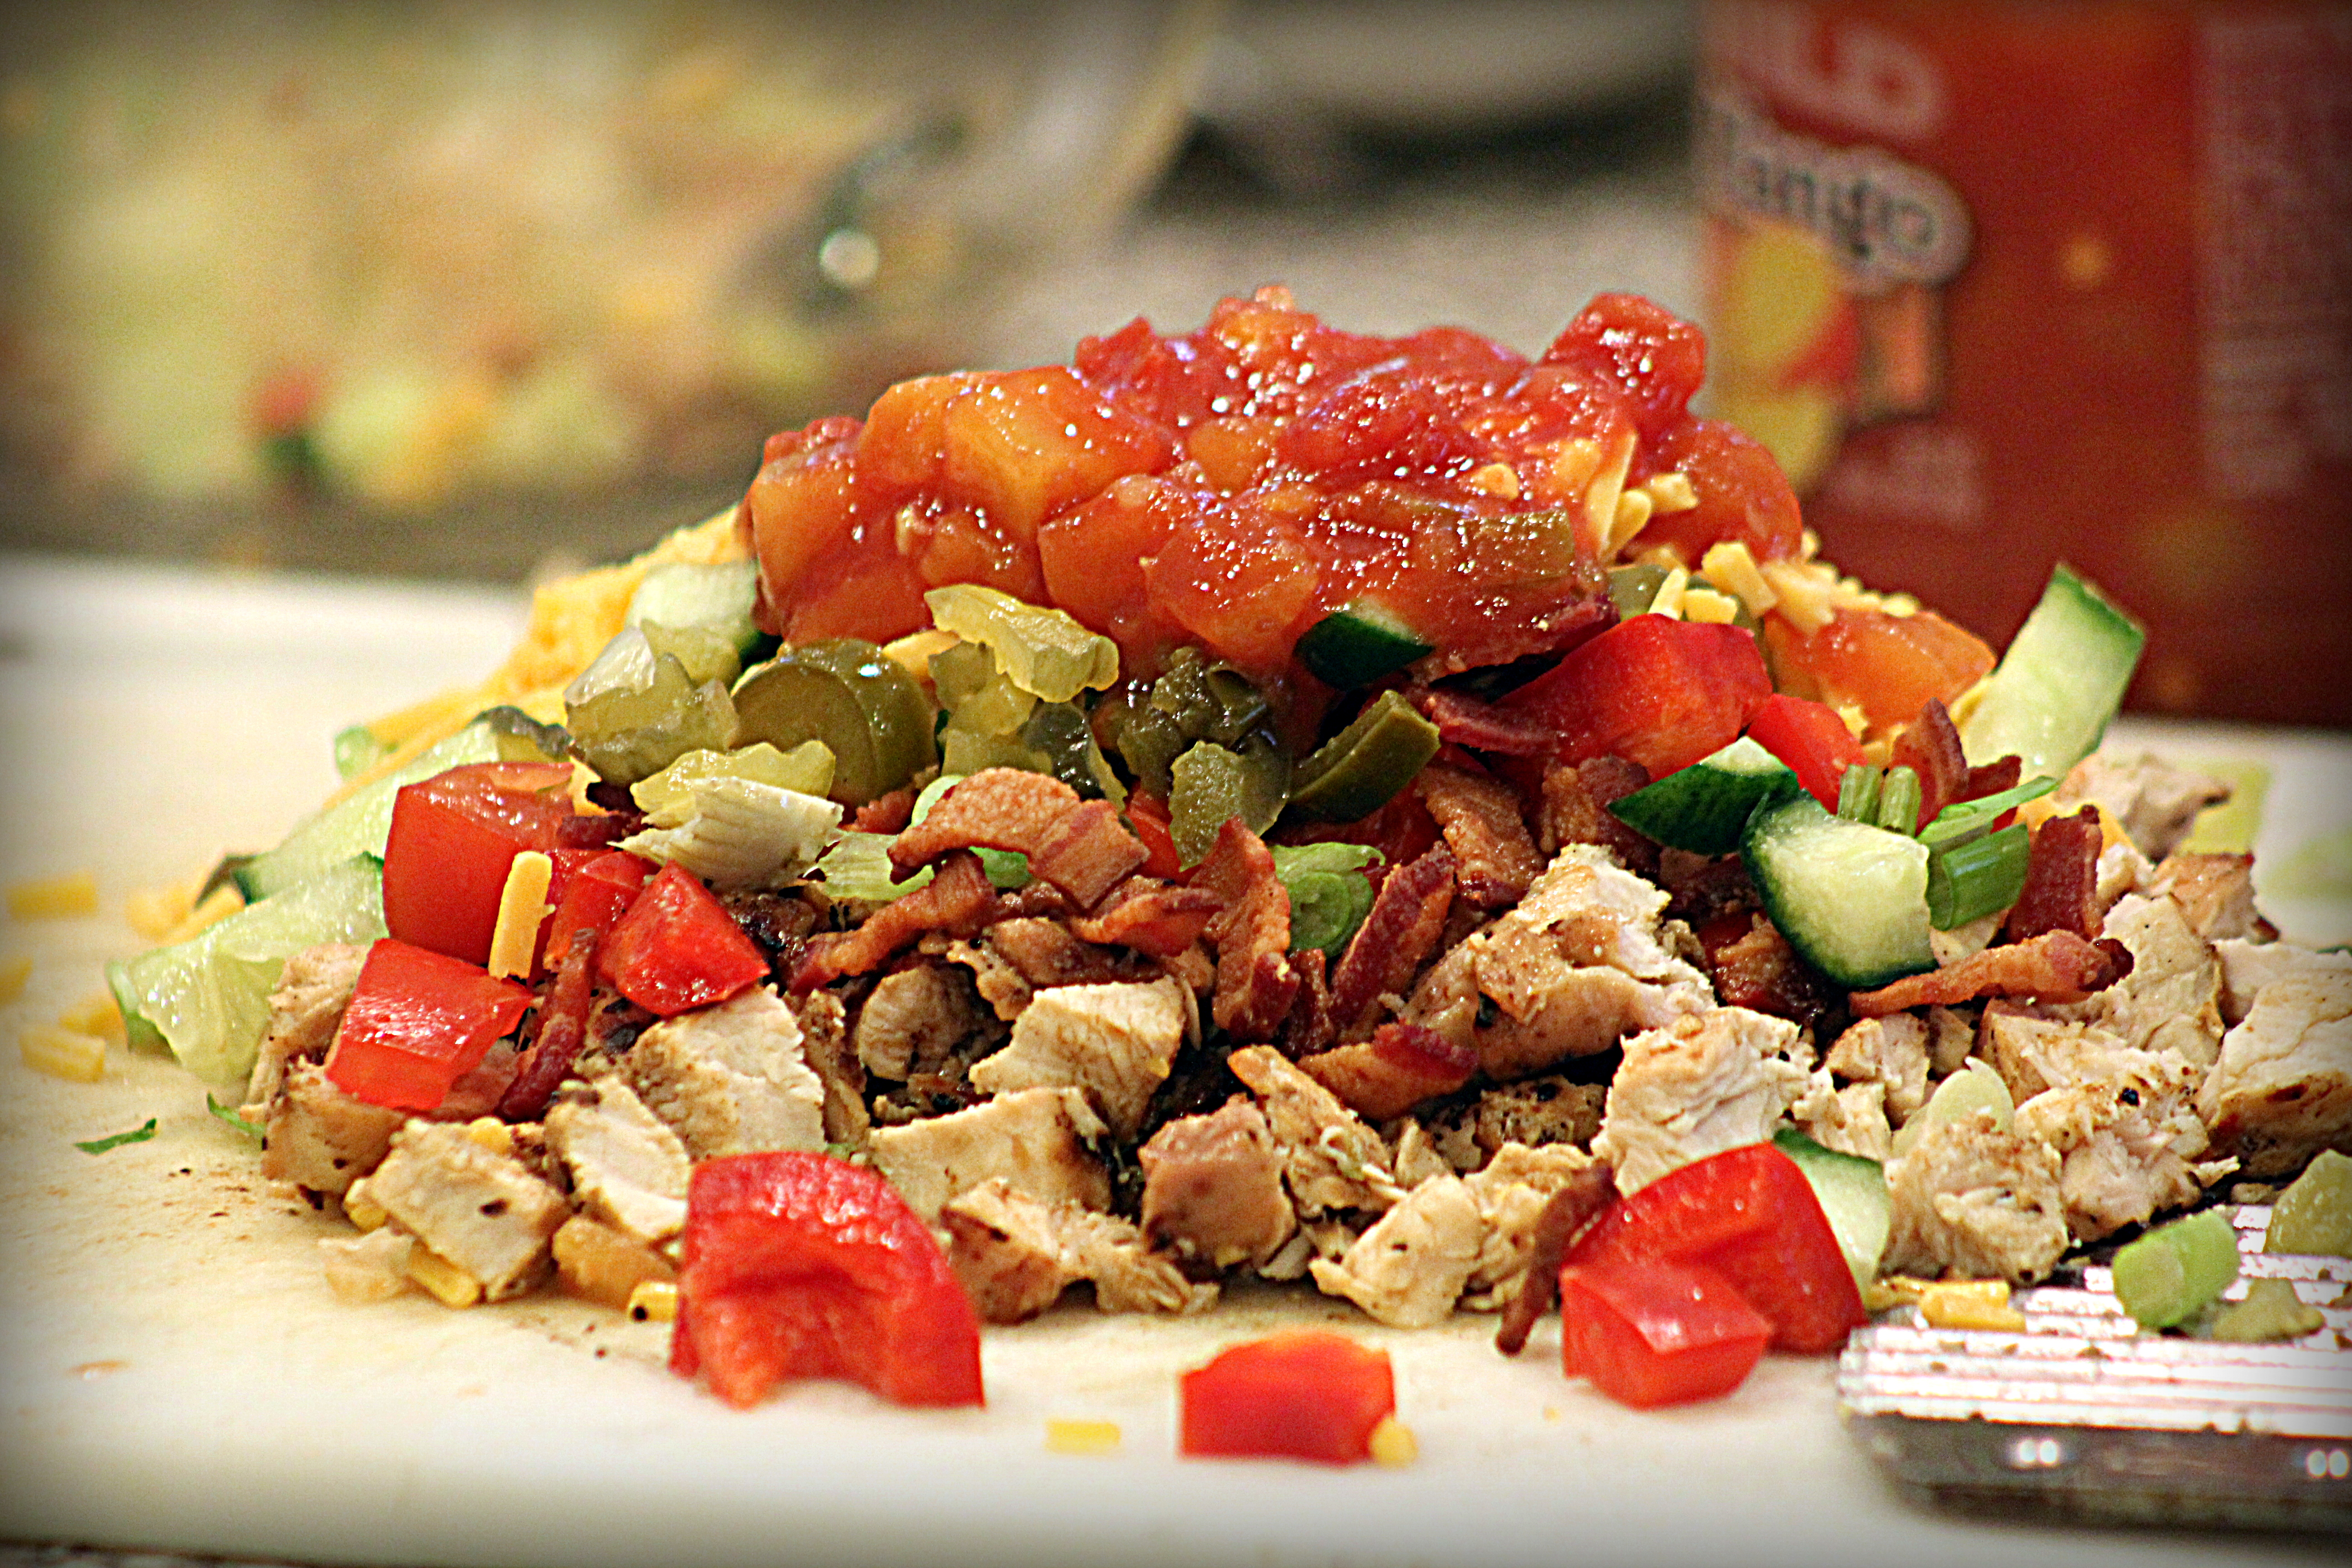
Serve with mashed potatoes and a salad or vegetable side dish.  It also tastes yummy on buns as a sandwich (which we had the next day).

Cheers & Hugs,
Jodi

Spinach Strawberry Salad with Candied Almonds & Goat Cheese

spinach strawberry salad with candied almonds and goat cheese 2

This weekend we celebrated the 25th birthday of a very special young lady in our lives –  our son Nick’s girlfriend, Liz.

spinach strawberry salad with candied almonds and goat cheese

For the special picnic we were invited to, I made a batch of my almost famous guacamole, a plateful of homemade chocolate chip cookies, and this YUMMMMMMY Spinach Strawberry Salad with Candied Almonds and Goat Cheese.

spinach strawberry salad with candied almonds and goat cheese 1

Drizzled with an easy homemade balsamic vinaigrette, the crispy fresh spinach, sweet juicy strawberries, crunchy candied almonds, and the creamy goat cheese just SING when tossed together!

Easy – fresh – delicious – beautiful – summery – this is a Five Star Salad you are going to want to try, and your family and friends are going to thank you for making.

Spinach Strawberry Salad with Candied Almonds & Goat Cheese*

Ingredients:spinach strawberry salad with candied almonds and goat cheese 1

  • 1 lb fresh baby spinach (approx)
  • 1 qt fresh strawberries (chopped)
  • 6-8 oz. fresh goat cheese (crumbled)
  • 1 cup sliced almonds
  • 1/2 cup sugar
  • 3 Tbsp balsamic vinegar
  • 3/4 cup olive oil
  • 3 tsp brown sugar
  • 1 large clove garlic (minced)
  • 1/2 tsp salt
  • 1/4 tsp coarse ground pepper

Directions:

Prepare candied almonds by combining sliced almonds and sugar in a non-stick skillet over medium heat, stirring frequently for several minutes until the sugar begins to caramelize.  Keep stirring until all the almonds are coated, and then spread in a single layer on a cookie sheet.  Cool completely.  Once they are cooled, break them into chunks for little clusters of crunchy sweetness.

Prepare balsamic vinaigrette dressing by whisking together the balsamic vinegar, olive oil, brown sugar, garlic, salt and pepper.  Set aside.

When ready to serve, combine spinach and chopped strawberries, candied almonds, and crumbled goat cheese.  Toss with balsamic vinegar, and serve immediately.

You could easily substitute your favorite greens for the spinach – perhaps arugala, romaine….  You could substitute the sliced almonds for walnuts or pecans…..  You could also substitute blue cheese or feta for the goat cheese.

Enjoy!

Cheers & Hugs,
Jodi

*Recipe slightly adapted from Veggie & the Beast

Old-Fashioned Dutch Apple Pie

dutch apple pie slice alamode

One of my favorite things to bake (besides cookies) is pie.  And what is more “all-American” for summer holidays and celebrations than apple pie?  Not sure why it is considered so “American” really – that is just what “they say.”  (Actually there are many theories…  which you can certainly feel free to Google, but let’s talk about baking and eating this amazingly yummy dessert!)

dutch apple pie cut

I made it this weekend to take to a party celebrating the Memorial Day holiday, family get-together, and birthday treat for my BFF, Jill.

When I make a pie to take somewhere, I almost always make a second one for home.  Hubby loves pie more than almost anything, and Grandma always taught me if you are going to go to the trouble and make the mess it takes to make one pie, you might as well make 2 or 3 or…. well – as many as you can!  🙂

So here is my recipe for old-fashioned, all-American Dutch Apple Pie.  I have tweaked it a bit from an old, worn-out cookbook I’ve had for about 30 years called , “Farm Journal’s Complete Home Baking Book.”  This is one of the very few cookbooks I’ve hung on to for it’s tried and true recipes.

I guarantee you will be a superstar if you bake and take or serve this all-star pie!

Dutch Apple Pie

Ingredients:dutch apple pie slice alamode

Directions:

Preheat oven to 400 degrees F.

Prepare pie crust and place in bottom of fluted 9 inch pie stone or pan.

Mix apples, sugar, flour, and cinnamon thoroughly until juices begin to form.  Pour into pie crust.

In a bowl, combine flour and sugar.  Cut butter in small pieces and work into flour/sugar with a pastry blender until a nice crumbly mixture forms.  Sprinkle and mound all over top of apple filling.

Cover edges of pie crust with foil to prevent from over-browning and bake for one hour.  Remove foil for last 10 minutes.

Cool completely and serve with ice cream, cool white or even a slice of sharp cheddar cheese if you please.

Enjoy!

Cheers & Hugs,
Jodi

Fresh Red Raspberry Puff Pastry Tart

red raspberry puff pastry tart 1

If you are looking for a fresh, light, simple, yet surprisingly impressive dessert to take to a holiday picnic or serve for a simple weekend dinner party, I’ve created this quick, but scrumptious and beautiful fresh red raspberry puff pastry tart using fresh fruit combined with the convenience of frozen puff pastry.

red raspberry puff pastry tart

For the Memorial Day holiday weekend (or Fourth of July or Labor Day), you could use some blueberries in this one too for a red, white, blue theme.

red raspberry puff pastry tart 2

Here’s my easy peasy recipe that is bound to to get rave reviews!

Fresh Red Raspberry Puff Pastry Tart

Ingredients:red raspberry puff pastry tart 1

  • I pint fresh red raspberries
  • 1/4 cup apricot or raspberry or your favorite jam (I used apricot, because it is what I had, and it made a nice combination of flavors)
  • 1 sheet Pepperidge Farms Frozen Puff Pastry (thawed 40 mins. at room temperature)
  • 1 Tbsp Honey
  • Powdered Sugar for Garnish

Directions:

Unfold and place sheet of puff pastry on baking stone or baking sheet and turn up edges on all sides to create a crust edge.  Poke center with fork 6-8 times to prevent center from raising up too high.  Bake at 400 degrees F for approximately 15 minutes or until golden brown.

While still warm, spread jam on bottom of baked puff pastry. Place half of fresh raspberries on top and mash with a fork.  Allow to cool completely.

Once cooled, place whole fresh red raspberries on top.  Drizzle with honey, and sprinkle with powdered sugar.

To serve, cut into 6 pieces and garnish with a dollop of whipped cream or vanilla ice cream.  

Hope you enjoy!

Cheers & Hugs,
Jodi

Sprinkle Birthday Cake

sprinkle birthday cake

Oh the sprinkles were plentiful this past weekend as we celebrated our daughter-in-law, Colleen’s birthday.  Here is the wonky cake I made that I mentioned yesterday when I posted my sprinkle birthday cake watercolor card I made.

sprinkle birthday cake cut

It might have been a bit wonky, but it was soooo yummy!  This white, vanilla cake filled with colorful, celebratory sprinkles is really worth the extra effort to make from scratch!

sprinkle birthday cake slice

And serve it with some fresh churned birthday cake ice cream (like we can get around here from Bruster’s Ice Cream), and you will really be sparkling!

Sprinkle Birthday Cake*

Cake Ingredients:Sprinkle Birthday Cake thumbnail

  • 3 and 3/4 cups (431g) all-purpose flour
  • 3/4 tsp baking powder
  • 3/4 tsp baking soda
  • 1 tsp salt
  • 1 1/2 cups (3 sticks; 345g) butter, softened
  • 1 3/4 cups (350g) granulated sugar
  • 4 large eggs
  • 2 large egg whites
  • 3 tsp. (15ml) vanilla
  • 1 1/2 cups (360ml) buttermilk (or buttermilk substitute:  1 1/2 cups milk mixed with 1 1/2 Tbsp vinegar)
  • 3/4 cup (142g) rainbow sprinkles

Vanilla Frosting Ingredients:

  • 1 1/4 cups (2.5 sticks; 287g) butter, softened
  • 5 cups (580g) confectioners’ sugar
  • 1/3 cup (80ml) heavy cream or half and half or milk (all work)
  • 3 tsp (15ml) vanilla
  • 1/8 tsp salt
  • Additional sprinkles or other decorations

Directions:

  1. Preheat oven to 350°F (177°C). Grease and lightly flour three 9-inch cake pans.
  2. Whisk flour, baking powder, baking soda, and salt together in a large bowl. Set aside. Mix butter on high speed of mixer until smooth and creamy – about 1 minute. Add sugar and beat on high for 5 more minutes.  On medium-high speed, add 1 whole egg at a time, beating well after each addition until all 4 whole eggs are mixed in.   Beat in vanilla.
  3. With the mixer on low speed, add the dry ingredients in three additions alternating with the buttermilk, beginning and ending with the dry ingredients, and mixing each addition just until incorporated. Do not overmix. The batter will be smooth, velvety, and slightly thick.
  4. In a separate mixing bowl, beat the 2 additional egg whites until thick, foamy, and soft peaks form- about 3 minutes. Gently fold into the batter. Finally, gently fold sprinkles in.
  5. Pour batter evenly into each cake pan.  Bake for approximately 25 minutes or until a toothpick inserted in the center comes out clean.   Allow cakes to cool completely in the pans set on a wire rack.
  6. To make frosting, beat the butter on medium speed in mixer until creamy – about 2 minutes. Add confectioners’ sugar, cream, vanilla, and salt with the mixer on low. Increase to high and beat for 3 minutes. Add more confectioners’ sugar if frosting is too thin, more cream if frosting is too thick, or a pinch more of salt if frosting is too sweet.
  7. To assemble:  Place one cake layer on serving plate. Evenly cover the top with frosting. Top with second and third layers and repeat. Spread remaining frosting on sides.   You can tint small portions of the frosting to make decorations or use decorator frosting and decorate with additional sprinkles.  

Jodi’s Cake Tip:  If at all possible, I always try to bake my cake at least one day ahead of time or even the night before serving so that it can be frozen.  I bake the layers, cool, and then place each un-frosted layer in a large Ziploc bag and freeze.  For one thing, this makes the cake much easier to frost.  But secondly, and most importantly, freezing the cake, even if only for a few hours overnight, makes for a much moister cake.  I learned this by accident when I used to always make cakes fresh the day of serving thinking that was best, and then had to do ahead one time years ago because of time constraints.  It was the first time everyone ooooohhhed and awwwwhhed over the cake.  I’ve frozen ahead ever since.

And here is the birthday girl blowing out the candles.  A bit blurry, but a quick snap with my iPhone after we sang.  I love doing special things for this special girl!

colleen sprinkle birthday cake

Cheers & Hugs,
Jodi

*FULL Credit for this recipe goes to Sally’s Baking Addiction Funfetti Cake.

Tuscan Chicken & Penne Pasta

Tuscan Chicken and Penne Pasta 2

I have another Winner Winner Chicken Dinner to share with you today.

This is a great, quick recipe that uses a rotisserie chicken or leftover grilled chicken.

Tuscan Chicken and Penne Pasta

It really is bursting with flavor, full of tomatoes and spinach and chicken, and pulled all together with a simple chicken stock based sauce and incorporated with pasta to make it a full meal deal!

Serve it with a salad and some crusty bread if you dare!

Tuscan Chicken & Penne Pasta*

Ingredients:Tuscan Chicken and Penne Pasta 2

  • 1 Tbsp olive oil
  • 4 cloves fresh minced garlic
  • 1 box frozen chopped spinach or 4 cups fresh chopped spinach
  • 1 small sweet onion, chopped
  • 1 tsp oregano
  • 1 tsp basil
  • 1 tsp black pepper
  • 1 tsp salt
  • 2 (14 oz ) cans diced tomatoes (or fresh if in season and plentiful)
  • 2 cups chicken stock
  • 1 rotisserie chicken chopped or 2-3 cups chopped leftover grilled chicken
  • 1/2 cup half and half or skim milk
  • 3 Tbsp flour
  • 1 lb penne pasta, cooked al dente
  • Garnish:  Fresh diced tomato, fresh chopped basil, shredded fresh parmesan cheese

Directions:

In a 6 qt dutch oven, saute the garlic, spinach, and onion in the olive oil.  Add the spices, salt and pepper, tomatoes and chicken stock.  Bring all to a boil.  Add chicken.

Whisk together half and half and flour until no clumps remain.  Stir into boiling pot until combined.

Allow all to simmer about 10 minutes.  Add the pasta and mix well.  Garnish and serve.

This recipe is super yummy fresh, and it is delicious reheated the next day too as leftovers for lunch or dinner as the flavors have had time to truly meld.

Hope you give it a try and enjoy!

Cheers & Hugs,
Jodi


*Recipe originally found and slightly adapted from http://www.galonamission.com.


Sauteed Brussels Sprouts with Bacon, Onion and Rosemary

Sauteed Brussels Sprouts with Bacon Onion and Rosemary 2

Fresh Brussels Sprouts are so divine – especially when sauteed with bacon and onions and garlic and rosemary and splashed with balsamic vinegar.

Sauteed Brussels Sprouts with Bacon Onion and Rosemary

If you are looking for a knock-out vegetable dish for a special occasion or a simple veggie side dish for Sunday supper or a weekday dinner, this recipe rocks it all around.

Sauteed Brussels Sprouts with Bacon Onion and Rosemary 1

It takes a teensy bit more time than throwing a bag of frozen corn in a pot, but it is OH SO WORTH it!

I don’t know about you, but I can’t think of anything Brussels sprouts can’t go with!

Hope you get a chance to try and enjoy this recipe.

Sauteed Brussels Sprouts with Bacon, Onion, and Rosemary

Ingredients:Sauteed Brussels Sprouts with Bacon Onion and Rosemary 2

  • 1 1/2 pounds fresh Brussels sprouts, trimmed
  • 4 slices bacon, cut into 1-inch pieces
  • 1 tablespoon extra-virgin olive oil
  • 5-6 green onions, chopped
  • 1 clove garlic, minced
  • 2 sprigs fresh rosemary, chopped finely
  • 1 teaspoon salt
  • Freshly ground pepper to taste
  • 2 teaspoons balsamic vinegar

Directions:

Bring a large pot of water to a boil. If sprouts are very small, cut in half; otherwise cut into quarters. Cook the sprouts until barely tender, 3 to 5 minutes. Drain.

Meanwhile, cook bacon in a large heavy skillet over medium heat, stirring, until just crisp, 5-6 minutes. Remove with a slotted spoon to drain on a paper towel. Pour out all but about 1 tablespoon bacon fat from the pan.

Add olive oil to the pan.   Add green onion and garlic and cook, stirring often, until soft but not browned, about 4 minutes. Stir in rosemary, salt and pepper. Increase heat to medium-high, add the Brussels sprouts, and cook, tossing or stirring occasionally, until tender and warmed through and beginning to brown, about 3-5 minutes. Add the bacon and balsamic vinegar.  Stir an additional minute.  Pour into serving dish and enjoy!

*adapted from this recipe at Eating Well

Cheers & Hugs,
Jodi

Nick’s Chopped Chicken & Veggie Wraps

Nicks Chopped Chicken and Veggie Wraps 3

This past Sunday, my son Nick took over the kitchen for dinner and made us his amazing Chopped Chicken & Veggie Wraps.

Nicks Chopped Chicken and Veggie Wraps

Nick likes anything chicken and anything that can be wrapped up in a tortilla and eaten by hand.

This recipe requires a bit of chopping ahead of time, but throws together quick and easy and tastes so delish!

Nicks Chopped Chicken and Veggie Wraps 1

Starting with marinated grilled skinless, boneless chicken breasts and adding your favorite veggies makes for a healthy, quick, and oh so yummy dinner or lunch or anything in between!

Nicks Chopped Chicken and Veggie Wraps 2

The secret is in the double chopping.  Once you pile all the chopped ingredients together, you chop again.

Nicks Chopped Chicken and Veggie Wraps 4

And the thing that really kicks this wrap up for me is the Peach Mango Salsa!  OOOOO LAA LAA!

Throw in anything you like, but here is how Nick made these for us.

Nick's Chopped Chicken & Veggie Wraps

Ingredients:Nicks Chopped Chicken and Veggie Wraps 3

  • I lbs boneless skinless chicken breasts and/or thighs
  • 1/2 bottle Wishbone Italian Dressing (or your favorite marinade)
  • 1/2 lb bacon, crisped and chopped (option – but oh so yummy!)
  • Lettuce, chopped
  • 1 tomato, chopped
  • 1/2 seedless English cucumber
  • 1/2 chopped sweet red pepper
  • 4 green onions, chopped
  • 1/4 cup chopped hamburger dill pickles
  • 1/4 cup chopped pickled jalapeno slices
  • 1/4 cup chopped marinated artichoke hearts (or banana peppers)
  • 1/4 cup shredded cheddar cheese (or your favorite)
  • 1/3 cup Herr’s Peach Mango Salsa
  • 4-6 Large Burrito-Sized Flour Tortillas

Directions:

Marinade chicken in Italian salad dressing for approximately 24 hours in Ziploc bag in refrigerator.  When ready to eat, grill chicken and chop.  Chop all veggies and ingredients you plan to use.

To assemble, heat flour tortilla in microwave for 20 seconds to make more pliable for wrapping and prevent cracking.  Heat George Foreman Grill or Grill Pan.

Place all ingredients together for each wrap, top with a heaping spoon of salsa, and re-chop all together.  Mound in center of warmed tortilla and wrap tightly.

Place on grill to heat, crisp, and seal.

Hope you enjoy!

Cheers & Hugs,
Jodi

Fresh Red Raspberry Chocolate Chunk Bread

Fresh Red Raspberry Chocolate Chunk Bread

I obviously cannot get enough of the red raspberry and semi-sweet chocolate combination as evidenced by today’s AMAZING recipe – Fresh Red Raspberry & Chocolate Chunk Bread.

You may recall my “almost-famous” Fresh Red Raspberry and Chocolate Chunk Cookies.  If you haven’t tried these – you seriously do not know what you are missing.

I’ve also shared my recipe for Chocolate Chunk and Fresh Red Raspberry Muffins – TO DIE FOR!  And the outrageously extraordinary Chocolate and Raspberry Custard in a Jar that I copy-catted from Firebird’s Wood Fired Grill Restaurant for my son, Nick’s birthday recently.

But I must say – this bread is rocking my world right now.  I could not believe how awesome it turned out.  It is pretty much just like the cookies, but in the form of bread (which means you can more easily justify eating it for breakfast – if not any other time of the day!)

Fresh Red Raspberry Chocolate Chunk Bread 2

I sliced the end off for the photo thinking I would take a little taste to make sure it is edible and then just toss that tough old crusty end to avoid the calories – but…  I just couldn’t do it.  Even the crusty end was delicious beyond words!

Fresh Red Raspberry Chocolate Chunk Bread 3

I’m telling you friends – you really want to try this one!

For yourself – for the people you love – and for those that you want to love you!

I can’t wait to hear what you think.

Get baking!

Fresh Red Raspberry Chocolate Chunk Bread

Ingredients:Fresh Red Raspberry Chocolate Chunk Bread

2 cups plus 2 tablespoons all-purpose flour
3/4 cup light brown sugar, packed
1/4 cup granulated sugar
1 teaspoon baking soda
pinch of salt (6 shakes!)
1/4 cup butter, melted
1 large egg
3/4 cup buttermilk (to make easy buttermilk – mix 1 Tbsp vinegar with 1 cup milk and let set 5 min)
1/4 cup canola or vegetable oil
2 teaspoons vanilla extract
2 cups fresh red raspberries
2 tablespoons all-purpose flour
3/4 cup semi-sweet chocolate chunks or chips (I used Nestle Chunks)

Directions:

Preheat oven to 350F. Spray one 9×5-inch loaf pan with floured cooking spray, or grease and flour the pan; set aside.

In a large bowl, add flour, sugars, baking soda, salt, and whisk to combine; set aside.

In a medium microwave-safe bowl, melt butter about 45 seconds on high power. To the butter, add the egg, buttermilk, oil, vanilla, and whisk to combine.

Pour wet ingredients into dry and stir until just combined.  Do not over mix or dough will be “tough.” It is ok if batter is lumpy.

In a medium bowl, add the raspberries and 2 tablespoons flour.  Toss lightly to combine Coating the berries in flour helps to reduce their sinking while baking.

Add the raspberries to the batter and fold very lightly to combine.  Gently fold in chocolate chunks.

Pour batter into prepared pan and bake for approximately 1 hour.  You may want to cover halfway through with tented foil to prevent top from becoming too brown.  I did.

Allow bread to cool in pan for about 15 minutes before turning out on a wire rack to cool completely before slicing and serving.

*Original Recipe Found and Slightly Adapted from Averie Cooks

Enjoy!

Cheers & Hugs,
Jodi

Fresh Orange Date Walnut Bread

Orange Date Walnut Bread 3

I was looking for something new to try baking early yesterday morning before I settled into work for the day.

It was a cool, rainy day after a wonderful stretch of warmth and sunshine.  I was in the mood for a nut bread, but after traveling most of the week, I didn’t have a lot of fresh ingredients on hand.

Orange Date Walnut Bread 1

I found a bag of dates, but I wanted to “Springify” a date and nut bread recipe up a bit, so I thought fresh orange flavor might just do the trick.  Adding a bit of freshly squeezed orange juice and fresh orange zest was just the ticket to brighten up this lovely bread.

Orange Date Walnut Bread 2

It’s nice to have something like this on hand for a quick breakfast with coffee, a nice little treat for a guest or a late night or after dinner urge for something just a bit sweet, but not too.

I’m sure this would freeze well and be great to pull out when needed.

Hope you enjoy your weekend!

May it be bright and fresh and Springy, but a little nutty too!

Fresh Orange Date Walnut Bread

Ingredients:Orange Date Walnut Bread 3

3/4 cup sugar
1/2 cup butter, softened
1/2 cup sour cream
1/3 cup fresh orange juice
1 Tbsp freshly grated orange zest
2 eggs
1  3/4 cups all-purpose flour
3/4 tsp baking powder
 3/4 tsp baking soda
1 cup chopped dates
1 cup chopped walnuts


Directions:

Preheat oven to 350°F. Grease bottom only of 9×5-inch loaf pan. Set aside.

Beat sugar and butter at medium speed with mixer, scraping bowl often, until creamy. Add sour cream, orange juice, orange zest and eggs; continue beating until well mixed. Add flour, baking powder and baking soda; beat at low speed until well mixed. Gently stir in dates and walnuts.

Pour into prepared pan. Bake 45 minutes or until toothpick inserted in center comes out clean. Let stand 10 minutes; remove from pan. Cool completely.

*Adapted from LandoLakes Recipe

Cheers & Hugs,
Jodi