Hand Painted Snowman Mugs

painted snowman mug 2

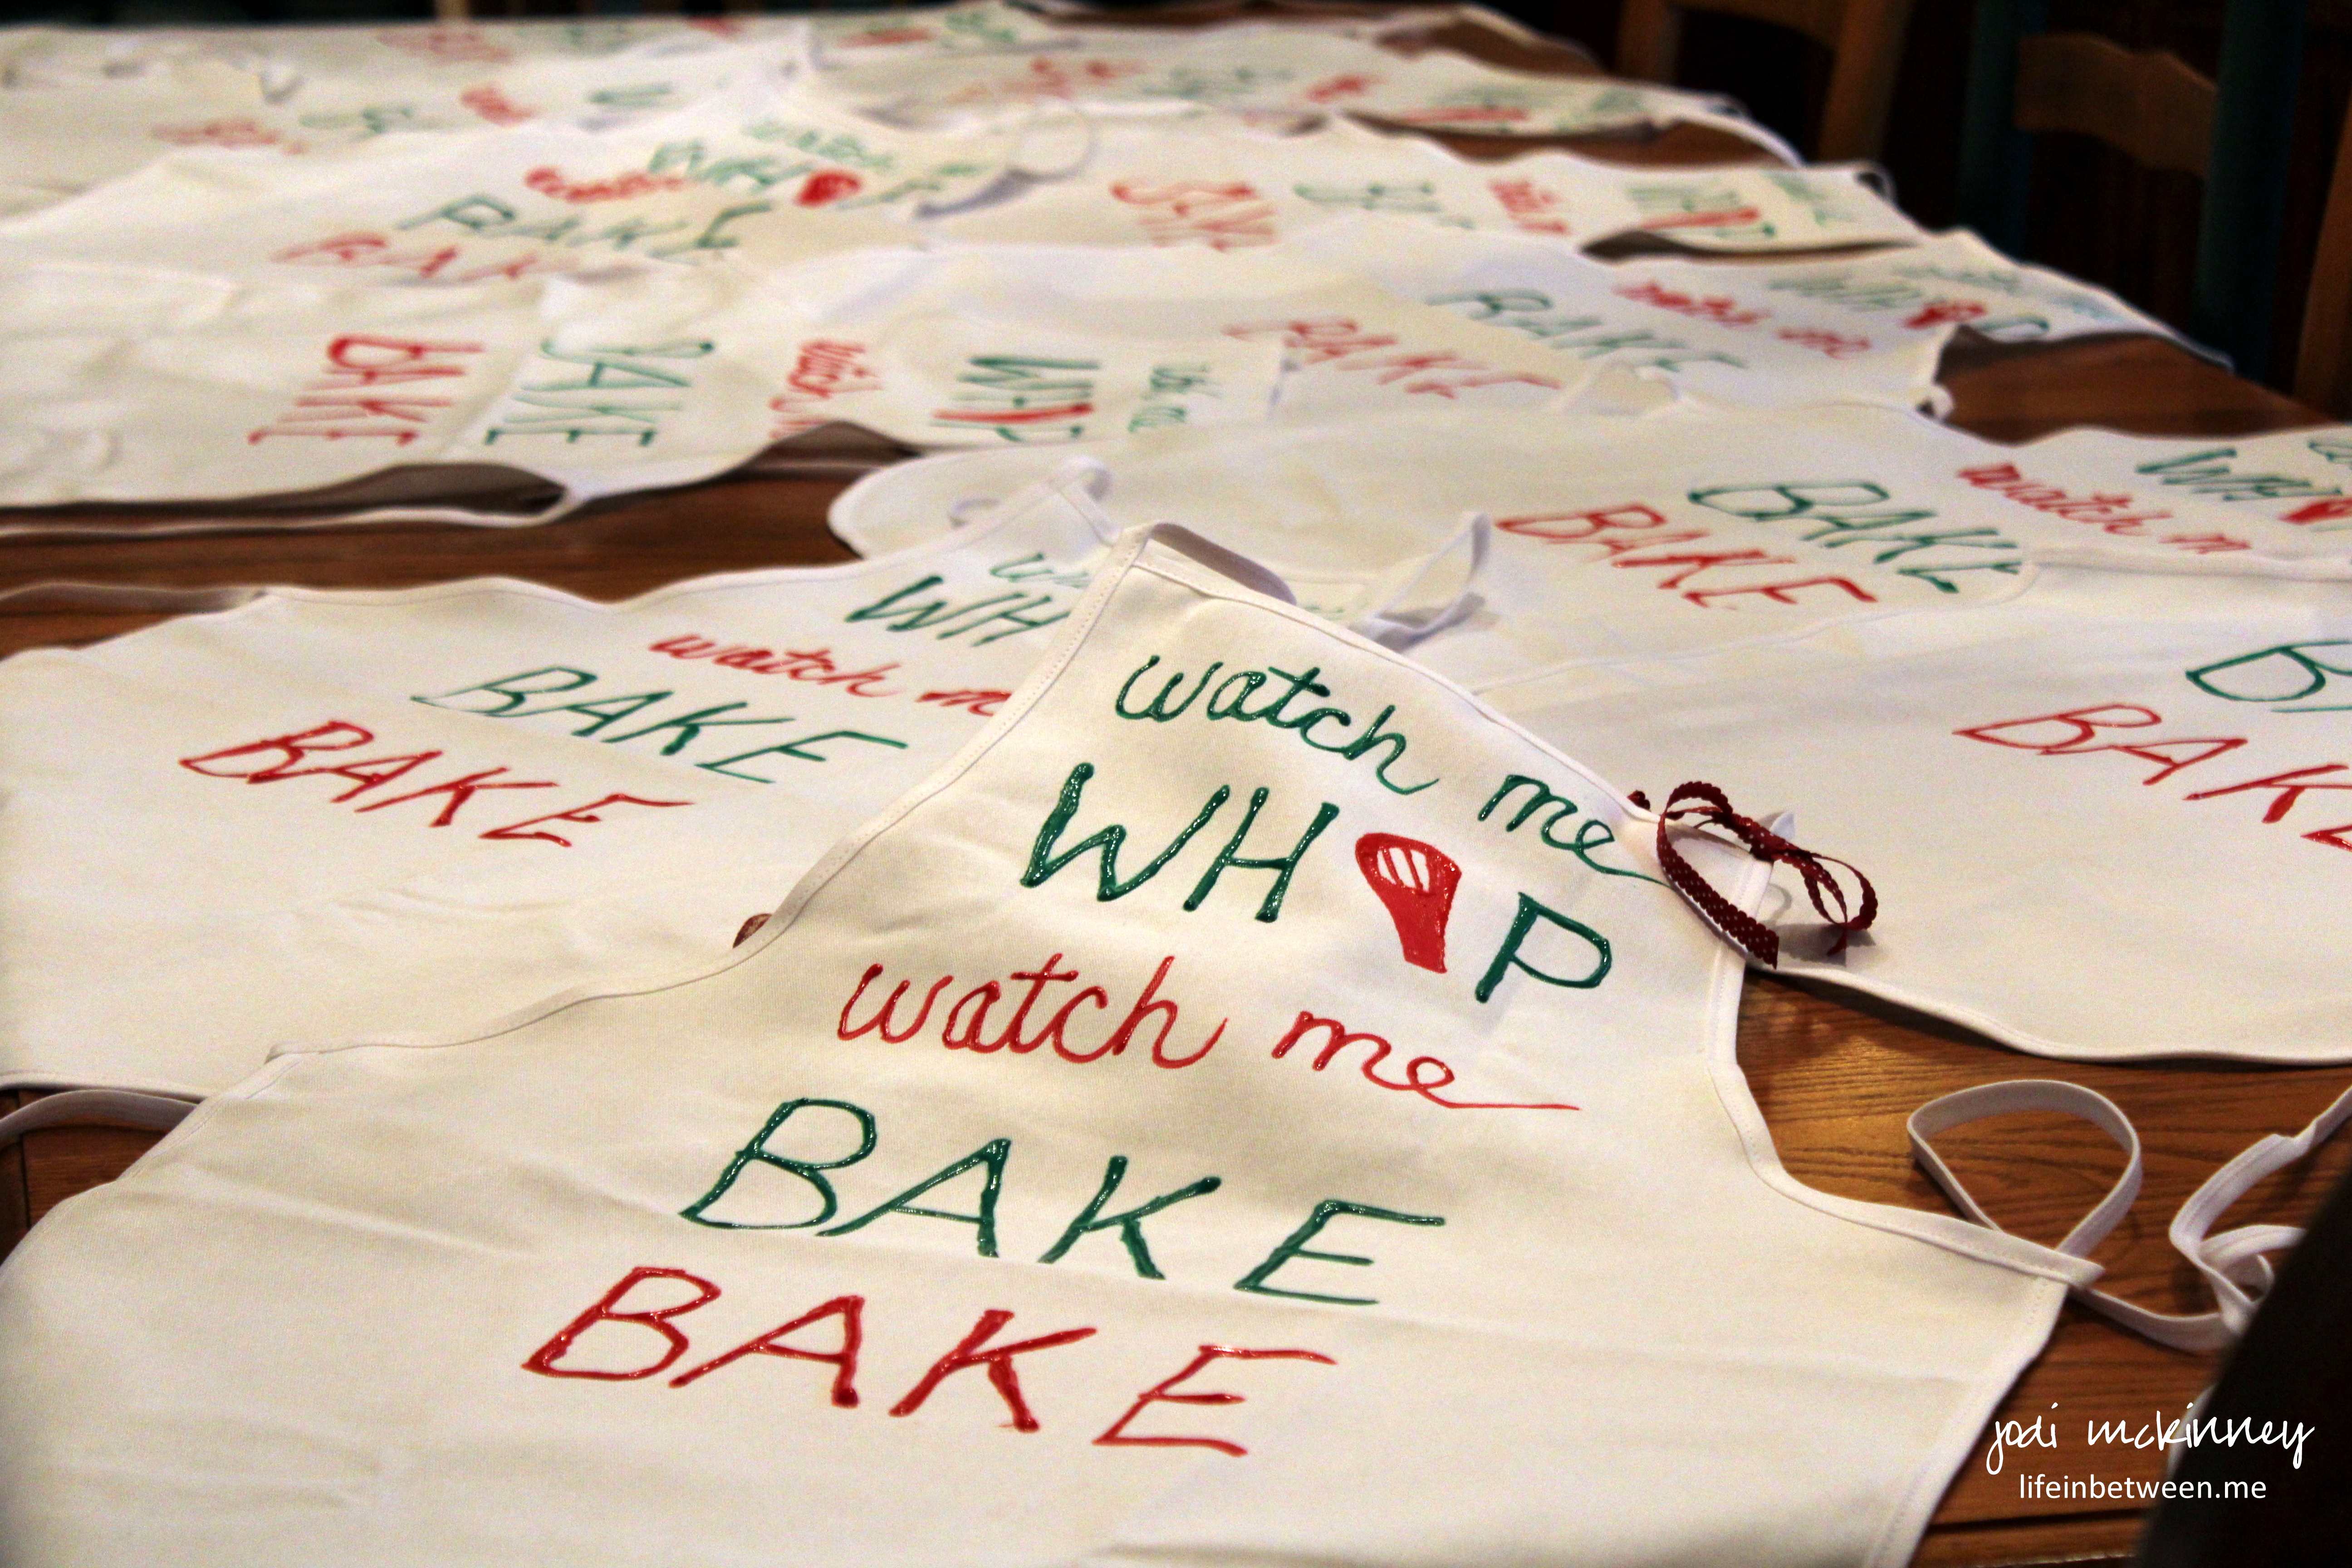
One of our Christmas celebrations last week was our annual McHendy Christmas get-together.

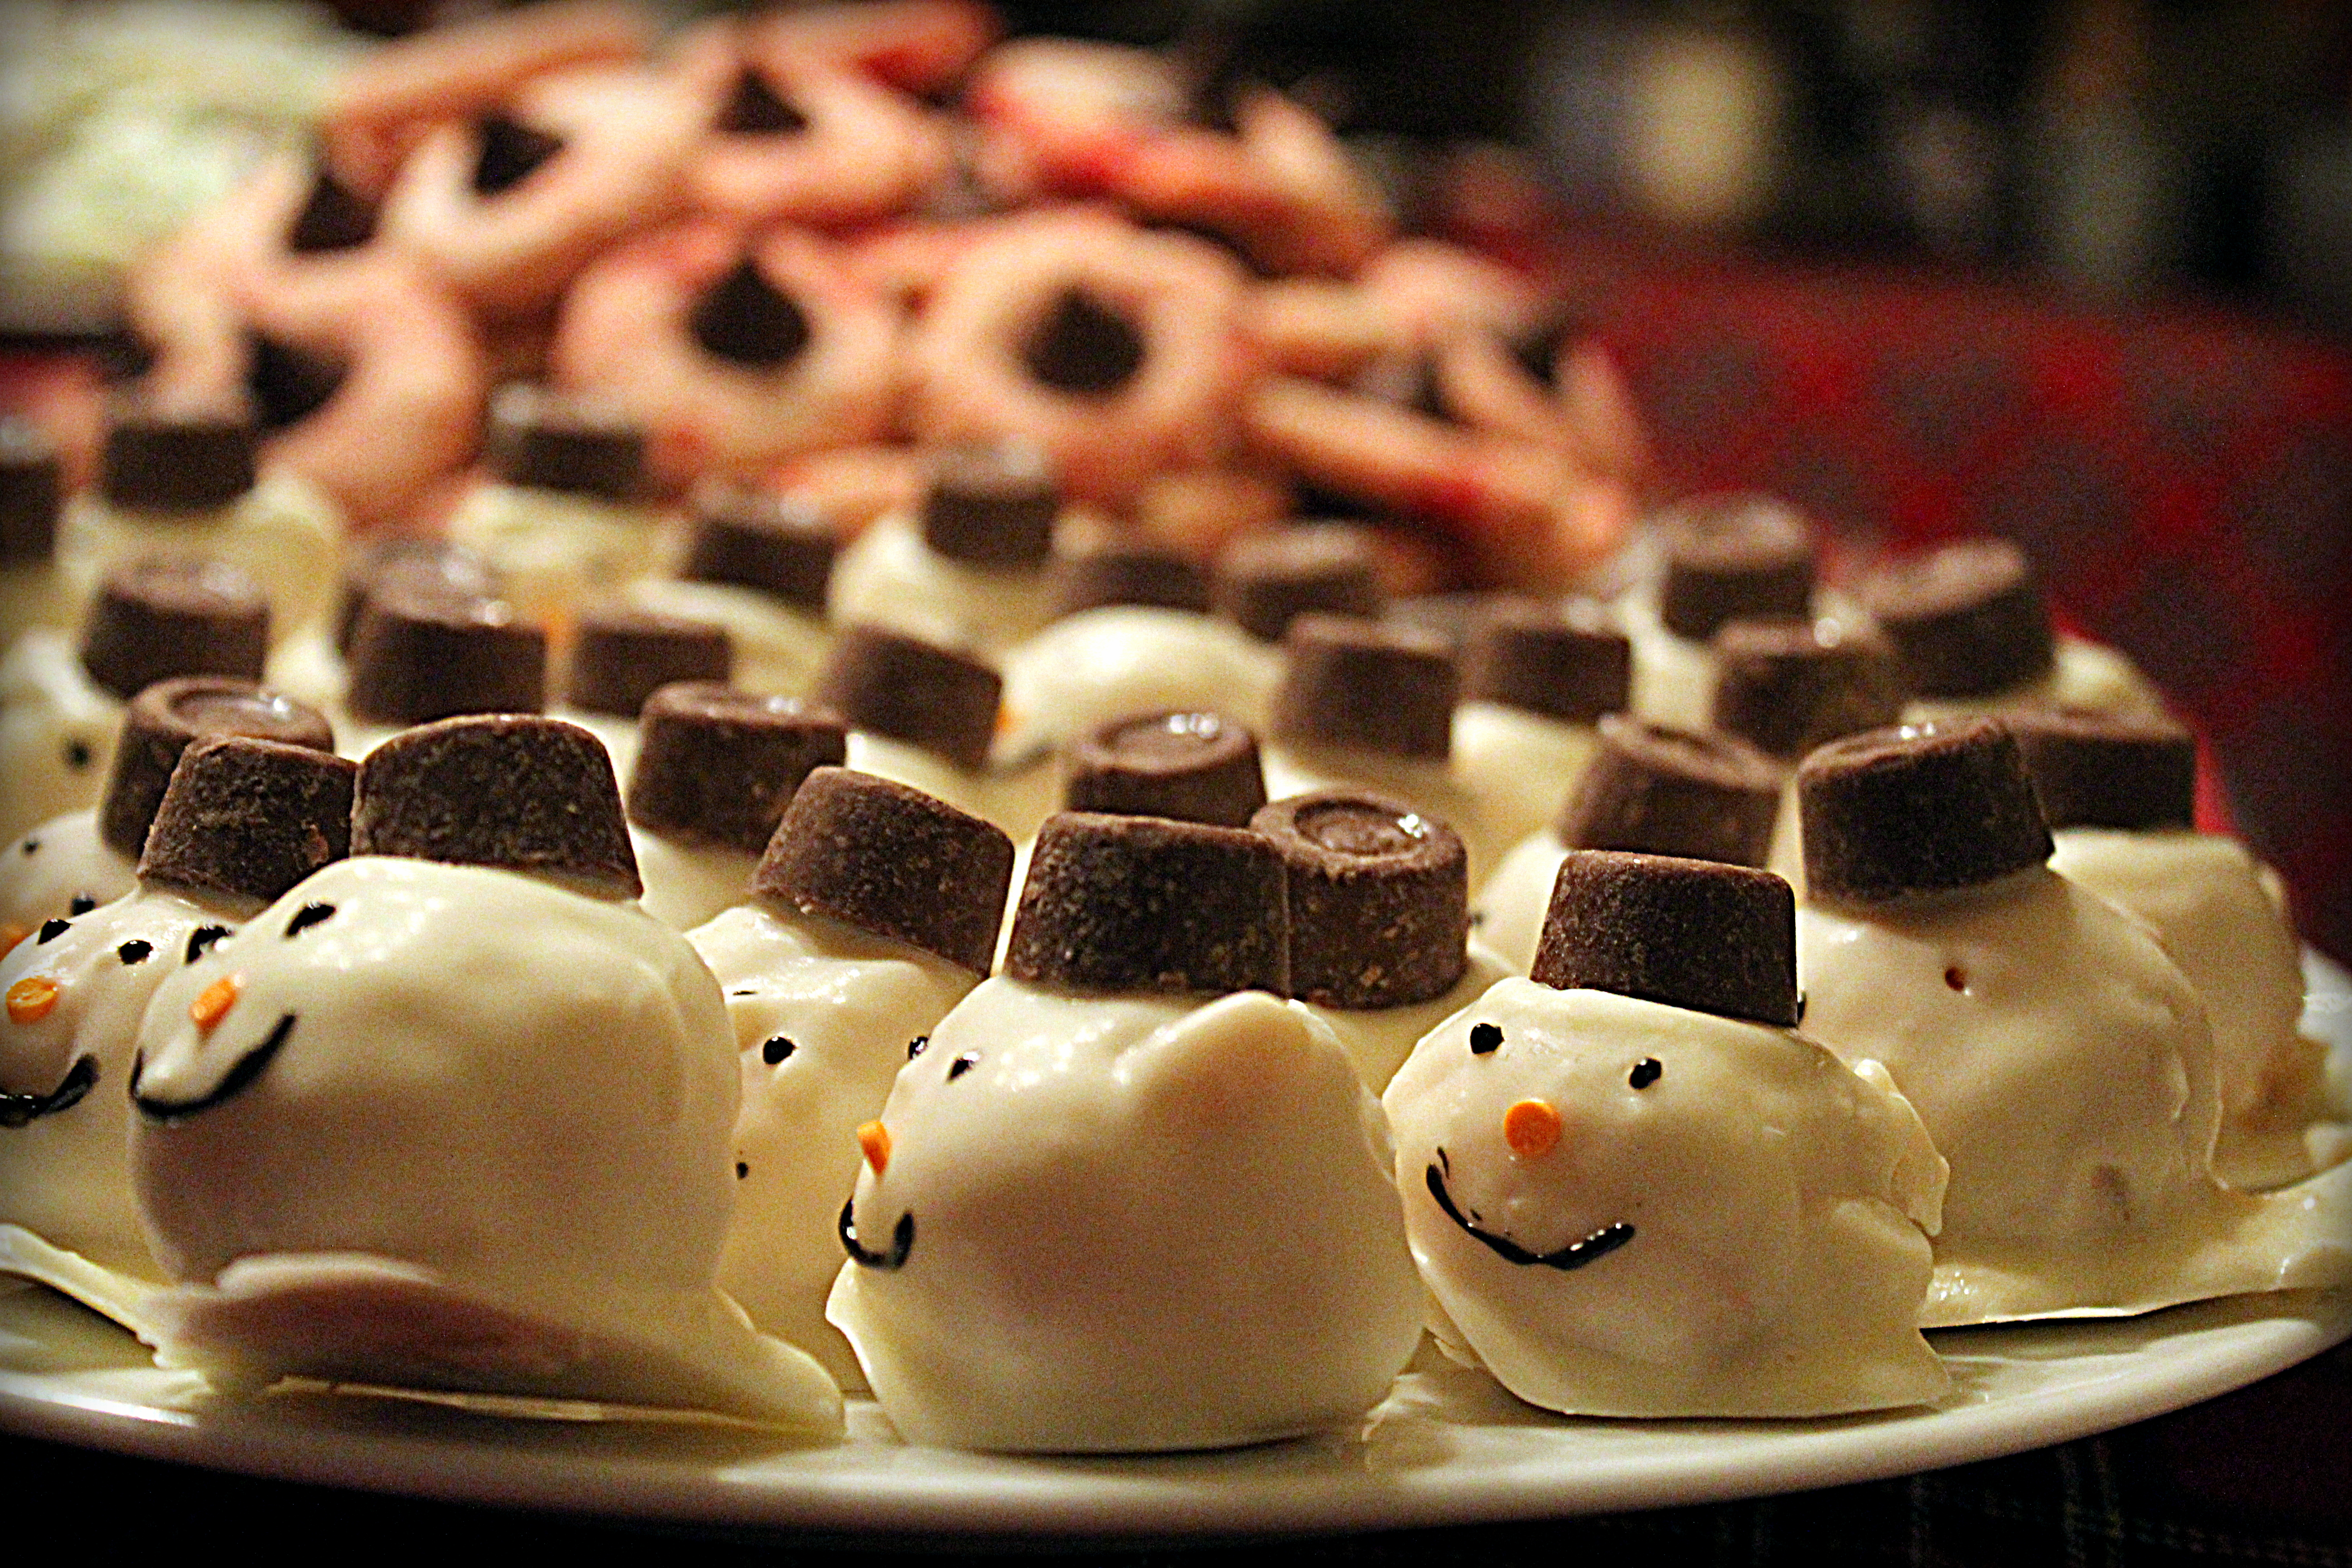
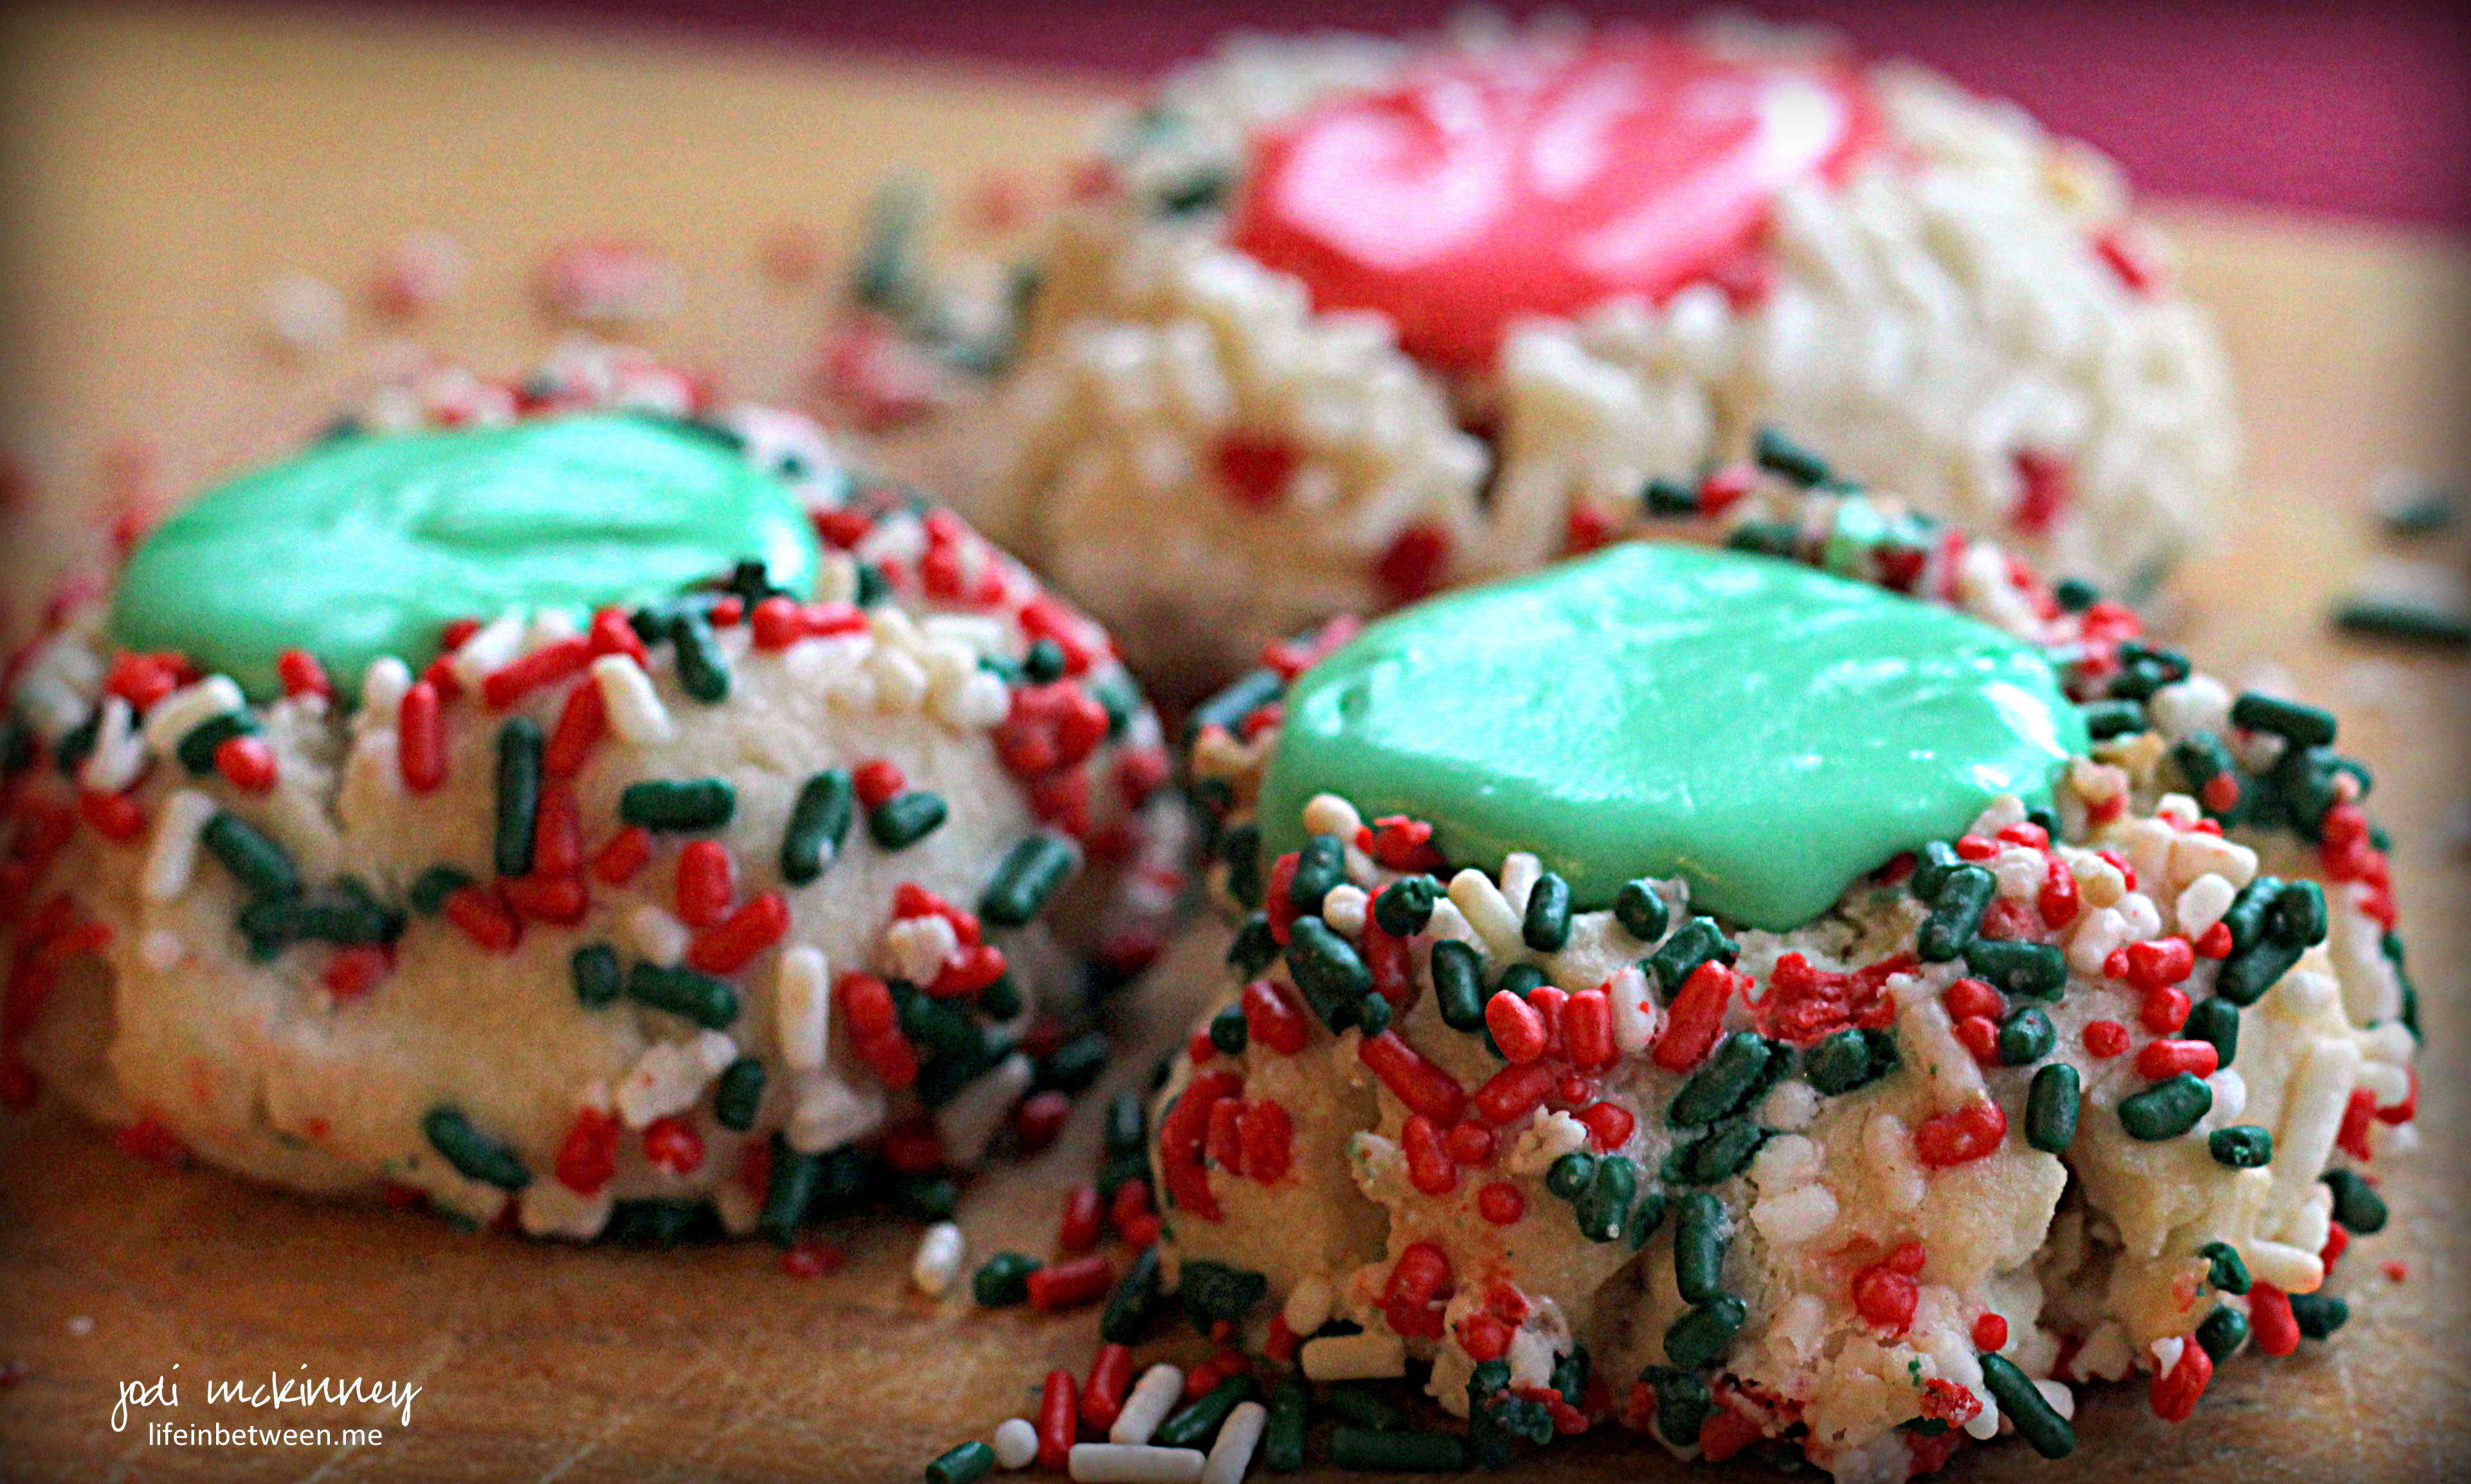
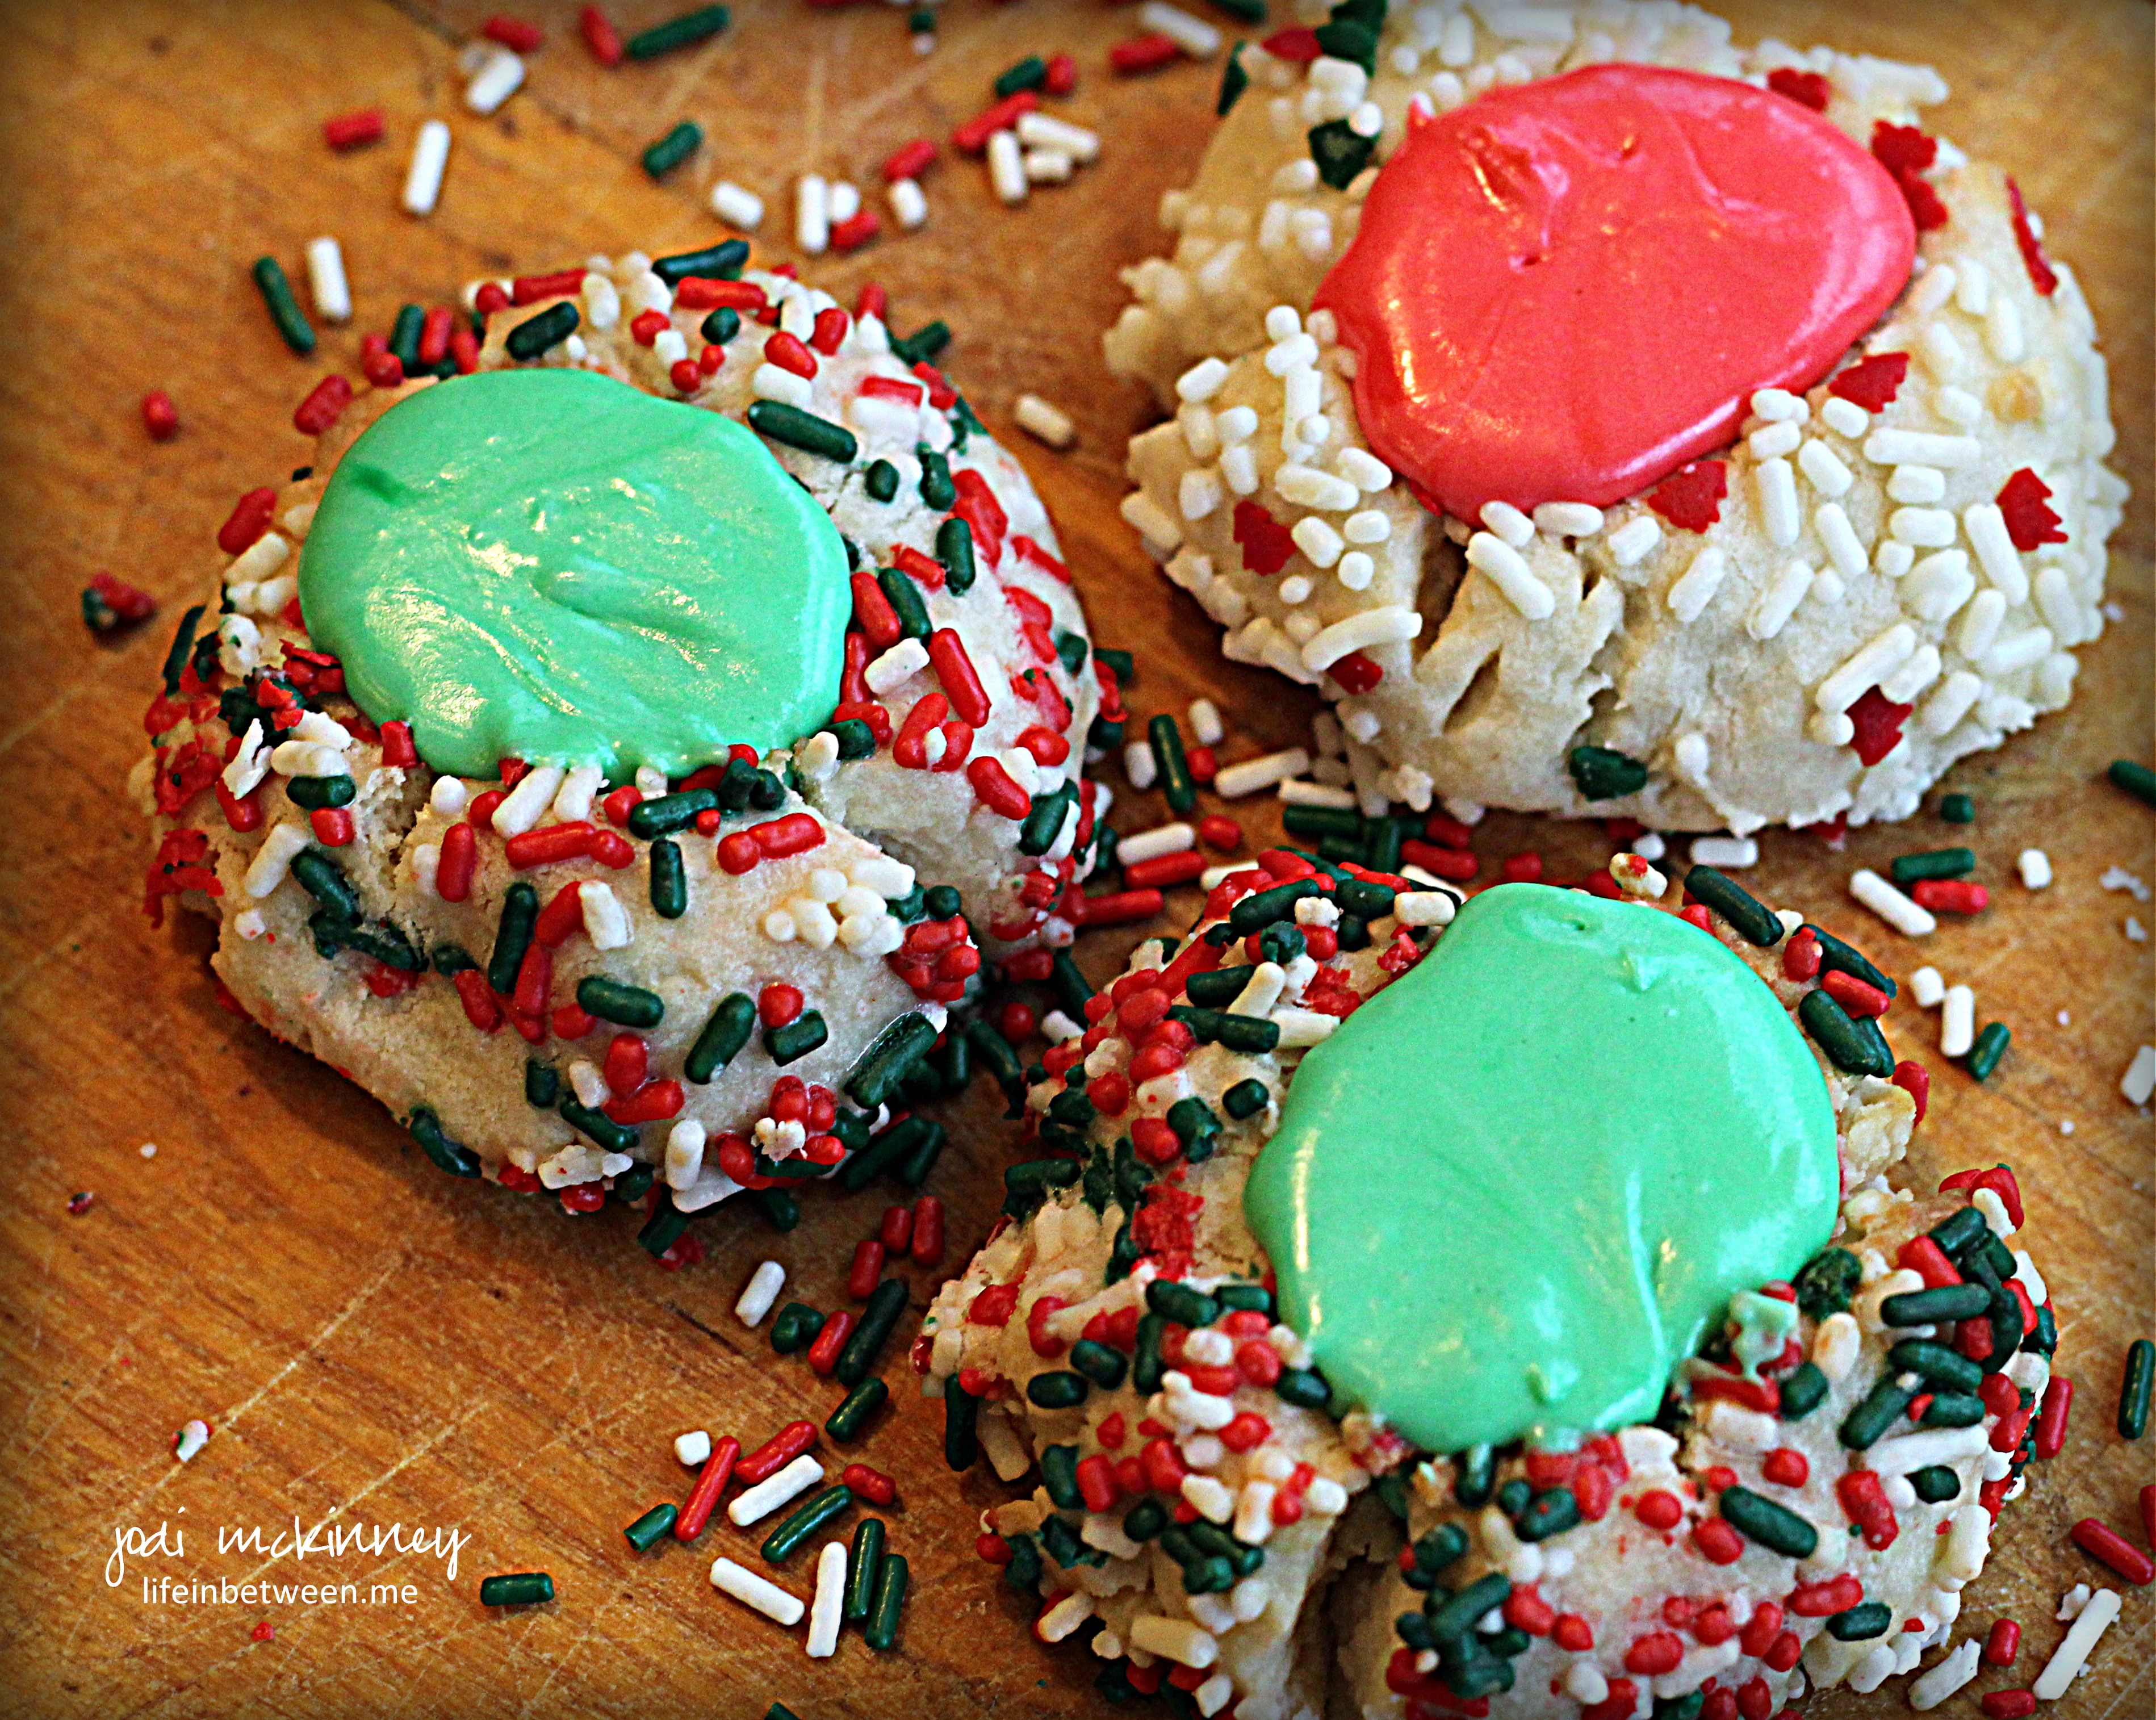
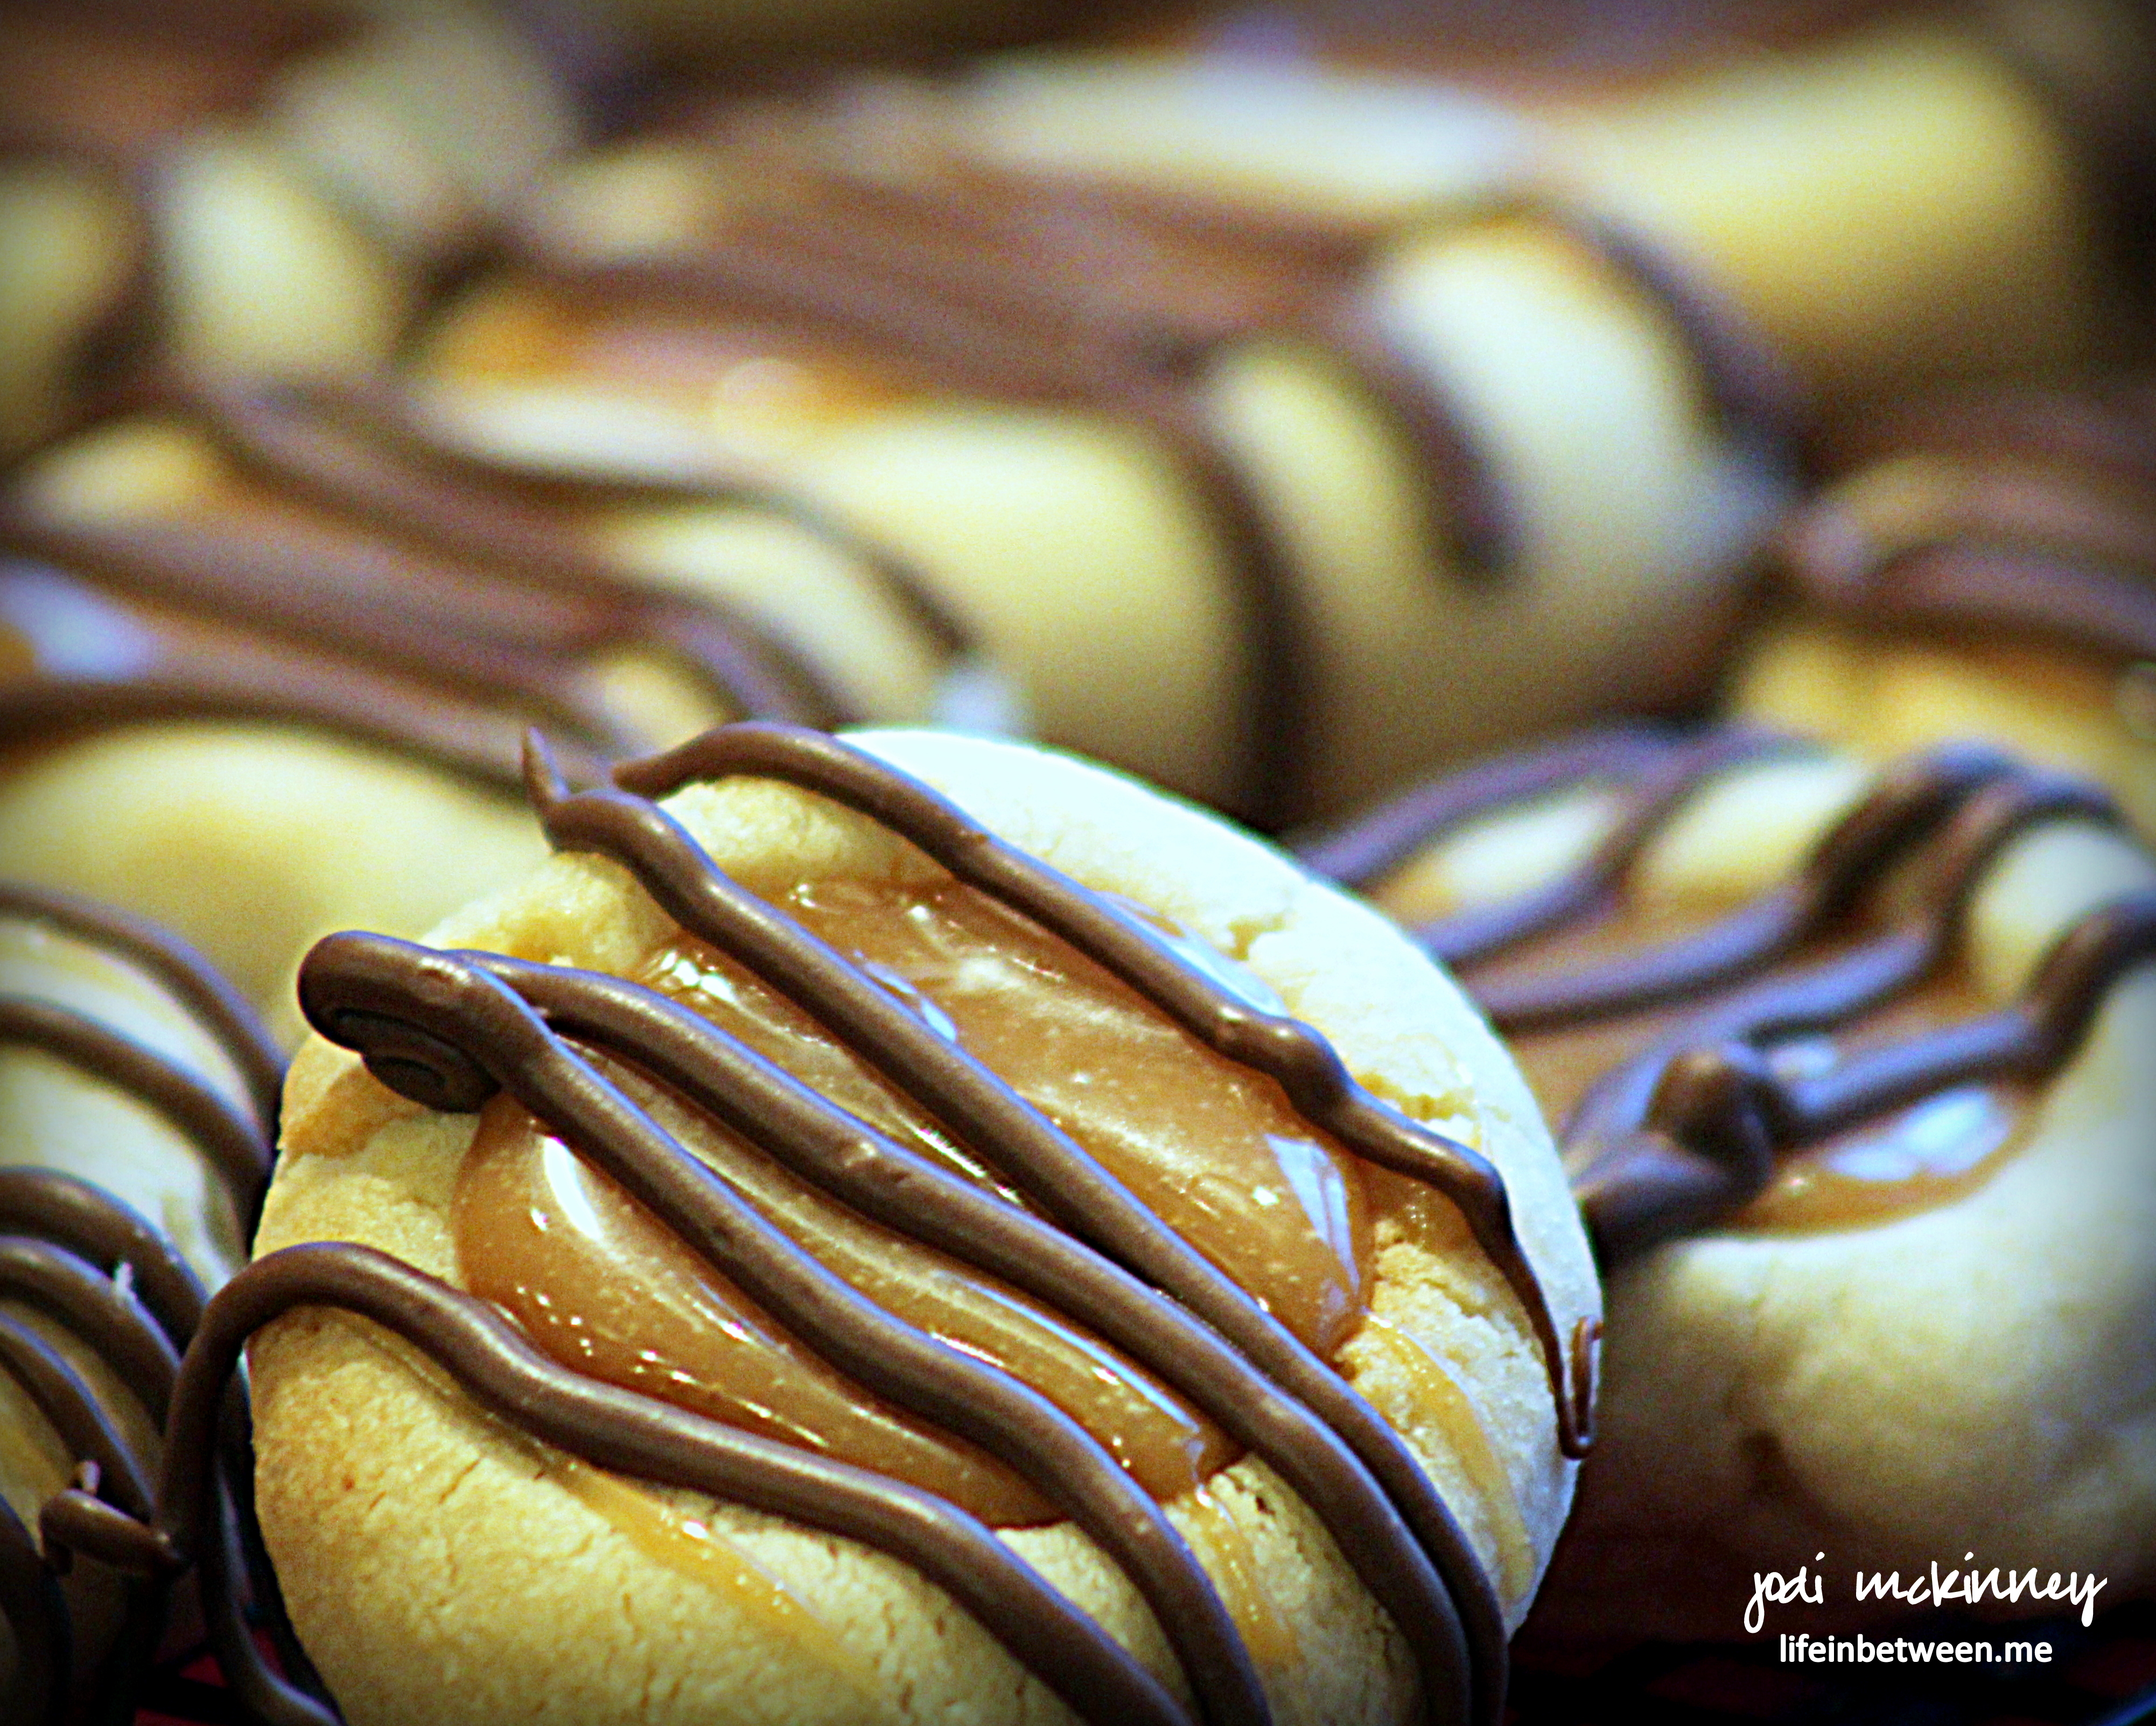
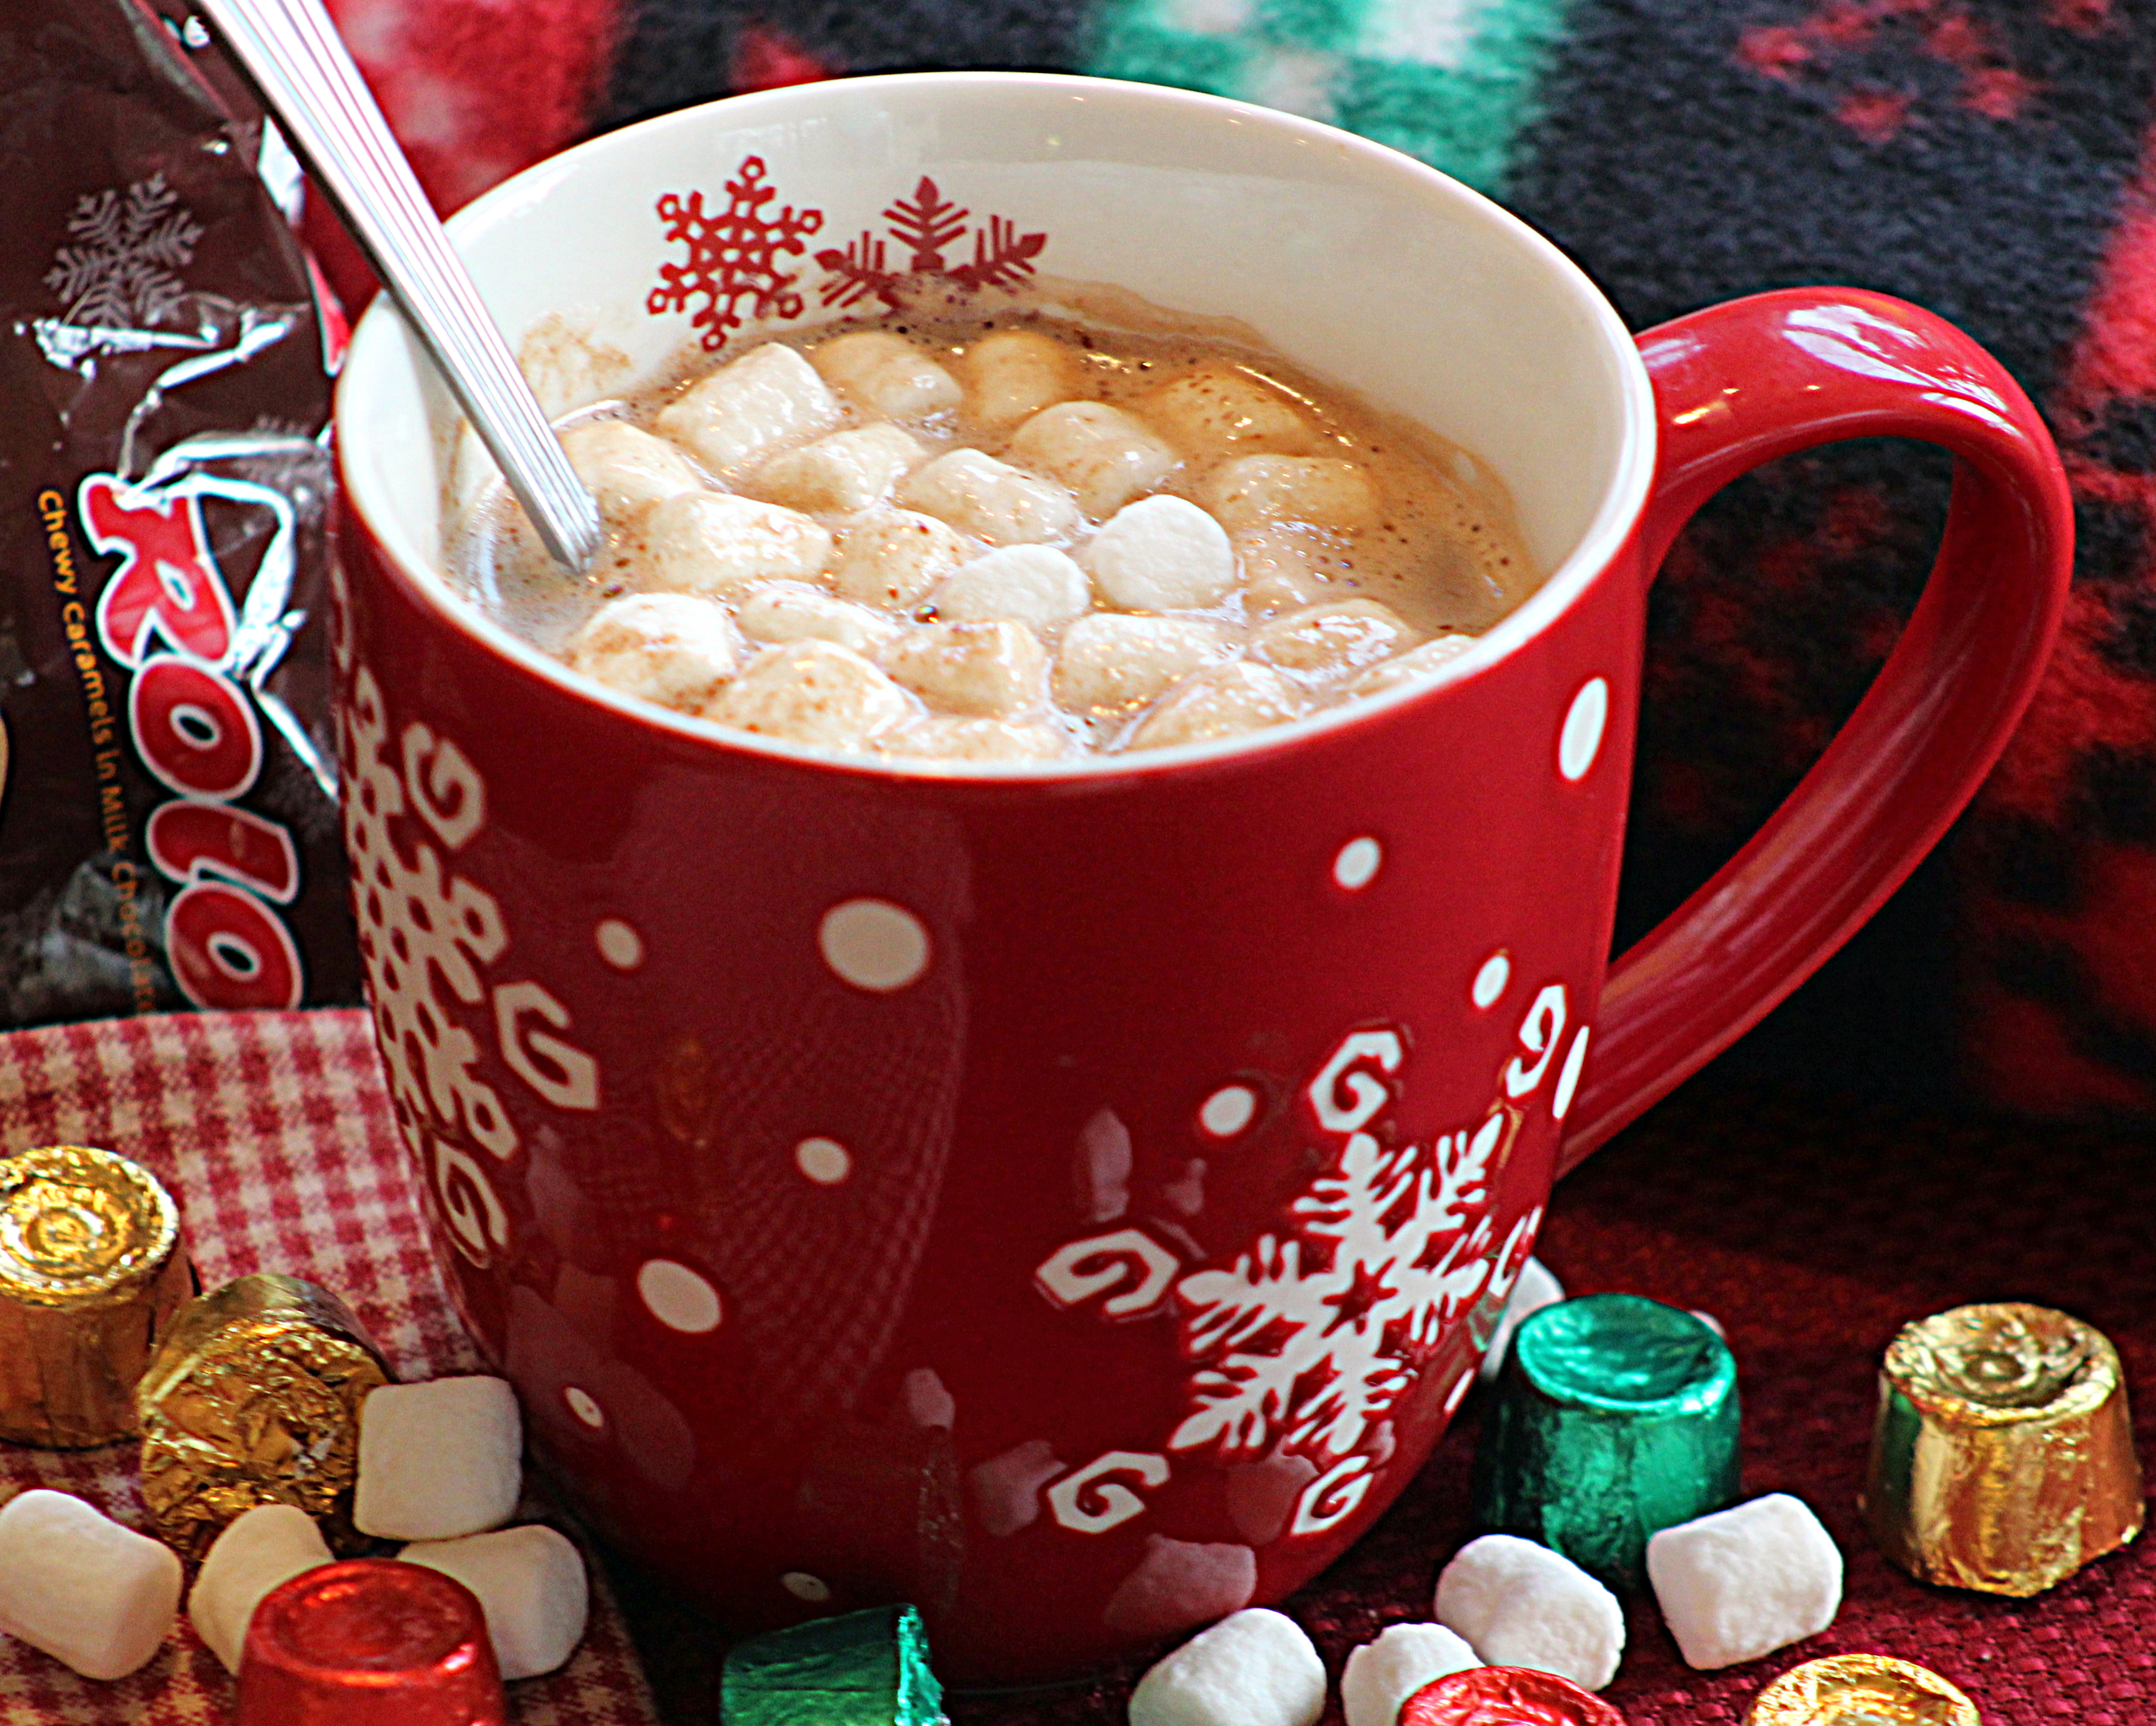
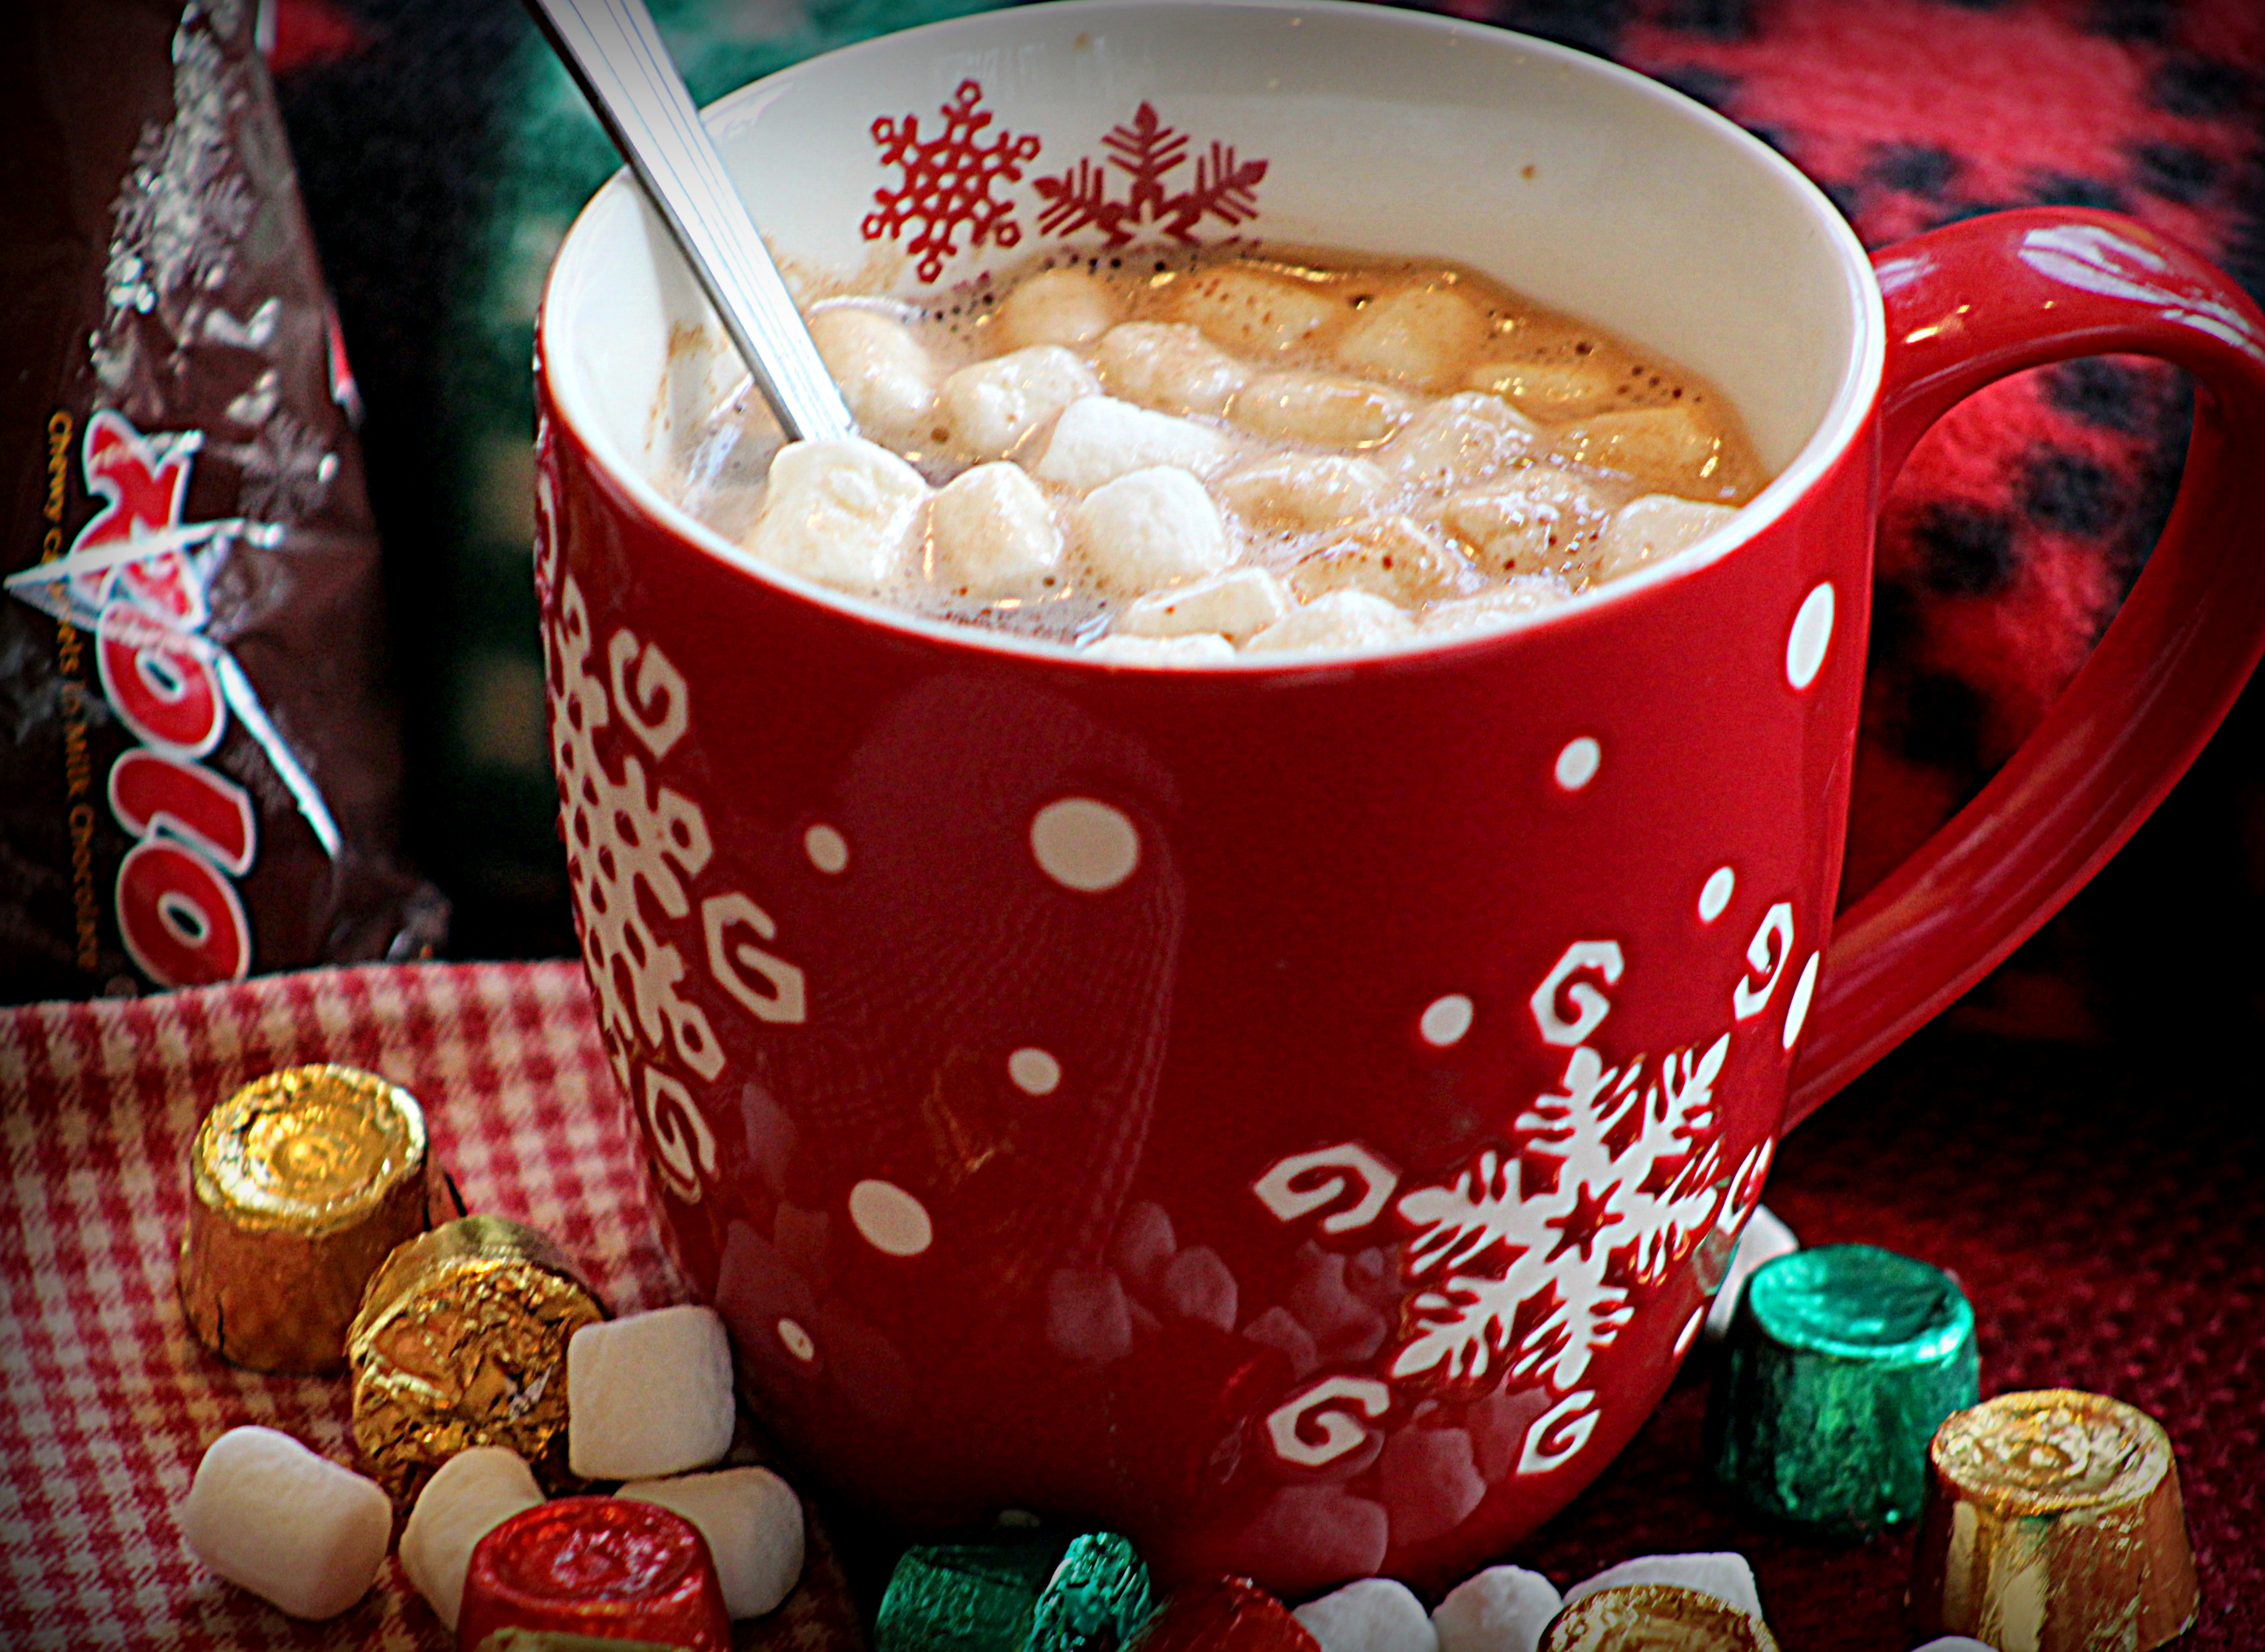
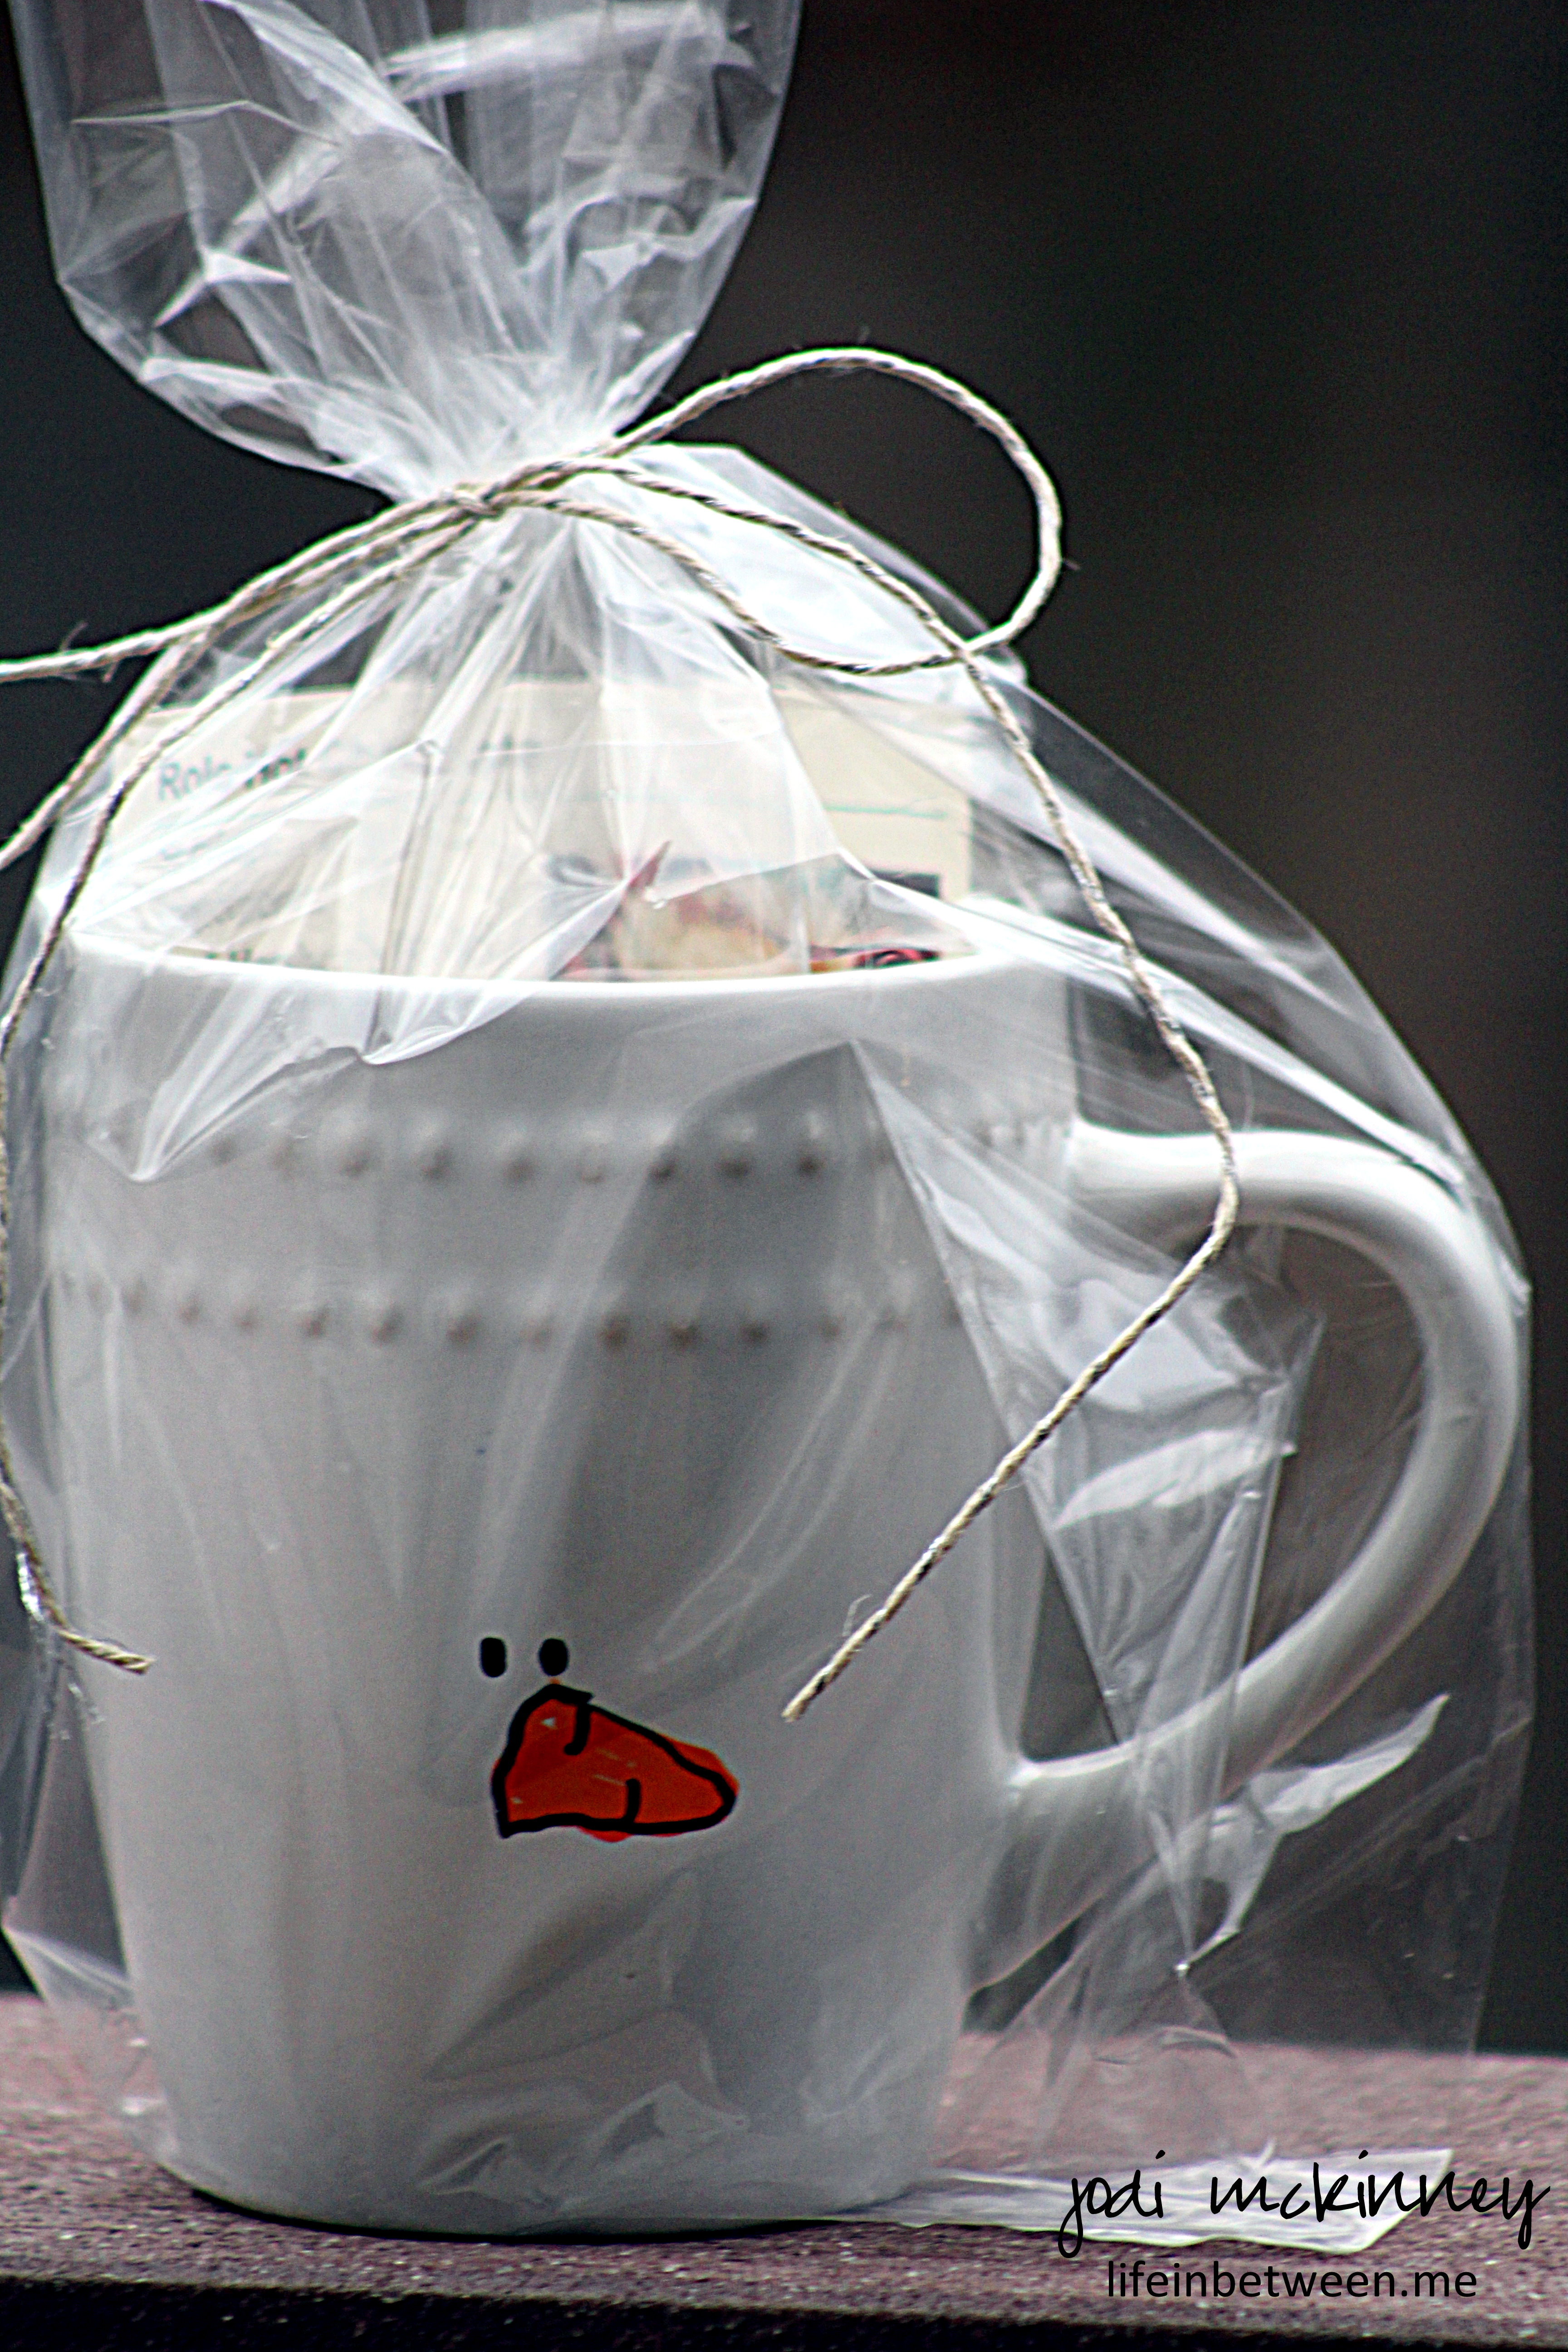
For this celebration, I painted some snowmen mugs and filled them with Rolo chocolate caramel candies, mini marshmallows, and the recipe for Rolo Hot Chocolate that I featured here a few weeks ago to give to everyone.

painted snowman mug

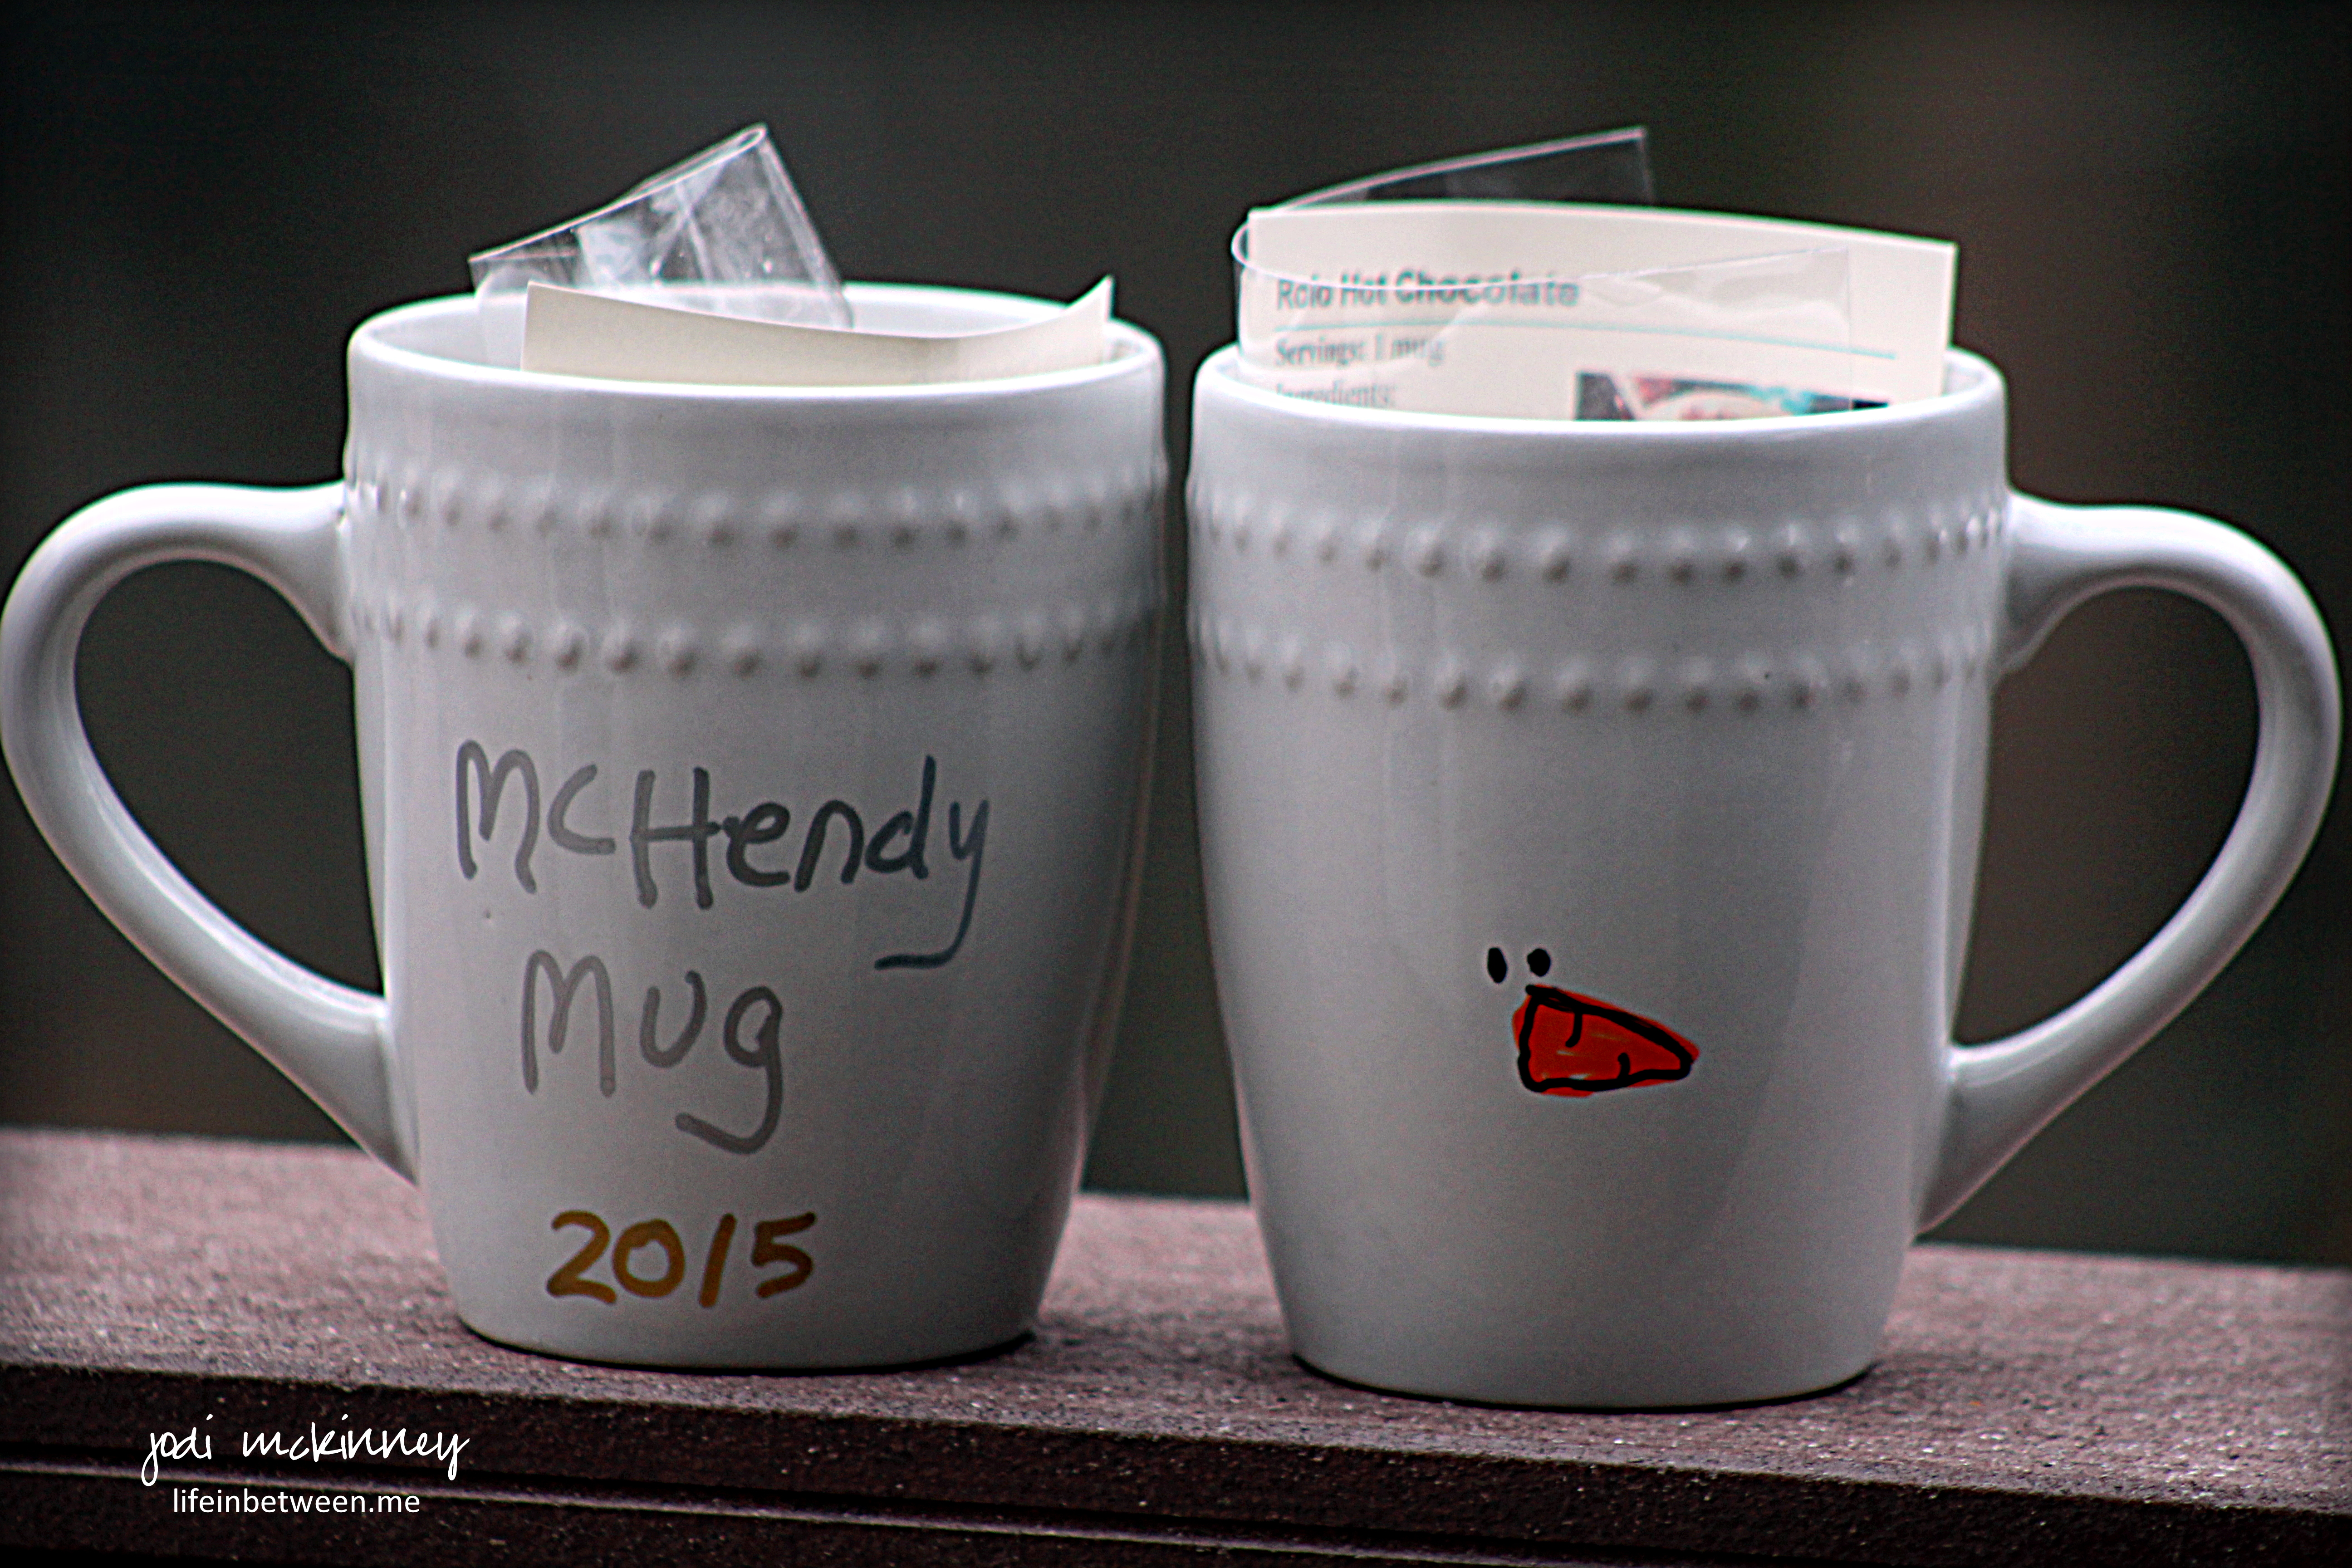
On white ceramic mugs purchased from the Dollar Store, I painted little snowman coal eyes and carrot noses with Sharpie Oil Based Paint Markers on one side, and wrote McHendy Mug and the year on the other.

painted snowman mug 3

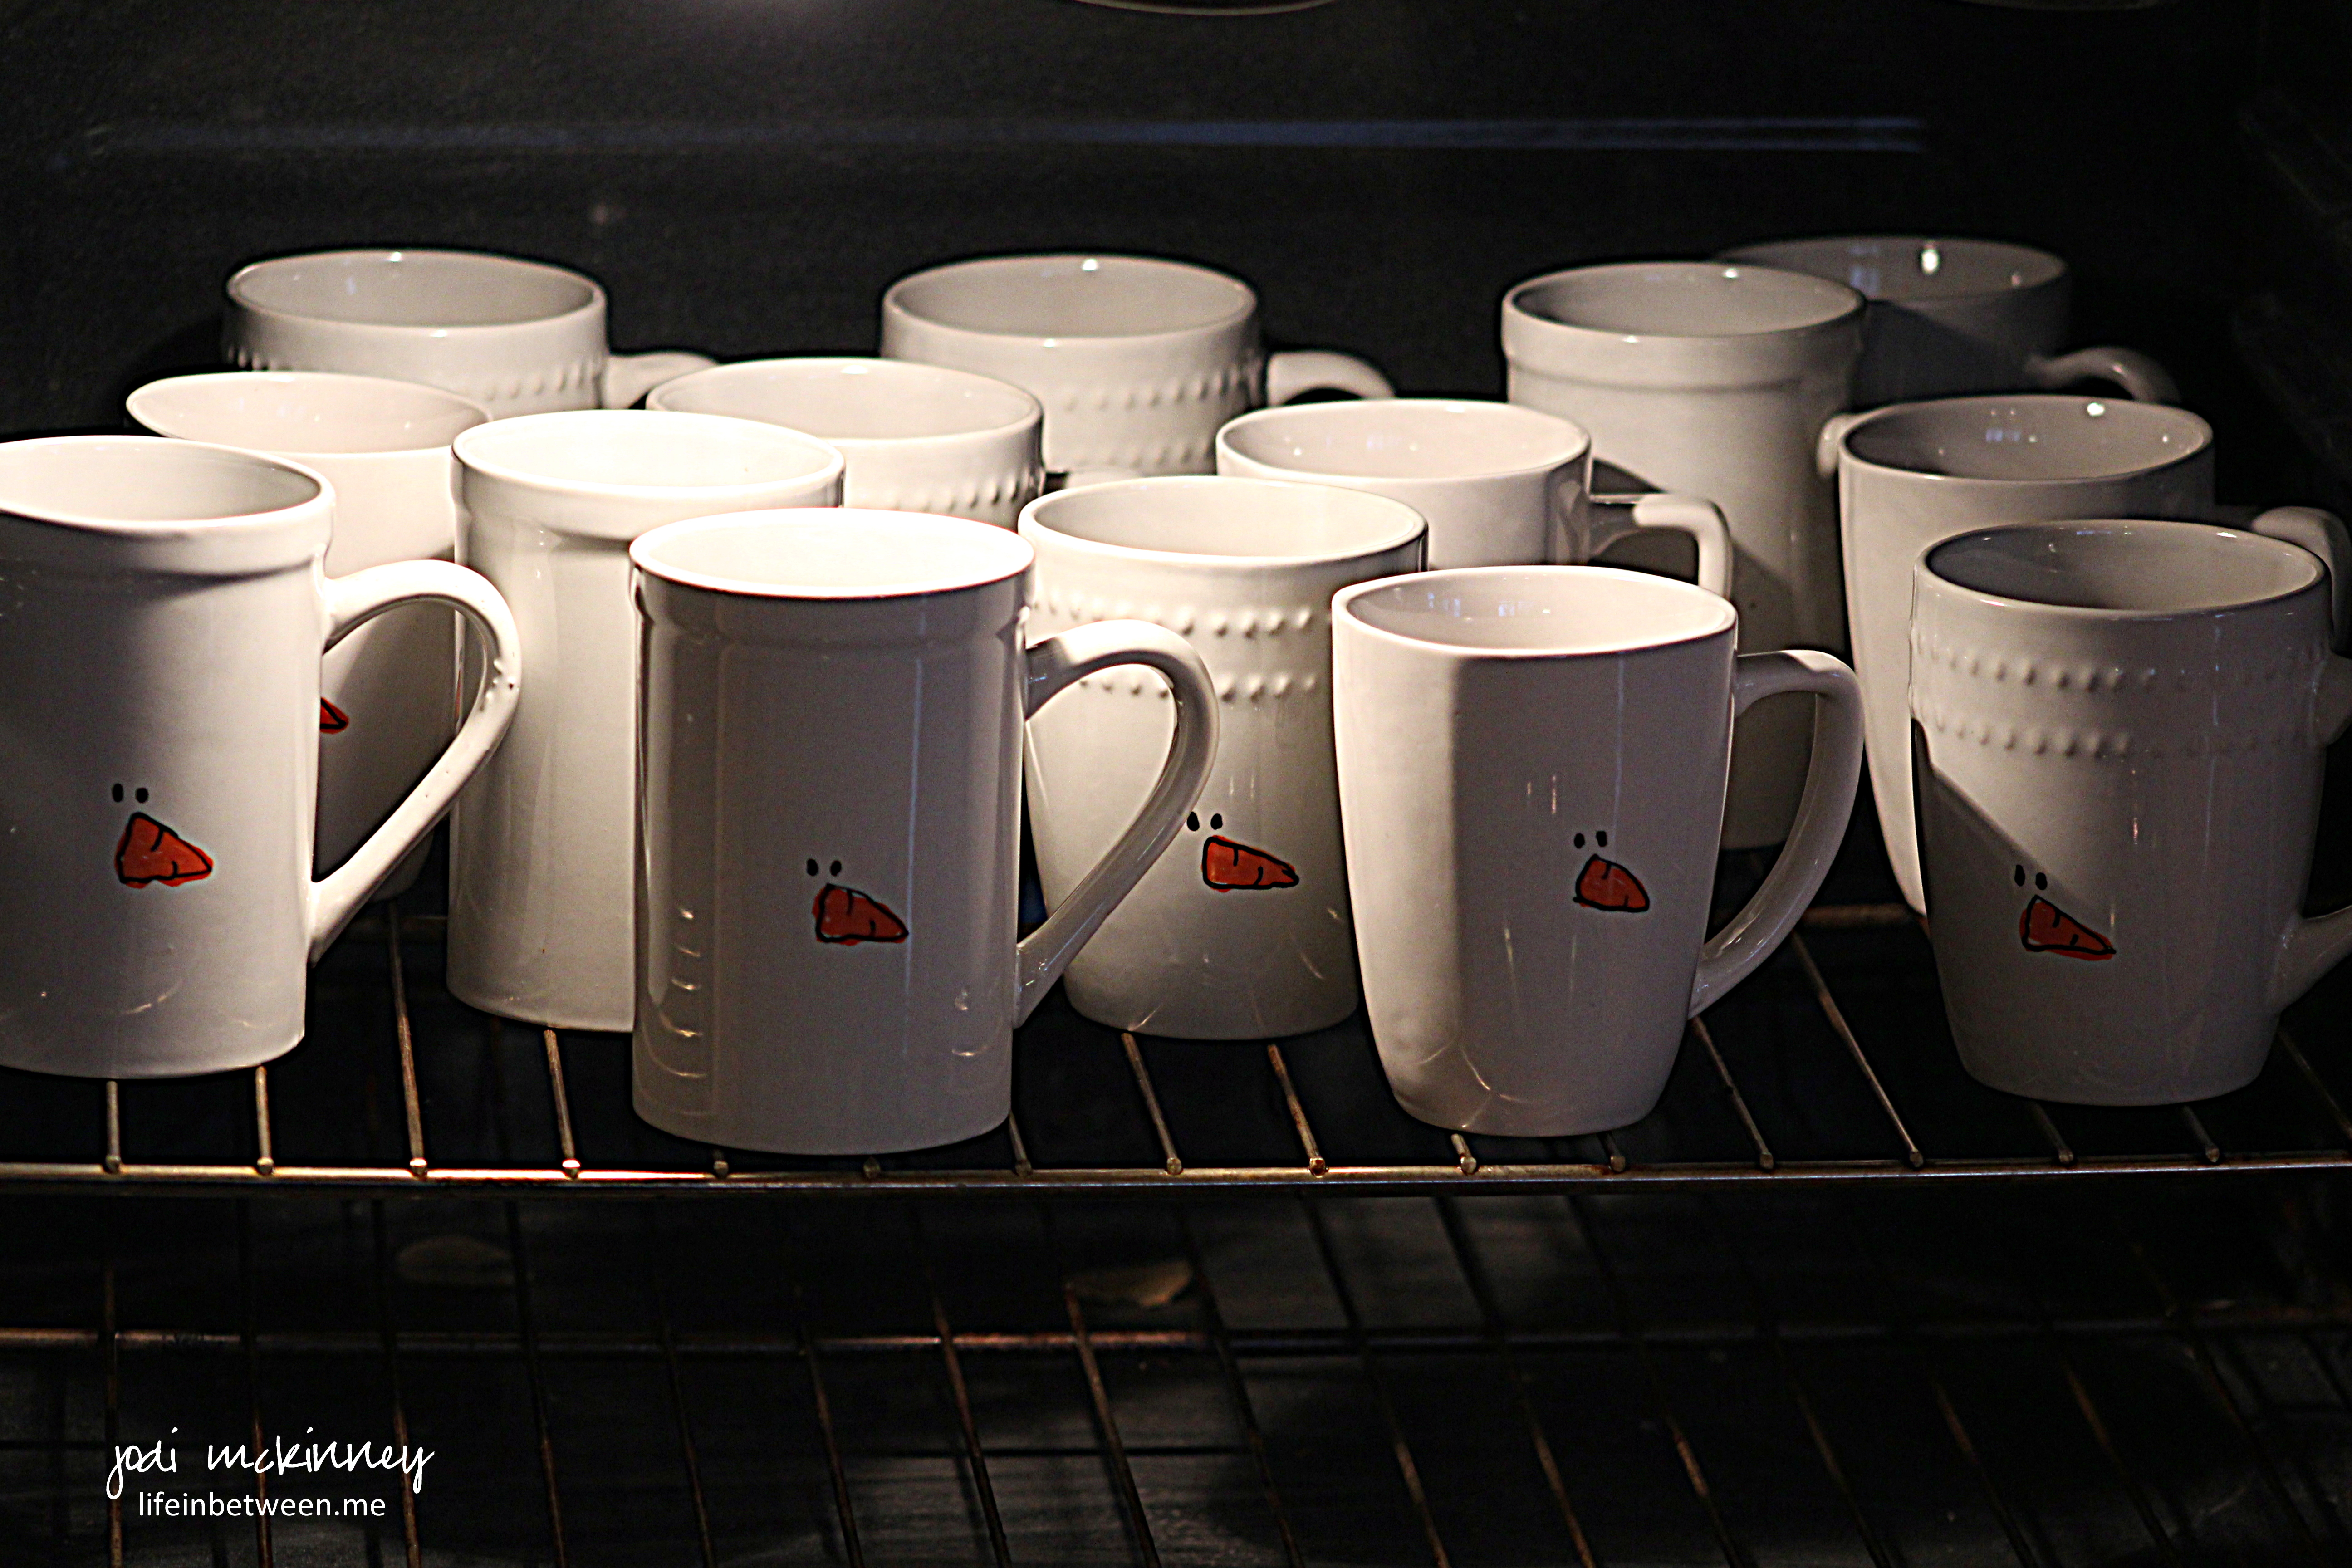
After painting them all, I let them cure for 24 hours.  I then placed them in a cold oven, set the temperature for 350 degrees F and “baked” for 30 minutes.  I turned the oven off after 30 minutes and let them cool completely in the oven without opening it.  I hope this works as it is the first time I tried.  They are supposed to be able to go through the dishwasher.

Wondering what a McHendy Christmas Celebration is?

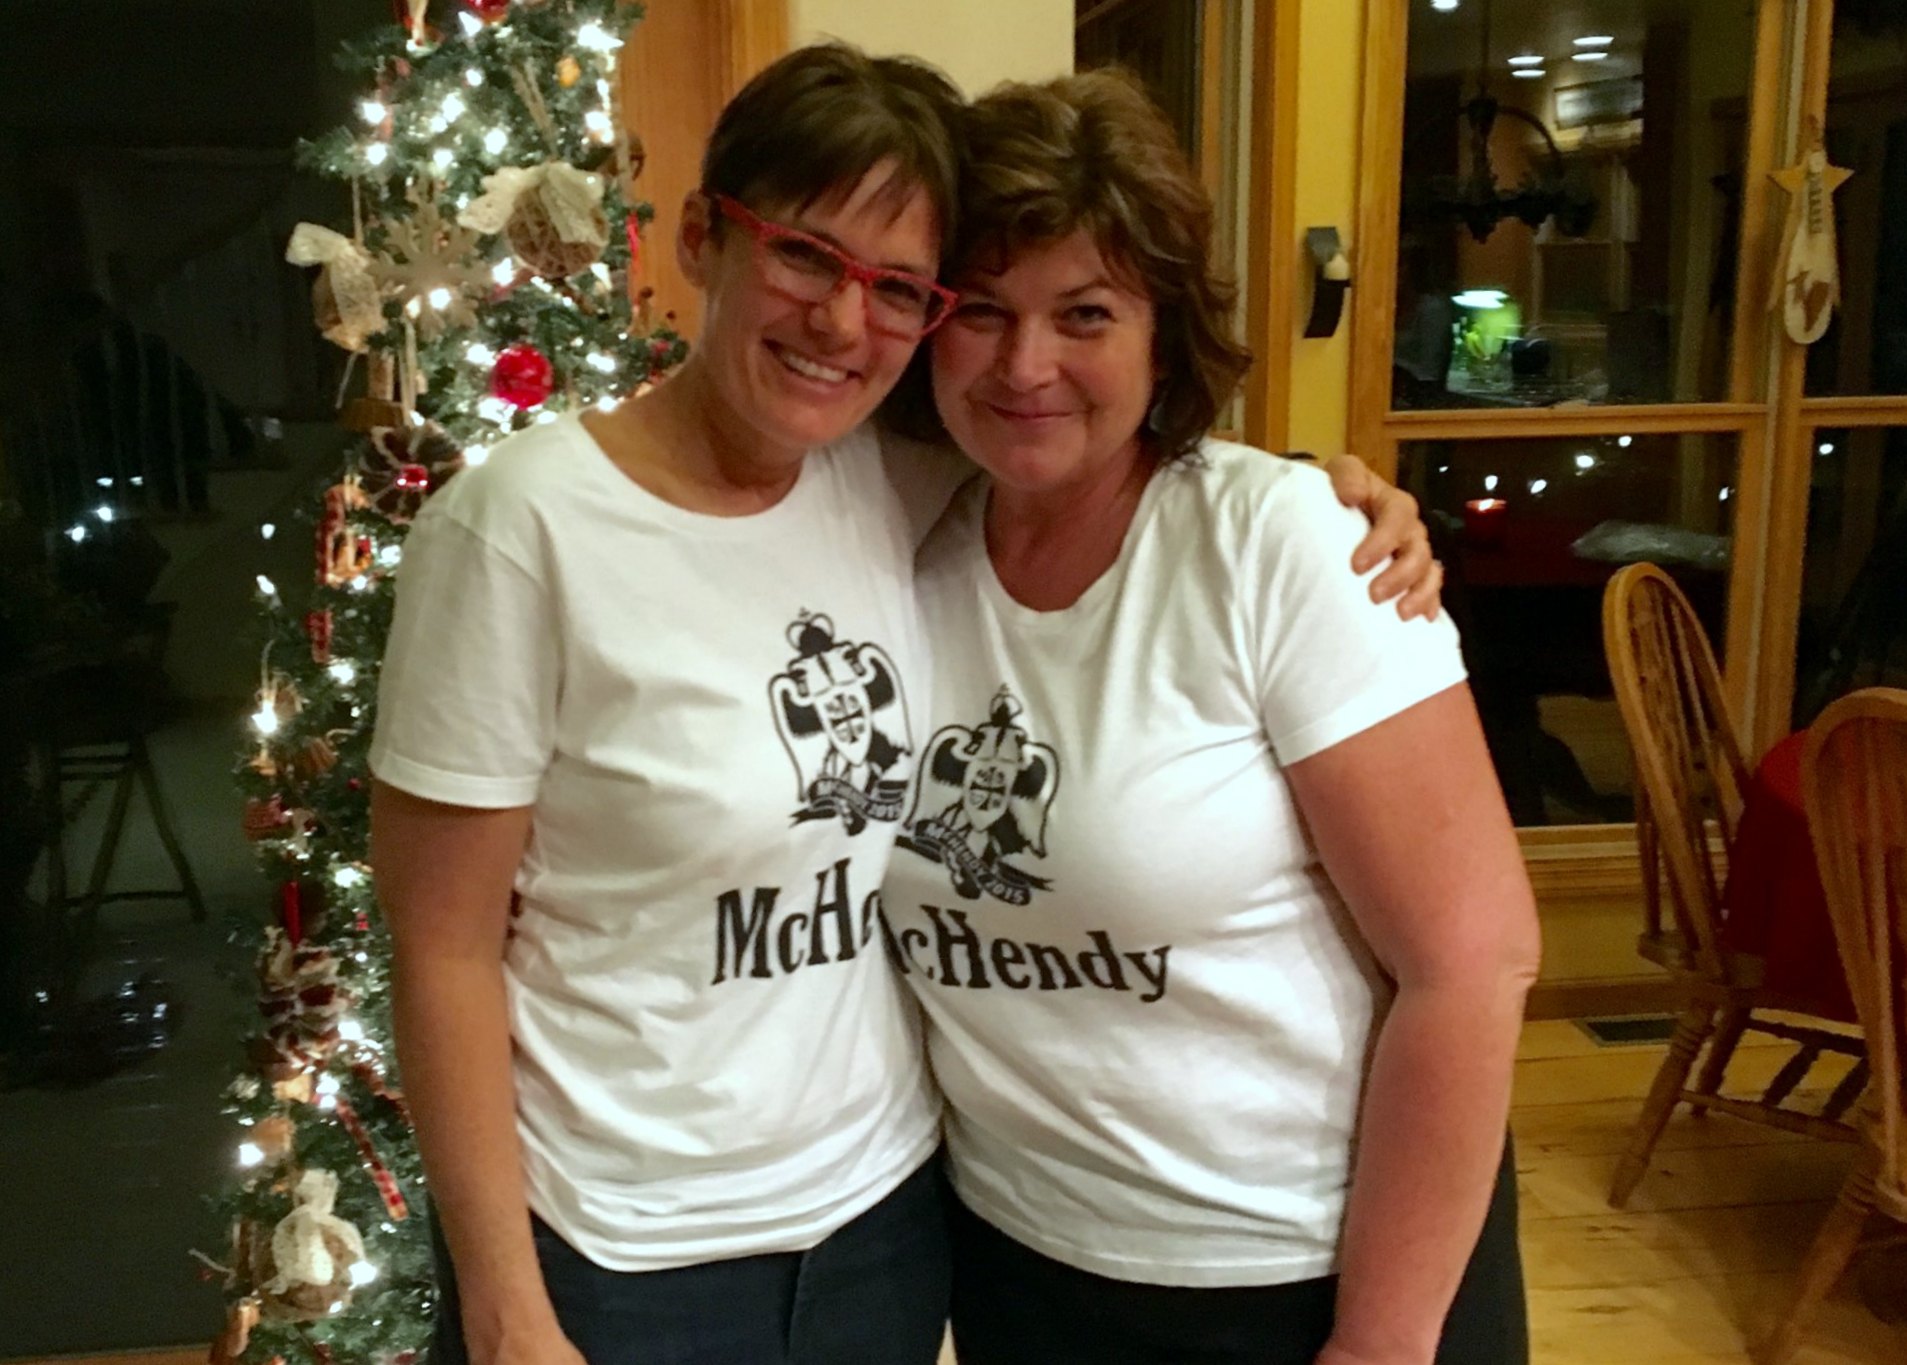
Well – when you take two besties and their families that have so much love they actually form one big family, you combine their last names to create a new one.

jill and jodi mchendy christmas 2015

And you celebrate every year watching the “kids” grow, marry and add to the family, and count your blessings dearly!

Mchendy family 2015

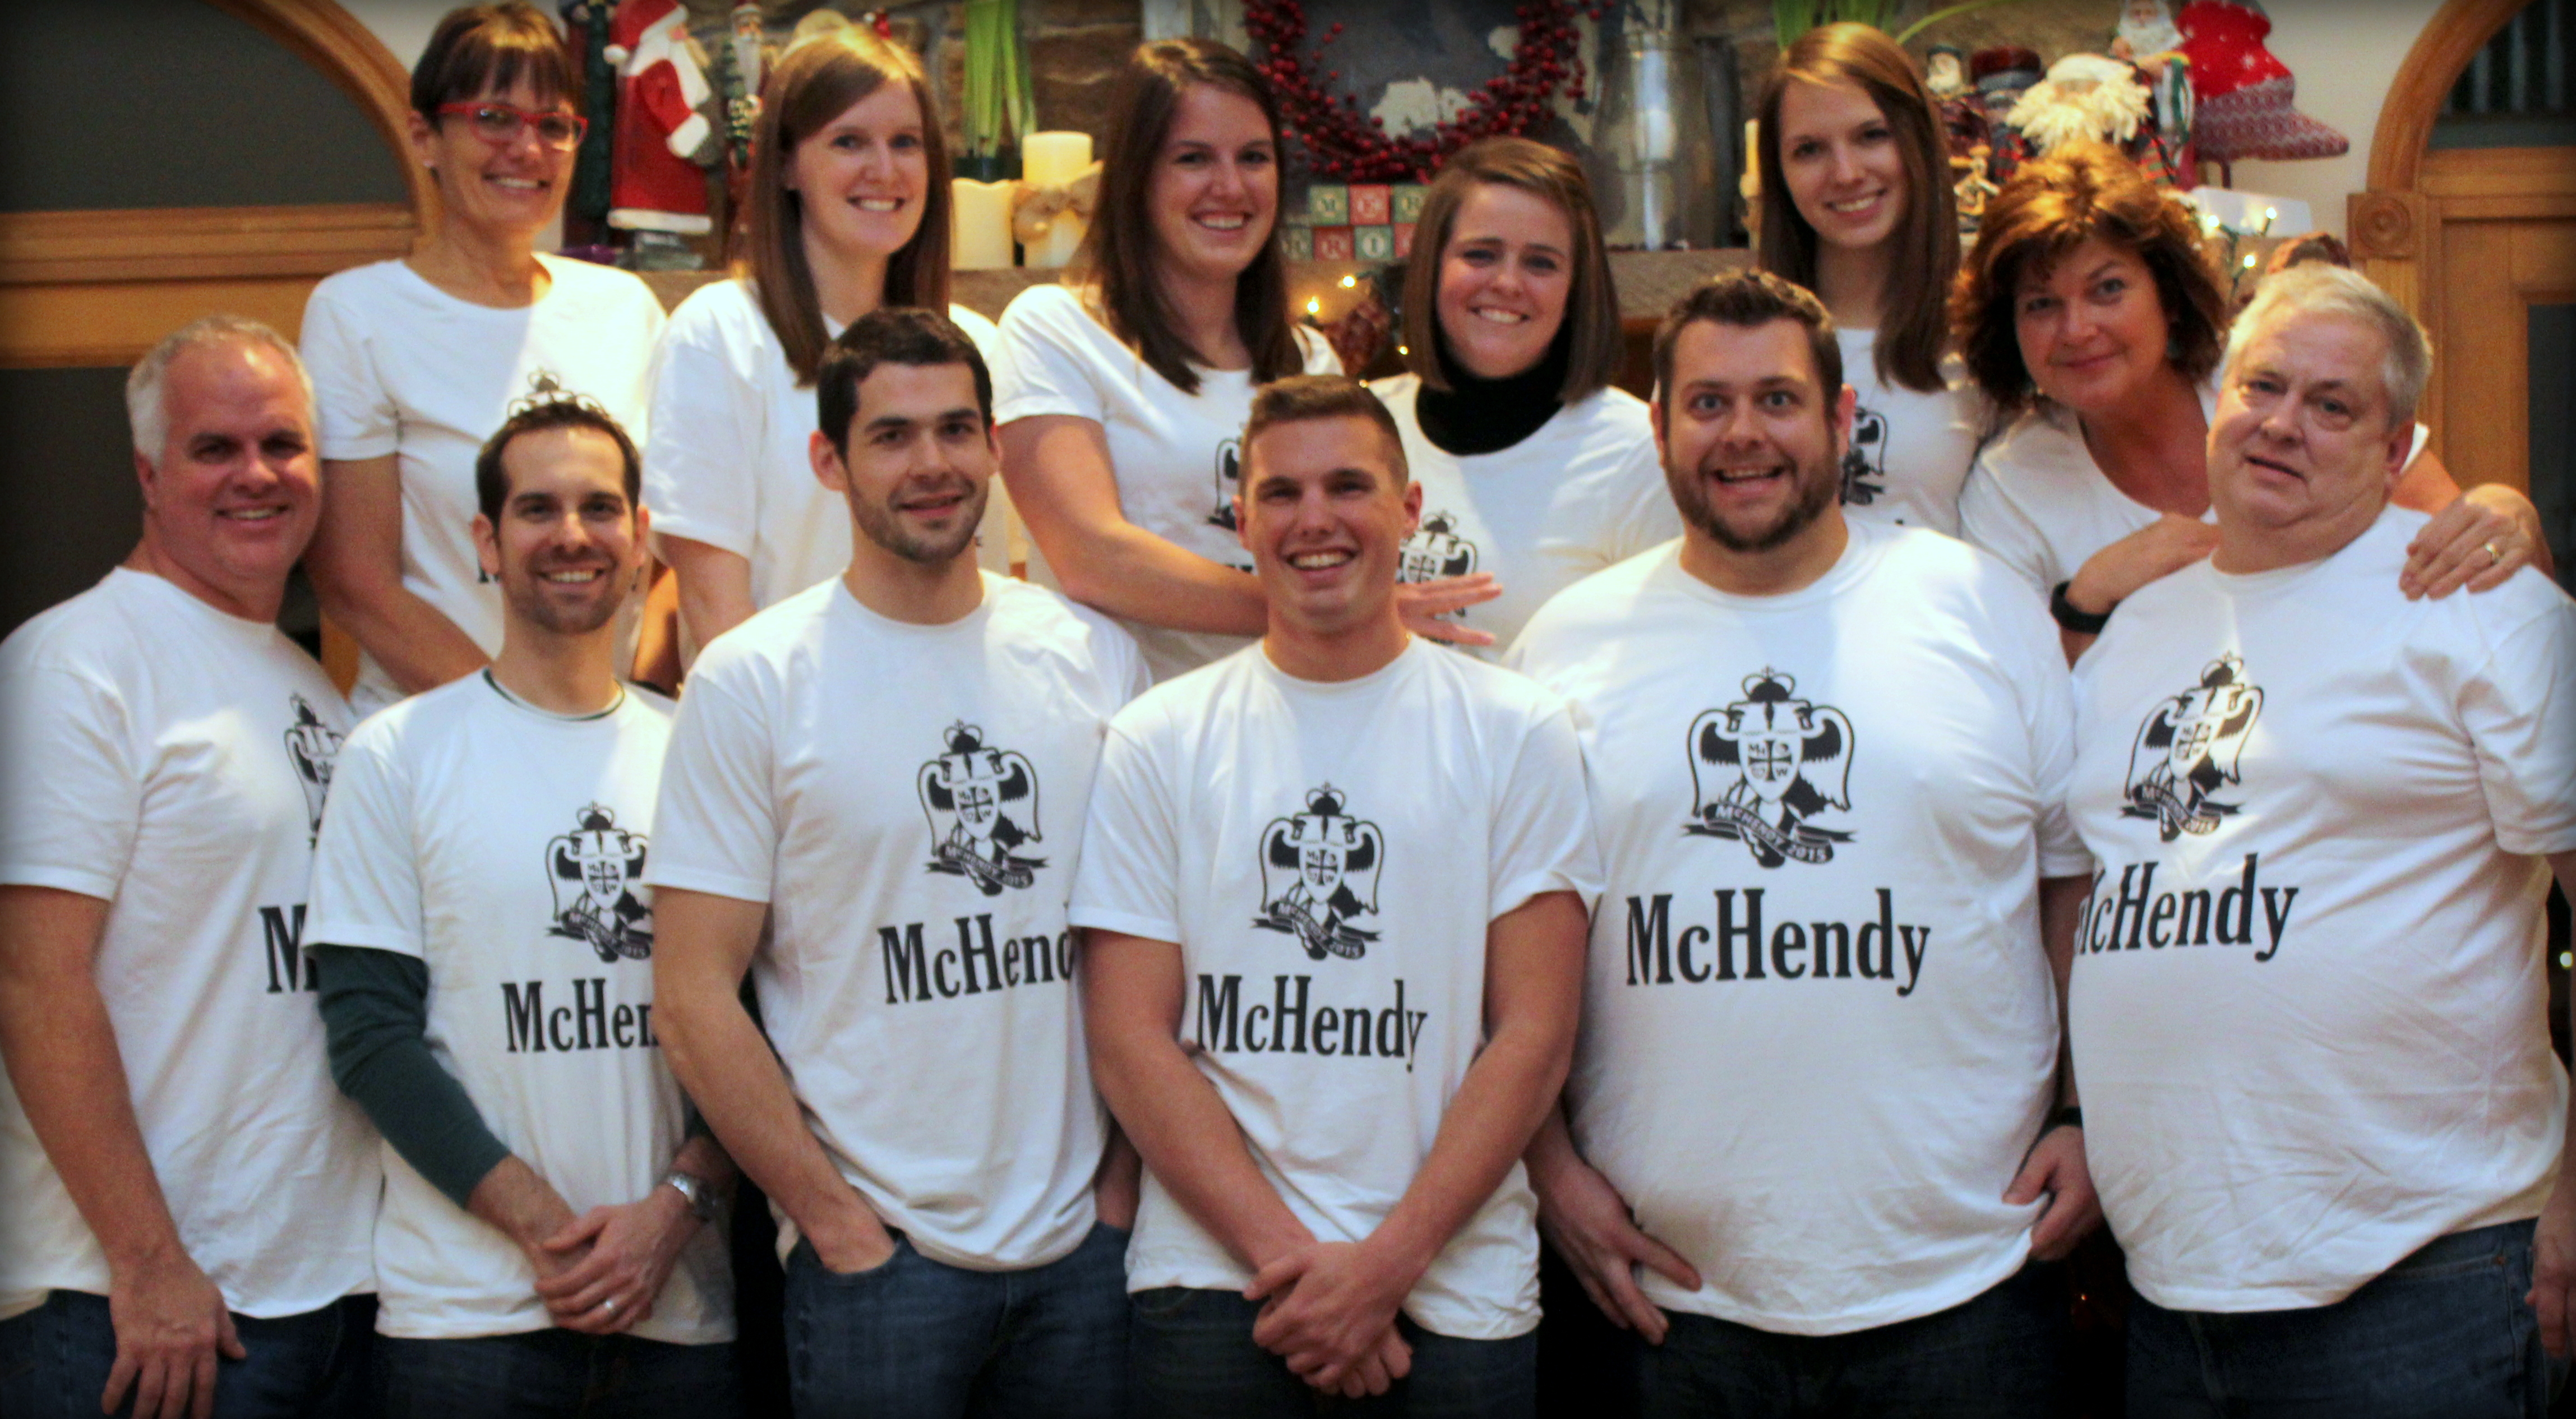
My BFF Jill not only had these shirts printed for all the McHendys this year, she even created the McHendy family crest, which is full of love and meaning to both of our families.

McHendy crest

We can be born into families, and we can be loved into families.  No matter which way it happens, celebrate it, and cherish the moments!

Cheers & Hugs,

Jodi


Not Your Momma’s Cookie Exchange Party

Colleens Cookie Swap Group Photo Aprons Whip Nae Nae

Remember those aprons I shared yesterday that I made for my daughter-in-law’s cookie swap party?

Well – here we are doing the Whip Bake Bake at the party!

I am so excited to share some photos of the amazing party my even more amazing daughter-in-law (third from the left back row – next to me) threw.

This is not your momma’s cookie exchange like we did back in the day!

Check out the amazing drink station where Colleen served Hot Chocolate with all the fixings and add ins as well as gin and tonics and wine.  All the makings for a “spirited” cookie swap!

drinks 2

Hot Chocolate Bar

hot cocoa fixings

drinks

There were cozy Christmas socks on a festively-decorated antique child’s chair for anyone whose piggies got cold,

cozy socks

and a well-equipped cookie packaging station for us to box, wrap, clip, tag, and/or plate our cookies to take home.

cookie packing station

clips at cookie packing station

tags at cookie packing station

We all brought enough cookies to share tastes that evening and enough for everyone to pack up 5 or 6 dozen to take home and share with our families and friends and for our own parties.  Colleen made little labeled tags for each type of cookie so we knew what we were sampling and so we could vote on the “Most Delicious,” “Most Unique,” and Most Attractive.”  And boy were they ever!

Katie rocked “Most Unique” with these adorable and absolutely luscious cherry snowmen cake balls.

snowman cake balls most unique

Michelle’s Apple Delights were a slam dunk for the “Most Attractive!”  Aren’t the awesome?

apple delights most beautiful

And Alaine’s Pistachio Cherry Cookies had us all swooning for “Most Delicious,”

cookies

though they truly were ALL delicious and beautiful and unique and made with “lovin from the oven.”

lovin from the oven

And……. two of the young ladies actually had some “lovin in their ovens!”  Jen is in her first trimester and Jessica is due any day!

Jen and Jessica pregnant bakers

How cute is this sign that went with Colleen’s Grinch cookies (green crinkle cookies with teeny tiny hearts?

Grinch cookies

And check out these Inside Out S’more Cookies!  (and the little polka-dot wooden spoons to stir your cocoa)

inside out smores

She even had prizes!

prizes most delicious

Before we ate cookies…. Well – we pretty much ate cookies the whole evening…  Colleen made some fabulous food including the most amazing Hawaiian Ham and Cheese Party Sliders,

Hawaiin Ham and Cheese Party Sliders

and Hassleback potatoes,

hassleback potatoes

as well as plenty of veggies and dip, cheese and crackers, spreads, and and adorable cheese and olive wreath.

olive wreath

We even played some fun and silly games like teaming up to make the best reindeer antlers out of balloons stuffed in panty hose!

team 2

Team 1


Reindeer Katie and Michelle

Reindeer Michelle

It was the most fun, most unique, most delicious cookie swap party I’ve ever been part of!  I am so proud of my beautiful, generous, creative daughter-in-law, and I thank her for kindly allowing me share this with all of you.

Hope you are enjoying this festive holiday time however you choose to celebrate!

Cheers & Hugs,

Jodi

Watch me Whip – Watch me Bake Bake

watch me whip watch me bake bake christmas aprons

I’m guessing most of you are familiar with the current party dance song if you’ve been to a wedding or holiday party recently or listen to the radio:  Whip Nae Nae!   (I dare you not to wiggle when you hear this song!)

So taking on this twist, I made 12 aprons for a Holiday Cookie Swap my daughter-in-law hosted last night.  ( and I can’t wait to share more on the amazing party she threw when I get a chance!)

For now, gotta BOP BOP BOP to wear off those cookies!  🙂

#watchmedance

Cheers & Hugs,

Jodi


Chocolate Orange Crinkle Cookies (with Terry’s Chocolate Orange)

Chocolate Orange Crinkle Cookies 1

If you haven’t finished your holiday cookie baking yet – you are in luck!  I have discovered an amazing new recipe for Chocolate Orange Crinkle Cookies using Terry’s Chocolate Oranges that is TO DIE FOR!

Chocolate Orange Crinkle Cookies 2

Terry’s Chocolate Oranges are sometimes only available around this time of year, so drop what you are doing and get to the store and stock up on these so you can make them now and throughout the year!  ( You can always order from Amazon too!)

Chocolate Orange Crinkle Cookies 3

I found this recipe on a lovely blog called, What Jessica Baked Next, and I’m looking forward to continuing to see what Jessica bakes next!   In Jessica’s recipe, she calls for using EITHER Terry’s Chocolate Oranges OR chocolate chips with fresh orange zest.  I, however, used both Terry’s Chocolate Oranges AND fresh orange zest!  OH MY MY MY!

I also decided to dust them with a sprinkle of powdered sugar to make them look a bit more festive.

This cookie is like a brownie and a cookie all in one.  Crispy on the outside, gooey on the inside and just that right amount of fresh orange taste to compliment the chocolate in such a divine way!

Here is the recipe.  ENJOY!

Chocolate Orange Crinkle Cookies

Ingredients:Chocolate Orange Crinkle Cookies 2

  • 1 cup butter, softened
  • 2 cups packed light brown sugar
  • 2 large eggs
  • 2 tsp vanilla extract
  • 2 1/4 cups all-purpose flour
  • Dash of salt
  • 1 tsp baking powder
  • 1 tsp baking soda
  • 4 Tbsp cocoa powder
  • 2 (6.17 oz) Terry’s chocolate oranges, chunked (I used the DARK chocolate)
  • 1 tsp fresh orange zest
  • Powdered Sugar for dusting, optional

Directions:

  • Preheat oven to 375 F.
  • Cream butter, brown sugar and vanilla together with electric mixer until light and fluffy. Add egg and beat until incorporated.
  • Add flour, salt, baking powder, baking soda and cocoa powder, and mix until dough comes together.
  • Add the chocolate chunks and orange zest and gently mix to combine.
  • Make heaping tablespoon sized balls and place on baking stone or baking sheet.  Bake for 10 minutes until crackling occurs on top.
  • Allow cookies to cool on stones/baking sheets for 5 minutes, then sprinkle with powdered sugar.
  • Cool 5 more minutes on stone/baking sheet, then remove to cooling rack to completely cool.

Cheers & Hugs,

Jodi

Christmas Apricot Kolache Cookies

apricot kolaches christmas cookie baking 2015

Holiday baking continues this week.

apricot kolaches christmas cookie baking 2015 single

The other day I shared Grandma’s Old-Fashioned Apricot Nut Bread and told you how that is one recipe I bake for “me.”

Well…. Hubby, who reads my blog daily, mentioned it is one of HIS faves too.

These little treats I’m sharing today – Apricot Kolaches – however, I make for him!  I know this is one of his favorites, and that is why I make them.

apricot kolaches christmas cookie baking 2015 2

Yep – Grandma made these too, and I shared this recipe last year around this time also, but I just had to share again since they are such a part of our holidaying.

I cannot believe Christmas Eve is only a week away.  For some reason, I am as excited as a child this year.  Not sure why…  Not really fussing more than usual….  Nothing particularly unusual going  on….. Just feeling happy….. Just cherishing the moments…

Hope you are too!  Amidst all the “stuff” we all deal with (and we ALL have “stuff”- me included) – I hope you are taking time to “cherish the moments.”

They really are precious, and they bring such joy.

It might just be a smile from a stranger, the realization of timing that protected you from a “near accident,” the beauty of a sunrise or a sunset, the sound of a bird chirping or the laughter of a child or of a senior, the taste of that first sip of coffee in the morning, the warmth of a fire, the twinkling of Christmas lights, a lick from a dog, a purr from a cat, a kiss hello or a kiss good-bye, an “I love you,” a card in the mail, a “like” on your Facebook page, an email from your boss that says “perfect,” singing a Christmas carol or a favorite hymn, the softness of your pillow, the thirst-quenching of a tall glass of fresh water.

You see – we all have an abundance of moments to cherish each day.

I cherish each one of you reading this.  Thank you for giving me some “moments” of your day.

Christmas Apricot Kolache Cookies

2 8-oz blocks of cream cheese, softened
2 cups (4 sticks) butter, softened
5 cups all-purpose flour
1 1/2 cups apricot preserves or apricot filling (I use Baker’s)
1 Egg, beaten
Confectioner’s (Powdered) Sugar, for dusting

Beat cream cheese and butter on medium-high speed of stand mixer until light and fluffy, about 3 minutes.  Turn mixer on low, and gradually mix in the flour until a smooth dough forms.

Knead dough on lightly floured work surface, and gently form a ball.  Divide dough into fourths, flatten, and wrap each in plastic wrap.  Refrigerate at least 4 hours.

When ready to bake, preheat oven to 400 degrees F.  Line cookie sheet or baking stone with parchment paper.  Working with one piece of dough at a time (after bringing back to room temperature from refrigeration), roll out to approximately 1/8 inch thick rectangle.  Trim edges and cut dough into 2 inch squares.

Spoon about 1/2 teaspoon of apricot filling into the center of each square.

Fold one corner into the center, dab with the beaten egg, then bring the opposite corner into the center and press firmly to seal.

Place on parchment-lined cookie sheet, and bake for approximately 10 minutes.

Dust with confectioner’s sugar and cool on wire rack.

These cookies freeze well and thaw quickly.

This recipe makes about a million ….  or at least feels like it when you are making them!

Enjoy!

Cheers & Hugs,

Jodi

Grandma’s Old-Fashioned Apricot Nut Bread

apricot nut bread

It’s not officially Christmas baking time until I make Grandma’s Old-Fashioned Apricot Nut Bread.

apricot nut bread mini

And that is exactly what I did this past Sunday.

Unlike most of the things I bake, this recipe is for me.

Measuring the flour with my favorite antique tin measuring cup from Grandma,

snipping the apricots just like she did with kitchen shears,

mixing with old-time Christmas music playing like we did when I helped her as a child…

Remembering how she smelled, remembering how her hands looked and felt, remembering her voice, remembering her love.

Baking this bread every year at this time just takes me back – makes me smile – allows me to remember – fills me with love.

apricot nut bread slice

The smell of this bread baking is one of my very favorite smells in the entire universe.  (In fact, sometimes I go outside for a couple of minutes, so that I can come back in and be HIT by the smell!)

The taste of this bread…

not too sweet – a bit dry – densely filled with bursts of tart apricot chunks and crunchy walnuts….

For me – this bread is love – it is memories of childhood – memories of a grandma’s heart.

Do you have a recipe that does this to you?

I wonder if Grandma is why I often express my love for people by baking?

Thanks for the memories, Grandma.  Thanks for the love.  You are my Stella Star!

You can  find the recipe for my all-time favorite thing to bake here – Grandma’s Old-Fashioned Apricot Nut Bread where I shared it last year.

Hope you are enjoying the season.  I’m going to go have a slice and a cuppa!

Cheers & Hugs,

Jodi

Christmas Pittsburgh-Style Thumbprint Cookies

Christmas Pittsburgh Thumbprint Cookies 2

Christmas baking time is in full swing around here.

Christmas Pittsburgh Thumbprint Cookies 3

And those of us that live in and around Pittsburgh make thumbprints our own special way.  With icing!  and Sprinkles!

Christmas Pittsburgh Thumbprint Cookies

So for my Cookie Swap Party this coming weekend, Christmas Pittsburgh Thumbprints it is!

If you’d like to give them a try and share something different with your family and friends, try a few new thumbprints – like last week’s Twix Chocolate Caramel Shortbread version and these tasty Pittsburgh favorites.

Christmas Pittsburgh Thumbprint Cookies

Cookie Ingredients:

  • 5 cups all-purpose flour
  • 1 teaspoon salt
  • 2 cups butter, at room temperature
  • 2 cups powdered sugar
  • 4 tsp vanilla extract
  • Sprinkles

Directions:

  1. Preheat oven to 350 degrees F.
  2. Using an electric mixer on medium-high speed, cream together the butter, powdered sugar and vanilla extract until light and fluffy, about 3 minutes. Reduce the mixer speed to low and add the flour and salt. Once it is mostly incorporated, slowly increase the speed back to medium-high and beat for another minute or so until a dough forms.
  3. Form tablespoons of dough into balls and roll in the sprinkles.  If dough is a bit dry, you can add a little bit of milk or cream or put on your hands when rolling the balls to allow sprinkles to stick.
  4. Place on baking stone about 1 – 1/2  inches apart. Make a slight indentation with your thumb or finger on the tops of all the cookies.
  5. Bake for 8 minutes, then make a deeper indentation in the middle, and bake for an additional 7-8 minutes. The cookies should not brown much at all around the edges. Transfer the cookies to a wire rack to cool completely.

Icing:

  • 1 1/2 cup powdered sugar
  • 2 Tbsp corn syrup
  • 3 Tbsp milk or cream
  • Pinch salt
  • 1/2 tsp vanilla
  • 2 tsp butter, room temperature
  • Food coloring

Stir together all ingredients until smooth, then drop a spoonful into each cooled cookie.

Enjoy!

Cheers & Hugs,

Jodi


Twix Chocolate Caramel Shortbread Thumbprint Cookies

twix cookies 1

It’s Christmas cookie baking time, and I always like to try cookies that are a little different, a little more decadent, a little fancier, a bit more festive than usual for holiday baking.

I think I am on a chocolate caramel kick (Rolo Hot Chocolate Recipe Monday)!

I found a ton of different cookies with these ingredients, but ended up trying one posted by The Recipe Critic and tweaking it very slightly.

Twix Cookies

If you are a fan of Twix Candy Bars, you are going to go BONKERS over these awesome thumbprint cookies.

Twix Chocolate Caramel Shortbread Thumbprint Cookies

  • Servings: Approx. 4 dozen
  • Print
Ingredients:twix cookies 1
Shortbread Layer:
  • 4 sticks (1 lb) Butter, softened
  • 1 1/2 cups sugar
  • 6 Eggs (yolks only)
  • 3 tsp vanilla
  • 4 1/2 cups all-purpose flour

Caramel Filling:

Chocolate Topping:

Directions:

  • Shortbread Cookies:  With electric mixer, combine butter, sugar, egg yolks and vanilla. Beat at medium speed until creamy.   Add flour, and beat at low speed until well mixed. Cover and refrigerate at least 1 hour or until firm.
  • After dough has chilled, shape into 1-inch balls. Place 2 inches apart onto ungreased cookie sheets or baking stone. Make indentation in center of each cookie with thumb or end of wooden spoon handle. Bake at 375 degrees F for approximately 8 minutes or until edges begin to brown. Cool completely.
  • Caramel filling: Melt the caramel and cream in the microwave stirring every 30 seconds until fully melted. Using a teaspoon fill each indentation with the caramel.
  • Chocolate: Melt the chocolate in the microwave stirring 30 seconds at a time until smooth.  Spoon into a ziploc bag.  Cut a tiny snip in the corner of the baggie to pipe the chocolate onto the cookies.

I bet these would taste wonderful with a steaming mug of Rolo Hot Chocolate!   Can you even imagine!?!  ‘Tis the season!

Cheers & Holiday Hugs,

Jodi

Rolo Hot Chocolate

rolo hot chocolate 2

Rolo Hot Chocolate

I may have discovered the most amazing, best ever homemade hot chocolate in the entire universe.

And it is EASY!

Rolo hot chocolate

I discovered it on The Country Chic Cottage, but (believe it or not) found I could reduce the sugar content a bit over what Angie recommended in her blog.

This is the perfect warmer-upper comfort drink to enjoy by a crackling fire with your holiday lights on reading a book or watching a holiday movie.

I am sure the little ones that live in or come to your home would love this as a special treat too!

rolo hot chocolate 3

Ready for this cinchy pinchy, two-ingredient, ultra yummy, rich and creamy hot chocolate recipe?  (enough adjectives?)

Here it is!  ENJOY!

Rolo Hot Chocolate

Ingredients:rolo hot chocolate 2

  • 5 Hershey’s Rolo Chocolate Caramel Candies (Angie recommends 7, but I felt 5 was plenty.  Feel free to adjust to your liking.)
  • 1 Cup (or as much as fills your mug) Skim Milk (I used Skim, but you can use 2% or Whole Milk if you want it even richer.  I would rather eat another Rolo and go with the Skim Milk myself!)

Directions:

  • Unwrap Rolo Candies and put in your mug.
  • Microwave for 20 seconds, then stir.
  • Add Skim Milk and stir.
  • Microwave for an additional 1 1/2 minutes.
  • Stir until completely melted.
  • Garnish with mini marshmallows if desired.

Thanks for the inspiration, Angie!

Cheers & Hugs,
Jodi

Homemade Old-Fashioned Coconut Cream Pie

coconut cream pie slice

One of the ways I express love is through my baking.  And amidst all of the darkness and sadness of the past few days, I thought it time to share some love.

coconut cream pie

When my dear “Oh Rob” sweetly requested an old-fashioned coconut cream pie for Thanksgiving this year, I was so happy to oblige.

coconut cream pie slice2

As it turns out, his mom always made a coconut cream pie (or two) for Thanksgiving.  Coconut Cream is also one of hubby’s faves and our dear 92-year old Aunt Francie’s too, who joined us this year to celebrate.

coconut cream pie2

This pie was a huge hit – even with the kiddos.

Made with lots of love and dreamy, creamy awesomeness.

Delicious, nostalgic, and oh so yummy!

Old-Fashioned Coconut Cream Pie

Ingredients:coconut cream pie slice

For the crust:

  • 1 cup flour
  • 1/3 cup Crisco shortening
  • Dash of salt
  • Approximately 1/2 cup cold water

Coconut Cream Filling:

  • 3 cups Half and Half (or whole milk)
  • 1/3 cup flour
  • 2/3 cup white sugar
  • pinch of salt
  • 1 cup sweetened shredded coconut
  • 3 large egg yolks, beaten
  • 4 Tbsp butter
  • 2 tsp vanilla extract
  • 1/2 tsp almond extract

Whipped Cream Topping:

  • 1 cup heavy whipping cream
  • 1 1/2 tsp vanilla extract
  • 3 Tbsp powdered sugar

Directions:

  • Prepare pie crust by blending flour, shortening, and salt with a pastry blender until mixture resembles coarse crumbs.
  • Gently blend in water until dough forms.  Do not overwork.
  • Roll dough out into approximately 12 inch circle, and place into a  9 inch pie plate.  Flute edges and poke bottom of crust with a fork 6-8 times.
  • Bake at 400 degrees for 12-15 minutes.
  • Cool completely before adding the filling.
  • For the filling, scald the milk in the microwave or on stove top to almost boiling.
  • Combine flour, sugar, salt and coconut into a saucepan.
  • Over medium heat, whisk 1 cup of the scalded milk into the flour/sugar mixture.
  • As this mixture begins to thicken, add another cup of scalded milk and continue whisking until it begins to thicken again.
  • Add the final cup of milk, and cook over medium heat until mixture  begins to thicken.
  • Remove from heat, and pour 1/2 cup of thickened mixture into the beaten egg yolks, continuing to whisk.
  • Pour this mixture back into the pot and continue to whisk.
  • Cook for an additional 2-3 minutes until mixture reaches pudding consistency.
  • Remove from heat, and stir in butter, vanilla and almond extract.
  • Cool for 15-20 minutes.
  • Pour into baked pie shell.
  • Chill completely before adding vanilla whipped cream.
  • For whipped cream, combine heavy whipping cream, powdered sugar, and vanilla.  Beat until soft peaks form.
  • Spread on top of cooled coconut cream filling.
  • Garnish with toasted coconut

Enjoy!

Cheers & Hugs,

Jodi