Antique Card Catalog Makeover

Antique Card Catalog Makeover.

If you are anywhere near my generation, you might remember those old card catalog files in the school and public libraries.

They were these massive cabinets with a zillion drawers that numbered and alphabetized and catalogued all of the books in the library.

As I recall, we even had lessons from the librarian on how to use them to find the books we wanted (or needed) to read or use for research BC (before computers)!

Isn’t it hard to imagine a world without computers and smart phones?  Yet – many of us have lived in such a time – and amazingly survived!

My Dad and I were talking recently about “the good ole’ days.”  We refer to them often as “good,” but there are really things that are made so much better today by computers and smartphones and technology.  Unfortunately, every good and upside thing often has bad and downside typically because of abuse and overuse and addiction…..  but then… that could be a whole different topic for another day.

But – oh – back to this glorious card catalog!   Hubby actually found this beaut at a yard sale we were passing this past summer!

I recall we were driving to dinner, when he took a back road to drive by a sale he had noticed signs for, but didn’t mention to me.  We drove by, and I didn’t really notice anything (likely had my nose in my phone – GAW!).  Then Hubby hit the brakes and backed up.  I asked what happened.

He said, “You’ll see!”

We pulled into the driveway of the yard sale, and there it was…  in all of it’s gloriousness in the middle of the yard!   An antique card catalog unit!

Here is what it looked like.

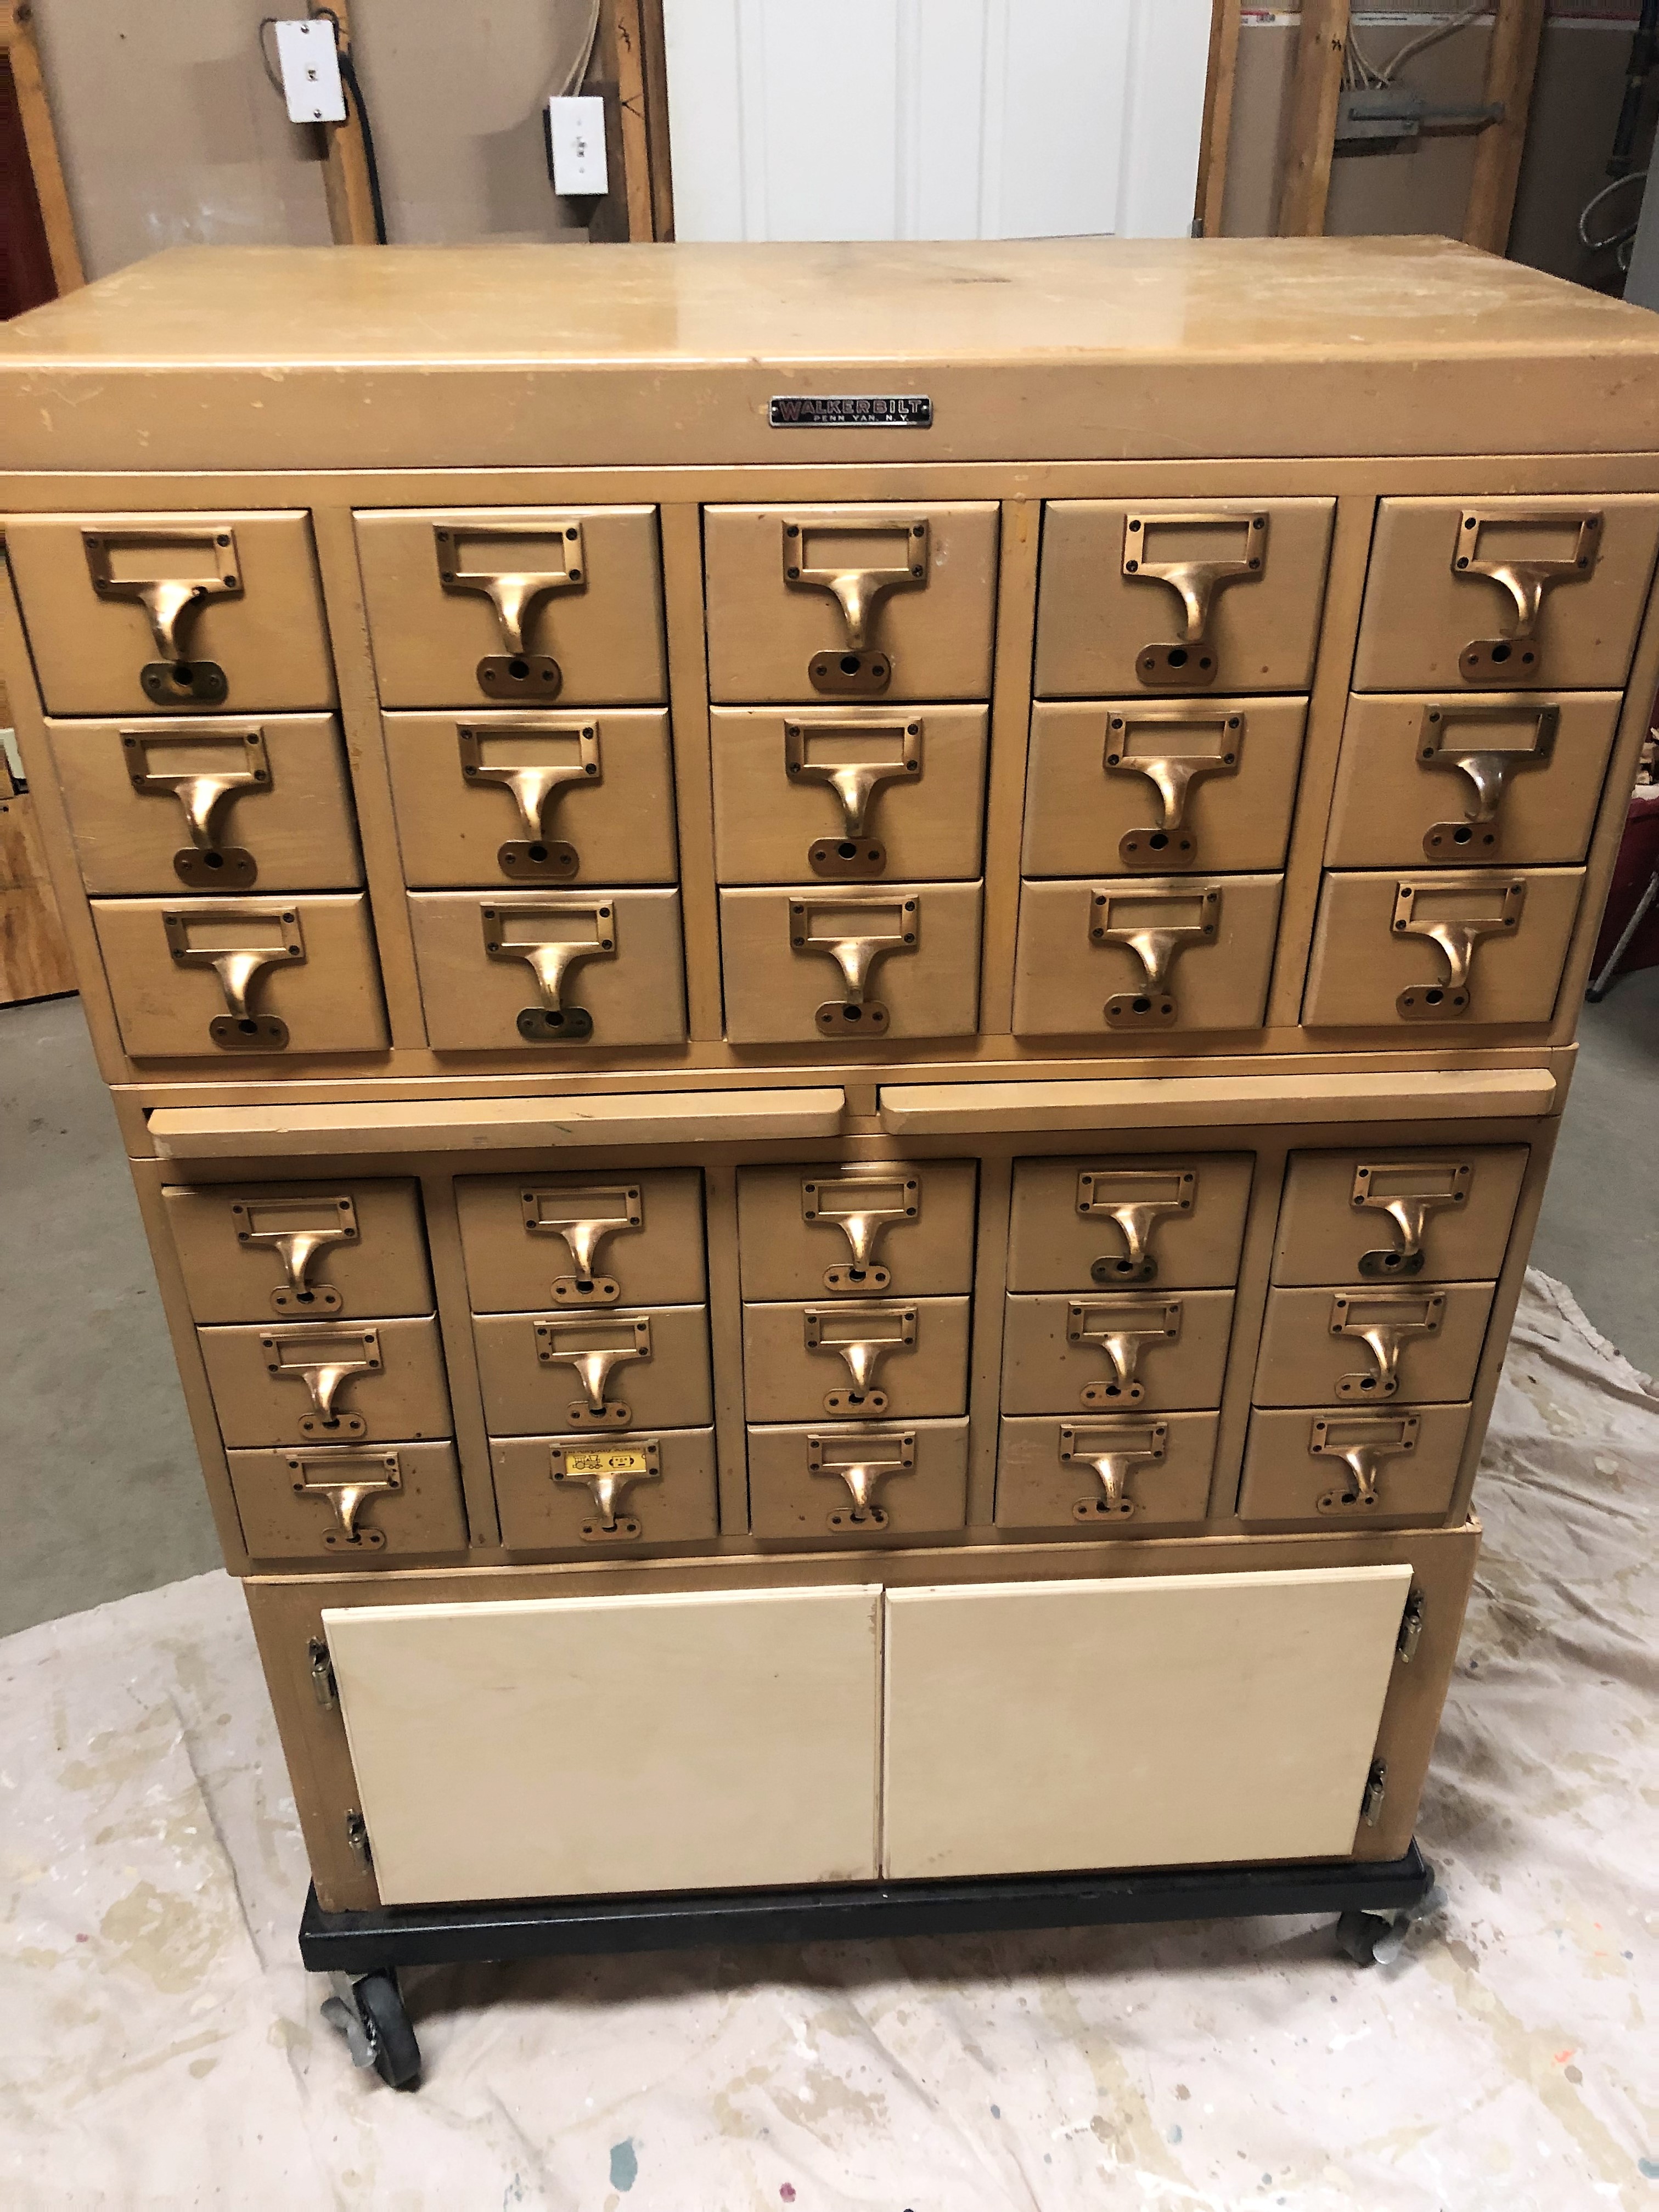
Does it bring back memories?  Can you smell the wood and the little index cards?

We ended up finding out that the yard sale homeowner had just retired as a shop teacher from a school district I attended and graduated from.  When the library was getting rid of these card catalogues, they apparently threw them in the dumpsters!  Thankfully, this guy rescued one and used it for years in his shop classroom storing saw blades and nails and screws and other supplies.    Upon retirement, he decided to sell it, and I became the lucky new owner!

Hubby knew I’d been searching for one, and we thought this was a steal at $100.  It also carries sentimental value being from my school.

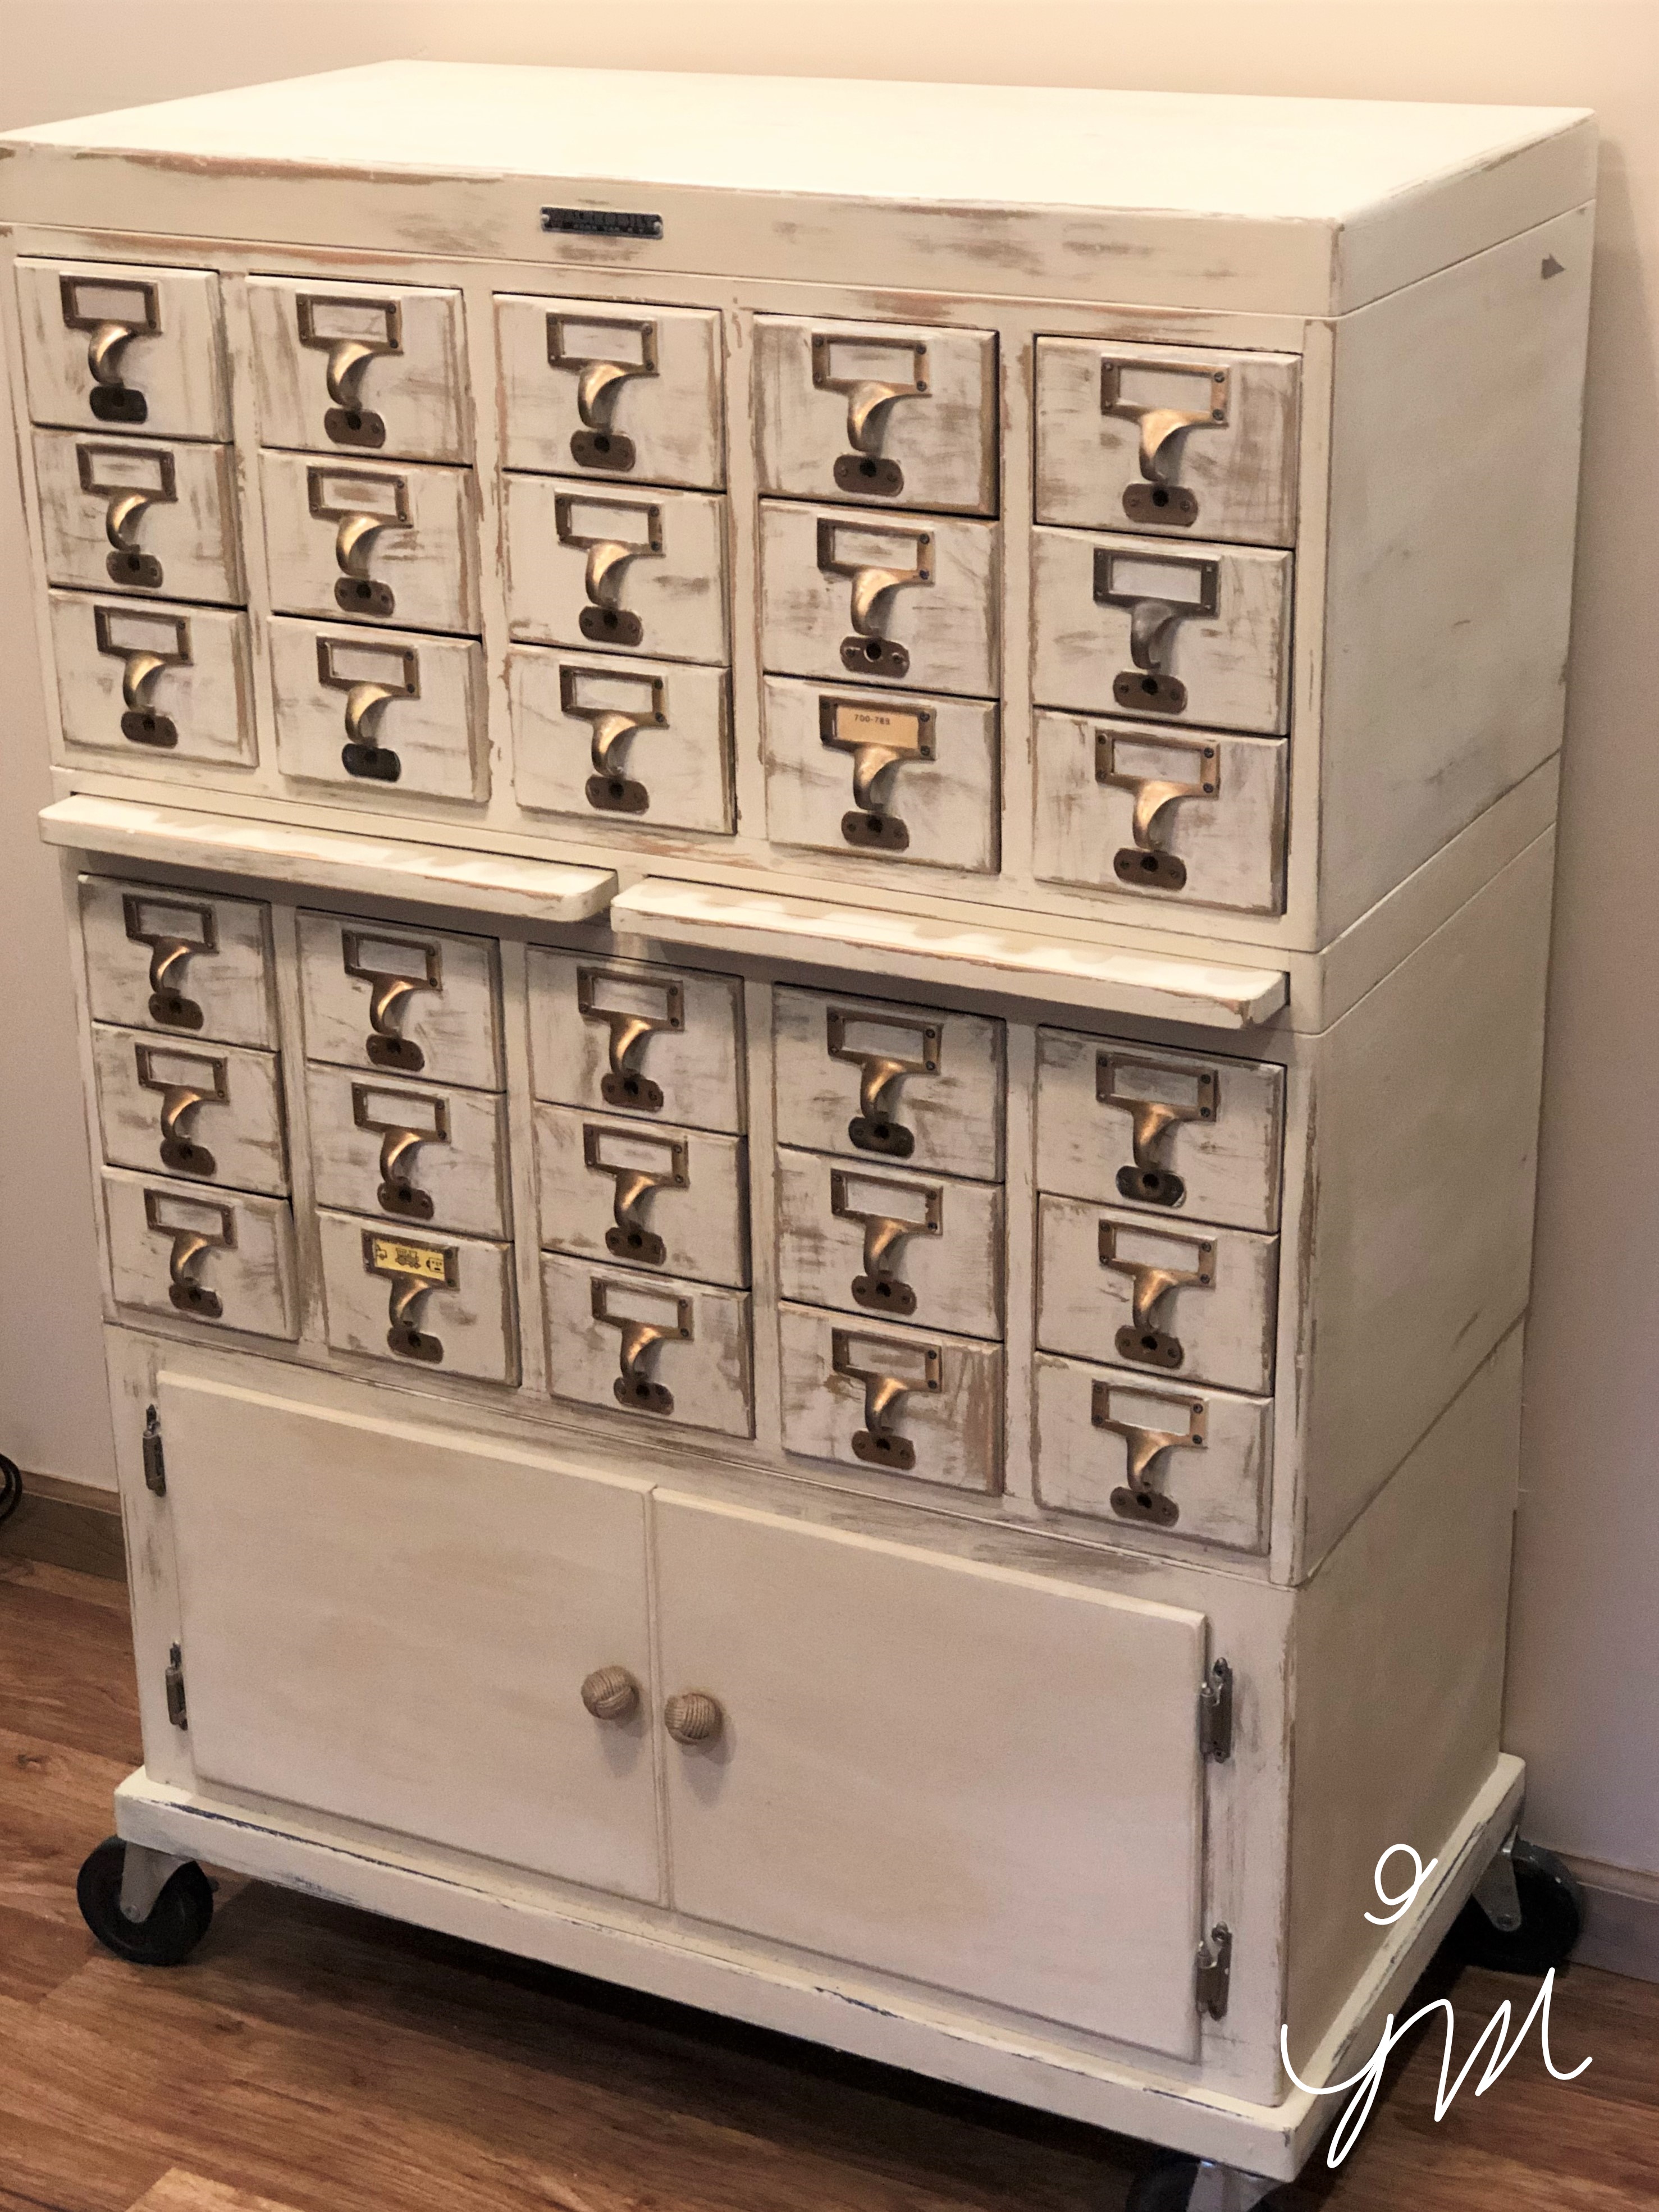
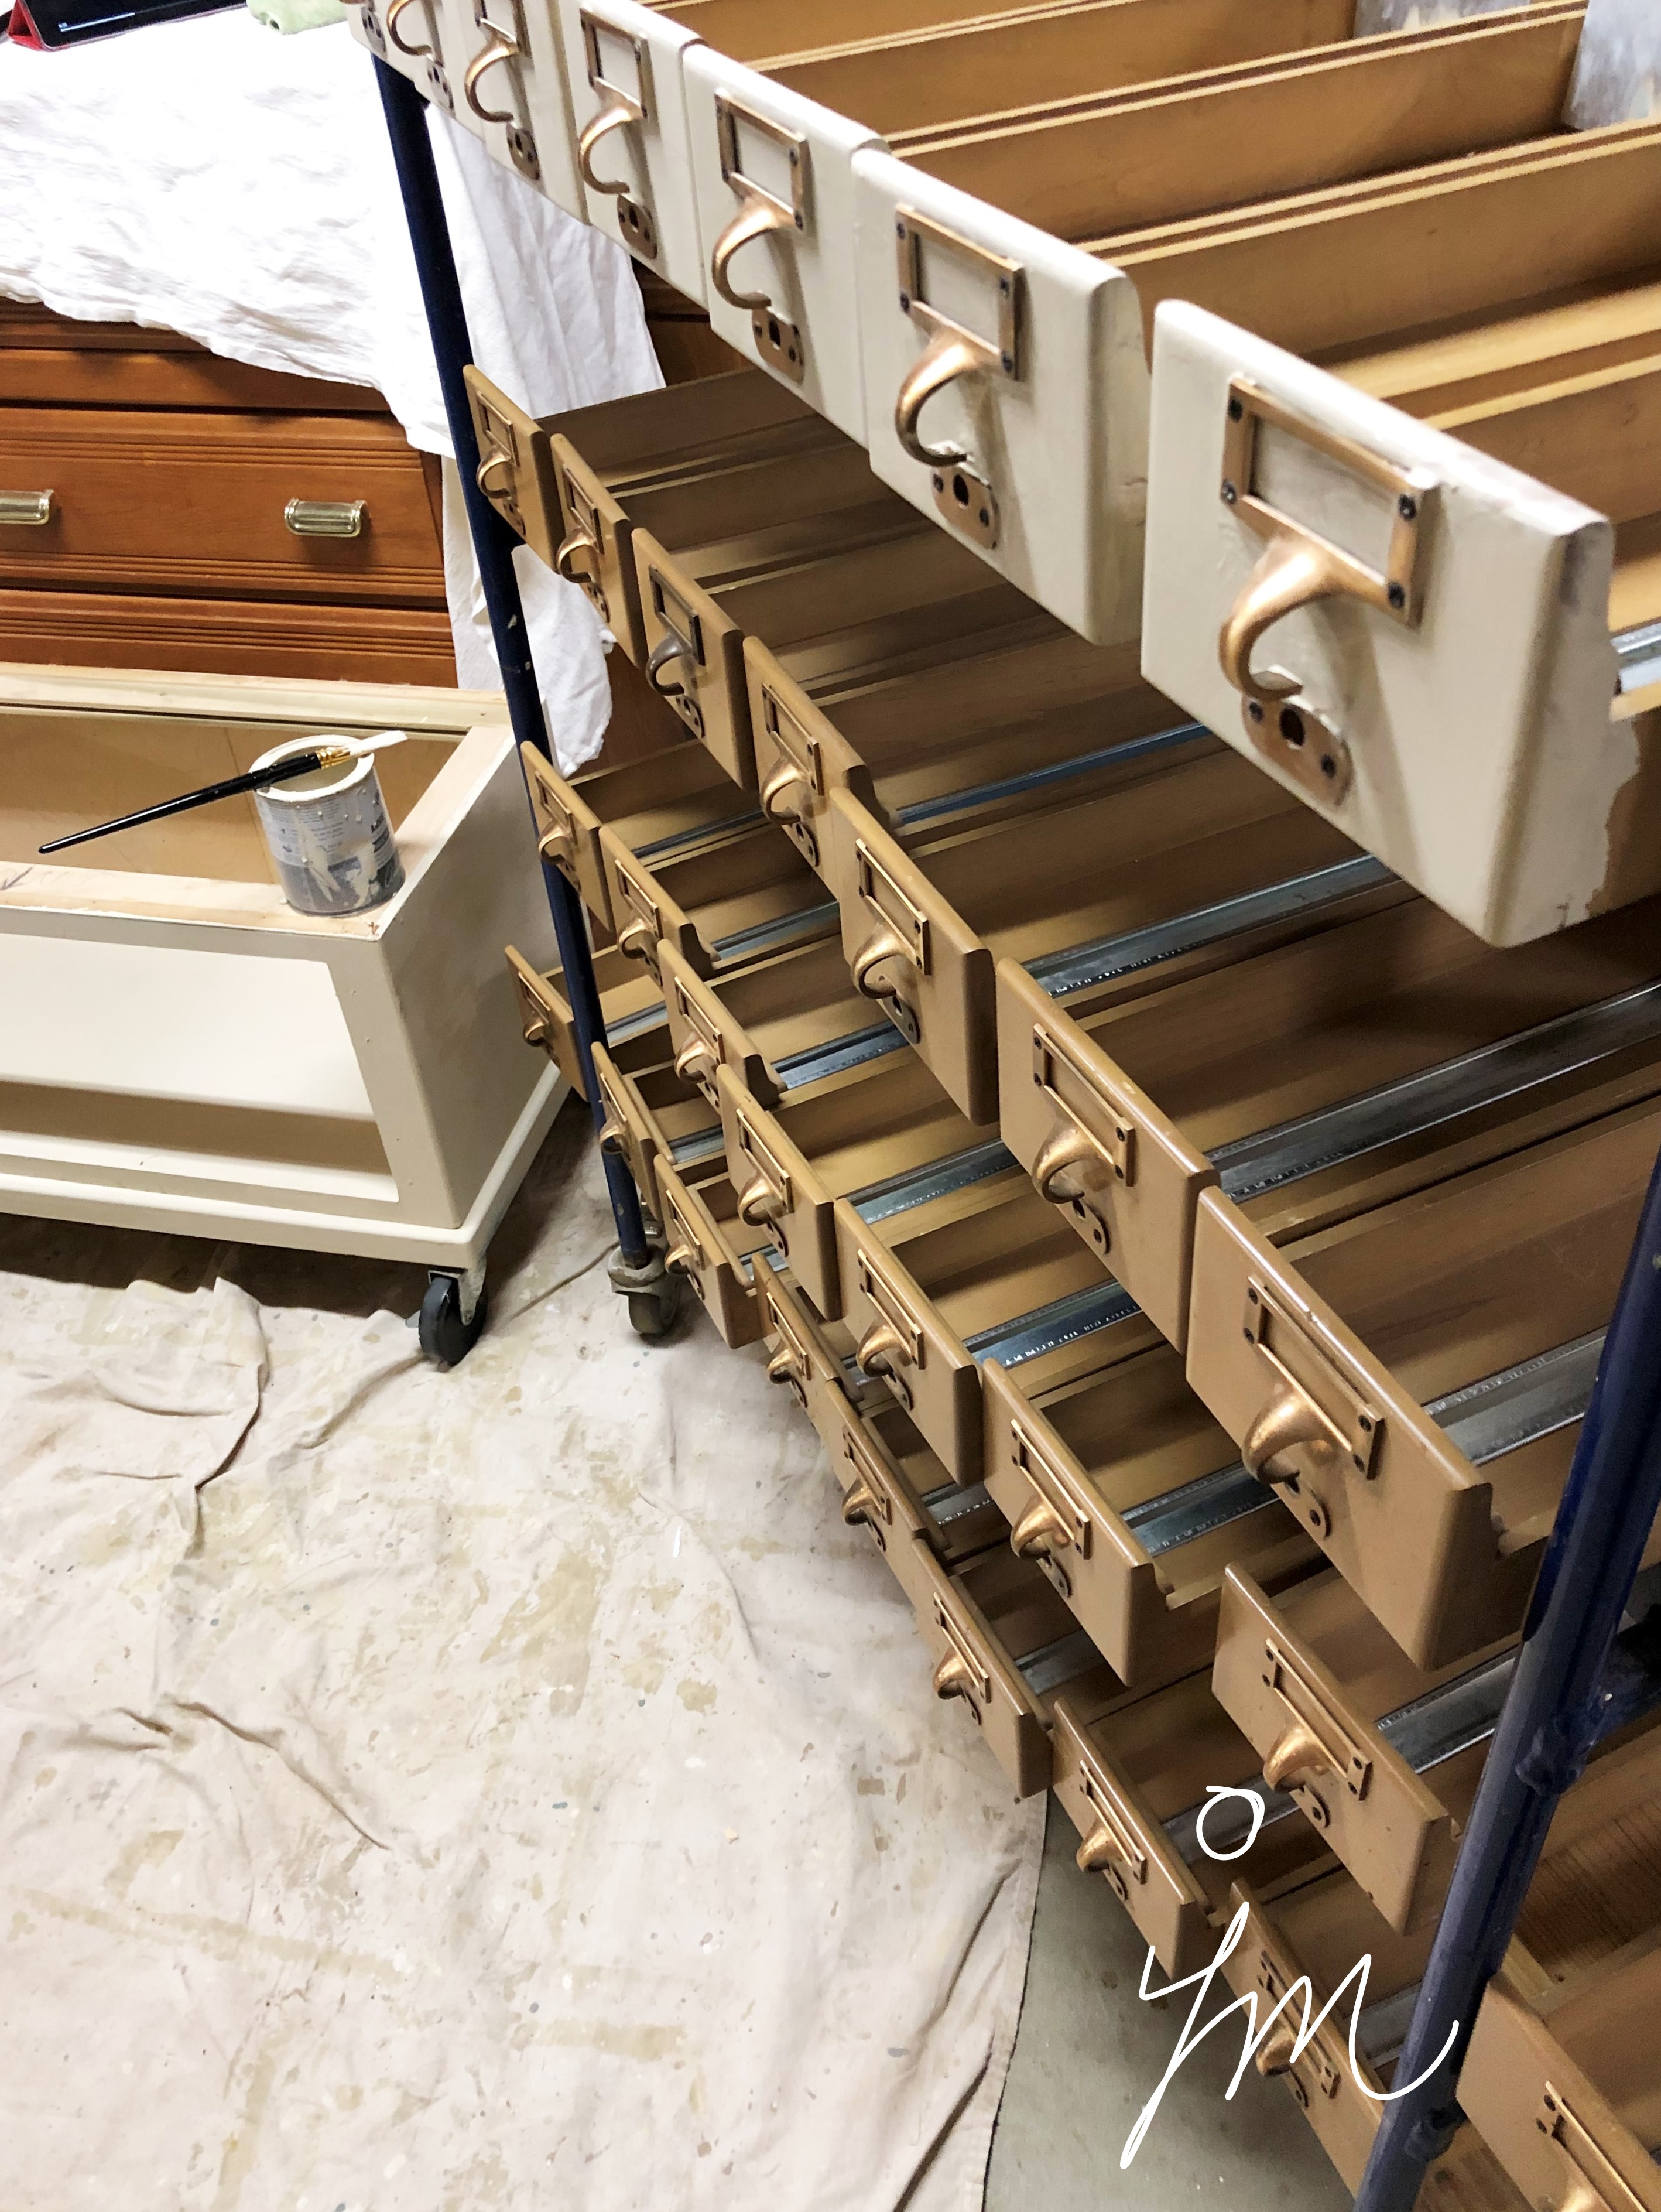
It sat in the garage and basement for months before I finally got around to chalk painting it.

But I finally did a few weeks ago, and I love how it turned out.

The drawers were a bit tedious (hence my procastination!), but oh so worth it in the end!

I had no idea where I was going to put it.  Hubby had his mind made up it was going in my art room to store supplies.  A GREAT idea – don’t get me wrong!  It could definitely serve a worthy purpose there, but guests rarely go to that room, and I kinda wanted to show this beauty off.

I tried it in several spots in the living room and dining room, but it really didn’t work.  It is pretty big, and our first floor is pretty full given that our back wall is all glass and fireplace and one other whole wall is built in bookshelves.

So, up to the art room it went.  And it really is right at home there!  I can’t wait to fill it with supplies, but I also couldn’t wait to share.

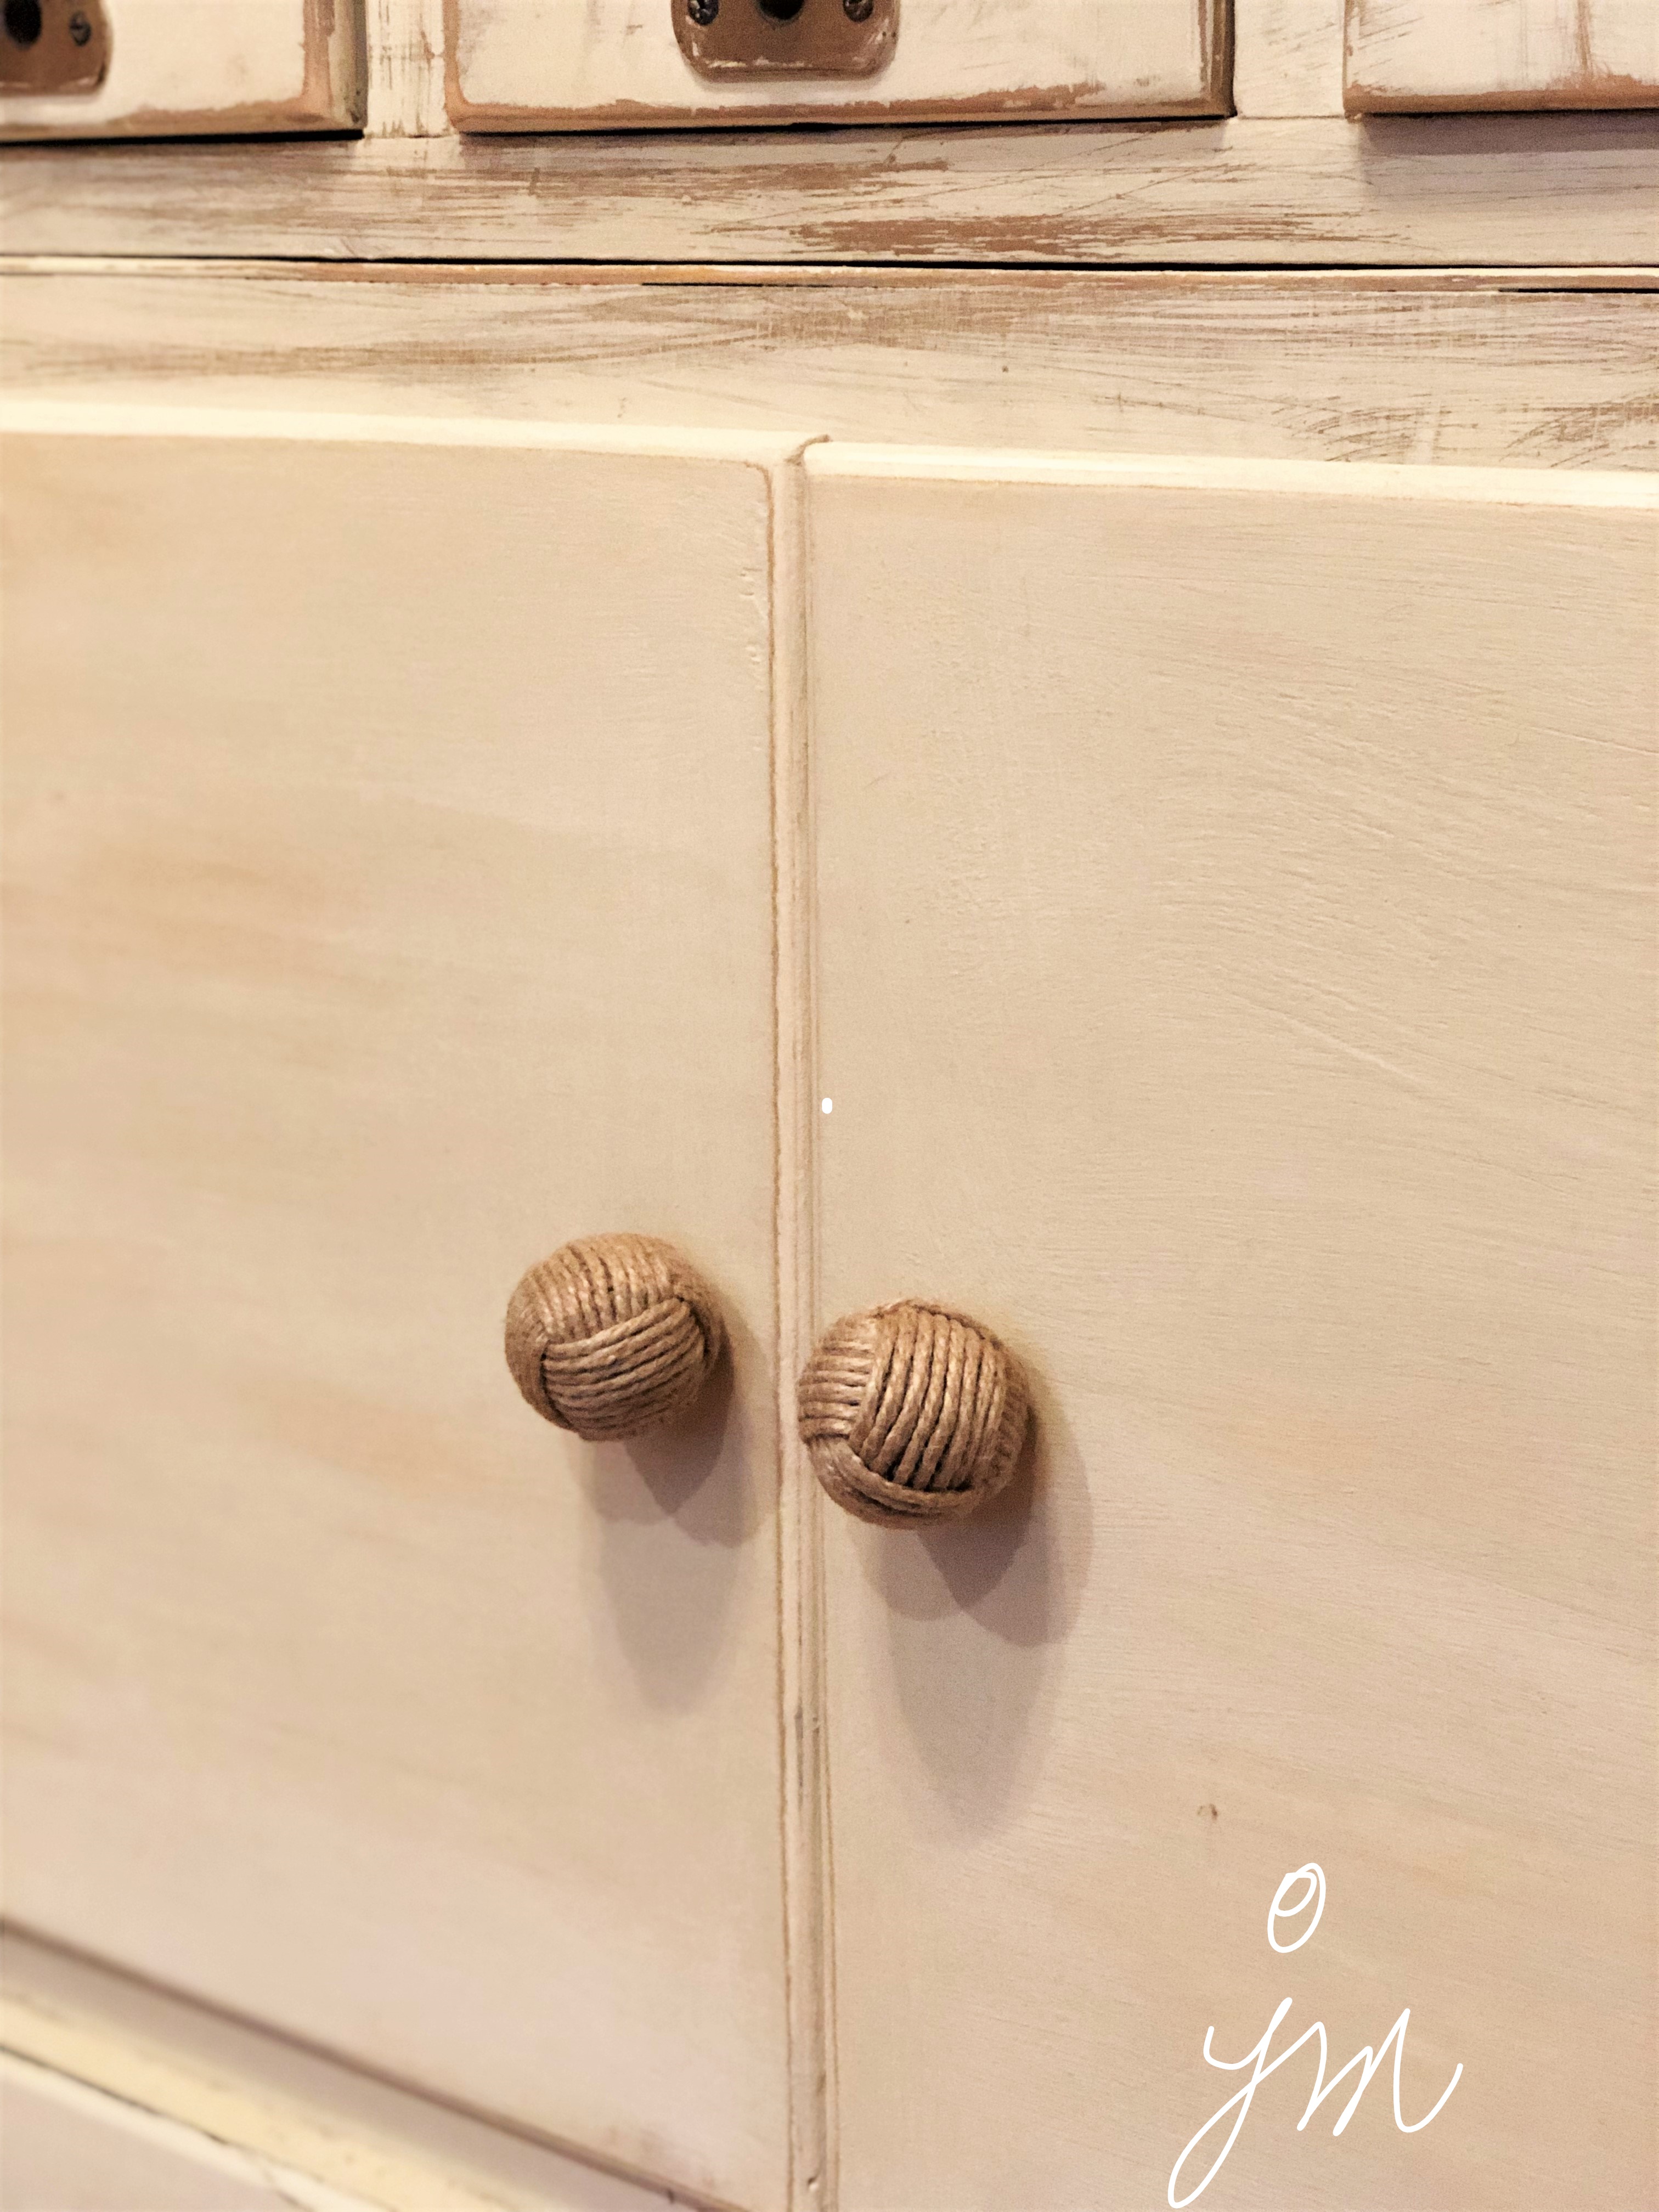
At the Annie Sloan chalk paint store near me (the Backdoor Furnishings), they had these adorable knobs that I knew would be perfect, and I do love them.

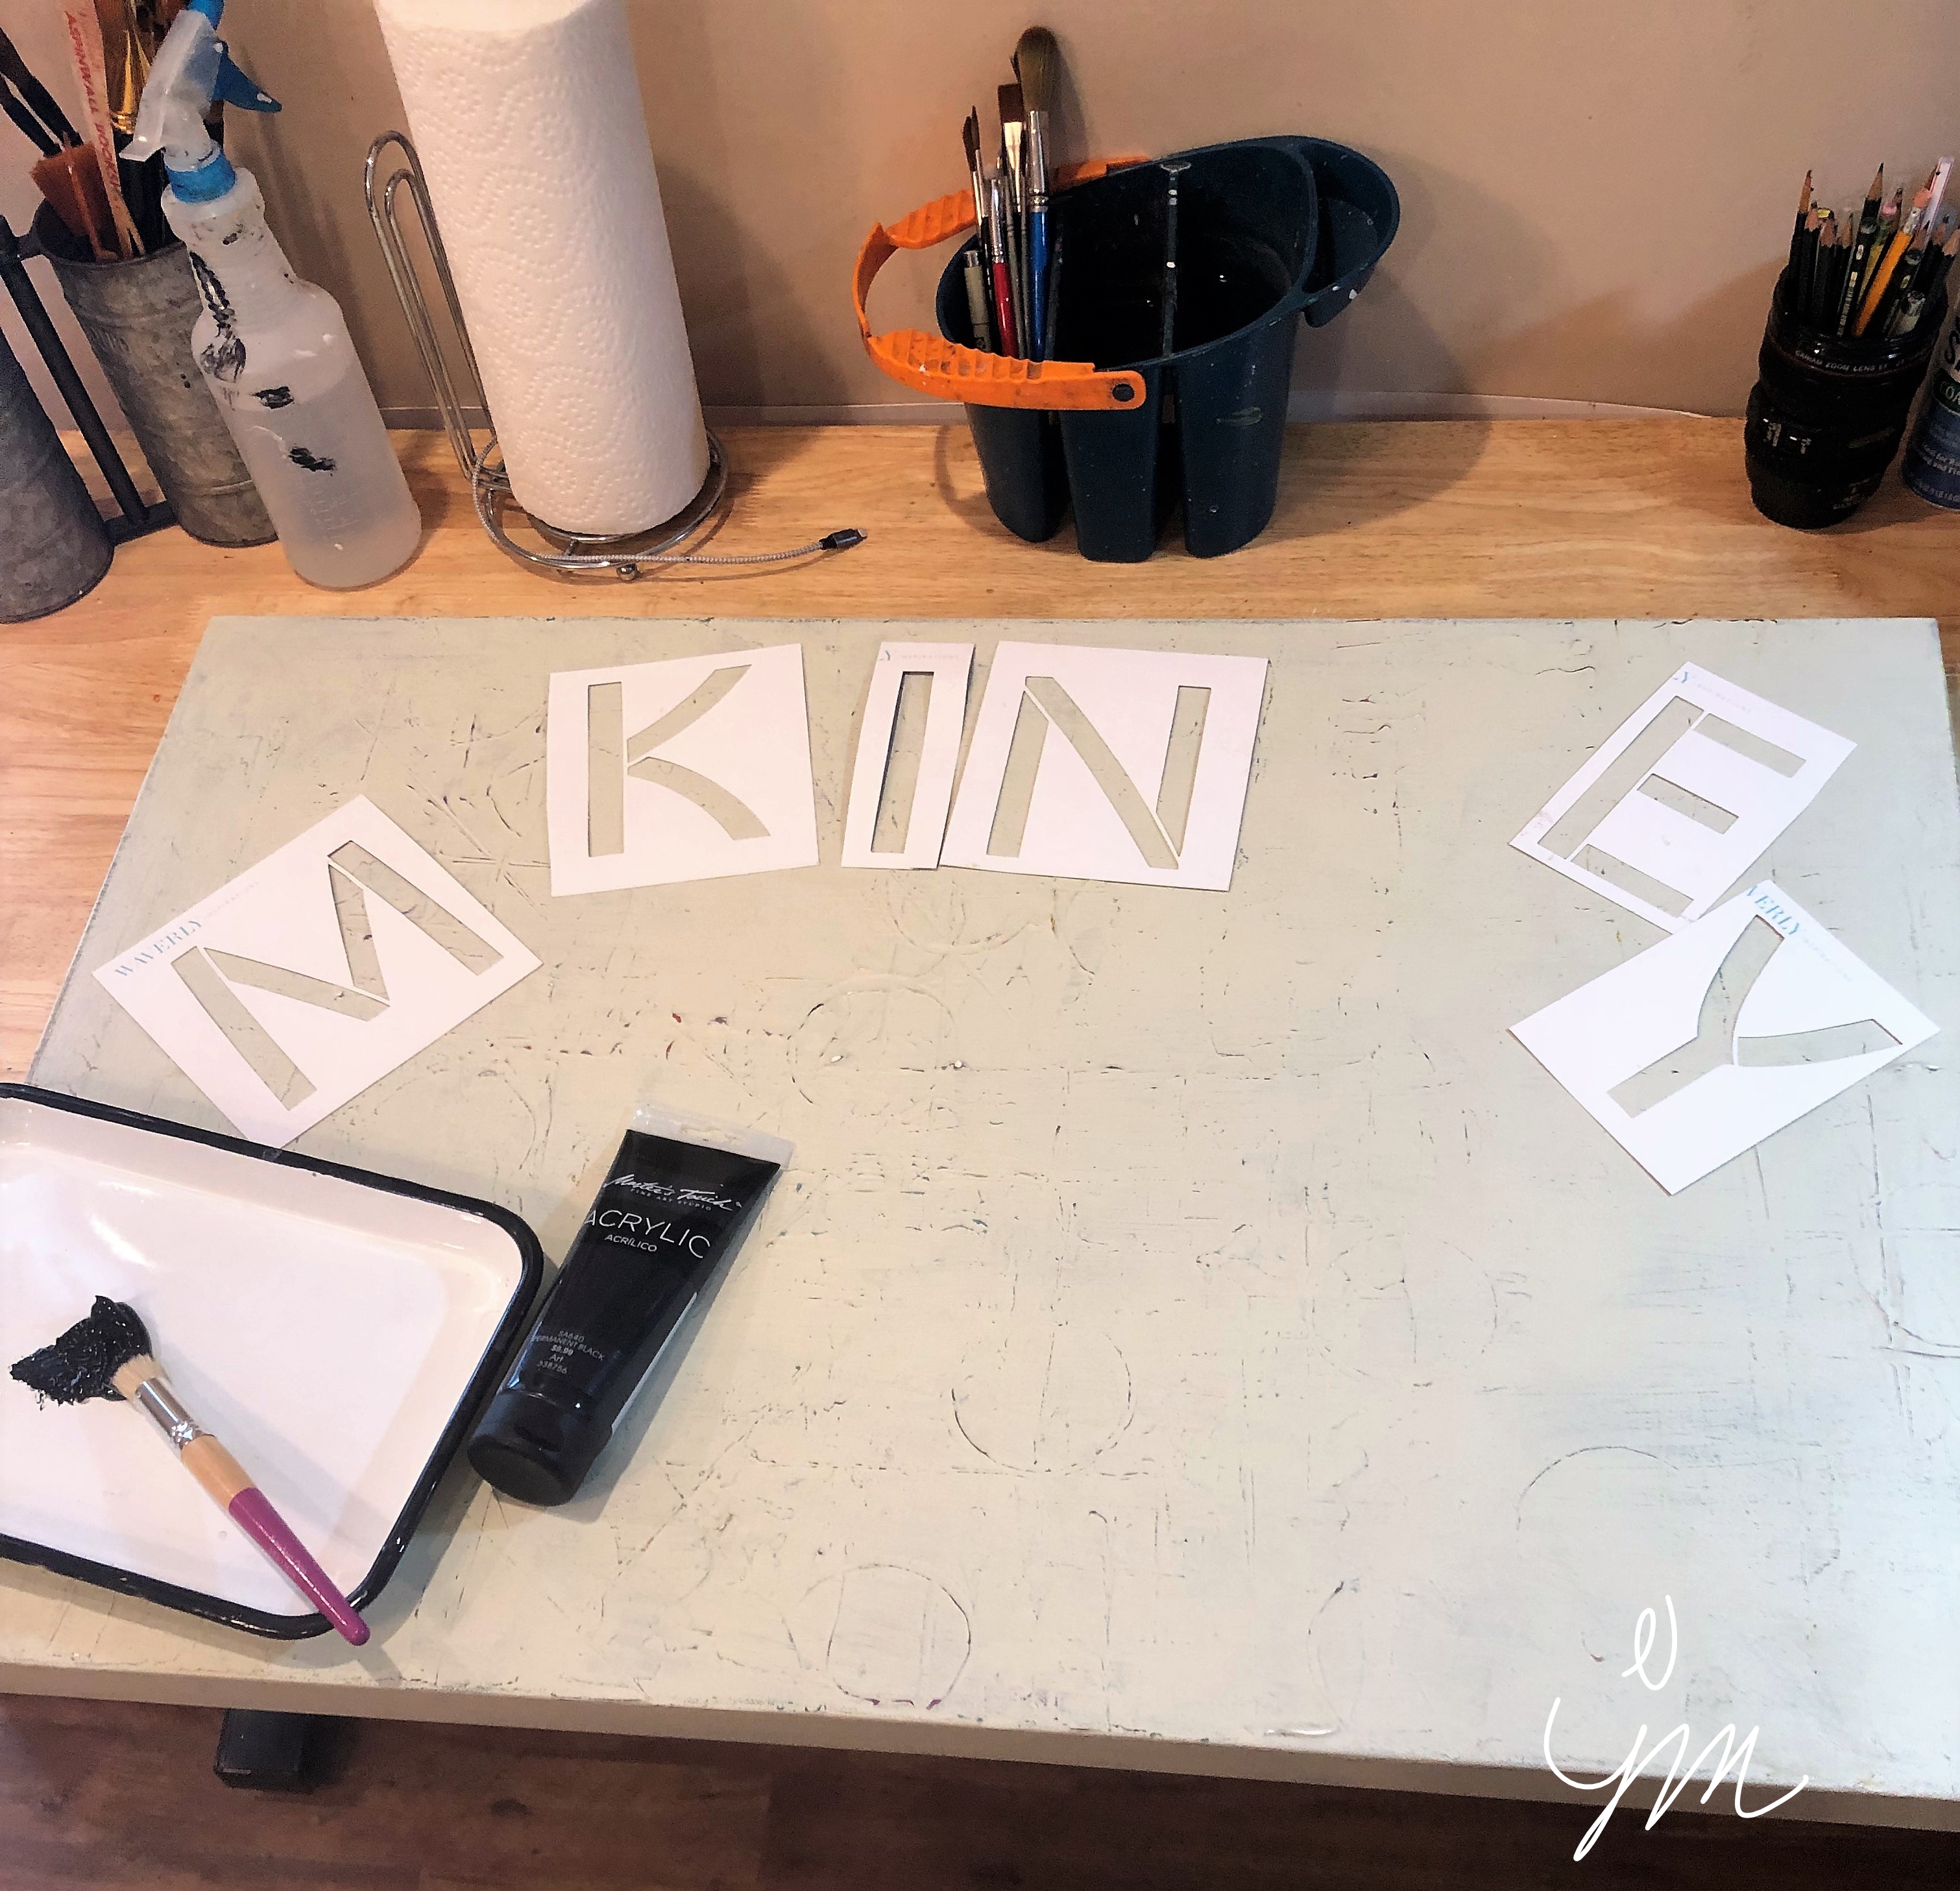
I used Annie Sloan Old Ochre paint and clear wax to do this project (along with lots of sand paper).


I’m looking forward to filling it up and enjoying it in my special place!

And now on to some more projects.  (Hint – one is a beautiful dressing table from 1935 that was a wedding gift to my cousin Rob’s mom that I am going to paint up for my granddaughters’ bedroom at our house.)

What projects are you working on?

Cheers & Hugs,
Jodi

My Second Book is Published! Lucas the Lucky Lion

Lucas the Lucky Lion and his Fun Rhyming Friends

My second book is published!  Lucas the Lucky Lion and his Fun Rhyming Friends is now available at Amazon.

Some of you may remember my first children’s book, Klaus the Mouse and other Silly Animal Tales.  I had so much fun creating it, much in part to the encouragement of this fun blogging community.

This second one was created as a follow-up to Klaus the Mouse in a way, as it evolved from friends asking for, and then me creating, characters based on my besties’ grandies similar to the watercolor paintings and rhyming stories in Klaus the Mouse.  It was a labor of love to honor these friends and their special grandchildren.

My first book was dedicated to my first granddaughter.  This one is dedicated to my second.  They are two of the greatest loves of my life!

Thank you Bubby for encouraging me every step of the way to publish this book.  Thank you Jim for that first request of Alex the Alligator and Liz the Lizard that put this whole compilation in motion.  Thank you Jill for sharing your family with mine and supporting me no matter what I do.  Thank you Joyce for your love and creative inspiration and for sharing the best of what family is all about with me.

In this book, you will enjoy reading and rhyming along with Lucas the Lucky Lion, who of course scored the cover spot because of his good luck, all the way through to Mason the fickle, pickle-loving monkey who is sure to tickle your funny bone.

And in this book, I left two blank pages at the end where I hope readers will consider drawing their own character and creating their own rhyme.  And I would love if they will share with me.  My email address is mckinneyjodi@gmail.com.

Thanks to all of you for your ongoing encouragement and support.  You’ve really contributed to making my dreams come true!

Cheers & Hugs,
Jodi


An Art Do-Over

An Art Do-Over.

Don’t you love a good do-over?

The opportunity to do something over?

I had a painting I had hung in our bedroom that I just didn’t love.  It was way overdone and needed a do-over.

It had some great texture on it that I thought might make a lovely rustic looking sign, so I went to work and covered the entire canvas with a gray acrylic paint.

Once that coat dried and the textures shown through, I went over that coat with a parchment color.

My intention was to sand it and stain over it using that texture to pull out a worn character look to it.

I then used stencils to paint the sign using black.  I really should have measured, but I didn’t, and it is a bit wonky, but oh well – makes it more “homemade” looking…..  Right?  Argh!

Once stenciled, I sanded and rubbed some more gray paint on.  Then I used some Annie Sloan dark wax I have for chalk painting to antique it up.

It’s not perfect, put it’s kind of fun.  A lot of our family and friends refer to our home as the McKinney B&B.  We love hosting and having stay-over company, so I hung this in our kitchen.

Now I have a big ole’ empty spot in the bedroom.  YAY! – I get to create or get something new for there now!  What project will be next?!

Cheers & Hugs,
Jodi

A Place To Just Be

A Place to Just Be.

Seasons come and seasons go…
but as long as there is a safe place
we can call home,

whether it be a house
or simply a place
where we are with those we love,

we can weather any storm
or any season,
and be ourselves.

No questions asked,
nothing to prove.
A place to just be.

Cheers & Hugs,
Jodi


Fresh Beet and Goat Cheese Salad

Fresh Beet and Goat Cheese Salad.

I found another gem at our new Fresh Thyme Farmers Market this week – beautiful fresh golden beets!

I love beets – red or gold – but since these are a little harder to find where I live, I was excited to get them.  Golden beets are slightly sweeter and a little less earthy than red beets.  I actually love the earthiness of red beets, but those that don’t might enjoy these.

I love beets hot or cold, plain or fancy, so I decided to make a bit of a fancier salad for our Sunday supper this past week.  Here is my recipe.  Hope you will give it a try.

Fresh Beet and Goat Cheese Salad

Ingredients:

  • 1 large or 2 small gold or red fresh beets (or a combination of both), cooked* and cut into bite-sized pieces.
  • Small bunch of arugula or mixed greens of your choice
  • ¼ cup pecans or walnuts
  • 1 Tbsp pure maple syrup
  • 2 small clementines or oranges
  • 1/8 cup balsamic vinegar
  • ¼ extra virgin olive oil
  • 2 oz. goat cheese
  • Salt and pepper to taste

Directions:

In a small skillet, heat pecans or walnuts until warm and beginning to toast.  Add maple syrup and cook and stir to coat.  Remove from heat.  Spread out on cutting board or parchment or waxed paper to cool.

Prepare dressing by squeezing juice of clementine or orange into a small bowl.  Drizzle and whisk in vinegar and olive oil.  Season with salt and pepper.  Set aside.

Place a small bunch of arugula or mixed greens on each of two salad plates.  Top each plate with equal portions of the cut-up beets, followed by clementine or orange slices, toasted candied pecans or walnuts, and crumbled goat cheese.  Drizzle with dressing and sprinkle with additional coarse black pepper and salt to taste.

*To cook fresh beets, cut greens off top to about an inch from beet.  Place unpeeled fresh beets in a saucepan of water to cover and bring to a boil.  Boil for 20-40 minutes, depending on size, until beets are fork-tender.  (When you stab with a fork, the beet should slide right back off when done.) Drain under cold water and remove skin with paper towel.  Cool completely for salad.  Cut up after beets have cooled.

Enjoy!

Nothing beats a fresh beet!

Cheers & Hugs,
Jodi

This Past Week

This past week…

I gasped at the beauty of the early morning sunrise.

I cried about a brother who would never celebrate another birthday.

I shared overwhelming joy with a friend who became a grandma for the first time.

I shared deep grief with a friend whose mom is dying.

I celebrated life with the birthday of my longest, dearest friend.

I worried with a friend whose mother-in-law was in the hospital.

I laughed with a friend I chat with every morning on our way to work.

I discussed deep, important topics about relationships and next stages of life with people I love.

I played on the floor with two little girls who know me as Grandma and cheered first potty successes.

I was devastated to learn that friends got news they are going to lose their second child.

My heart was warmed by gratitude and comforted with love for my forever Valentine of 40 years.

This past week.

Cheers & Hugs,
Jodi

Homemade Cherry Pie

Homemade Cherry Pie.

On a recent visit to an awesome new grocery store that opened up near us called Fresh Thyme, I discovered they carried big 2.5 lb bags of red sour pie cherries.  I was so excited!  This is something hard to find where we live.  You can find dark sweet cherries everywhere, and they are delicious for eating, but to make a good old-fashioned homemade cherry pie, you have to have the sour cherries.

I snagged a couple bags and was excited to get to make a cherry pie for hubby for Valentine’s Day last week.

If you are lucky enough to find sour cherries, here is the simple, old-fashioned recipe I use to make a classic cherry pie.

Bake a little love!

Cherry Pie

Ingredients:

Directions:

Preheat oven to 400 degrees F.

In a large bowl, combine cherries, sugar, tapioca, and almond extract.  Mix well, and let sit while preparing pie crust.

Prepare crust and place bottom layer in pie plate.  Fill with cherry mixture.  Top filling with dabs of butter followed by top crust, being sure to cut slits or a shape to allow bubbling and steam to escape.  Spread a small amount of milk or water on top crust, and sprinkle with an additional tablespoon of sugar if desired.

Place pie in oven.  Cover loosely with foil to prevent over browning.  Bake approximately one hour.  Remove foil and continue baking until filling bubbles out of top and crust is beautifully browned.

Allow to cool completely to set.  Serve with scoop of vanilla ice cream.

Enjoy!

Cheers & Hugs,
Jodi


Paper Cut-Out Hearts

Paper Cut-Out Hearts.

Paper cut-out hearts,
X’s and O’s,
Handmade cards,
Love notes…

These are the things that truly melt my Valentine heart.

Cheers & Happy Valentine O’s,
Jodi

A Beautiful Ending

Foggy, Beautiful Ending to the Day – February, 2019 – Mars, PA

A Beautiful Ending.

We may not be able to control or change
ugly things that happened to us –
especially in our childhood.

We can’t choose our beginning.

But we can decide to not be
defined or deflated or diminished by them,
and create our own beautiful life.

We can determine the ending.

Cheers & Hugs,
Jodi

Homemade Sweet Potato Chips

Homemade Sweet Potato Chips.

I’ve been trying to eat a bit healthier and make better food choices.

It’s hard.

While some people crave chocolate and sweets, I am a salty, savory girl.  I will take a crunchy pretzel or chip any day over a Hershey’s Kiss or cookie.

So when I heard about making homemade sweet potato chips, I had to try.

And HOORAY!  They totally satisfied my salty, crunchy chip-loving craving.

These are so easy to make, so delicious to eat, and healthy enough to not feel guilty!

The only tricky part is baking them long enough to get crispy without burning them.

This recipe is what works in my oven in my area.  I have an electric convection oven.  Your baking time may vary.  Just keep watching – and tasting – until you achieve your best results.

The batch pictured here is ONE sweet potato!

Here is how I made them:

Homemade Sweet Potato Chips

Ingredients

  • 1 large sweet potato
  • 1-2 Tbsp. Olive Oil
  • 1 tsp. coarse sea salt
  • 1 tsp. chili powder or dry rub or your favorite seasoning (optional)

Directions:

Preheat oven to 400 degrees F.

Thinly slice sweet potato with a mandoline slicer and layer on a baking stone or cookie sheet.  Drizzle with olive oil and combine to coat well.  Sprinkle with salt and seasoning.  Re-spread evenly on the baking sheet.

Bake 20 minutes.  Toss and flip slices.  Continue baking for 10 minutes.  Toss and flip slices.  Bake 10 more minutes or until edges are browned and chips become crisp.  Remove to paper towels to dry and drain off any excess oil.   Serve immediately and enjoy!

TIP:  Some type of mandoline slicer is really a must as well to get super thin, even slices.

Hope you enjoy!

Cheers & Hugs,
Jodi

P.S.  Do you see a familiar furry, four-legged friend in the first photo who also loves these sweet potato chips?  (Charlie says “Hi” and wants you to know how good these are!)