Thanks ever so much and a Card Giveaway!

PP269 Let us Give Thanks Fall Theme Card

How did it get to be November already?!  (And as hubby reminded me yesterday, only a little over seven weeks until Christmas!)

I do enjoy this time of year with all of the holidays and preparations and family time.

November reminds me to be thankful, and our theme for this week’s Paper Players Challenge seems so fitting:  Let Us Give Thanks – Fall Thank You Cards (PP269).

So on this first day of November, I want to say Thank YOU ever so much my “lifeinbetweener” friends.  I so enjoy sharing this journey with you and appreciate your comments and kind words whether in the form of a like or comment here, on Facebook, Twitter, an email or card, or in person.  Thank you for sharing lifeinbetween.me with your family and friends.  I am always amazed when someones comes up to me and says something like, “My friend told me about your blog, and I read it every day,”  And then I love when they tell me what they like best – whether it’s the recipes or stories or photos or DIY cards or watercolor art or crafts or chuckles with Charlie – all the stuff I love to do “in between.”

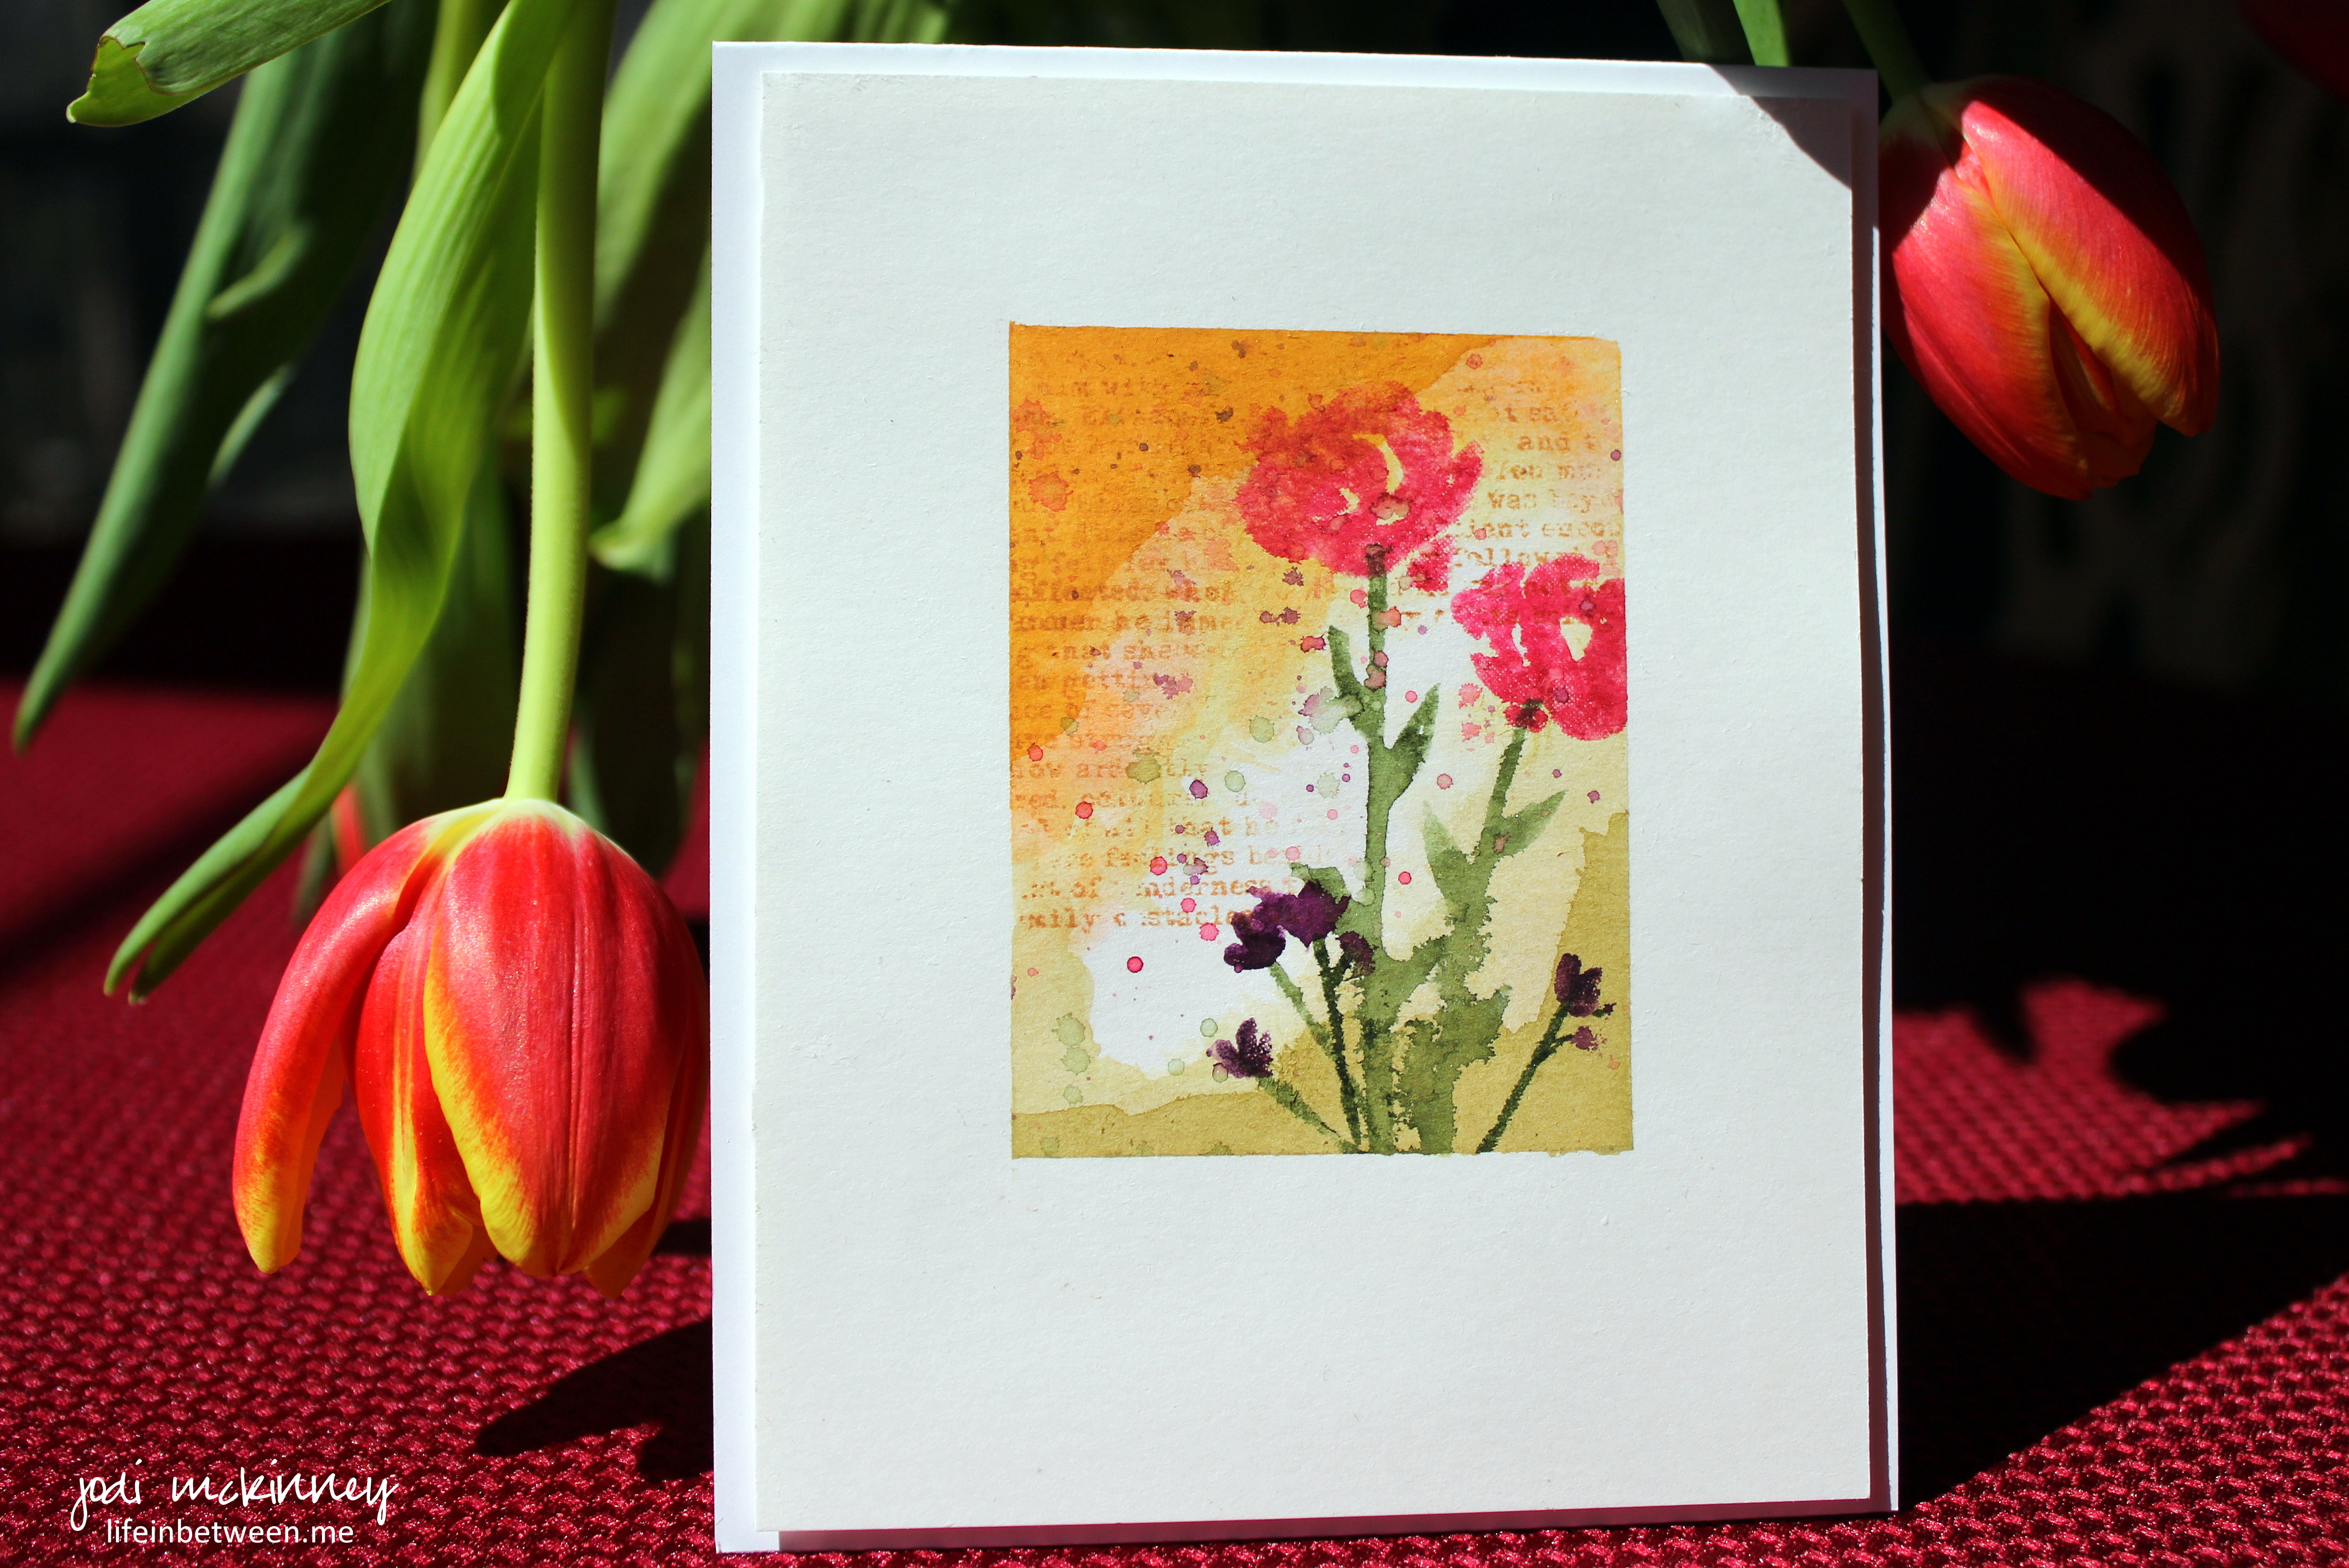
I would like to send this card to one of you to use to send to someone you want to thank.  Simply leave a comment –  a simple hello or anything that is on your mind, and I will do a random drawing on Friday to choose someone to send this too.  I may even add another bonus card or two!

PP269 Let us Give Thanks Fall Theme Card flat

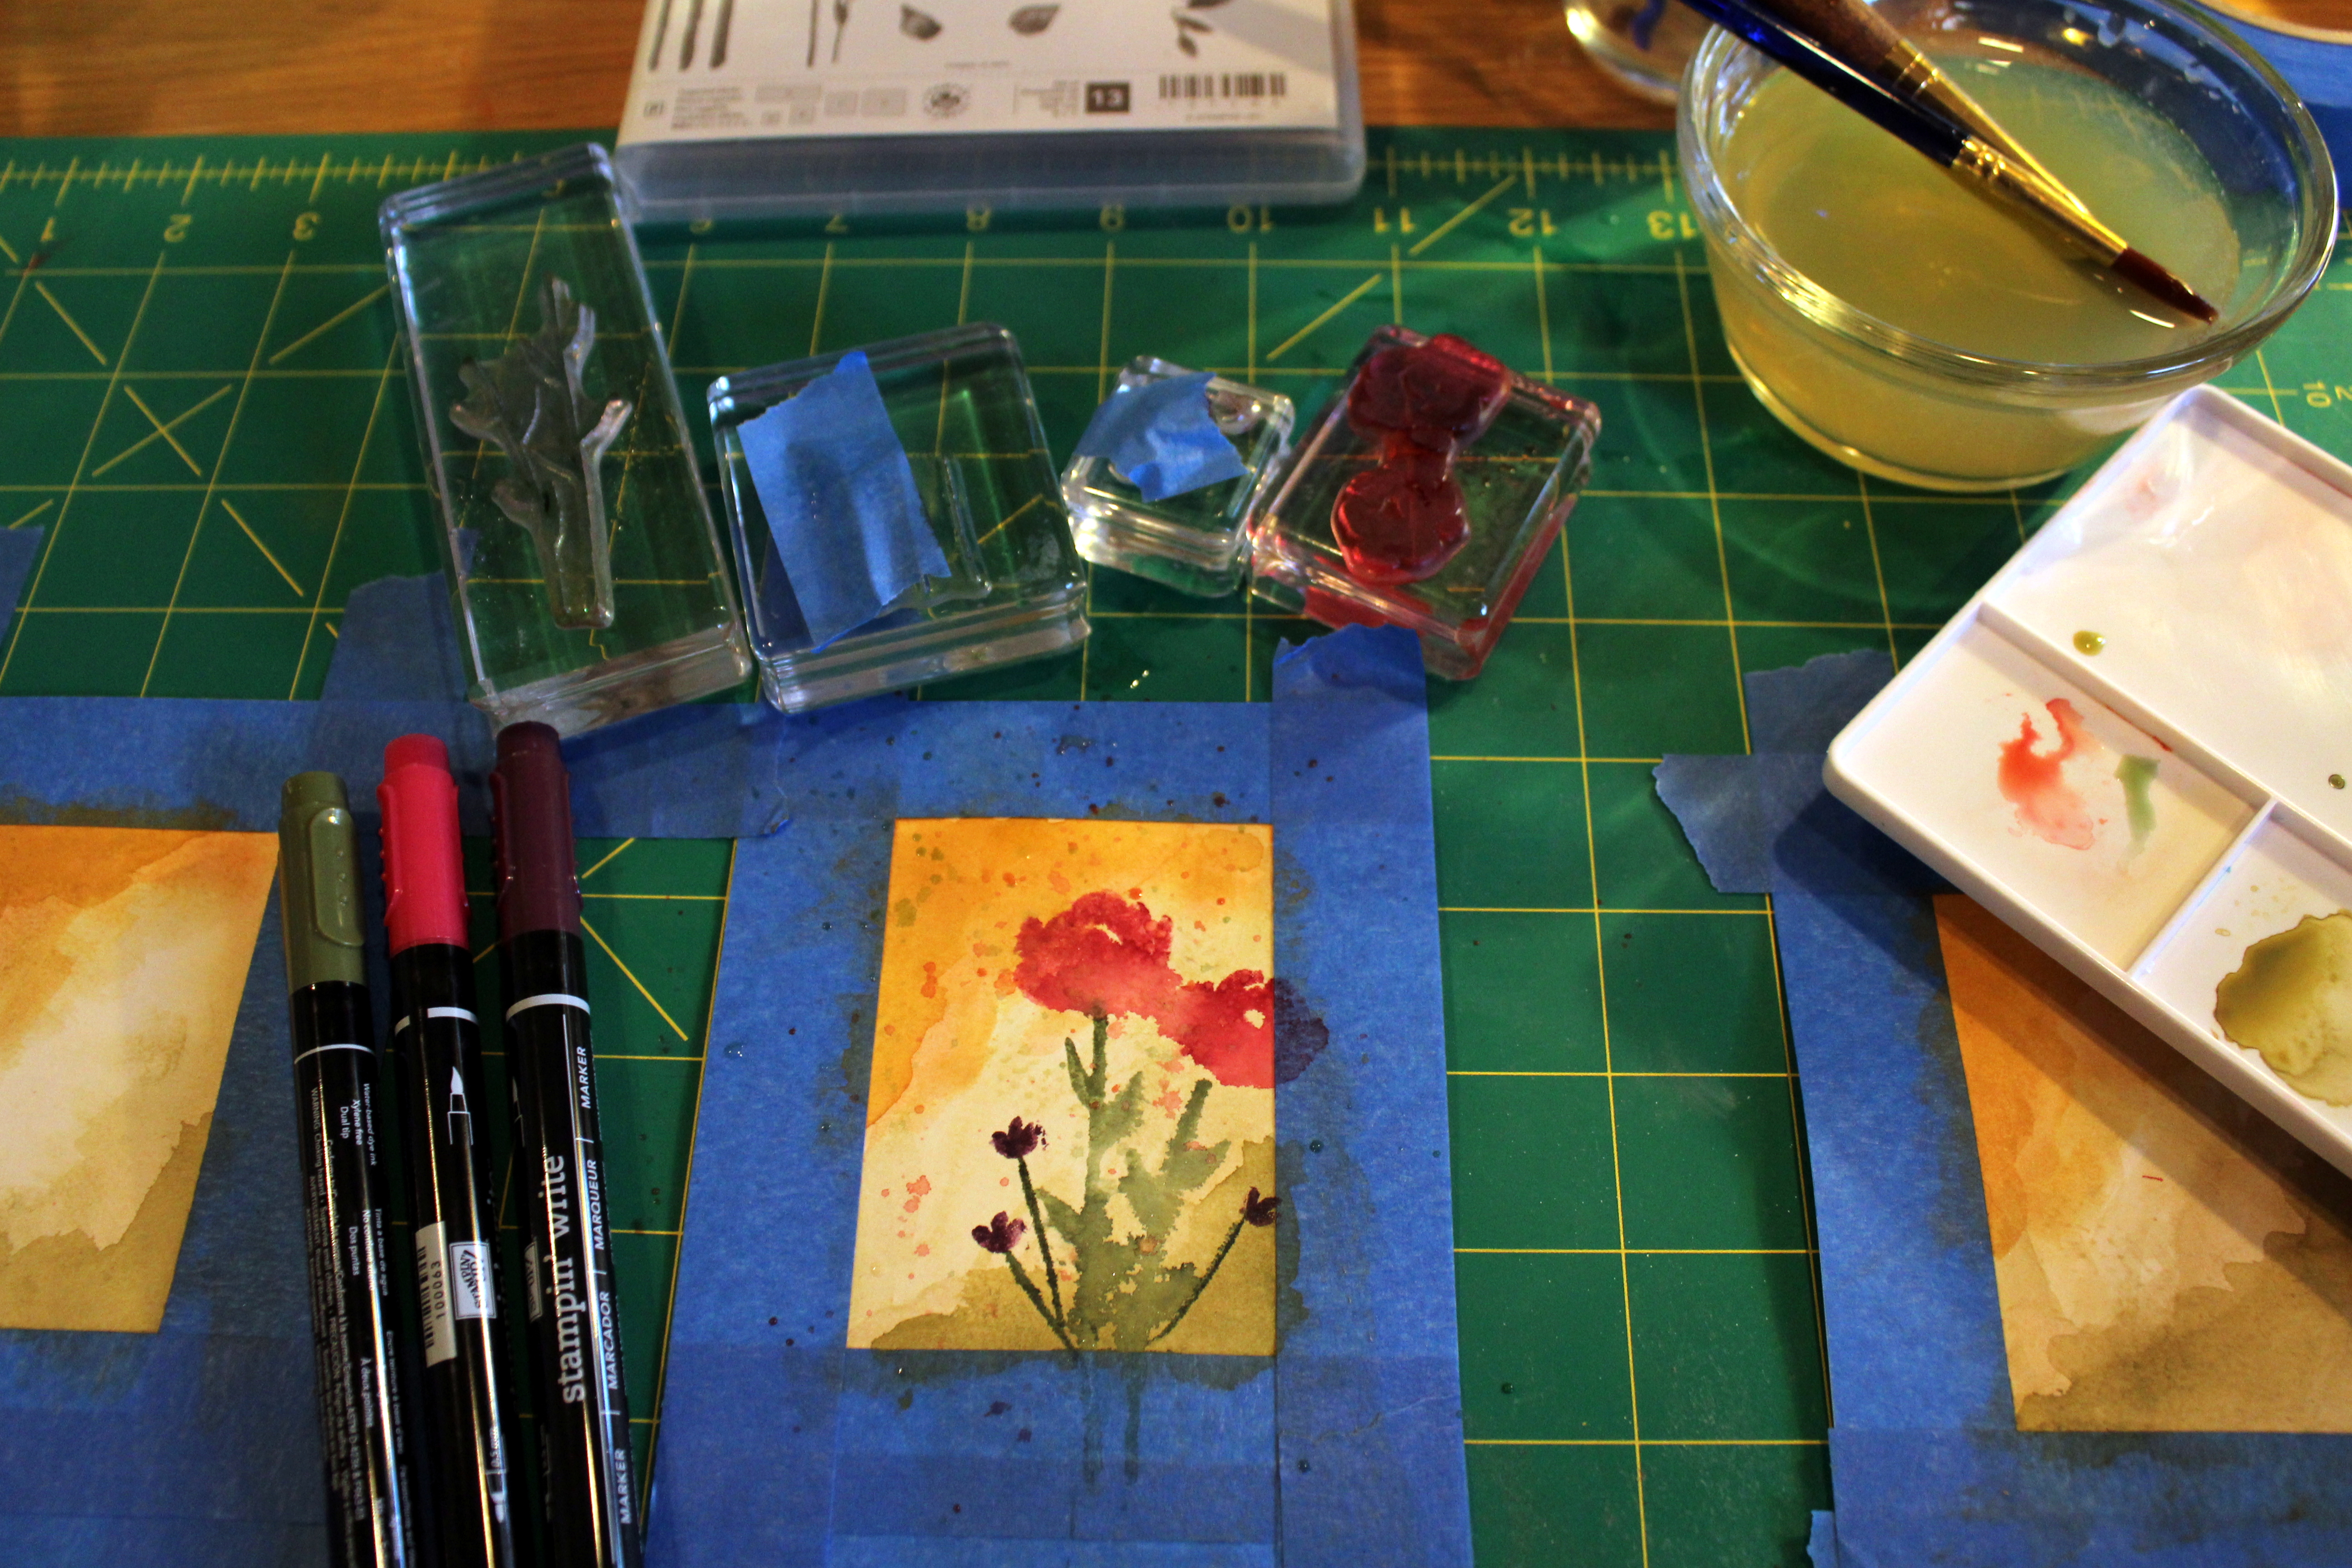
For my stamping and papercrafting friends, here is how I made this card:

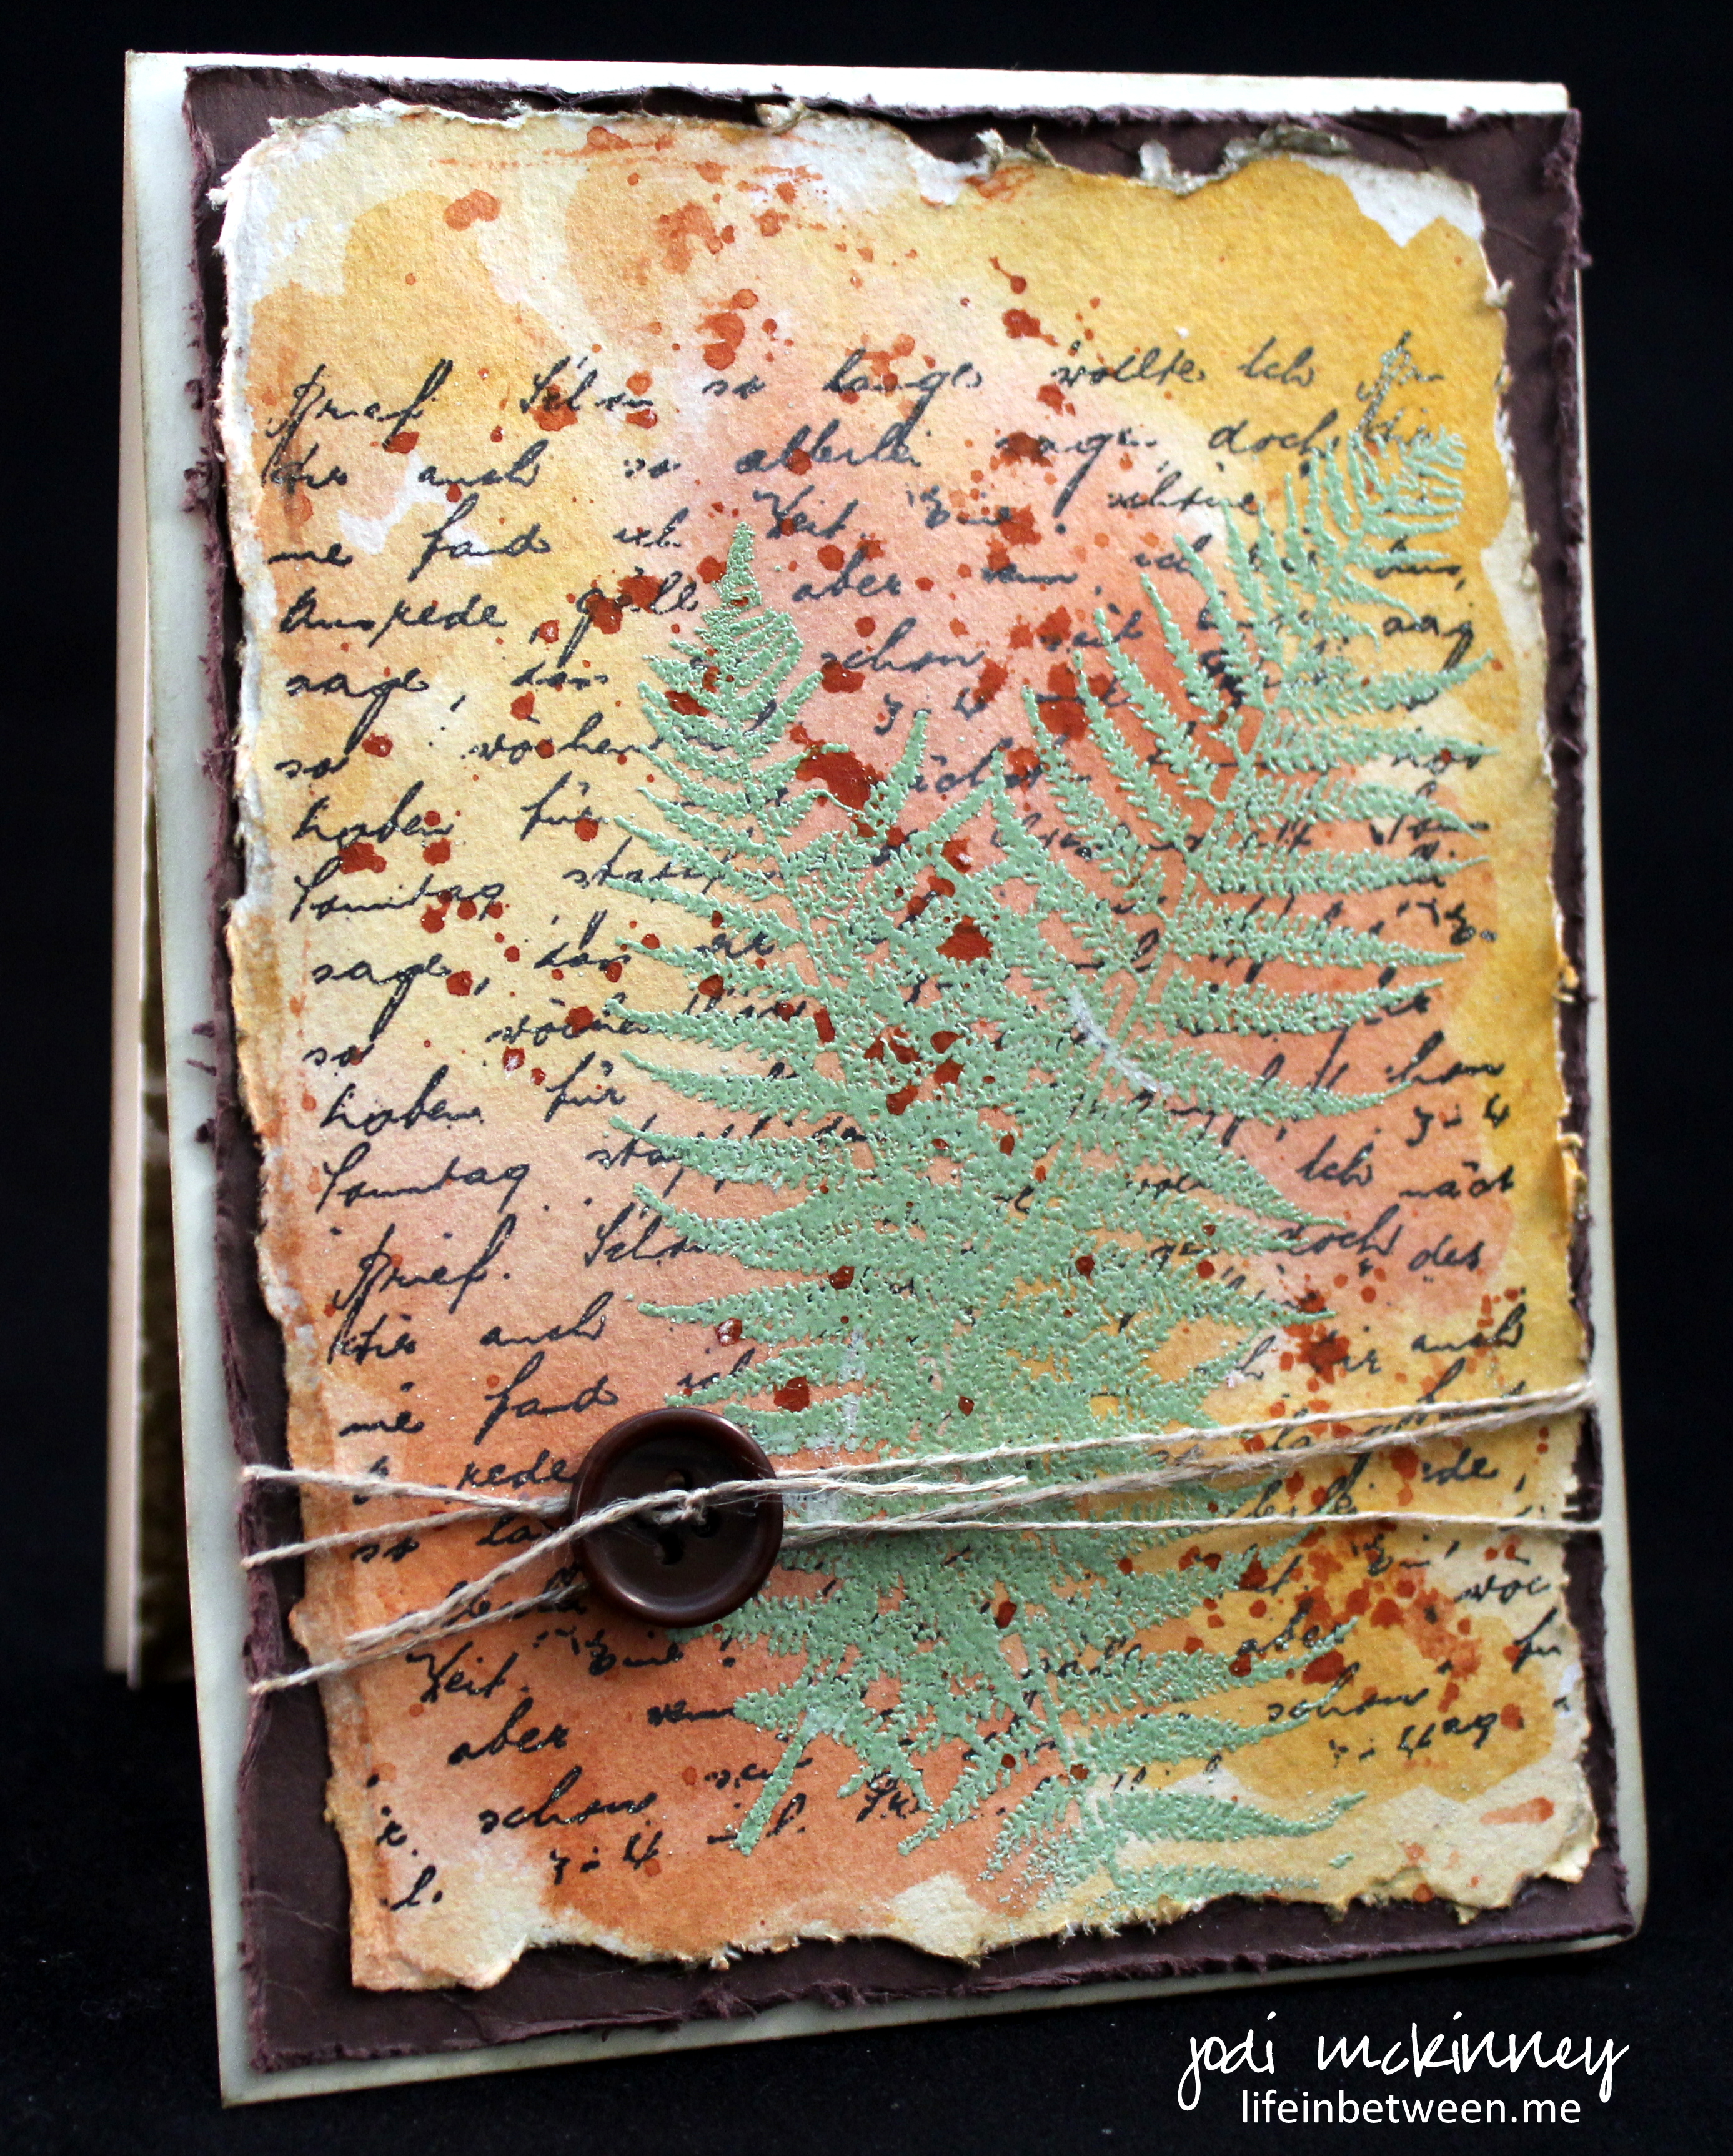
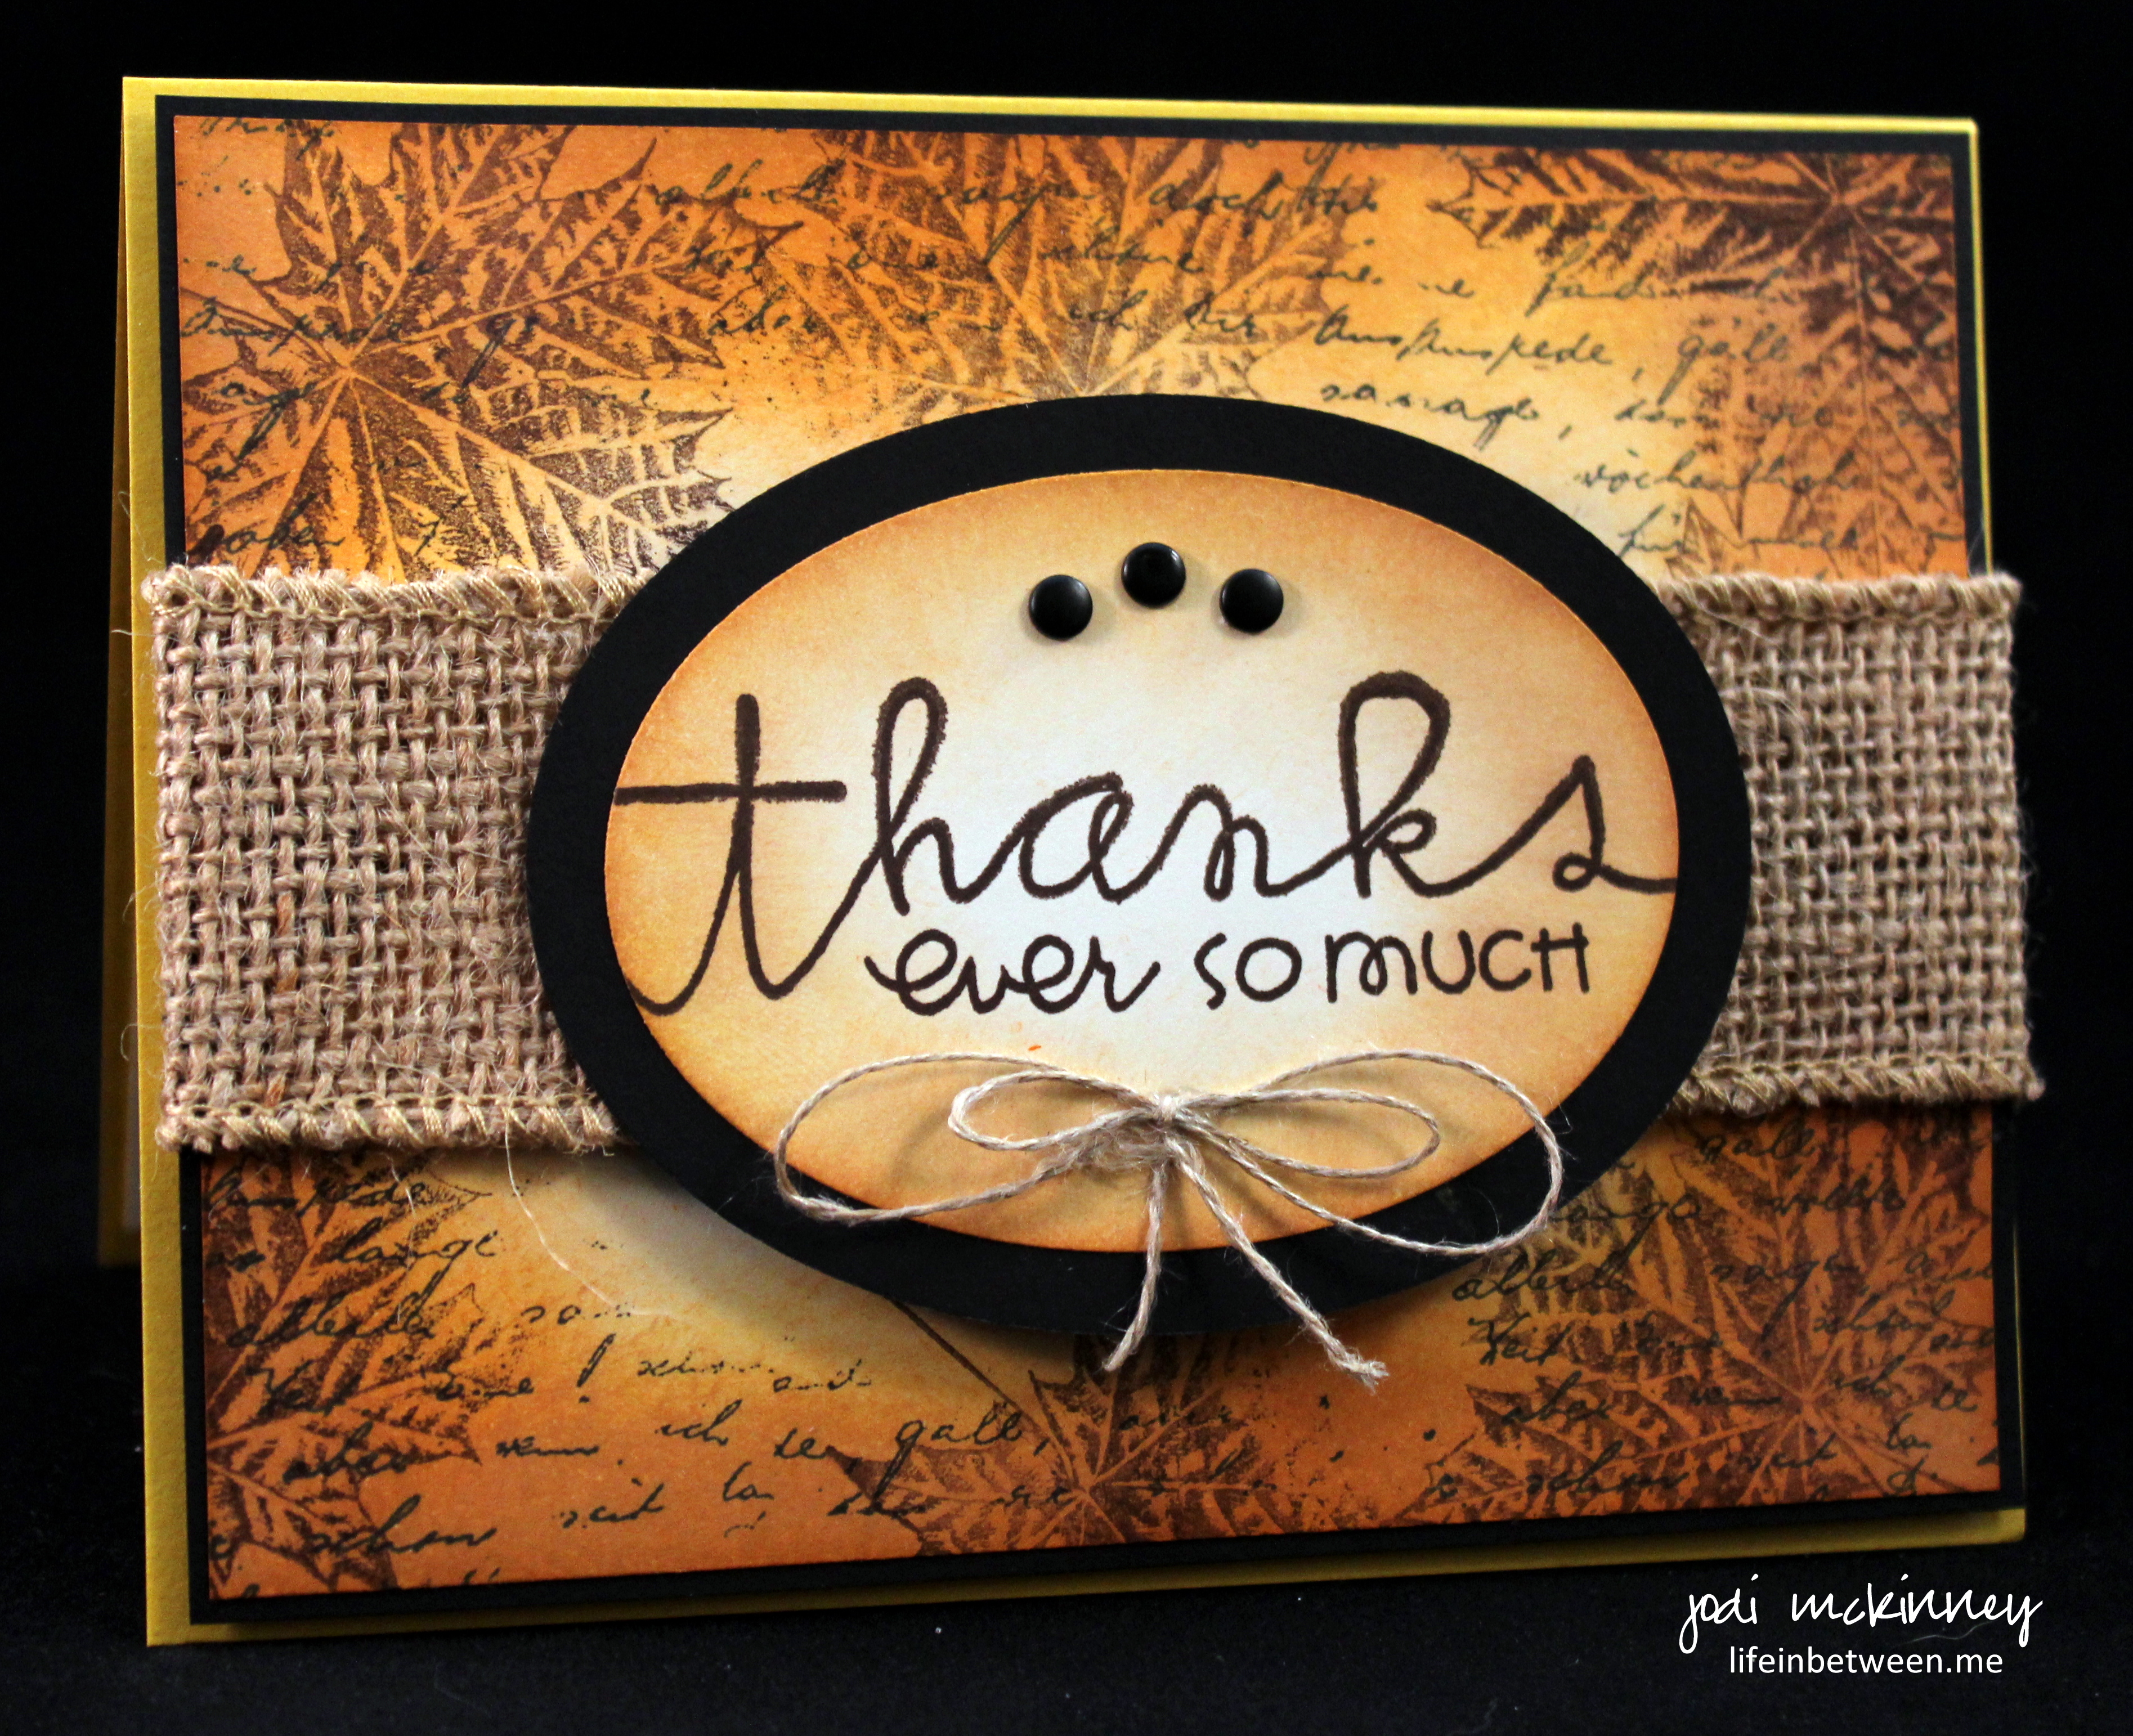
  • I masked off an oval in the center of a piece of very vanilla card stock and stamped it with the Penny Black Script Letter Background stamp in Memento Black ink.
  • I then randomly stamped on top of the edges with the Inkadinkado Maple Leaf stamp.
  • This was followed by sponging the edges in three layers of color beginning with StampinUp Crushed Curry, Pumpkin Pie, and finally Cajun Craze inks.
  • I cut out two ovals with StampinUp Oval Framelits using #2 and #3 from the smallest – #2 in very vanilla and #3 in black.
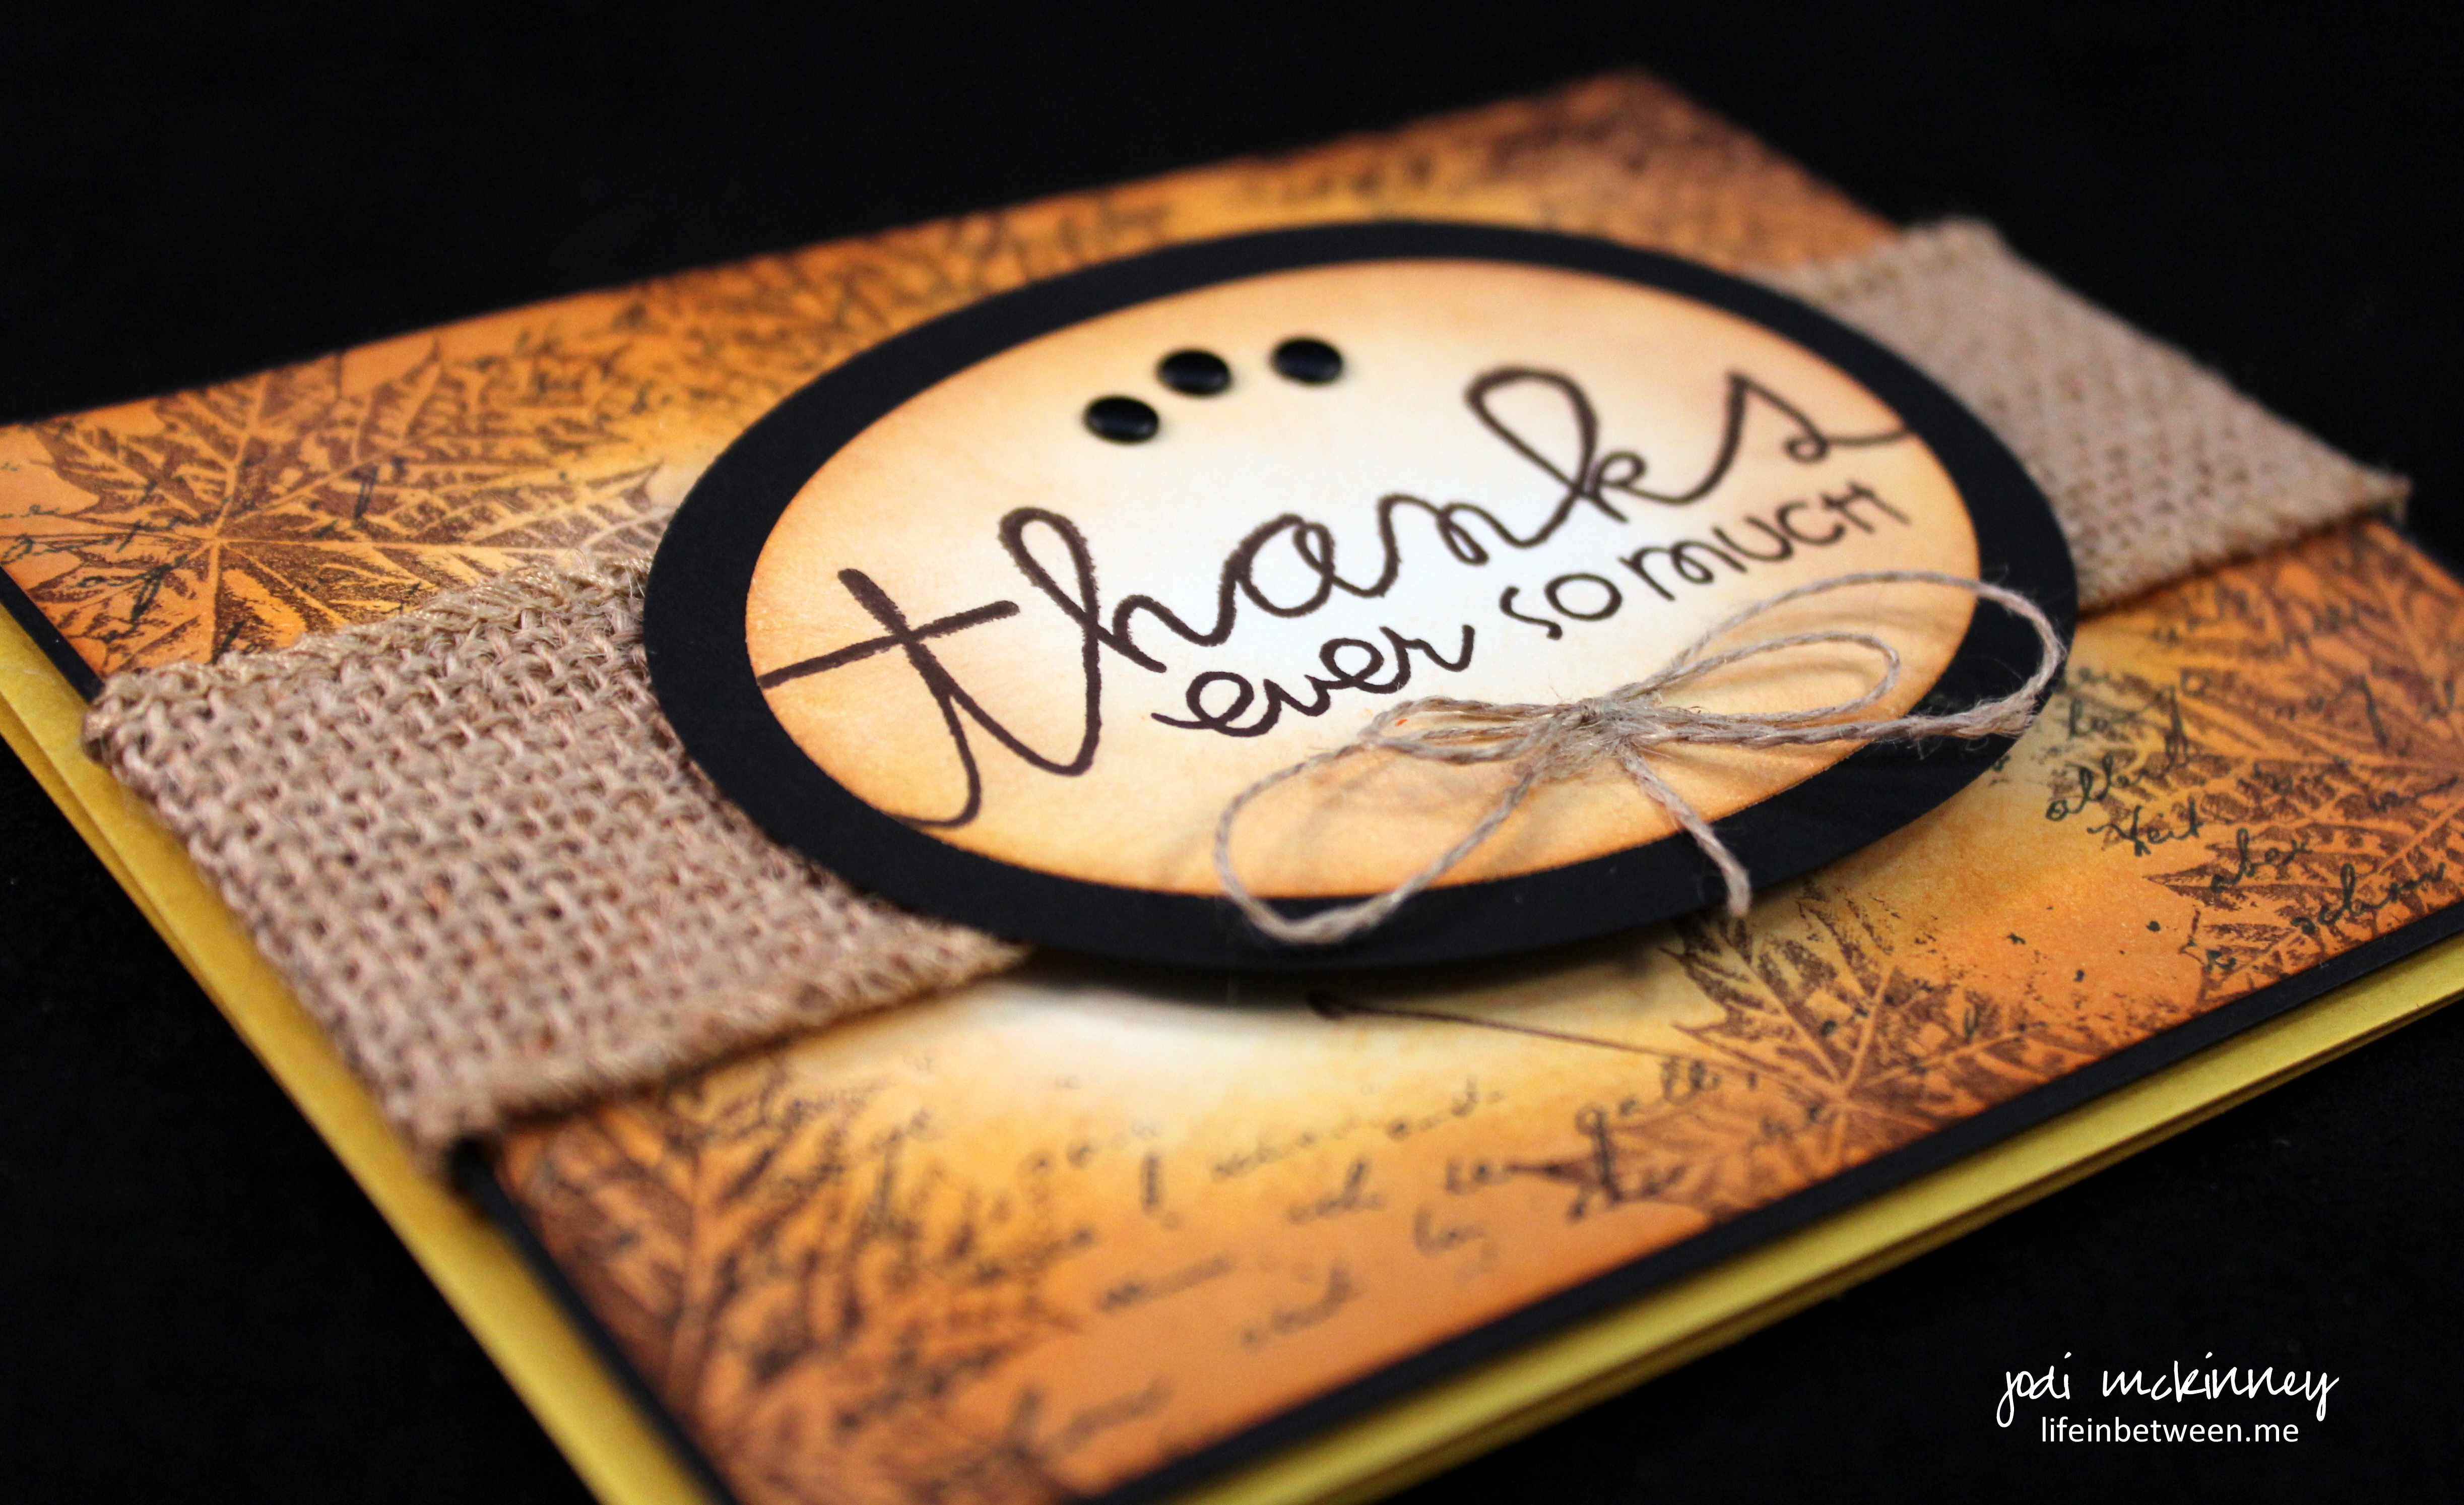
  • Same sponging was done on the small oval as the larger piece, and then I stamped the Thanks ever so much Sentiment on using the Paper Smooches Pretty Phrases stamp set.
  • To put it all together, I matted with another piece of black onto a Crushed Curry Base.
  • Embellishments to finish it off included some dark brown candy dots, a bow of linen thread, and a ribbon of burlap.

Be sure to check out the other design inspiration cards by our amazing design team at The Paper Players and play along with us.

Thanks again friends, and be sure to leave a comment for the drawing!  I can’t wait to share this with someone.

Cheers & Hugs,
Jodi

Vintage Birthday Card

masculine card hero artsferns watercolor penny black letter background

This card was one of those projects that just evolved….

I had no idea where I was going with it, but I love how it ended up.

I felt like just splashing some watercolor on paper.

I wanted to get “wild and crazy” and just tear the paper instead of cutting it.

After the watercolor dried, I stamped Penny Black’s Letter Stamp on top.

I then heat embossed Hero Arts’ ferns on top of that.

Then I splattered…

and I sponged the edges…

and I wrapped with some SU linen thread and a wooden button.

masculine card happy birthday paper smooches sentiment hero arts fern watercolor

For the inside, I painted some “leftover” watercolor paint onto the Hero Arts Fern stamp.  I LOVE how it turned out.

Then, I used the Paper Smooches Happy Birthday Sentiment on top of it.

masculine watercolor penny black letter hero arts fern vintage card

It turned into a birthday card for a very special brother-in-law.

I hope he feels the love and passion that went into each step of the creation.

Kinda like the love I feel for him. 🙂

Happy Birthday Ron!  May your birthday be as special as you!

Cheers & Hugs,
Jodi

P.S.  I am entering this card in the CanYouCaseIt Designer’s Choice Challenge this week (CYCI#66).

CYCI66

Watercolor & Painted Petals Note Card

mini watercolor painted petals

I really enjoy trying new techniques in creating handmade cards, so when I saw a tutorial done by Jill Foster for Penny Black featuring water coloring combined with stamping to create these mini watercolor creations with a clean and simple white on white background, I couldn’t  wait to make one.

mini watercolor painted petals 1

The technique includes masking off watercolor paper to create the “frame” and then watercoloring the background.  I used some golds and greens from my Sakura Koi Water Color Pocket Field Sketch Box (actually the only watercolors I own right now).  After drying, I stamped the flowers on using StampinUp’s Painted Petals stamp set by coloring them with my Stampin’ Write Markers in Rose Red, Blackberry Bliss and Mossy Meadow and then gently spritzing the stamp with water to loosen the look before stamping.

mini watercolor painted petals 2

I then used those same marker colors and added a little water to them in my watercolor tray to randomly tap splatters all over from a paint brush.  The last step involved using a Penny Black Footnotes stamp with Tim Holtz Distress Ink in “tea dye,” which I smudged for the vintage imperfect look before stamping on the top edge and corner.

mini watercolor painted petals 3

Once dry, I simply removed the masking tape (blue painter’s low-tack tape is easier to remove and less likely to lift the paper too), put some dimensional adhesive tape on the back and adhered to a white card base.

mini watercolor painted petals 4

I loved this technique and plan to try it with other colors and stamps, and I can’t wait to share this card with somebody special.

Wishing you a wonderful day and week.  Spend some time doing things you enjoy with people you love.

Cheers & Hugs,
Jodi

PS  I am submitting this card for a new challenge I just learned about at canyoucaseit.com where this week’s challenge is “Designer’s Choice.”

Designers-Choice-001

I won!  Thanks to the CYCI Designer Team for the great honor!

Winner-001