Almost-Homemade Easy Crockpot General Tso’s Chicken

Almost Homemade Easy Crockpot General Tso's Chicken

Gotta love “almost-homemade” recipes – right?

And what is better than a crockpot recipe for those busy days when we need it?!

And WHO does not love General Tso’s Chicken?  Please don’t tell me if you don’t?!  It will shock me beyond belief.

Almost Homemade Easy Crockpot General Tso's Chicken 2

This recipe turned out so yummy that I have to call it yet another……

Winner Winner Chicken Dinner!

A winner because it is YUMMY…

and a winner because it is EASY!

Here is how I made it.

Almost-Homemade Easy Crockpot General Tso's Chicken

Ingredients:Almost Homemade Easy Crockpot General Tso's Chicken

  • 2 1/2 lbs fresh or frozen boneless, skinless chicken breasts, cut into bit-sized pieces
  • 2 cups corn starch
  • 1 tsp. coarsely ground black pepper
  • 2 tsp. salt
  • 1 15-oz bottle Iron Chef General Tso’s Sauce and Glaze (this yummy sauce is what makes it “almost” homemade and VERY easy!)
  • 1/4  cup oil
  • 1/2 cup chopped green onions

Directions:

  • Mix corn starch, salt, and pepper in a gallon-sized Ziploc Bag
  • Add chicken to corn starch mixture and shake to coat well.
  • Heat oil in a stir-fry skillet.
  • Add corn starch coated chicken, and fry 3-4 minutes until lightly browned and crisp.
  • Pour entire contents of skillet into crockpot.
  • Add bottle of sauce.
  • Cook on LOW for 4 hours
  • Add green onions
  • Serve with steamed Jasmine rice

Enjoy!

Cheers & Hugs,
Jodi

Crockpot Chicken Philly Cheesesteak Sandwiches

chicken philly cheesesteak 2

Last week, I made some yummy chicken sandwiches: Chicken Philly Cheese Steaks, which were easy peasy and full of flavor.

Just imagine juicy, shredded chicken with ooey gooey melted cheese and sweet caramelized onions and peppers on a buttery, toasted bun.  Sound like heaven?

Crockpot meal to the rescue!

If you’re looking for an easy, satisfying dinner, lunch, picnic or party pleaser, look no further, and enjoy these yummy sammies.

I know we did!  We enjoyed ours with some fresh garlic green beans and a vinaigrette-based light cole slaw.  Do I have you hungry yet?

I found a recipe I tweaked every so slightly from CinnamonSpiceandEverythingNice.com.

chicken philly cheesesteak

Crockpot Chicken Philly Cheesesteak Sandwiches


Ingredients:chicken philly cheesesteak 2

  • 1 cup chicken broth
  • 1 Tbsp Dijon mustard
  • 1 tsp Worcestershire sauce
  • 1/2 tsp chili powder
  • 1/4 tsp ground cumin
  • 1/2 tsp each onion and garlic powder
  • Olive oil for sauteing
  • 2 lbs boneless, skinless chicken breasts or thighs
  • 2 large sweet onions, sliced
  • 2 large red or orange or yellow bell peppers sliced
  • 4 cloves garlic, minced
  • 8 buns
  • 8 slices Mozzarella or Provolone cheese (or your fave)
  • Pickled Jalapeno or Banana Peppers or Pickles to garnish
  • Hot sauce if you want to “zip” it up some more

Directions

Add the broth, mustard, Worcestershire, chili powder, cumin, onion powder, garlic powder, salt and black pepper to a crockpot set on high and whisk together.

Season the chicken with salt and pepper and place on top of sauce in the crockpot.

In a skillet, saute the onion, peppers and garlic in olive oil. Season with salt and pepper, cook, stirring occasionally for 5 – 7 minutes. Remove half the mixture and place on top of chicken in the crockpot and save the other half for serving.  You can store it in a small covered container in the refrigerator.

Cook the chicken mixture on low for 6 – 8 hours.

During the last hour shred the chicken with 2 forks right in the crockpot and let cook in the juice.

Reheat the onion, pepper and garlic mixture you set aside earlier.

Butter the insides of the buns and toast on a hot skillet until golden brown. Lay your choice of cheese down then top with chicken, some of the onion mixture and pickles or pickled peppers and hot sauce if you like.

Enjoy!

Cheers & Hugs,
Jodi

Beer Chicken in the Crockpot

beer chicken 2

Are you looking for a super simple chicken dinner you can throw in the crockpot in the morning, forget about, and arrive home at dinner time to a taste-like-you-slaved-all-day meal?

I adore cooking and baking, but many (really most) days don’t allow me the luxury to spend the time I’d like in the kitchen, so this recipe is just the ticket.  It is full of flavor, tender, and moist.

Beer Chicken in Crockpot 2

And it’s EASY!  Besides the chicken, there are only FOUR ingredients:  a bottle of your favorite beer, a tablespoon or two of seasoning (I used Montreal Steak Seasoning – yep STEAK seasoning), 2 Tablespoons of fresh herbs (I used rosemary), and 2 large cloves of garlic.

Beer Chicken in Crockpot

You can use a whole chicken or chicken parts, or boneless chicken breasts like I did.  Put it all in the crockpot on low for 8 hours or high for 4-5 hours.

beer chicken

The sauce can be made into a beautiful gravy, and I served it with mashed potatoes and steamed broccoli.

SCORE!

The chicken tastes almost like those moist, tender rotisseries chickens you get at Costco or your local grocery, but even better!

Add this to your collection of winner winner chicken dinners!  You won’t be sorry!

Beer Chicken in the Crockpot

Ingredients

  • 4 chicken breasts or a whole chicken or your favorite chicken pieces
  • 1 bottle of your favorite beer
  • 2 Tbsp Montreal steak seasoning (or your favorite blend)
  • 2 Tbsp fresh Rosemary (or your favorite herb)
  • 2 large garlic cloves, minced

Directions

  • Place all in crockpot and cook for on high for 4-5 hours or low for 8 hours.

Cheers & Hugs,

Jodi

Copycat Chick-Fil-A Chicken Sandwich

copycat chick-fil-a chicken sandwich.1jpg

Are you ready for another AMAZING Chicken Recipe?!?!

(My youngest son recently commented:  “too much painting – not enough cooking on the blog!”)

So… since he and I LOVE chicken for dinner….

and he requested this…

and our oldest son and our daughter-in-law were coming over last evening….

It was time to break down and make this YUMMY recipe!

If you love Chick-Fil-A Chicken Sandwiches…  I promise – all your dreams have just come true!

I very rarely eat fast food.

But when I do…  a Chick-Fil-A Chicken Sandwich is my go-to FAVE!

And I am super excited to share that I discovered a recipe that totally replicates this best of best chicken sandwich thanks to one of my favorite food bloggers Damn Delicious!

And if you don’t have a Chick-Fil-A near you – or have never tried – this is so easy and perfectly replicates the original, you need look no further.

Are you ready for the most juicy, flavorful, amazing chicken sandwich possible?

Here is the recipe shared by Chungah at Damn Delicious.  (Of course, I doubled the recipe, and have lots of yummy leftovers!)

Copycat Chick-Fil-A Chicken Sandwich

Ingredients:copycat chick-fil-a chicken sandwich.1jpg

  • 4 hamburger buns
  • 1 head green leaf lettuce, leaves separated
  • 1 tomato, sliced
  • 20 dill pickle slices
Chicken:
  • 2 boneless, skinless chicken breasts
  • 1 cup dill pickle juice
  • 1 1/2 cups milk, divided
  • 1 cup peanut oil
  • 1 large egg
  • 1/2 cup all-purpose flour
  • 1 tablespoon confectioners’ sugar
  • Kosher salt and freshly ground black pepper, to taste

Instructions:

  • Place a chicken breast on a cutting board. With your hand flat on top of it, carefully slice the chicken in half horizontally. Trim excess fat as needed.
  • In a large shallow baking dish, combine chicken, pickle juice and 1/2 cup milk; marinate for at least 30 minutes. (I marinated for 8 hours in the refrigerator) Drain well.
  • Heat peanut oil in a large skillet over medium high heat.
  • In another large shallow baking dish, whisk together remaining 1 cup milk and egg. Stir in chicken to coat and drain excess milk mixture.
  • In a gallon size Ziploc bag or large bowl, combine chicken, flour and confectioners’ sugar; season with salt and pepper, to taste.
  • Working in batches, add chicken to the skillet and cook until evenly golden and crispy, about 4-5 minutes. Transfer to a paper towel-lined plate.
  • Serve chicken immediately on burger buns with green leaf lettuce, tomato and pickle.  (I added a splash of Yum Yum Sauce, which I think closely resembles Chick-Fil-A sauce for the little extra YUM!)

ENJOY!

Cheers & Hugs,

Jodi

Balsamic Grilled Peaches & Chicken Salad Dinner

balsamic grilled peaches and chicken 3

Oh Friends… you know how much I love chicken and discovering new and different ways to prepare it.

Well this week I discovered another Winner Winner Chicken Dinner!

It’s simple, it’s fast, it’s healthy, and it’s YUMMY!

balsamic grilled peaches and chicken 2

I have seen and heard about grilling peaches, and I was intrigued.

Having some ripe peaches in the fridge that weren’t getting eaten, now was the time to try it!

grilled peaches

It was so easy, and they were DELISH! 

Balsamic Grilled Peaches and Chicken

If you are looking for another light and simple, but full-flavored summer chicken dinner, look no further!

And remember, like I always say, if you don’t like a particular ingredient, switch it up!  Substitute goat cheese or feta or even shredded cheddar for the blue cheese if you are not a blue cheese fan (but BOO to you because it is DIVINE!).  Change up the greens to ones you prefer.  I used Spring Mix, but it would be awesome with Spinach or Arugula or Kale too!

Be creative.

Have fun!

Make dinner a celebration.

Create art on a plate.

You won’t be sorry about this one!

Balsamic Grilled Peaches & Chicken Salad

Ingredientsbalsamic grilled peaches and chicken 2

  • 4 chicken breast halves
  • 4-6 cups Spring Mix Salad Greens
  • 2 large sweet Vidalia onions, sliced into 1/2 thick slices
  • 4-6 ripe peaches – cut in half and pitted
  • 1/2 cup crumbled blue cheese
  • 1 Bottle Balsamic Vinaigrette Dressing (I used Ken’s Light version)
  • Olive Oil
  • Balsamic Vinegar
  • Salt & Pepper to taste

Directions

  • Marinade chicken breasts in 1/2 bottle balsamic vinagrette for at least 4 hours.
  • Grill chicken when ready to serve.
  • Place Onion Slices in a grill basket (or foil).  Sprinkle with olive oil, salt and pepper.  Grill until translucent and char-grilled.  Place on one side of grill while chicken is grilling on the other side.  These two take about the same amount of time – approximately 20 minutes.
  • Once chicken is done, remove from grill, and set aside.
  • Sprinkle peach halves with olive oil, salt, and balsamic vinegar.  Place cut side done on grill, and grill for about 5-7 minutes until soft and char-grilled.  When done, remove from grill and slice peach halves into three or four pieces.
  • To plate, place a cup of greens on plate, top with grilled onions, peach slices and crumbled blue cheese.  Add chicken to side or slice and mix in with chicken.
  • ENJOY!

Cheers & Hugs,

Jodi

Chicken Caprese Penne Pasta

chicken caprese penne pasta

I had a rotisserie chicken in the refrigerator that I purchased grocery shopping a day or two earlier.  I knew it would be good to have on hand for picking at or making a quick dinner.

foodie dice chicken caprese penne pasta

Looking for some inspiration, I thought I’d bring out the Foodie Dice and see what creativity I could stimulate for dinner.

fresh chopped tomatoes

I have to admit I cheated and made the chicken dice happen.  But when I rolled, tomatoes, garlic, basil, and pasta….

fresh basil

Caprese came to mind and came to dinner plate.

goat cheese

I didn’t have any fresh mozzarella on hand, but I did have some yummy goat cheese that makes a glorious quick and easy creamy pasta sauce.

rotisserie chicken

And the rotisserie chicken became the star of the evening.

chicken caprese penne pasta
This was so quick and easy, but SO SO SO SO SO to die for delicious.  I have to admit I sort of moaned (and bragged!) while eating it….

Though quick and easy, I must say this dish could be served for company – and I just may do that.

If you don’t have a rotisserie chicken on hand or available, you could simply roast a chicken or saute some chicken breasts and/or thighs to use.

Thanks to the roll of the Foodie Dice for this yummy dinner.

Chicken Caprese Penne Pasta

Ingredients:chicken caprese penne pasta

  • 1 rotisserie chicken, skinned and chopped
  • 1 lb penne pasta
  • 5-6 campari tomatoes, diced
  • 1 cup fresh basil, chopped
  • 4 large cloves garlic, minced
  • 3 Tbsp olive oil
  • 8 oz. goat cheese, crumbled
  • 1/4 cup freshly grated Parmesan cheese
  • salt and pepper to taste

Directions:

  • Cook penne pasta in salted water for 8-10 minutes.  Drain, reserving 1 cup of water.
  • Saute garlic in olive oil, then stir in chicken.
  • To drained pasta, add crumbled goat cheese and reserved cup of pasta water.  Stir to incorporate and melt cheese.
  • Add chicken and garlic, fresh tomatoes, and basil.  Toss to combine.
  • Sprinkle with Parmesan cheese, and salt and pepper to taste. 

Enjoy!

Cheers & Hugs,

Jodi

Foodie Dice – Shrimp Asparagus Pasta

foodie dice fish spring dinner

Have you seen them yet??

Foodie Dice!  A fun way to make cooking an adventure instead of a chore.  Roll the dice, using the appropriate seasonal veggie die (there are four – Spring, Summer, Winter, and Fall) along with the other five to create an exciting new combination for dinner.

How fun is that?!

foodie dice shrimp asparagus pasta

I originally discovered Foodie Dice through Instagram when THEY started following ME!  (How about that?!)  I checked out their website, and was completely smitten!

asparagus roasted

I mean… why didn’t I think of this???!!!  A creative way to inspire new combinations for dinner.

asparagus cut

And what a great, fun gift for the foodies on your gift list?!

lemon

So I wrote to the Foodie Dice people and told them what a great idea I thought they had and how fun I felt their product was.  I told them about my blog and asked if they would send me some Foodie Dice to feature here.  They were kind enough to oblige.

green onions
So I am THRILLED to share my first roll of the Foodie Dice and the dinner I created.

foodie dice play with your food

And guess what?  It’s just for fun and inspiration, so if you roll something that you don’t have or don’t like, just roll again!  It’s all about inspiration and creativity and fun!

foodie dice fish spring dinner
So when I rolled quinoa, I knew I was going to have to roll that die again…

Not because I don’t love quinoa, but my guys are not fans…

No problem.

Rolled it again, and hit the jackpot with pasta.

So here is what I created Wednesday for dinner.  It was DELISH!

shrimp asparagus pasta

Shrimp & Asparagus Pasta with Dill & Lemon

Ingredients:shrimp asparagus pasta

1 lb. thin spaghetti
1 lb. large shrimp
12-14 asparagus spears
2 Tbsp butter
4 Tbsp olive oil
3 garlic cloves, minced
6-8 green onions, sliced
1 red pepper, sliced
1 lemon, zested and juiced
2 tsp chopped dill
salt and pepper to taste
1/2 tsp red pepper flakes, optional

Preheat oven to 425 degrees F. Lightly coat asparagus with 1 Tbsp olive oil and season with salt and pepper. Roast asparagus for 8-9 minutes. Cut into 1 inch pieces and set aside.

Do same with red pepper strips and green onions.

In a large skillet, saute garlic and red pepper flakes in olive oil and butter just until translucent. Add shrimp and cook until just done. Sprinkle with lemon juice, lemon zest and dill. Stir in roasted veggies.

Meanwhile, prepare pasta according to package directions.

When pasta is al dente, toss with veggies and shrimp, and serve immediately

Be sure to check out Foodie Dice for the foodies and the non-foodies in your life.  It is sure to provide great fun!

Cheers & Hugs,

Jodi

Grilled Marinated London Broil

grilled marinated london broil 1

 Where’s The Beef?

(Will we ever, ever, ever, get that famous jingle out of our heads??!!  Such genius in marketing and advertising!)

Well – look no further – Here’s the Beef!

We indulge in beef for dinner about once a week; and when we do, grilled marinated London broil is one of our faves.

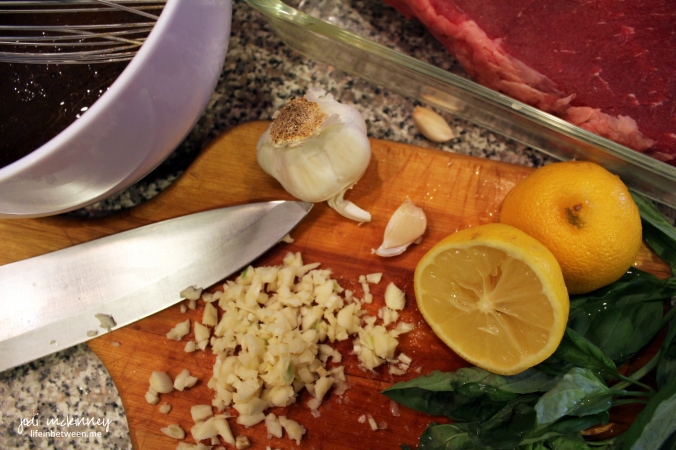
The key to a great London Broil is in the marinade.  And the key to a great marinade is fresh ingredients.

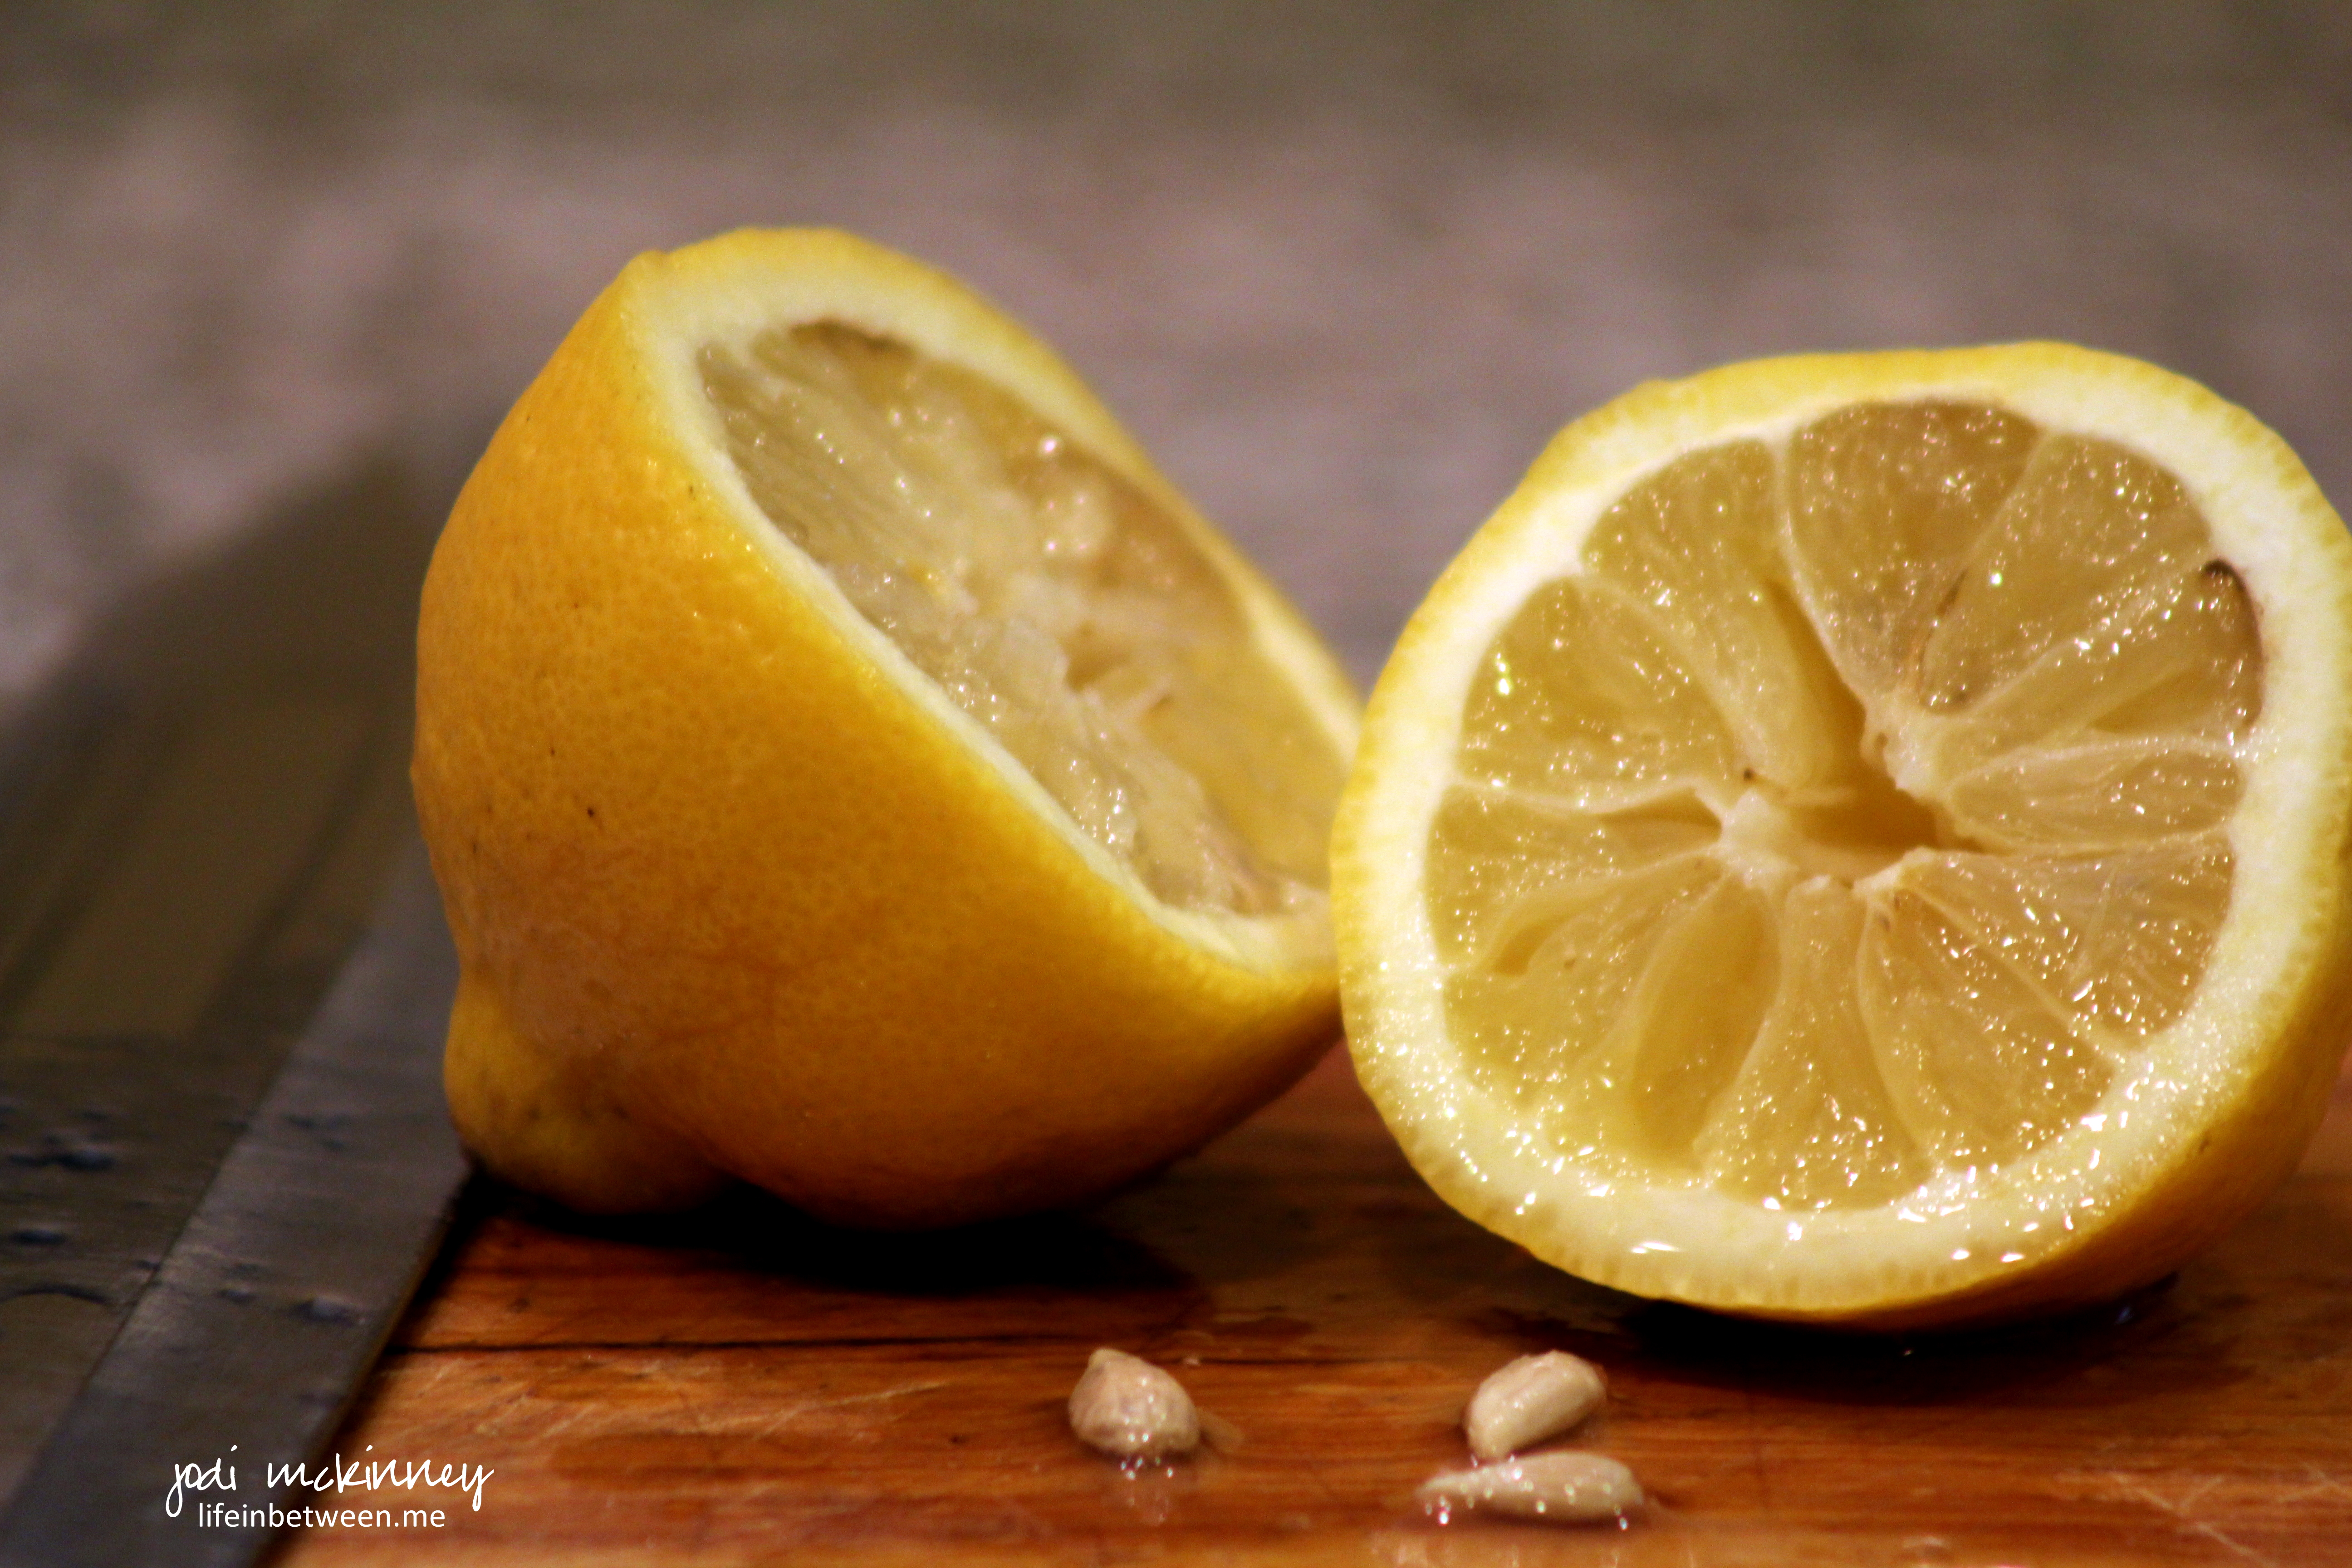
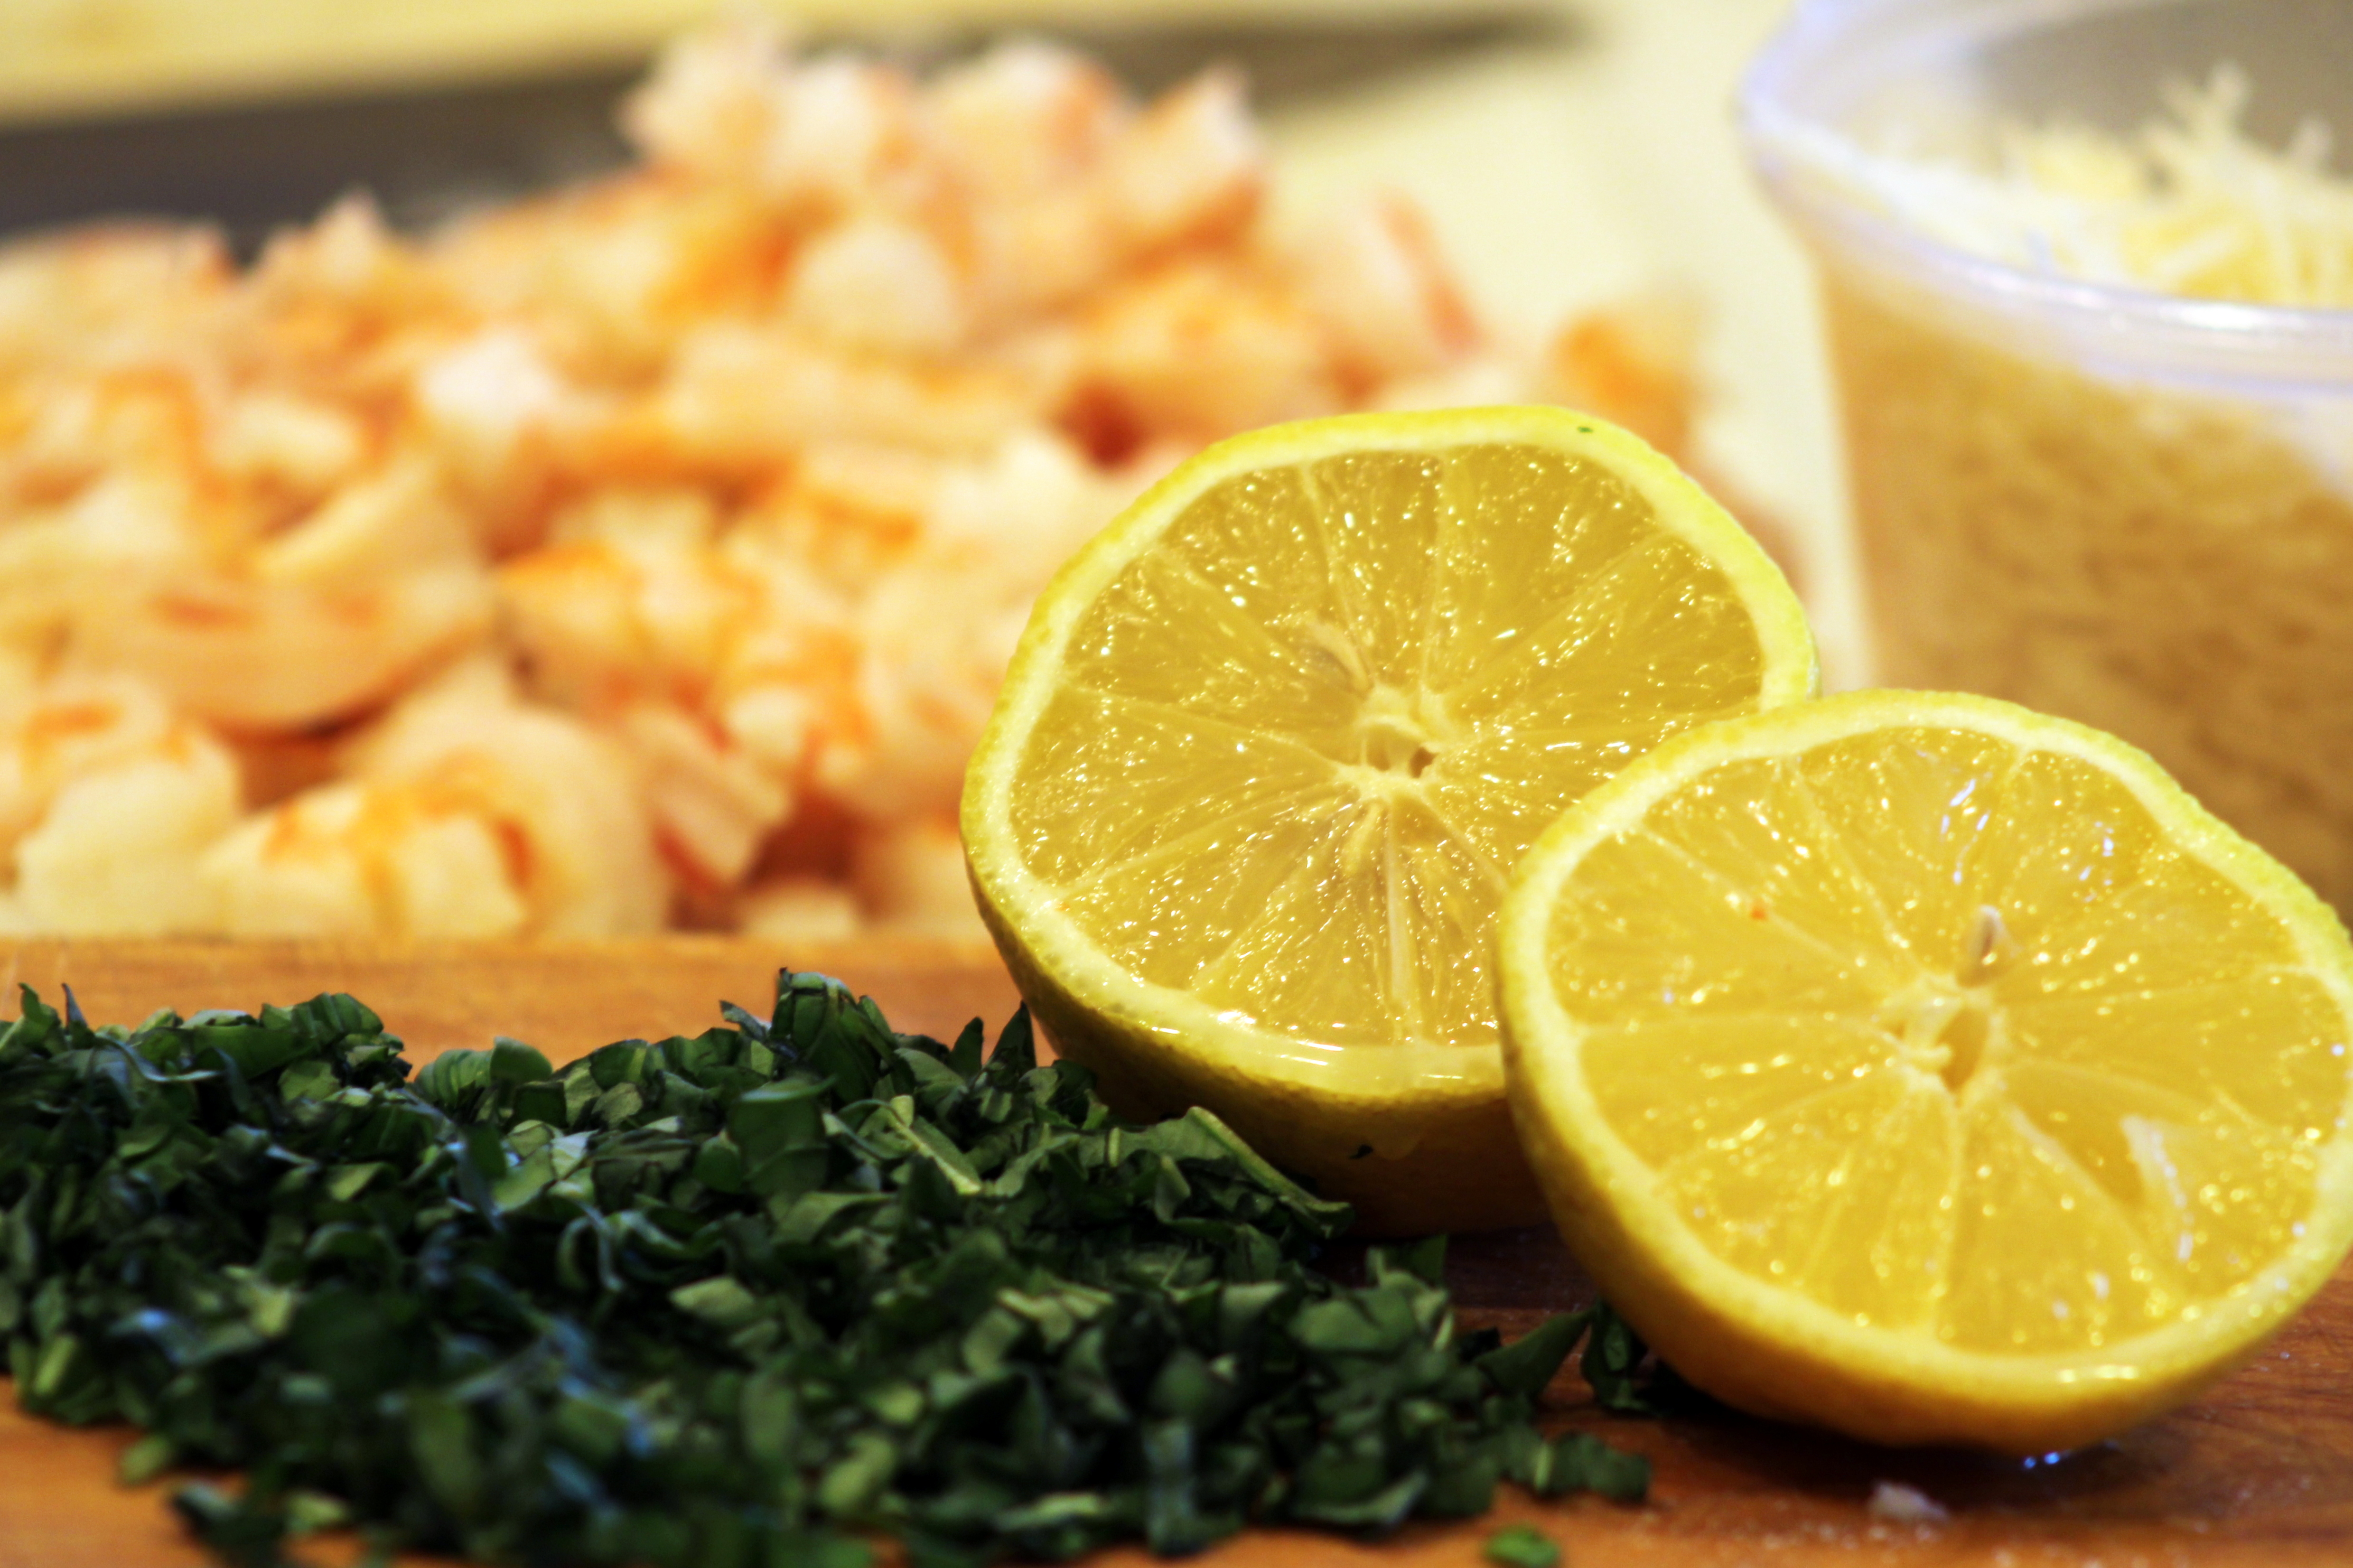
A few must-haves in the pantry AT ALL TIMES for me are fresh garlic (powder, granulated, chopped in water, chopped in oil…  NONE compare to freshly minced garlic), fresh basil (I wish there were words to describe the smell of fresh basil being chopped!  I’m sighing just trying to imagine), and fresh lemons for juicing (no bottled, reconstituted versions can be substituted!).

Grilled Marinated London Broil

Bottled pantry must-haves in my pantry include:  olive oil, balsalmic vinegar, Worcestershire sauce, soy sauce, Dijon mustard – all of which are included in this recipe.

Grilled Marinated London Broil marinading

Dried spices that are must-haves (to be used only when fresh is not at hand) include oregano and thyme.

Before putting this marinade on the London broil, it is a good idea to cut vertical and diagonal slits in the beef to allow the marinade to soak in deeper.

Grilled Marinated London Broil cuts

This marinade should be able to be whipped up quickly if your pantry has these items on hand at all times.  Marinades not only add flavor, but they tenderize.

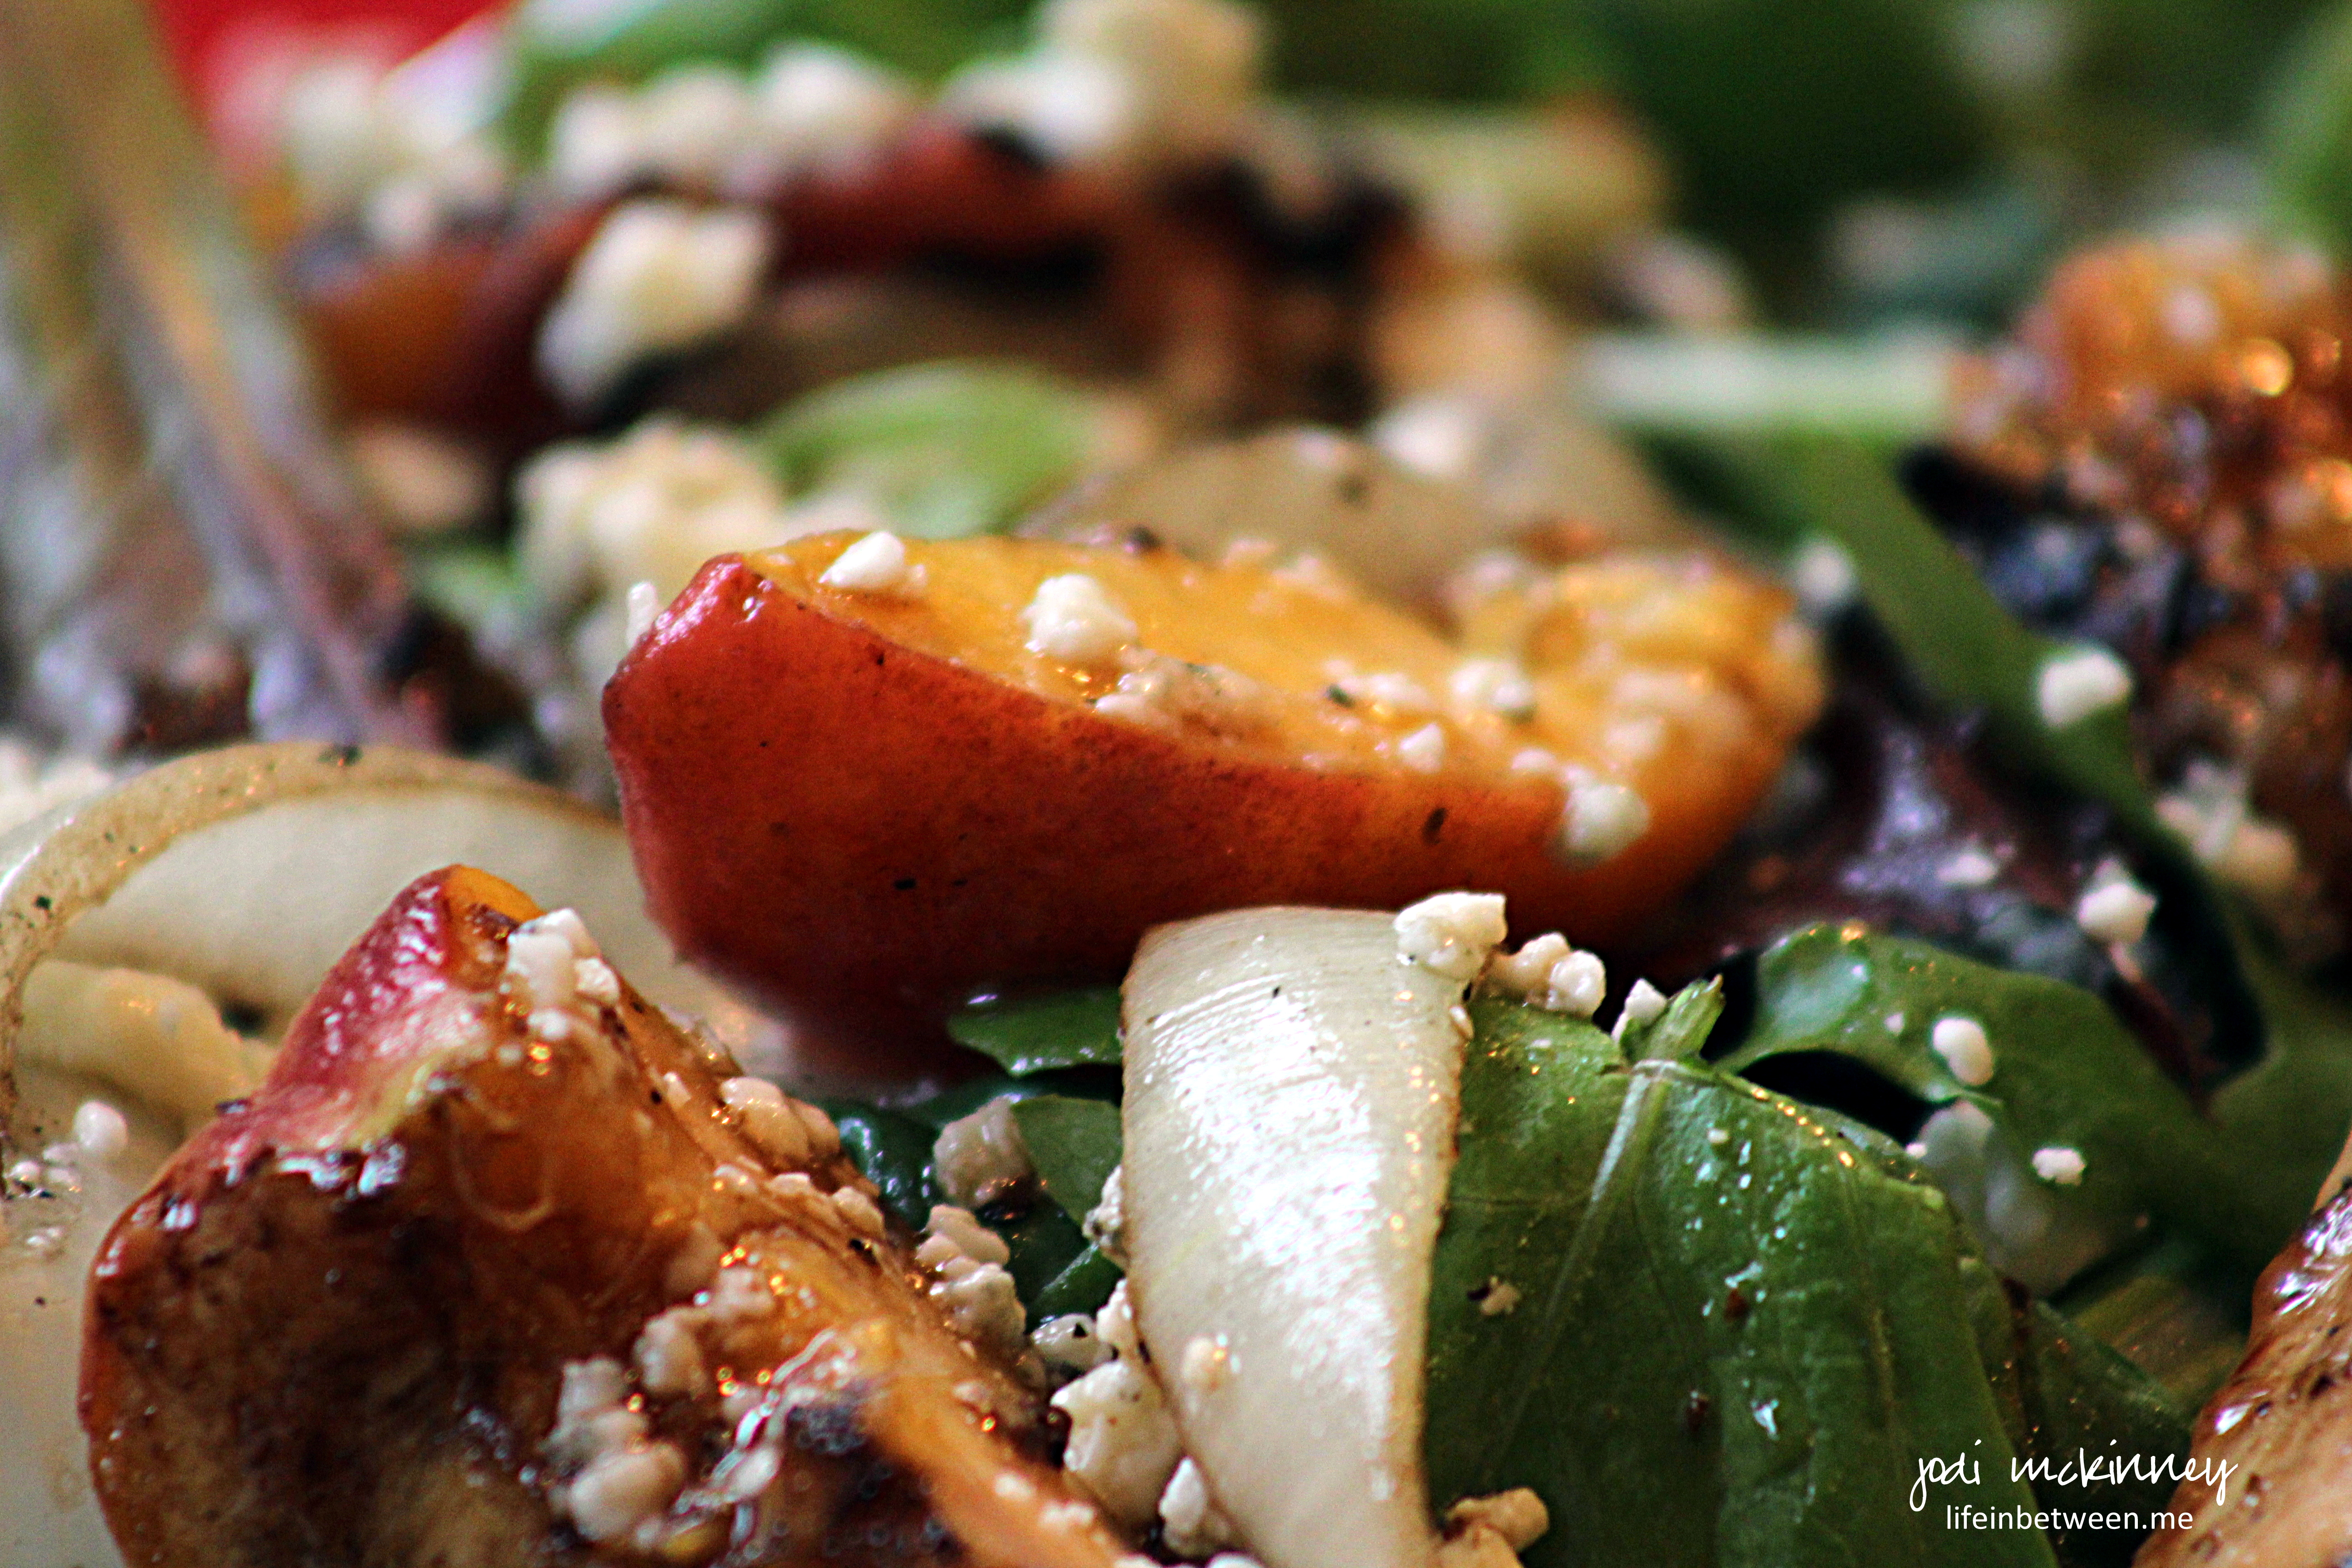
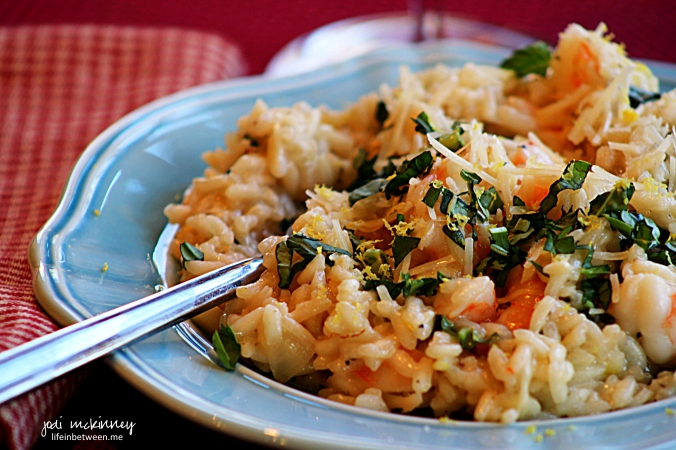
I enjoy my “hunk of beef” with a baked potato topped with salsa and a fresh green salad.

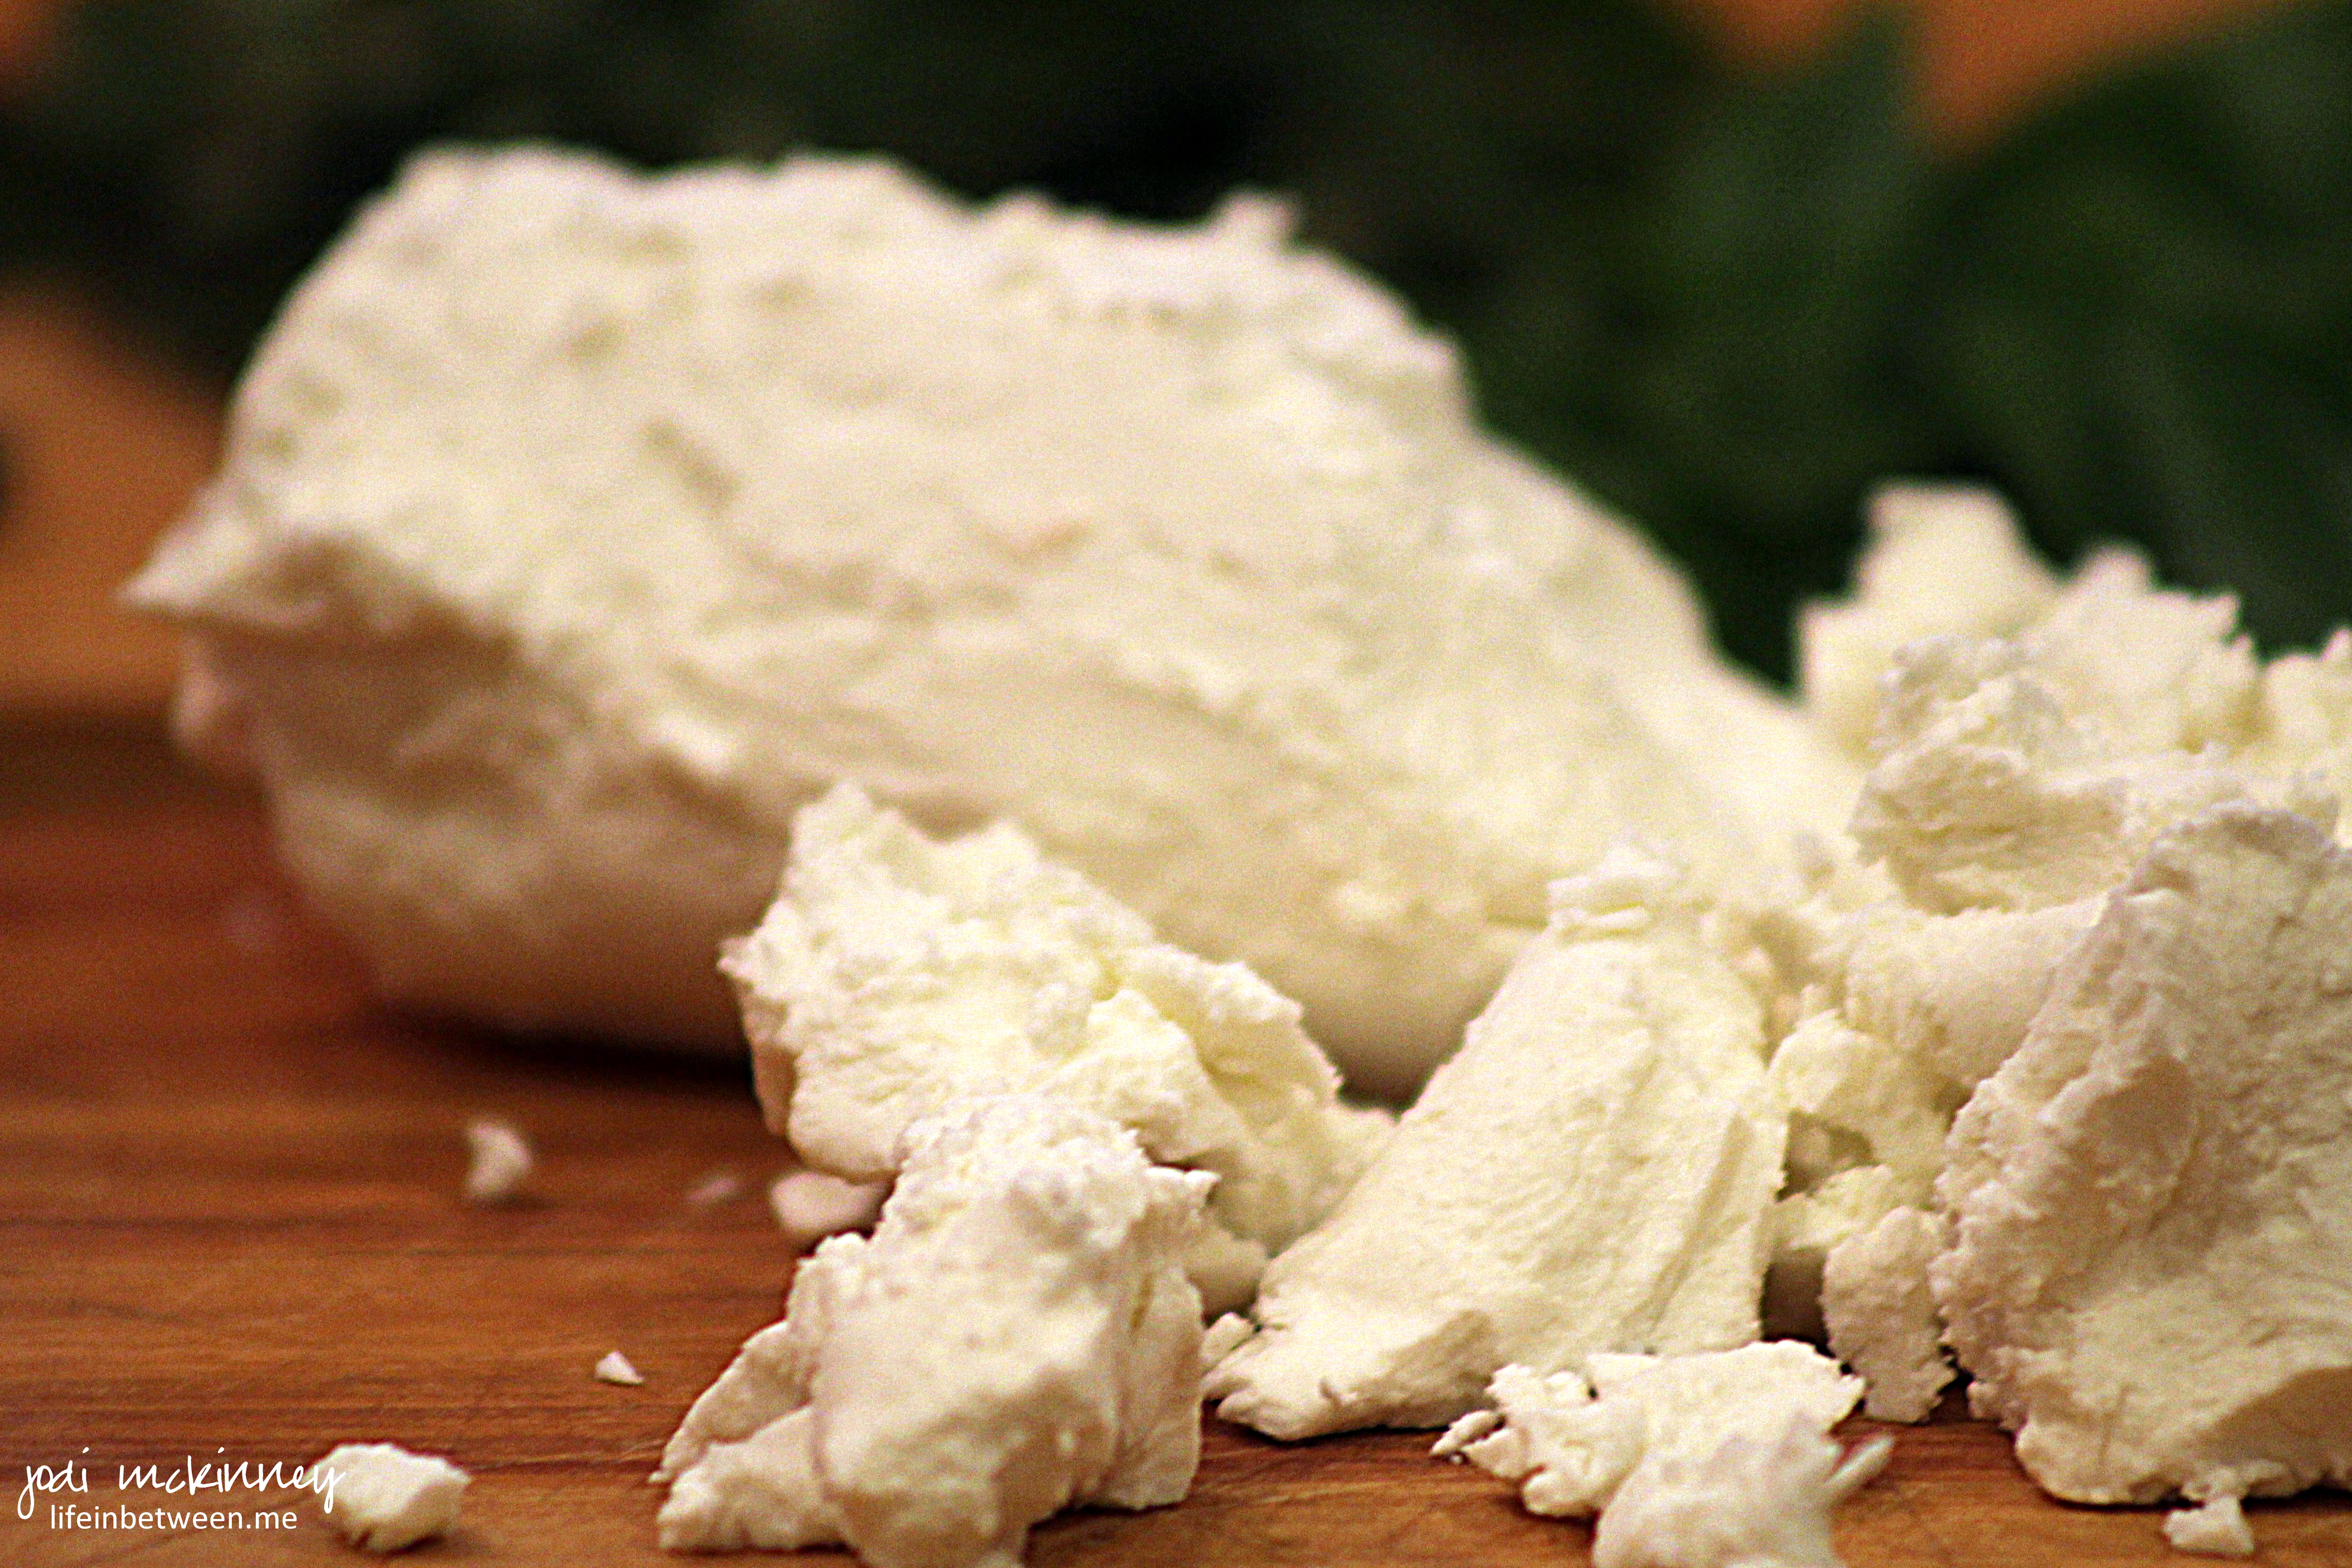
And a sprinkling of blue cheese doesn’t hurt either!
grilled marinated london broil plated

This recipe was originally found on Foodnetwork.com, and is courtesy of Gourmet Magazine.

Hope you’ll give it a try.  You won’t be sorry!

Grilled Marinated London Broil

Marinade Ingredients

2/3 cup olive oil
4 Tbsp balsamic vinegar
1 1/2 Tbsp Worcestershire sauce
1 Tbsp soy sauce
1 fresh lemon, juiced
3 Tbsp Dijon mustard
4 large garlic cloves, minced
1/4 cup fresh basil, chopped
1 tsp dried oregano
1 tsp dried thyme

1 (2 to 2 1/2 pound) London broil

Directions

In a bowl, whisk together marinade ingredients. Put London broil in a large resealable plastic bag or in a glass dish and pour marinade over it. Seal tightly. Marinate in refrigerator turning once or twice, for approximately 8 hours.

Remove meat from the marinade, and discarded the marinade.

Grill the meat, turning only once, 9 to 10 minutes on each side, or until it registers 125 to 130 degrees, on a meat thermometer for medium-rare meat. (Alternatively, meat may be broiled.)

Transfer meat to a cutting board and let stand 10 minutes. Cut meat diagonally across the grain into thin slices, and enjoy!

Cheers & Hugs,
Jodi

Lemon Basil Shrimp Risotto

lemon basil shrimp risotto 1

When trying to decide what to make with a beautiful bag of shrimp I had, I came across this recipe from one of my kitchenista heroes, Ree Drummond aka The Pioneer Woman.

lemon basil shrimp risotto ingred

Risotto gets a bad rap for being difficult, but it really isn’t, and it doesn’t even take that long.

And oh how the fresh lemon juice and zest in this recipe combined with the fresh basil gives this recipe such a light, Springy, refreshing twist.

lemon basil shrimp risotto

Here is the recipe as I slightly adapted from Ree:

Lemon Basil Shrimp Risotto


Ingredients:lemon basil shrimp risotto
1 Tbsp Butter
1 Tbsp Olive Oil
1-1/2 pound Large Shrimp
1 Onion,  Diced
4 cloves Garlic, Minced
2 cups Arborio Rice
2 cups Dry White Wine
4-5 cups Chicken (or Vegetable) Broth
1 Lemon
1/2 tsp Salt
1 Tbsp Black Pepper
2 Tbsp Half & Half Cream
1/2 – 3/4 cup chopped fresh Basil Leaves
1/4 cup grated Parmesan Cheese

Directions:

Heat the butter and olive oil in a large skillet over medium-high heat. Add shrimp and cook for 3-5 minutes until opaque in the middle.

Remove shrimp to a cutting board, chop into bite-sized chunks, and set aside.

Add the onion and garlic to the skillet that still has the butter and olive oil in, and cook for 2 – 3 minutes over medium-high heat or until onion starts to turn translucent.

Add dry Arborio rice to the pan and stir for a couple minutes.

Pour in 1 cup of wine and stir gently, allowing the rice to absorb the liquid. Add second cup of wine and do same.  After the wine is absorbed, begin adding broth 1/2 cup to 1 cup at a time, allowing the rice to cook and absorb the liquid each time. Stir occasionally as you go, and add the salt and pepper during one of the broth additions. After 4 cups of broth have been absorbed, taste the rice. It should have a slight bite, but if it seems undercooked, add additional broth and cook it until it absorbs until the risotto is the perfect doneness.

Zest and juice the lemon and add both the zest and the juice to the risotto toward the end of cooking. Stir in the half and half cream, the chopped basil, and serve immediately with extra lemon zest and Parmesan cheese on top.

This recipe would also taste delicious with chicken breast substituted for the shrimp.  I think it could also be great adapted as a vegetarian dish using your favorite vegetables.  I could imagine it with some broccoli, cauliflower, asparagus, or maybe even some yummy roasted butternut squash.

This is a very versatile recipe that could become a staple in your dinner repertoire. Hope you’ll give it a try.

Cheers and Hugs,

Jodi

Easy Homemade Mongolian Beef

Mongolian Beef

Sometimes yummy, delicious food is not the best “subject” for photographing.  Like this absolutely amazing tasting Mongolian Beef.

Apparently it is a knock-off recipe to what is served at PF Chang’s (per Jo at JoCooks where I found this recipe), but I have never had it there.  If I go to PF Chang’s, it is Chicken Lettuce Wraps E V E R Y… single… time… period.

But I do try to make beef occasionally for Hubby who complains he fears he may grow feathers from eating chicken so many times a week.   I have tried Mongolian Beef from other places like our local Pan-Asian restaurant, Jimmy Wan’s; and I must say, this recipe could take on any that I have tried…

We LOVED this recipe.

I really wish I could have shot some better photos of this amazingness – – and I totally should have sprinkled it with some sesame seeds for the “photo shoot,” but I forgot!  UGH!  I guess I was too anxious to get eating.  And you will be too!

Here is the recipe you REALLY SHOULD TRY as adapted from JoCooks.com.  And it is SO easy too!

Easy Homemade Mongolian Beef

Ingredients:
2 lbs flank steak
½ cup cornstarch
½ cup vegetable oil

Sauce:
2 Tbsp vegetable oil
1 cup soy sauce
1 cup brown sugar
5 cloves garlic, minced
1 cup water

Garnish:
6 green onions, sliced

Directions:

Slice the steak into thin strips against the grain.

In a large Ziploc plastic bag, add the beef strips and cornstarch, and shake to completely coat the beef.

In a small sauce pan add the oil, soy sauce, brown sugar, garlic and water. Stir and cook over medium heat for 20 minutes or until sauce thickens and reduces.

Heat the vegetable oil in a skillet, add beef, and cook until browned. Pour sauce over the beef. Stir and cook for a few more minutes.

Serve over rice and garnish with green onions.


ENJOY!

Cheers & Hugs,
Jodi