Reflections in December

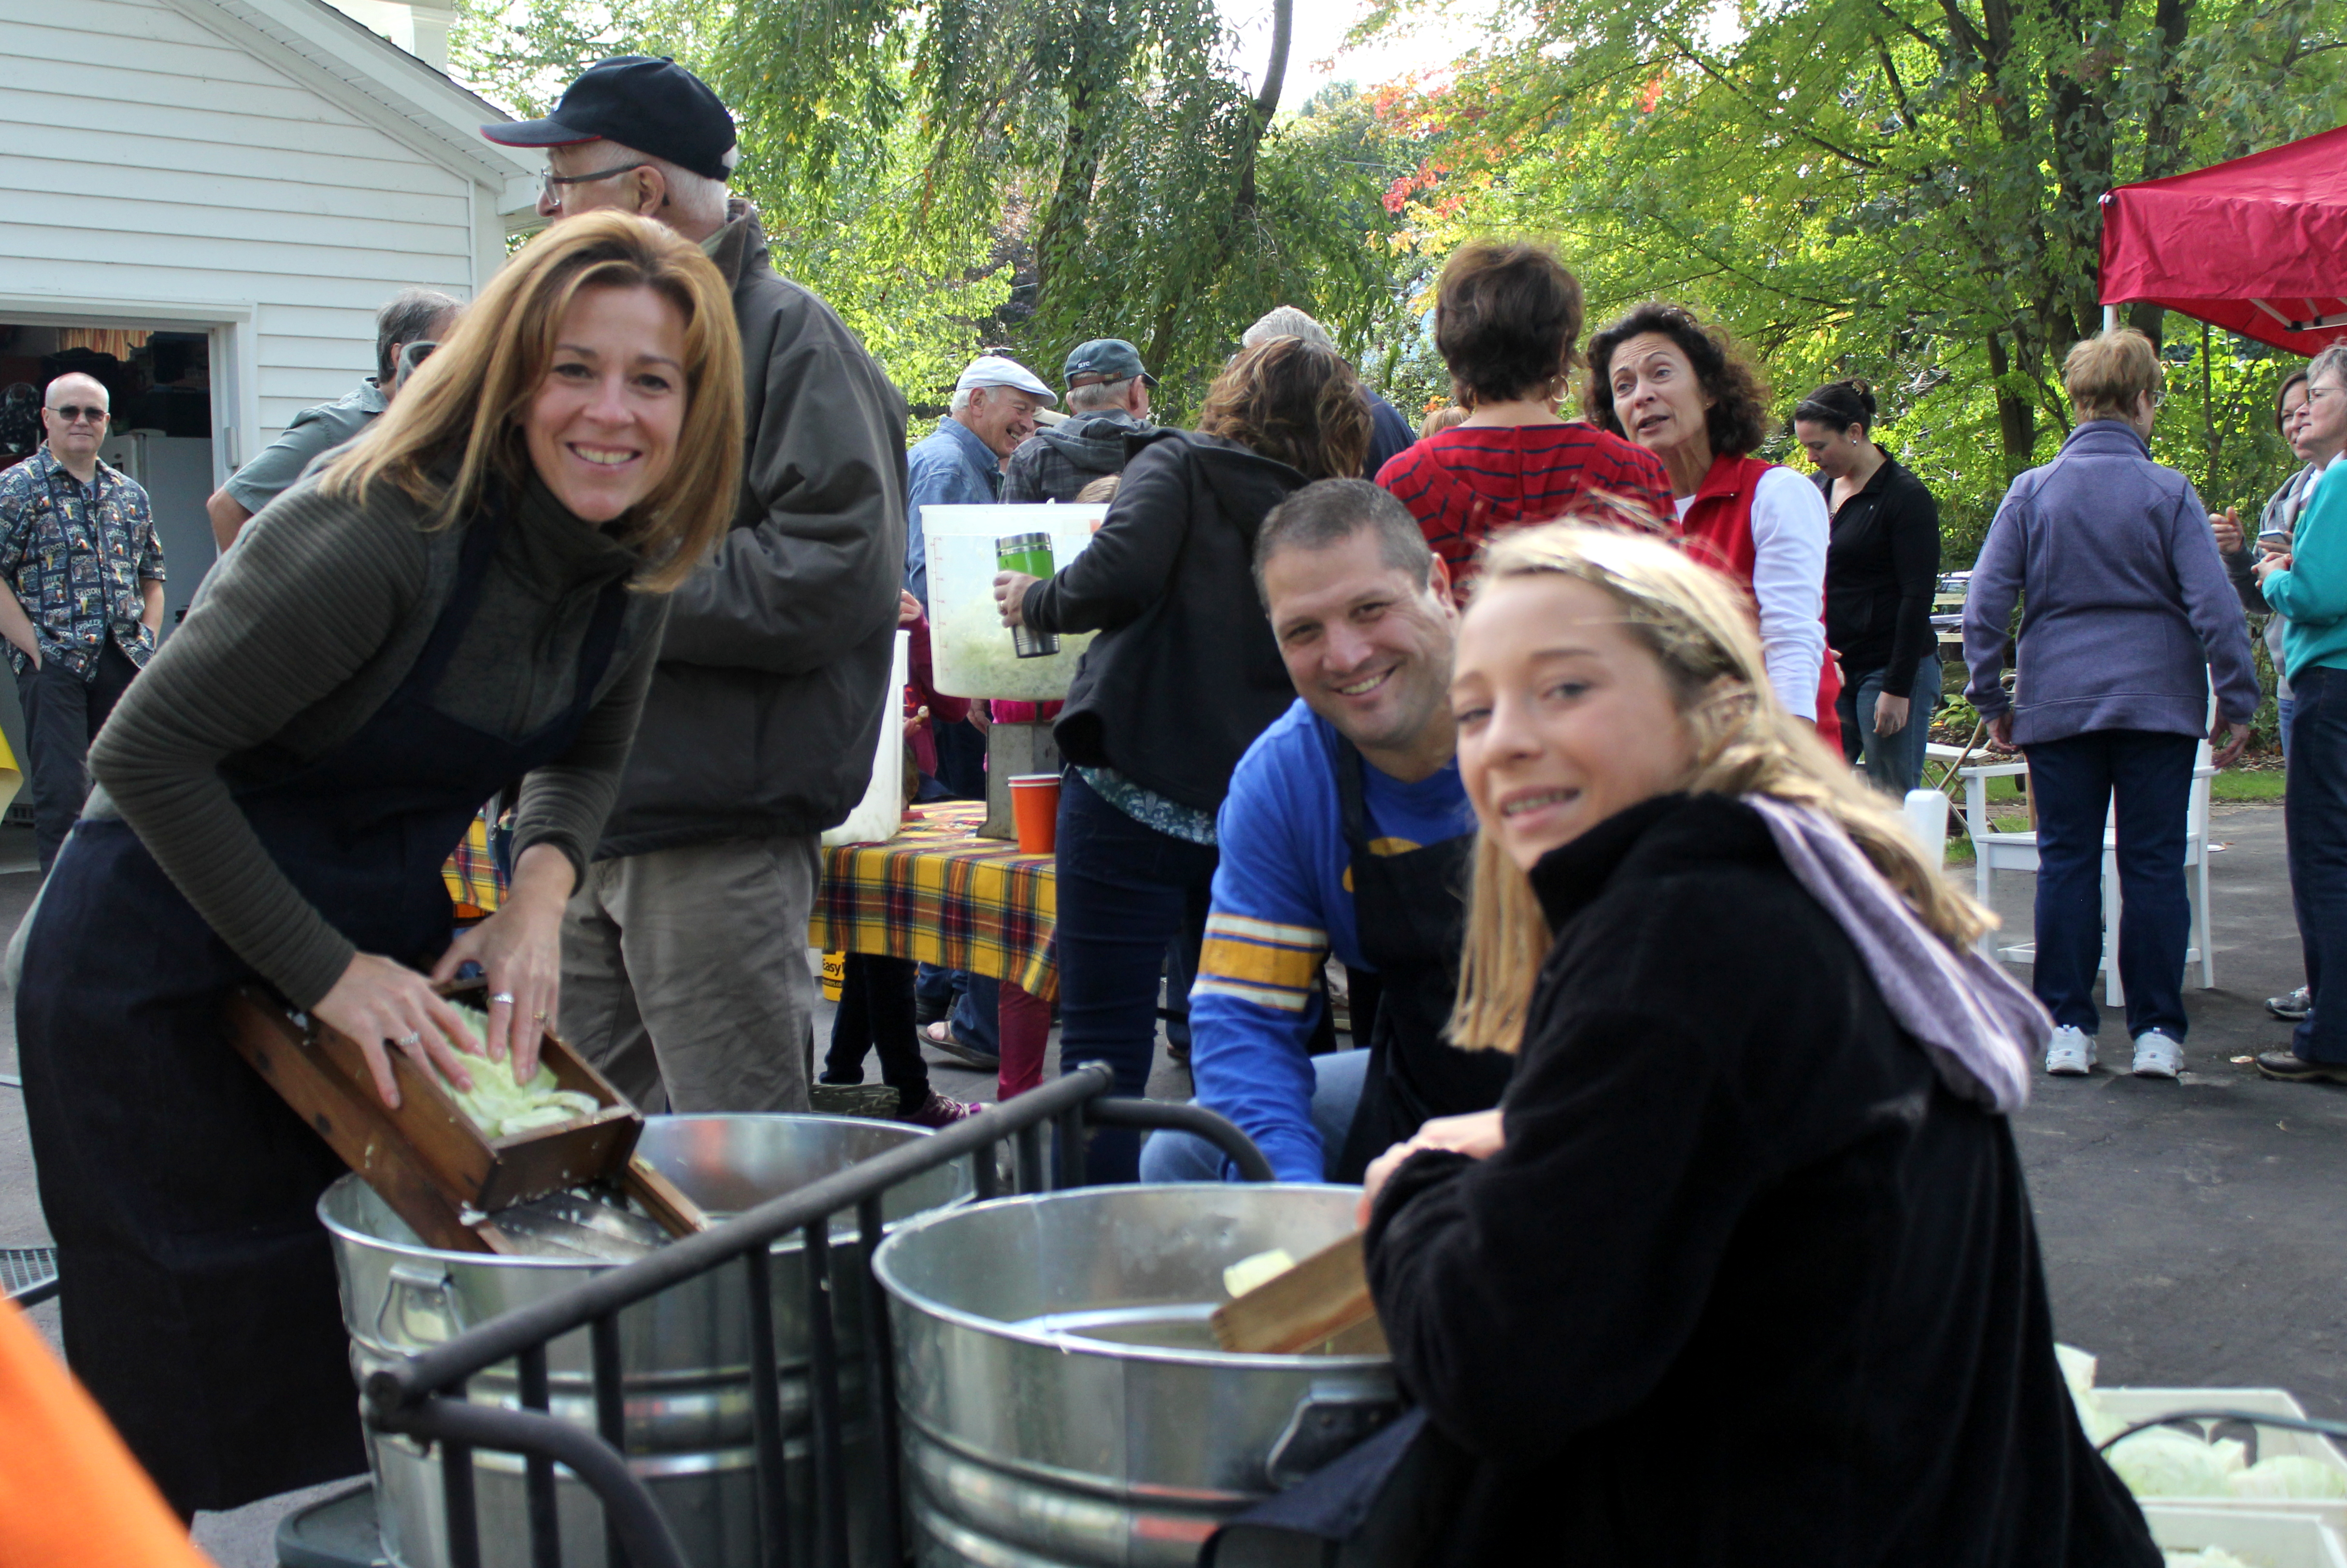
Reflections in December.

Happy December Friends!

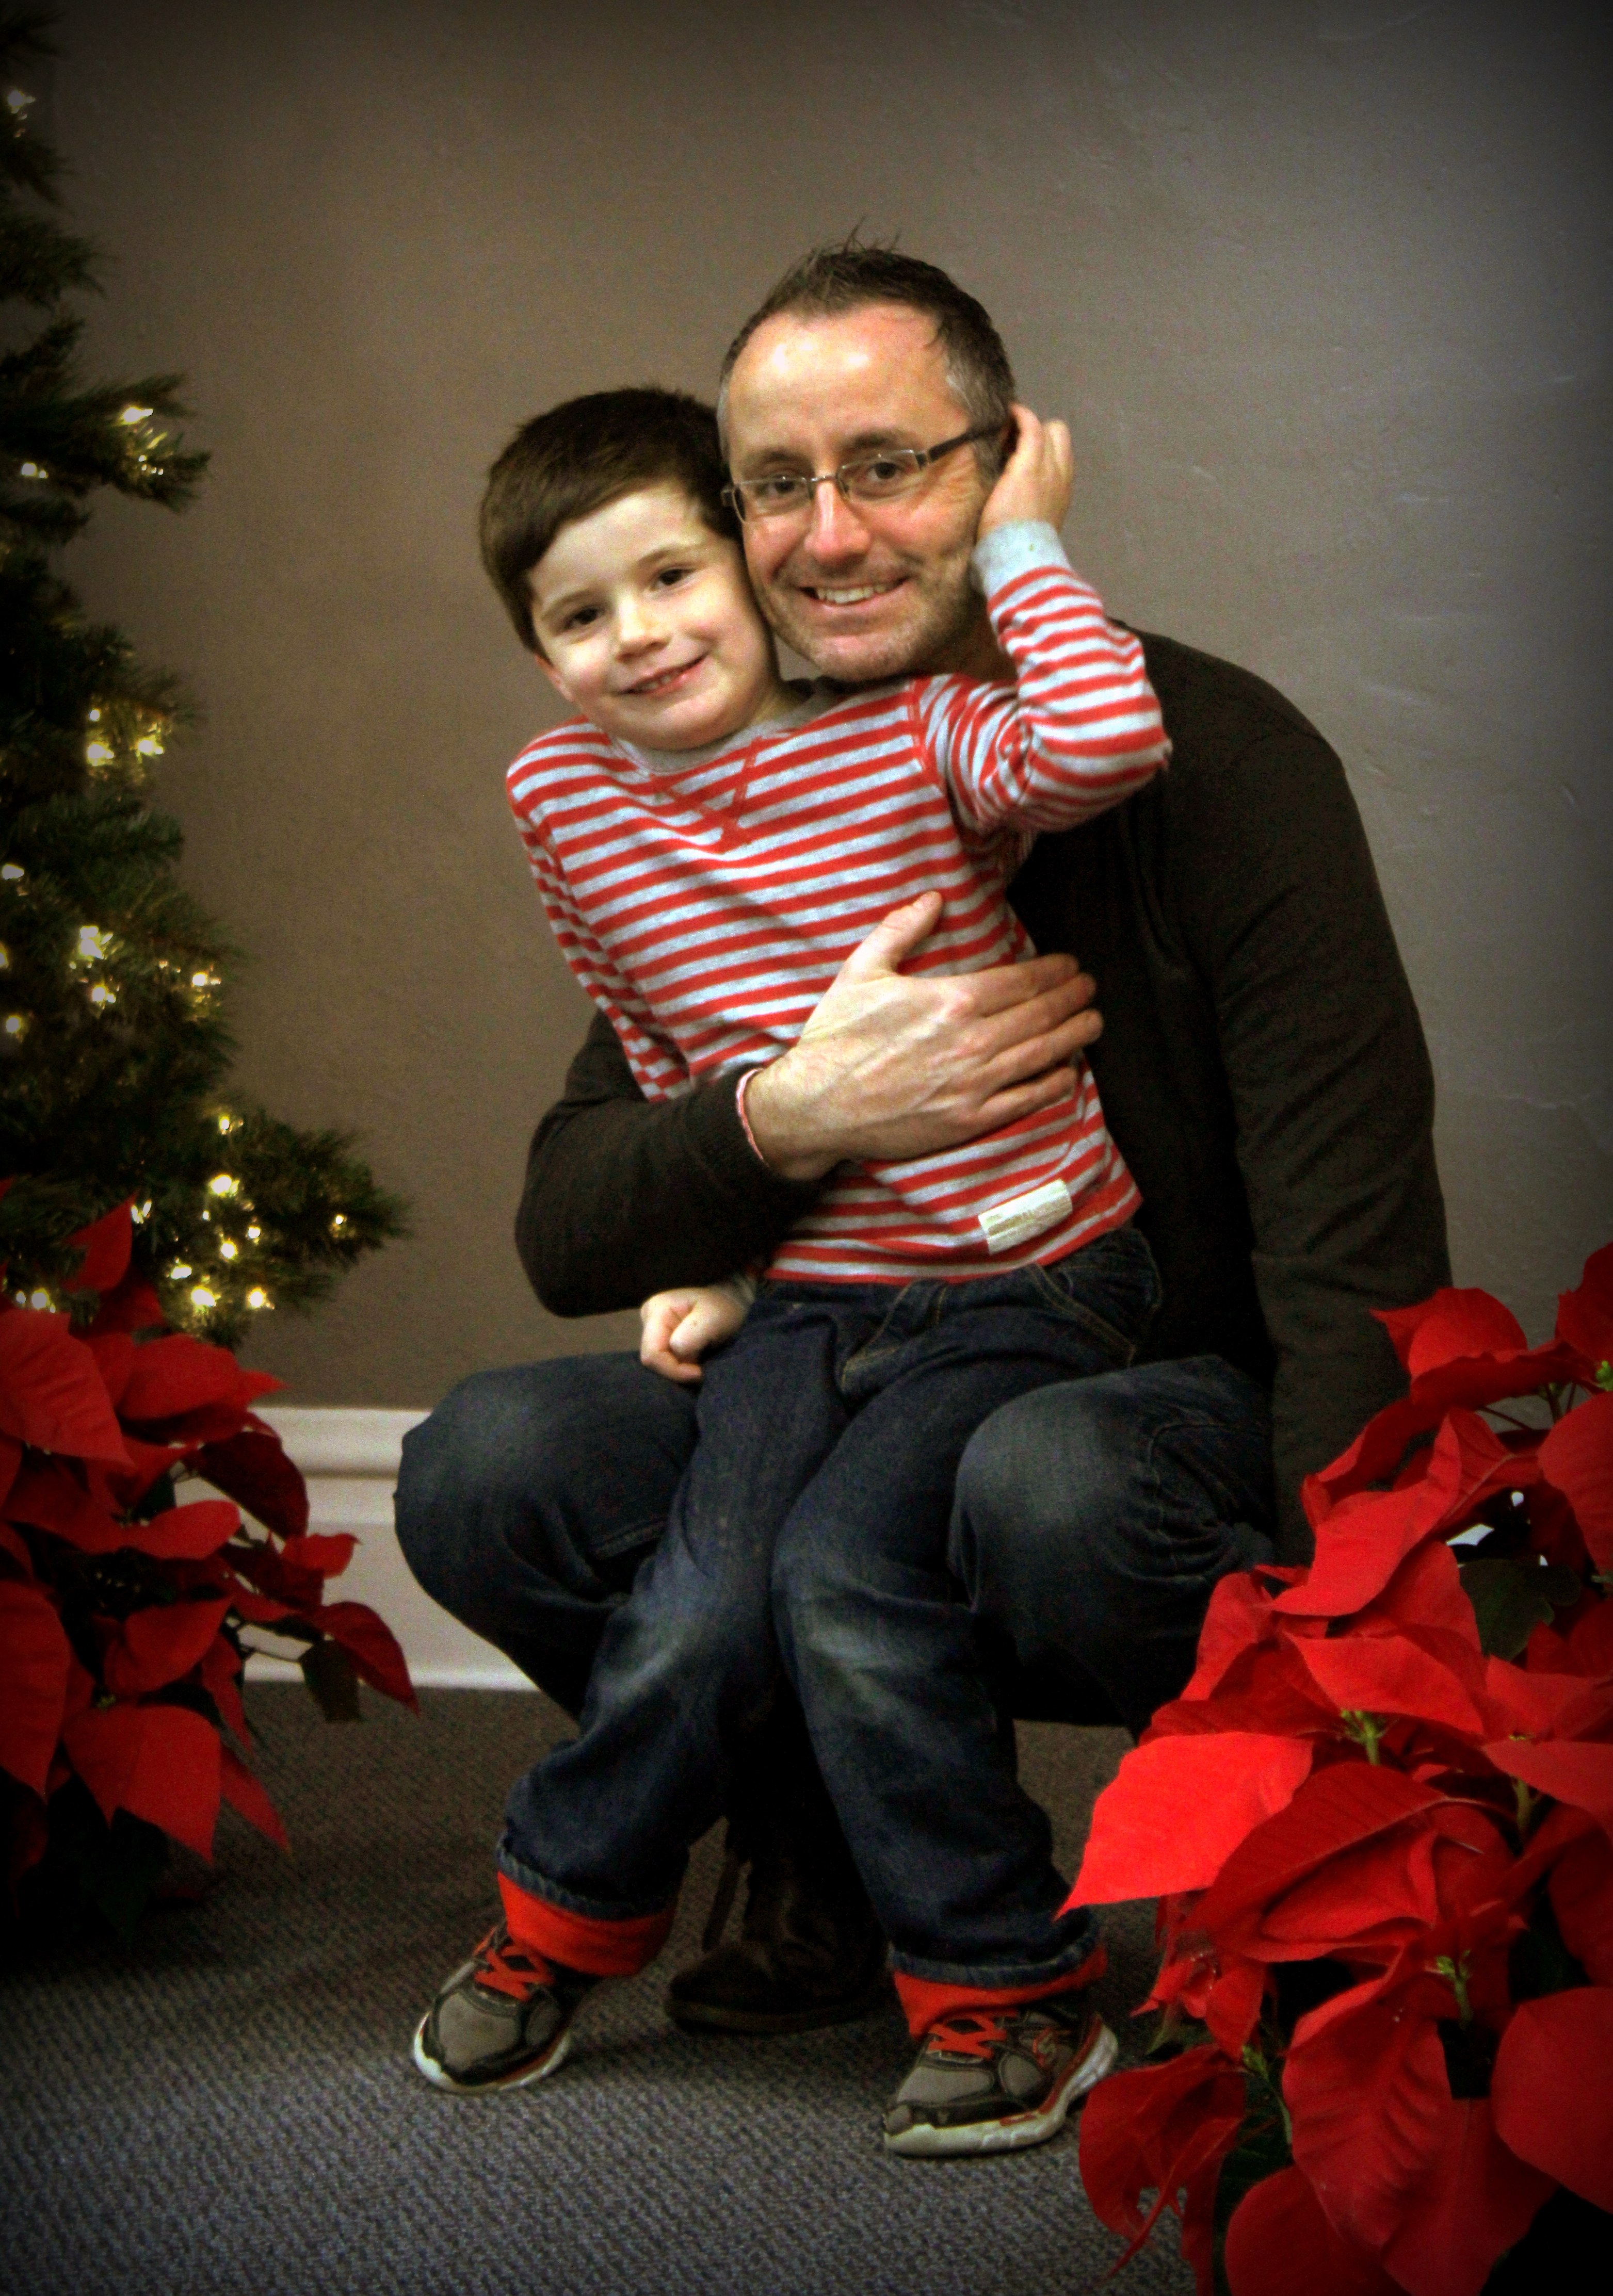
I spent a good part of yesterday putting up our Christmas tree.

I’m being a bit more “minimalist” about decorating this year.  I’ve decided not to put out all the santas or all the snowmen I’ve collected over the years.

Instead… I’m opting for a more white and silver and elegant kinda vibe.

But I did spend hours working on the tree.

I had forgotten I bought a brandie new 9 foot tall beauty last year until we brought it out of the attic, and I realized the box was completely sealed.  What a fun “surprise!”
What a lot of work “fluffing” the branches!

But, unlike past years, I didn’t care how long it took.  No rushing this year.  I put the movie White Christmas on, and I sang along with Bing and Danny and Rosemary and Vera.  And I fluffed and reflected.

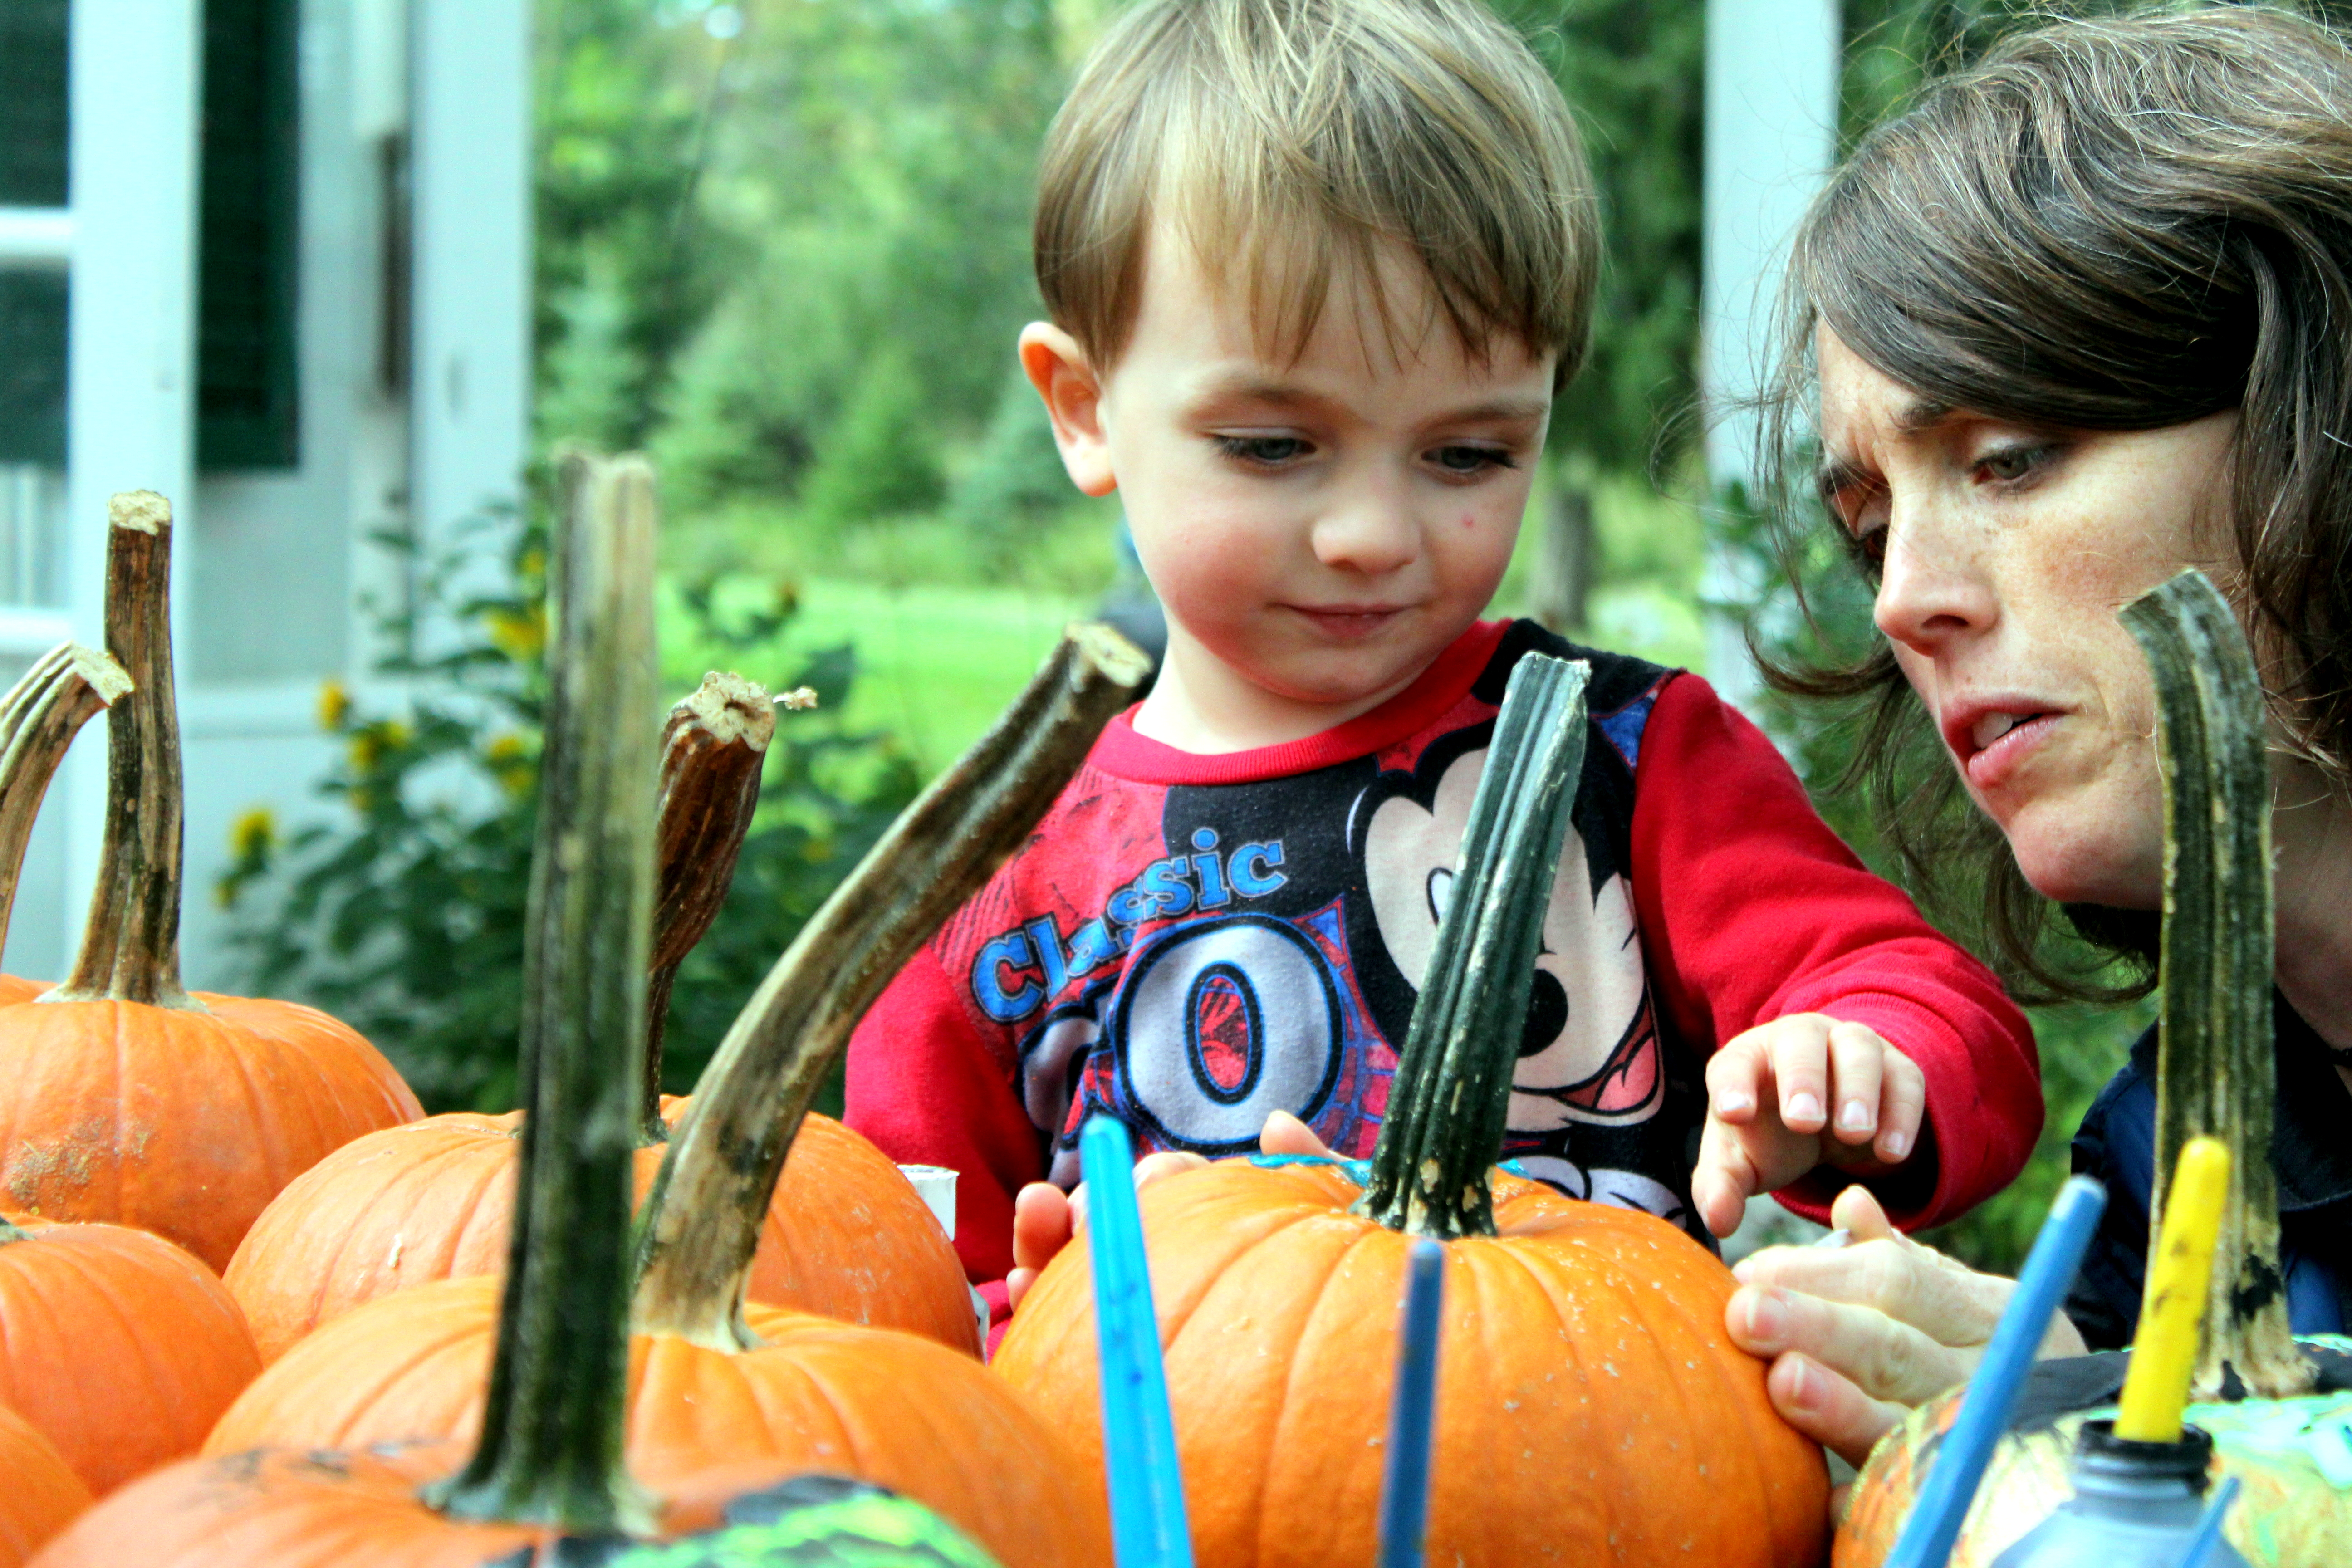
I reflected on Decembers and Christmases and trees past.

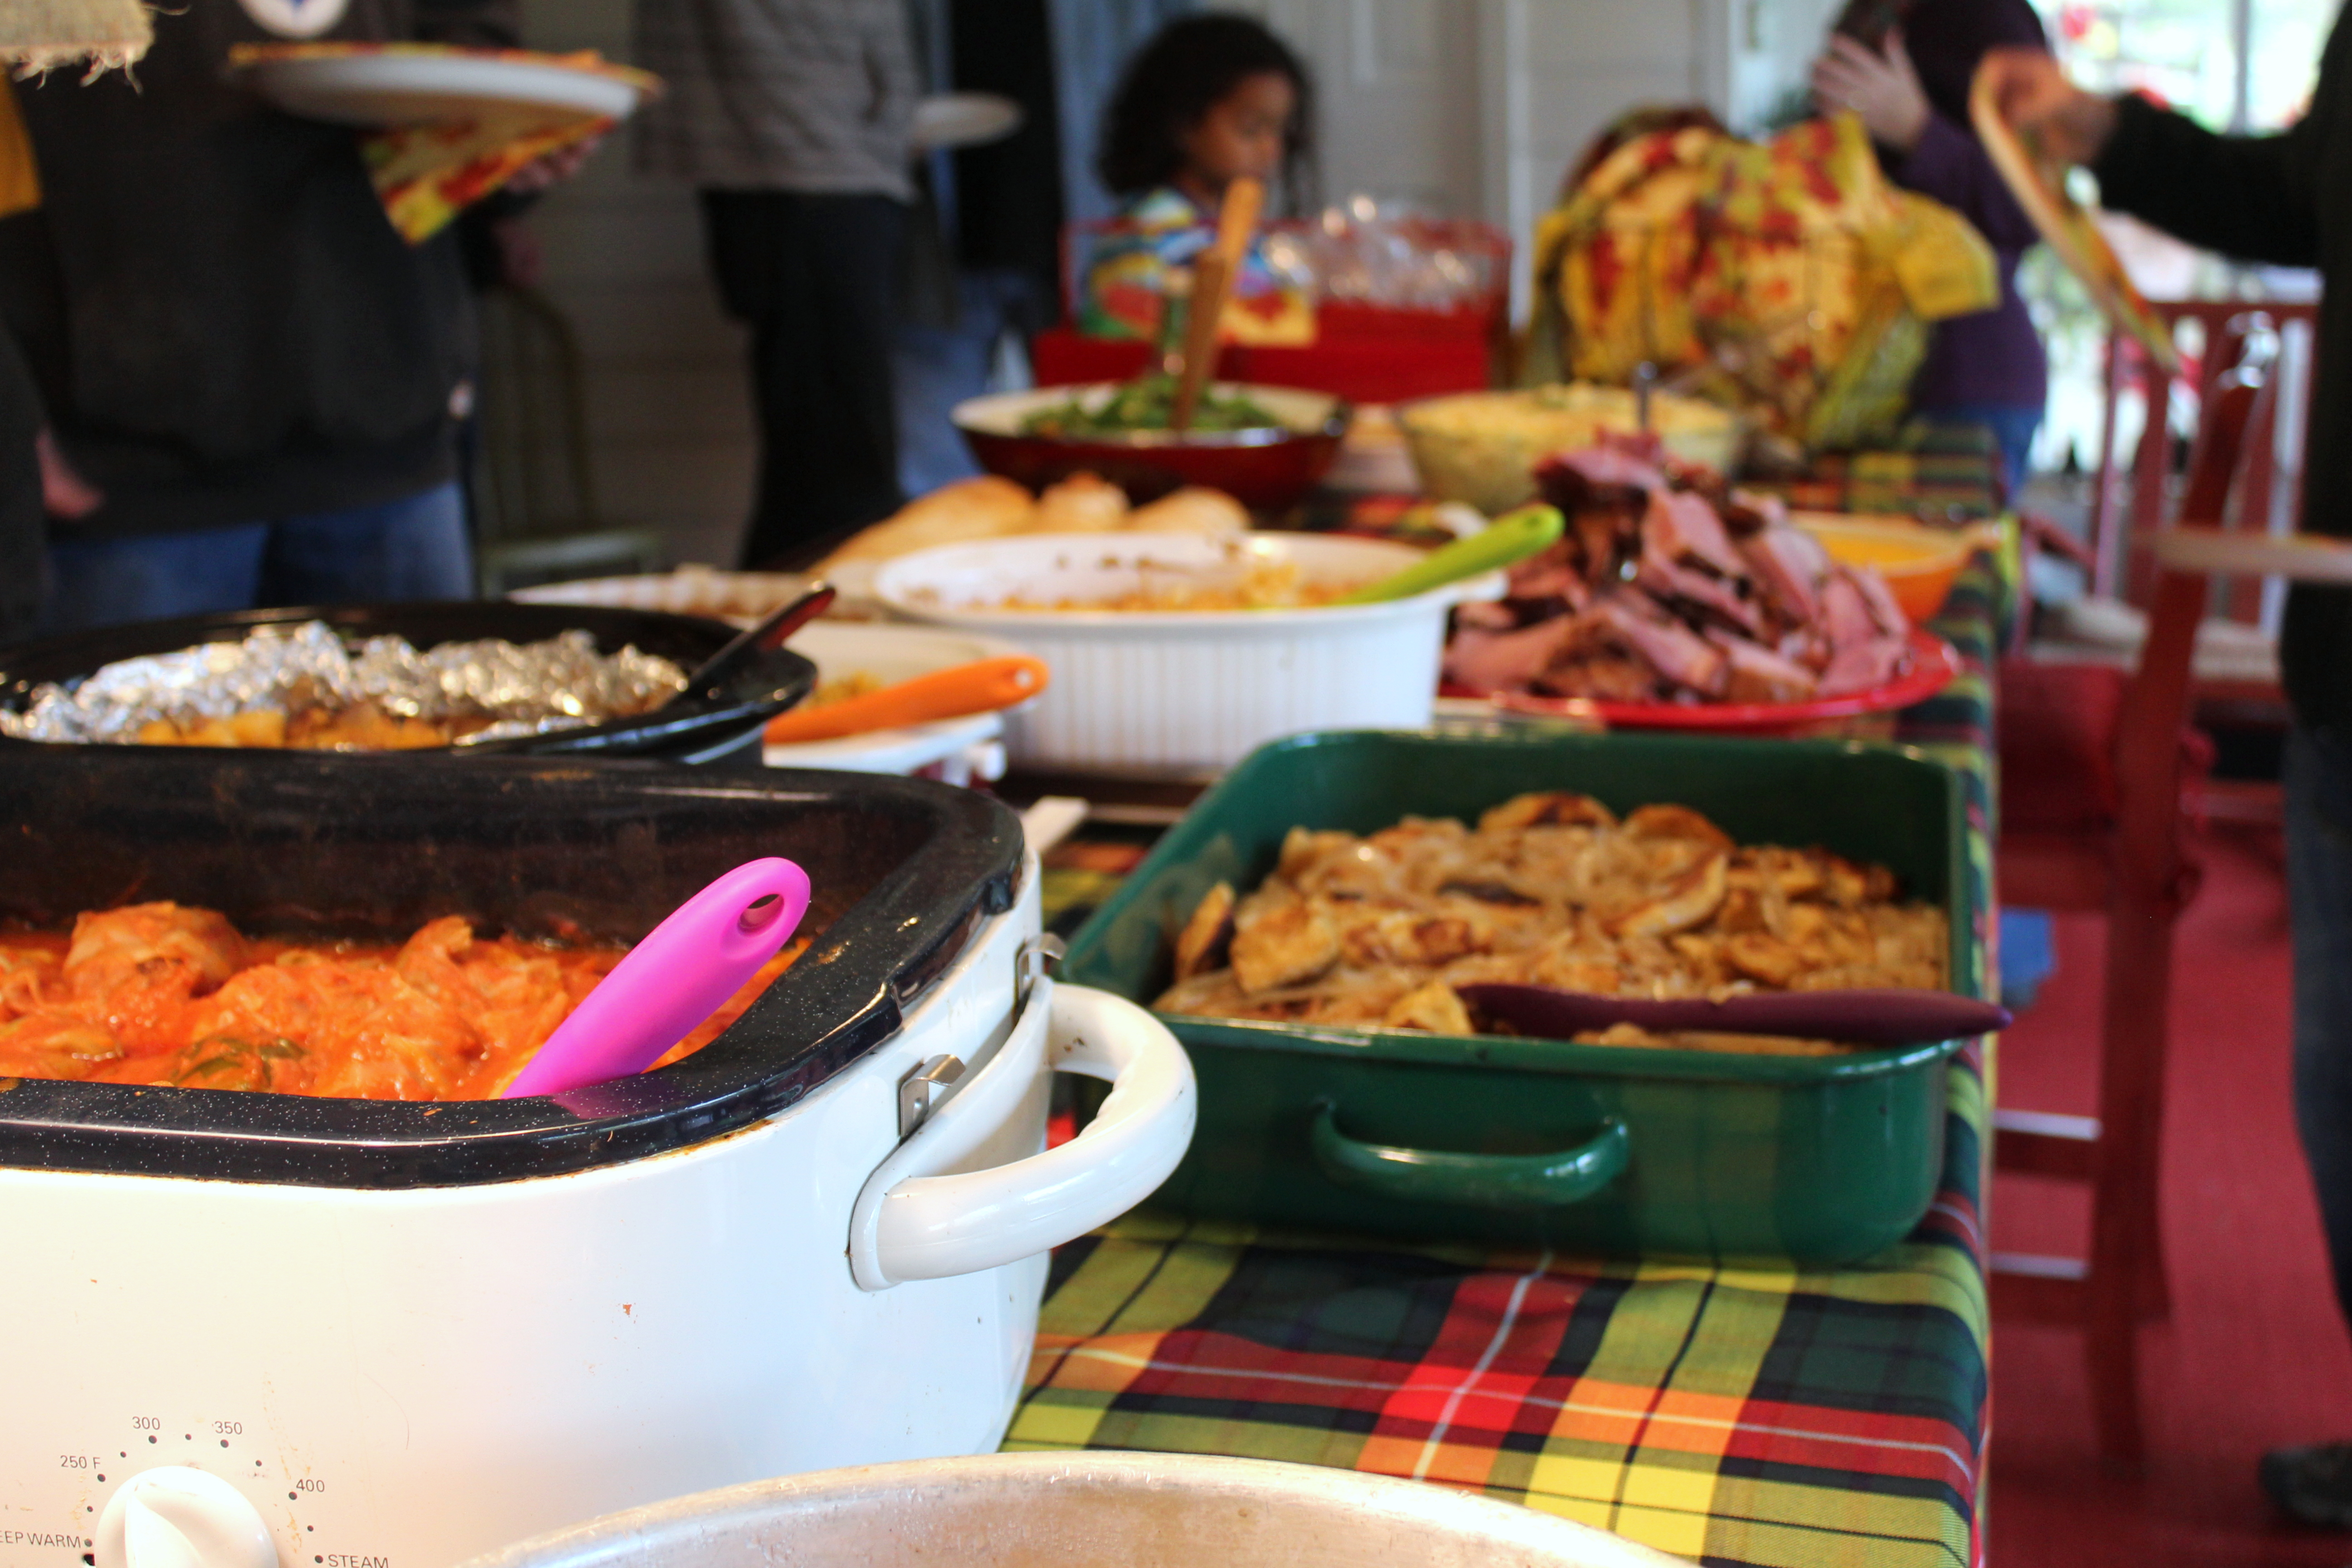
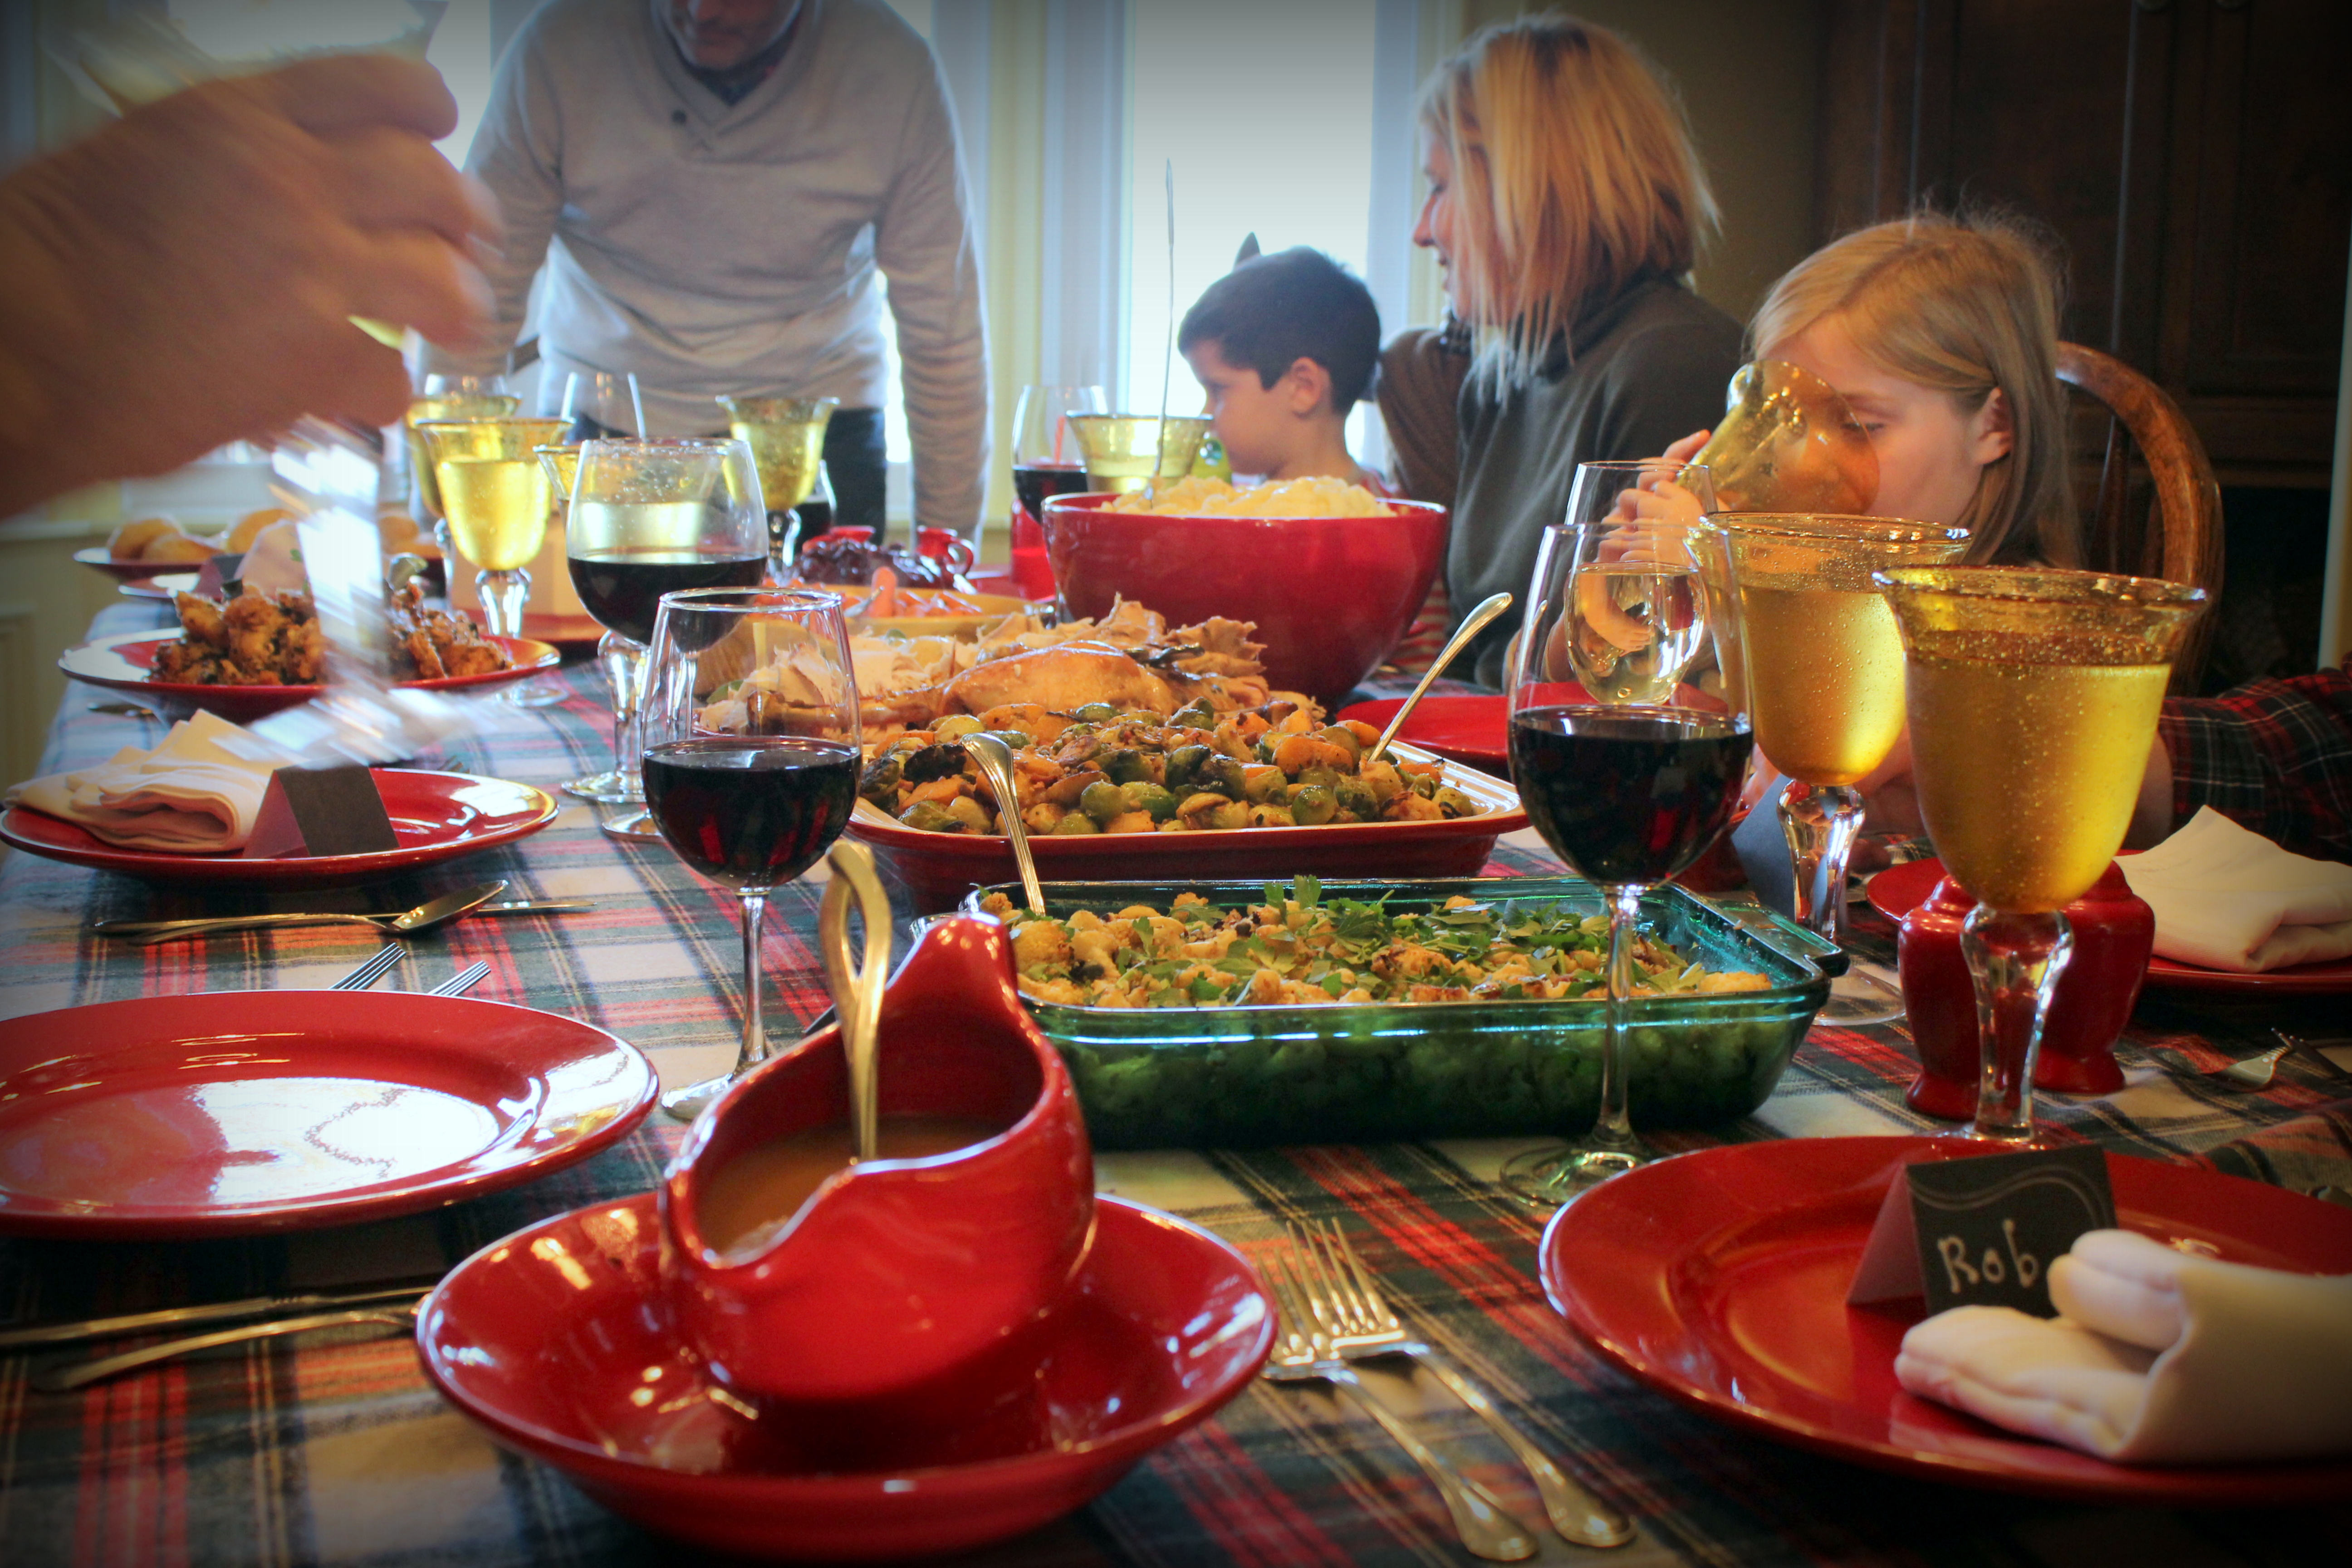
I smiled remembering cutting down live trees and decorating them with handmade ornaments from my mother-in-law and vintage balls painted with my name and the year on from my childhood when we were so young we were still kids ourselves.   Money was tight but the joy was so joyous!

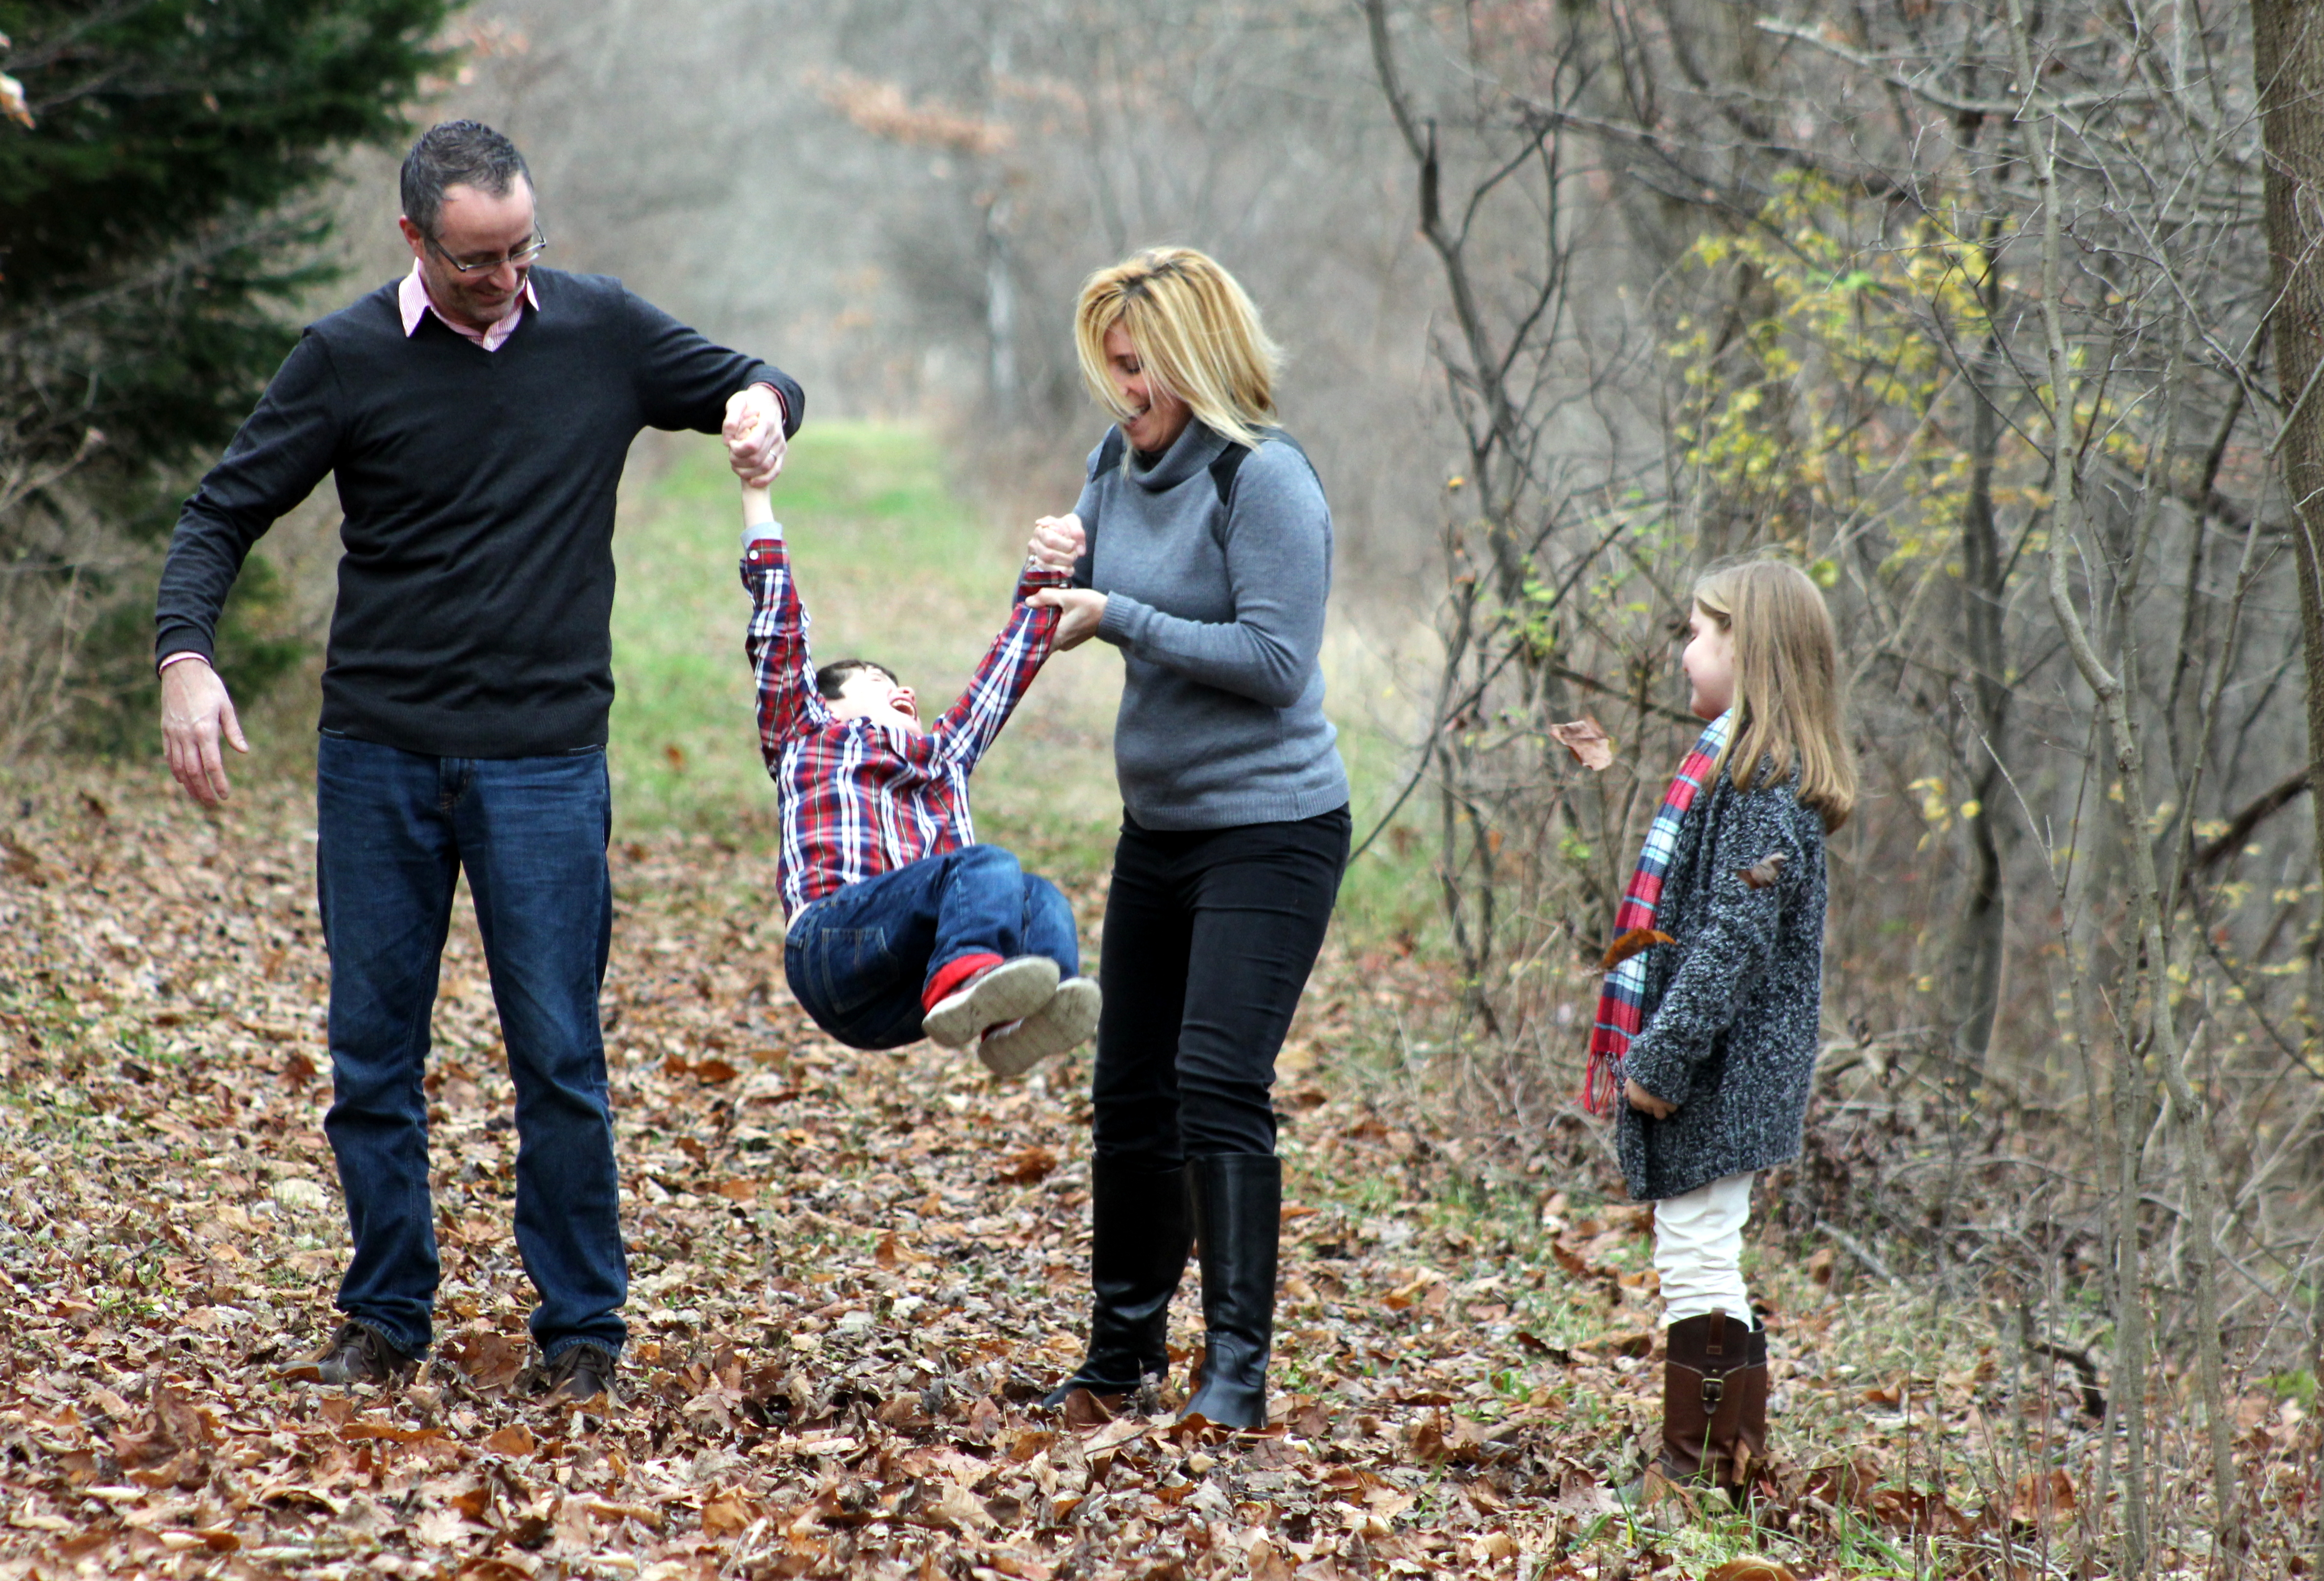
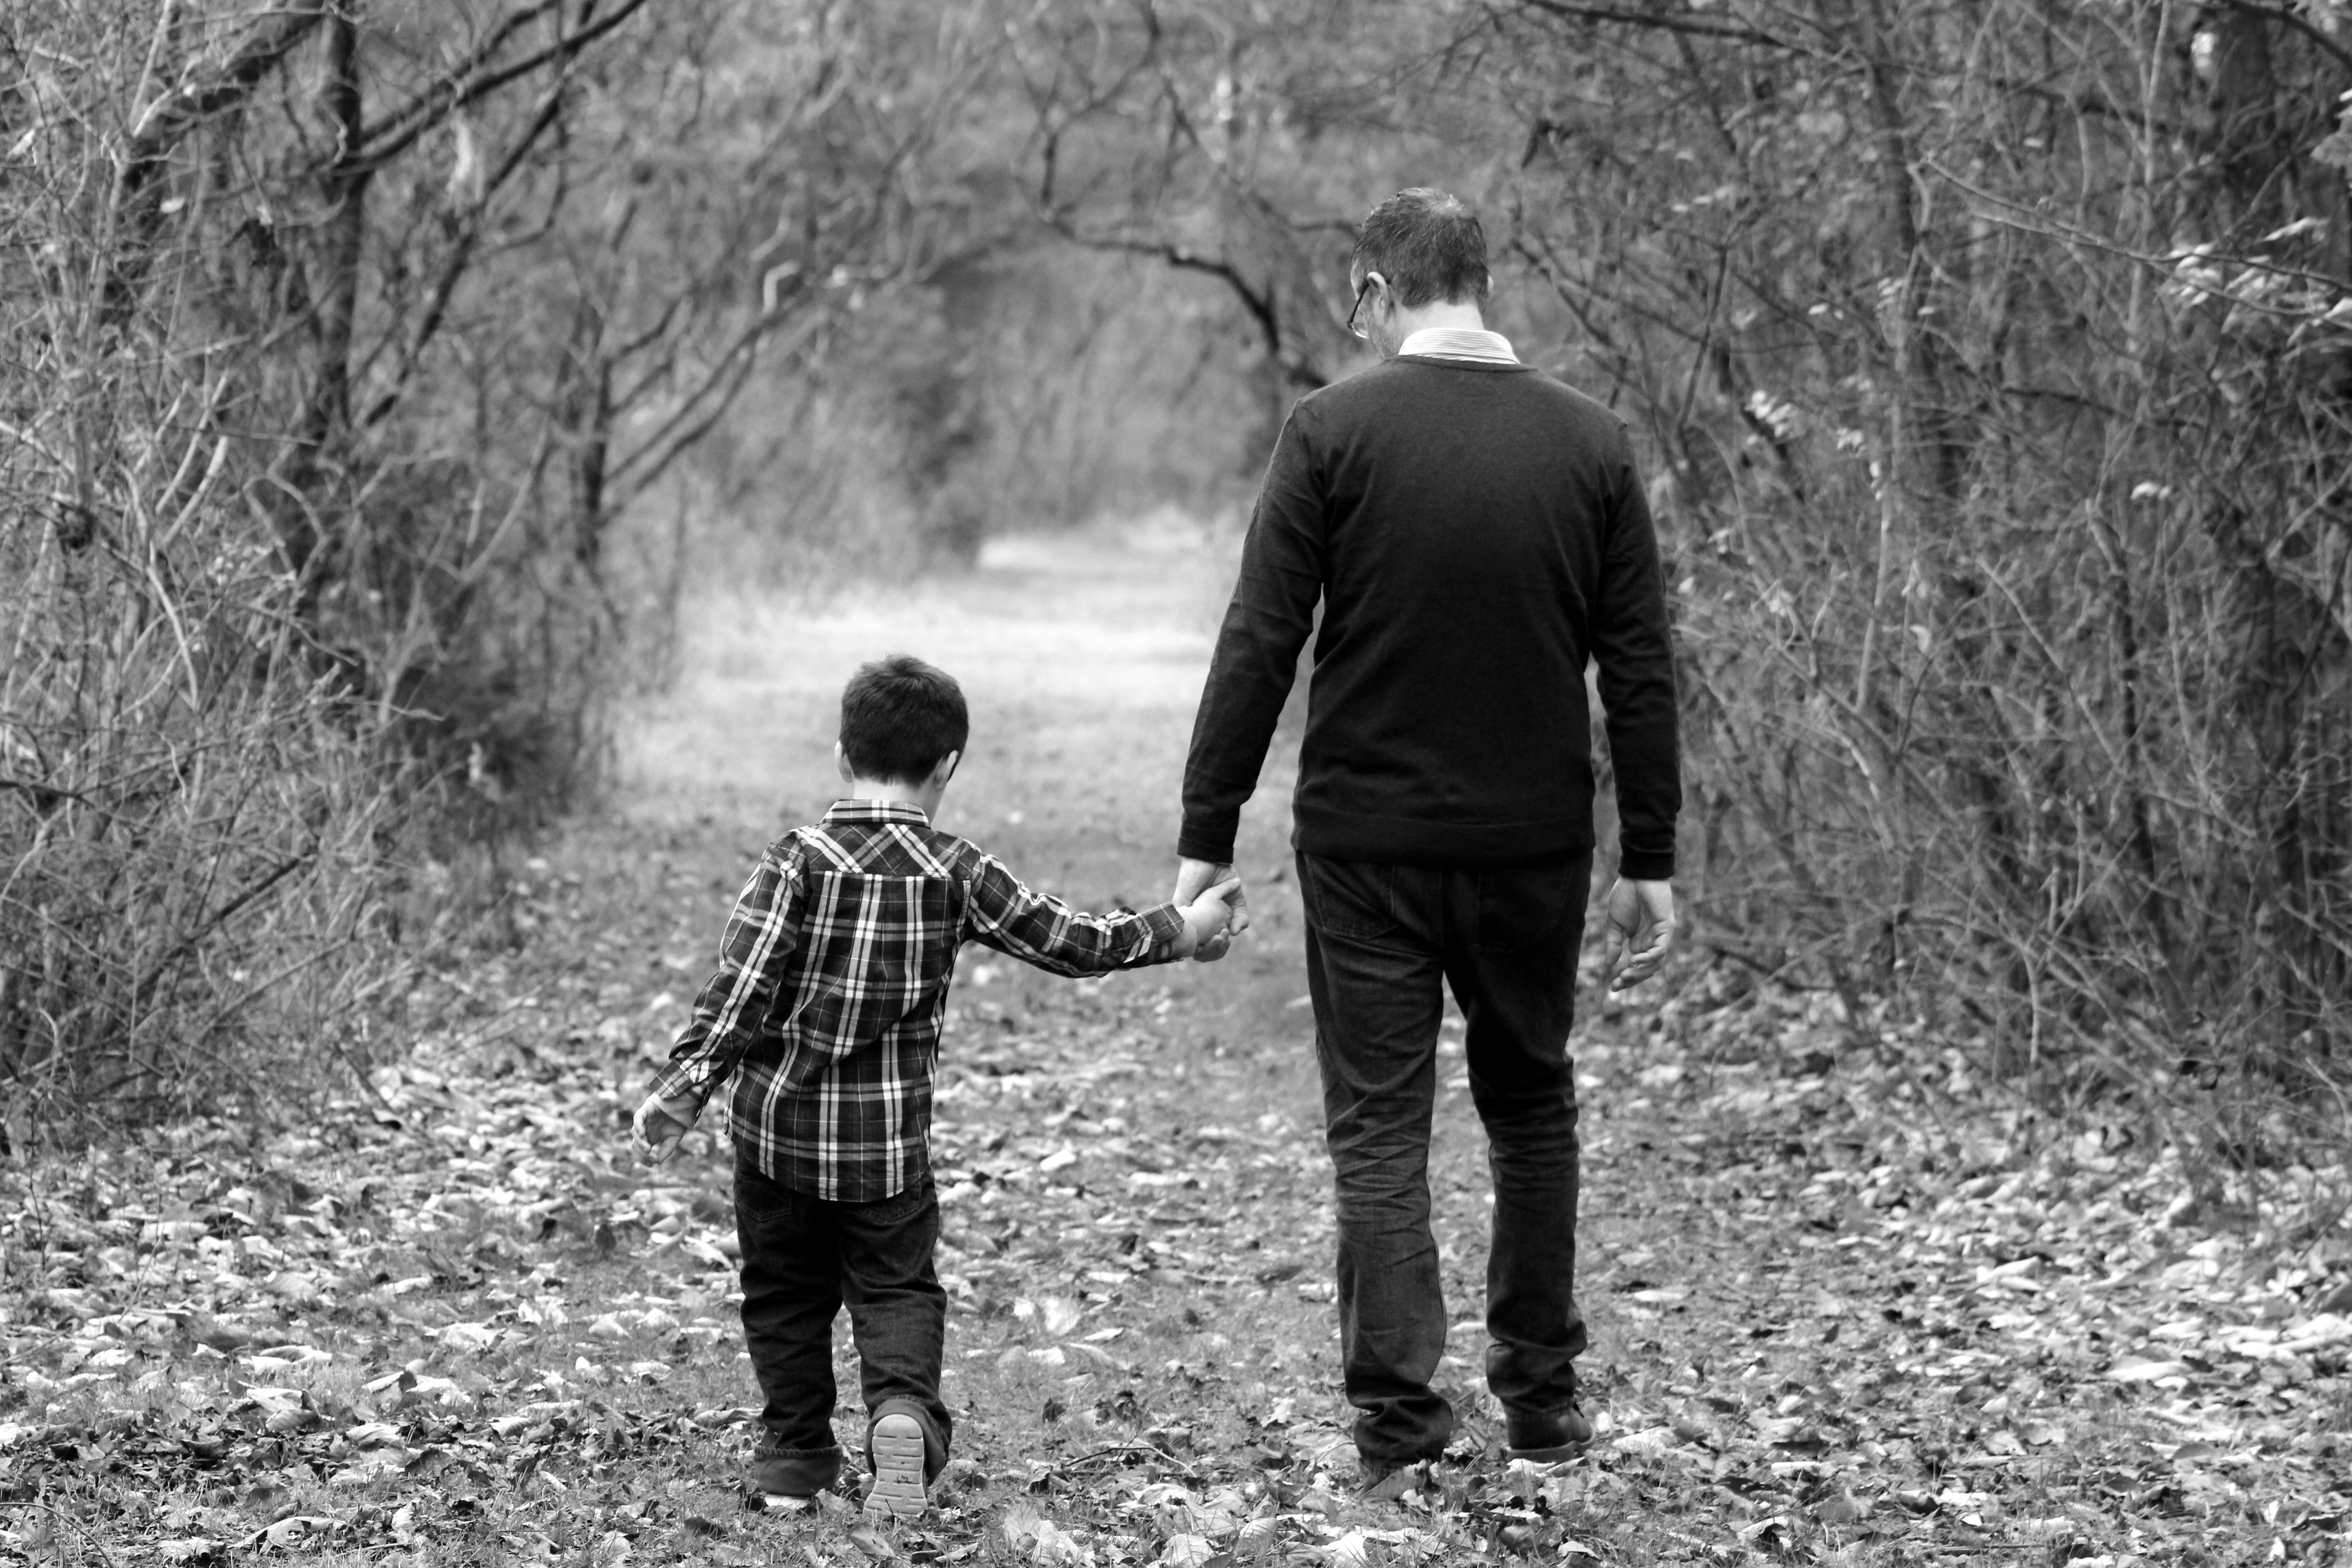
My eyes teared up remembering hubby lifting our little boys high up in the air so they could take their turn every other year reaching the tippy top of the tree to crown it with the star.

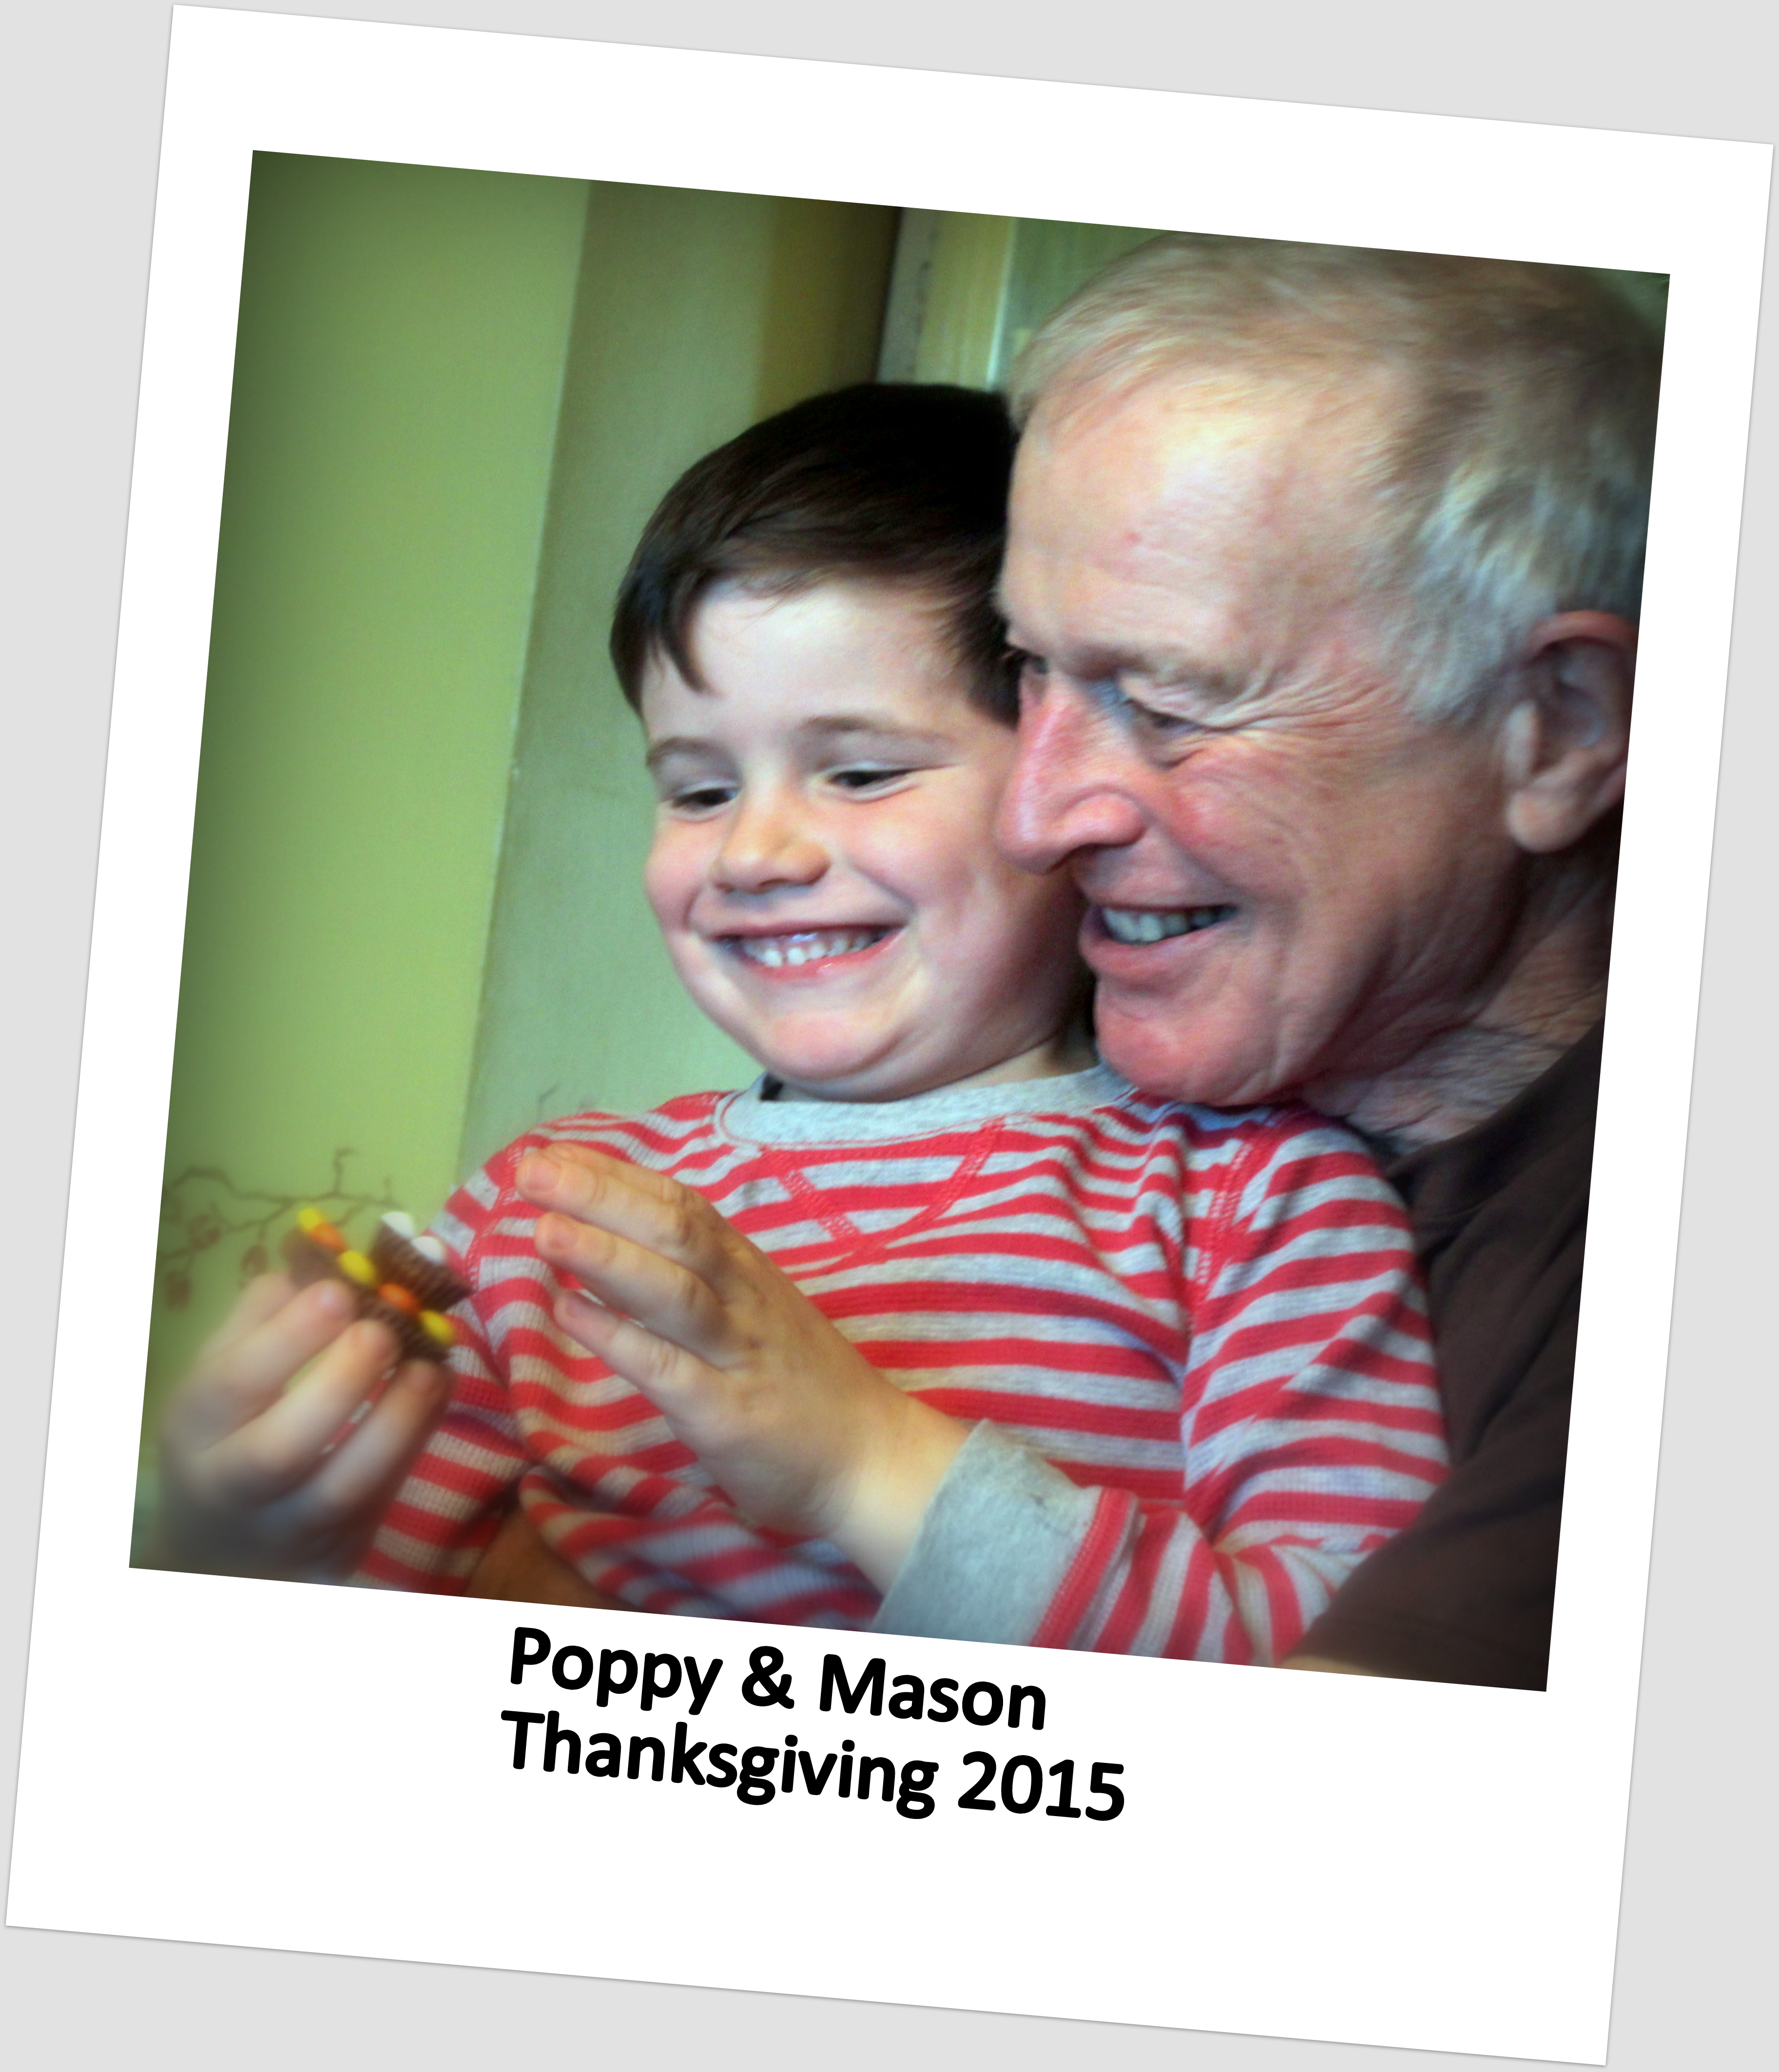
I laughed remembering the magic of Sammy our magical elf, who came every December 1st – long before anyone had ever heard of Elf on a Shelf (oh why didn’t I think to market it!!!).  He is the one “ornament” I put on the tree no matter the “theme” each year.  He’s been coming around for 30 years.

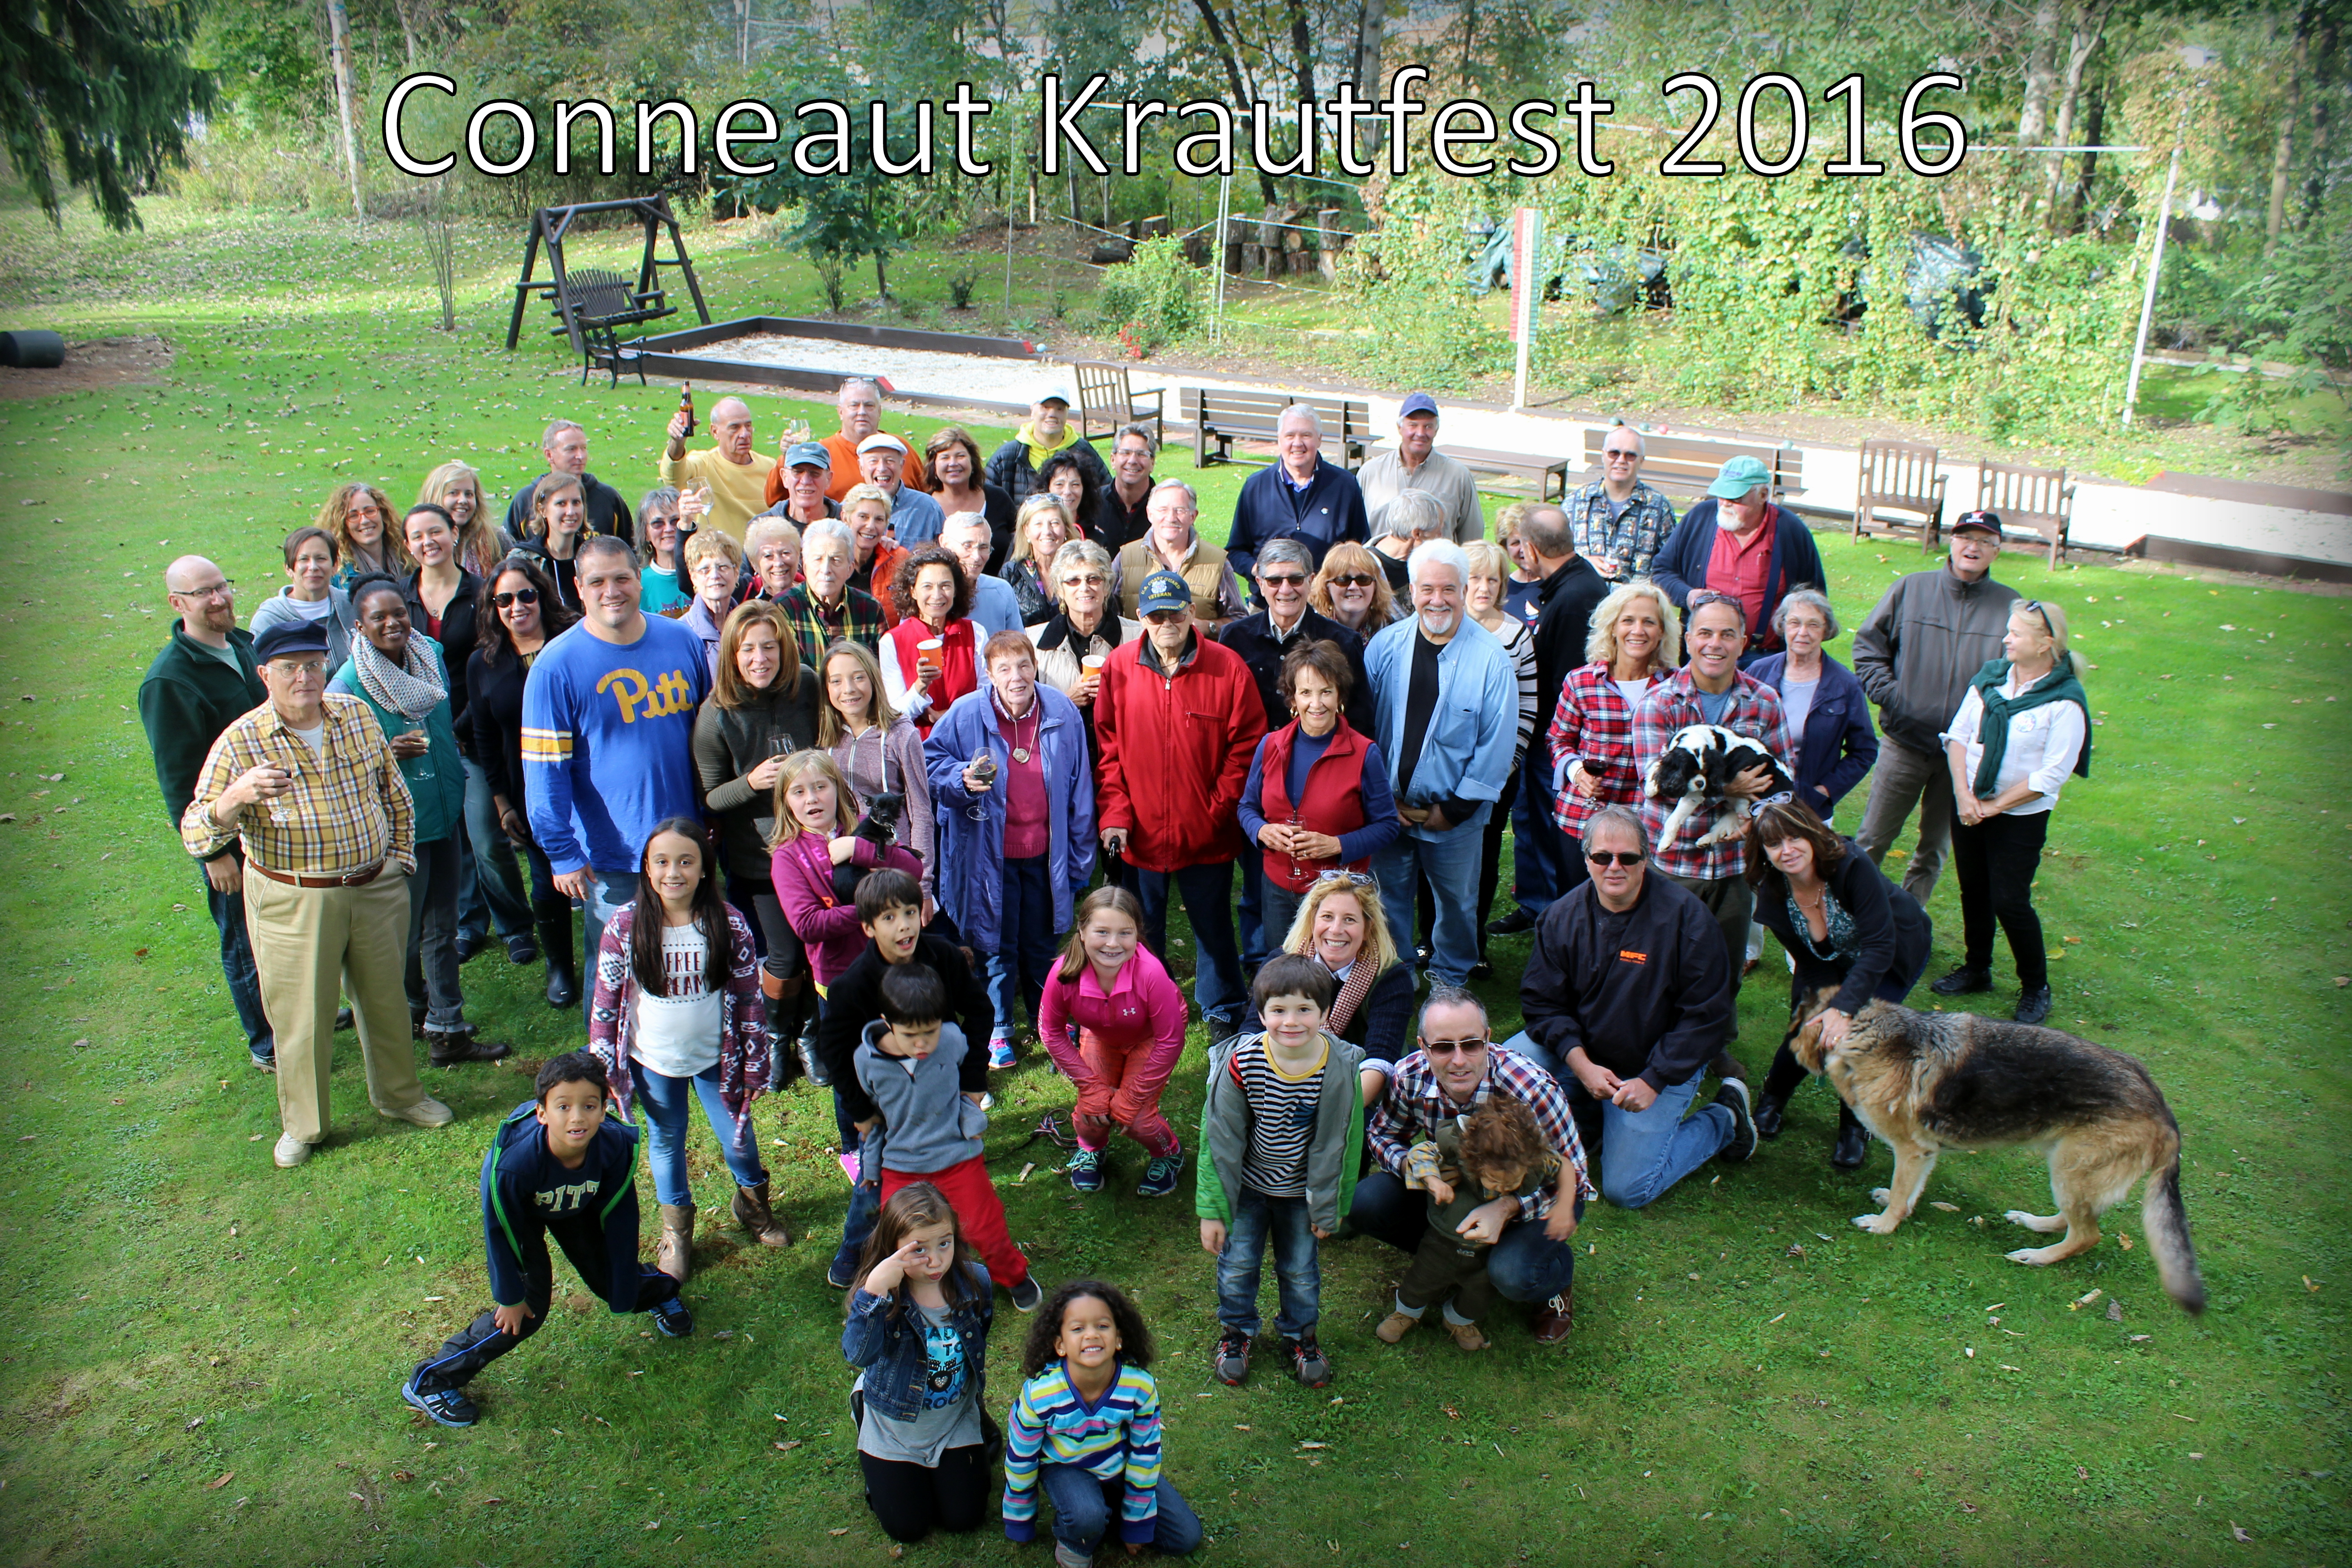
I felt melancholy remembering loved ones who we spent Christmases with who are no longer with us – those who have passed, but live in our hearts forever.

I remembered the emptiness of those first empty nester years.

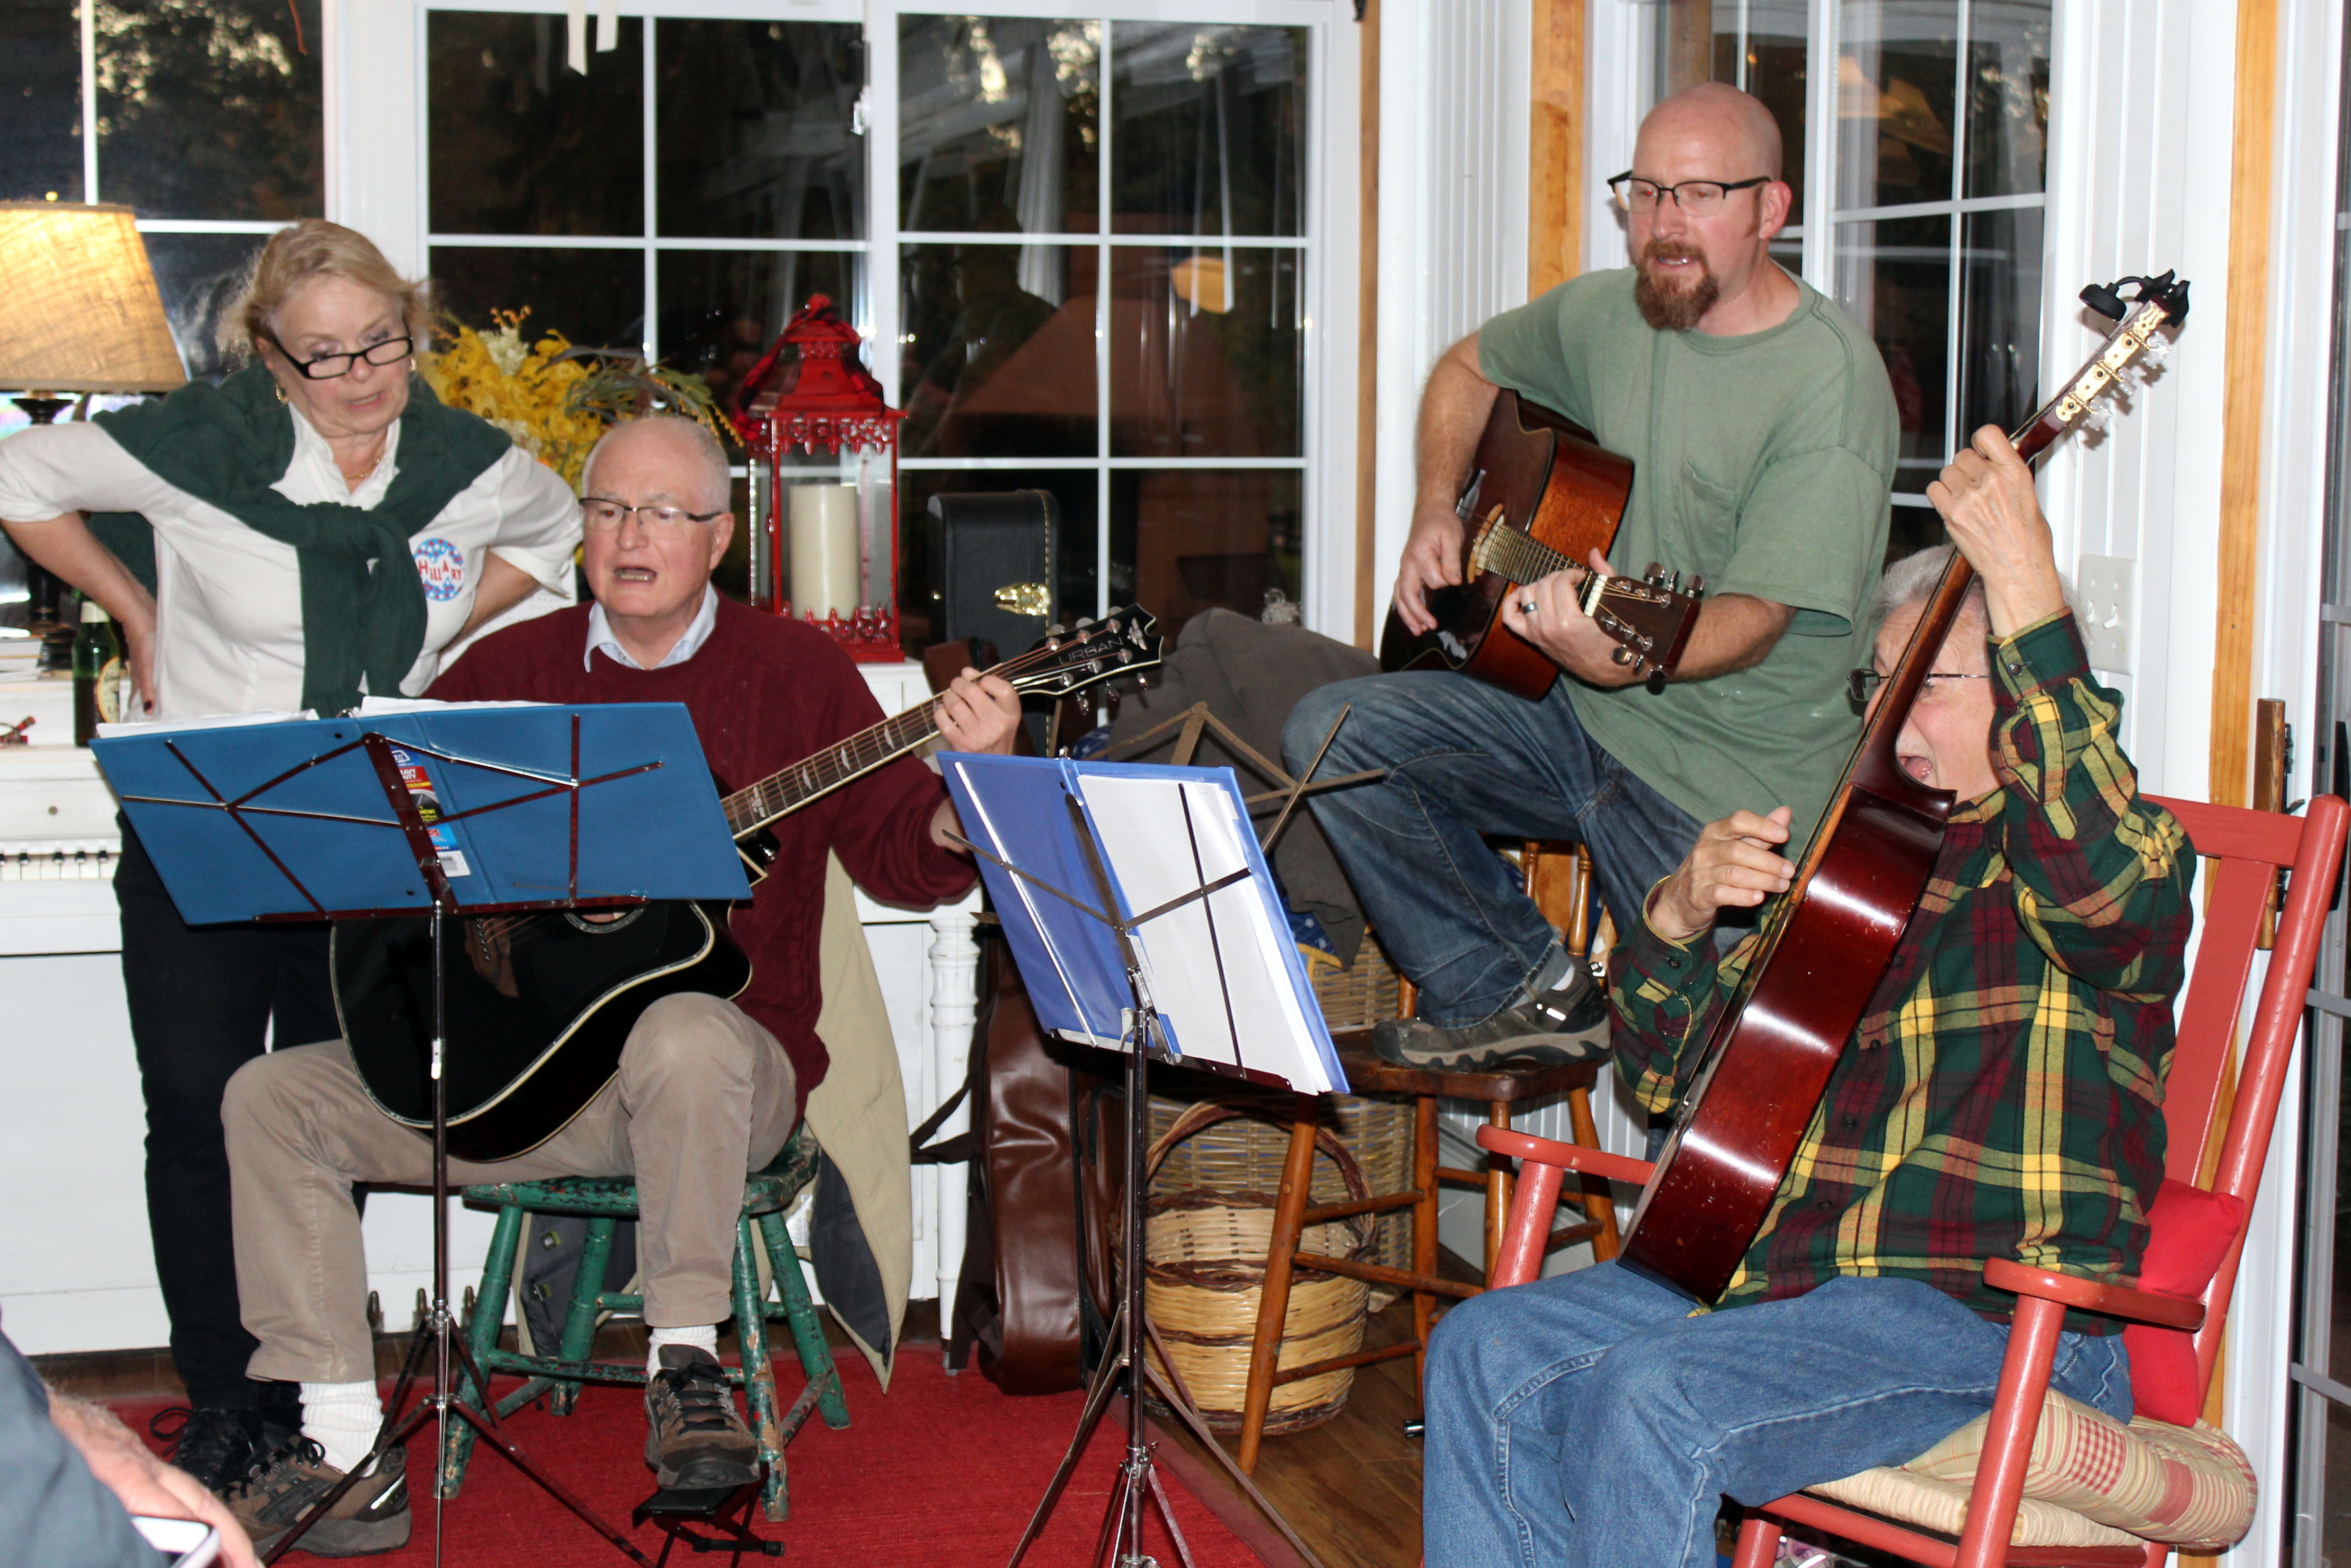
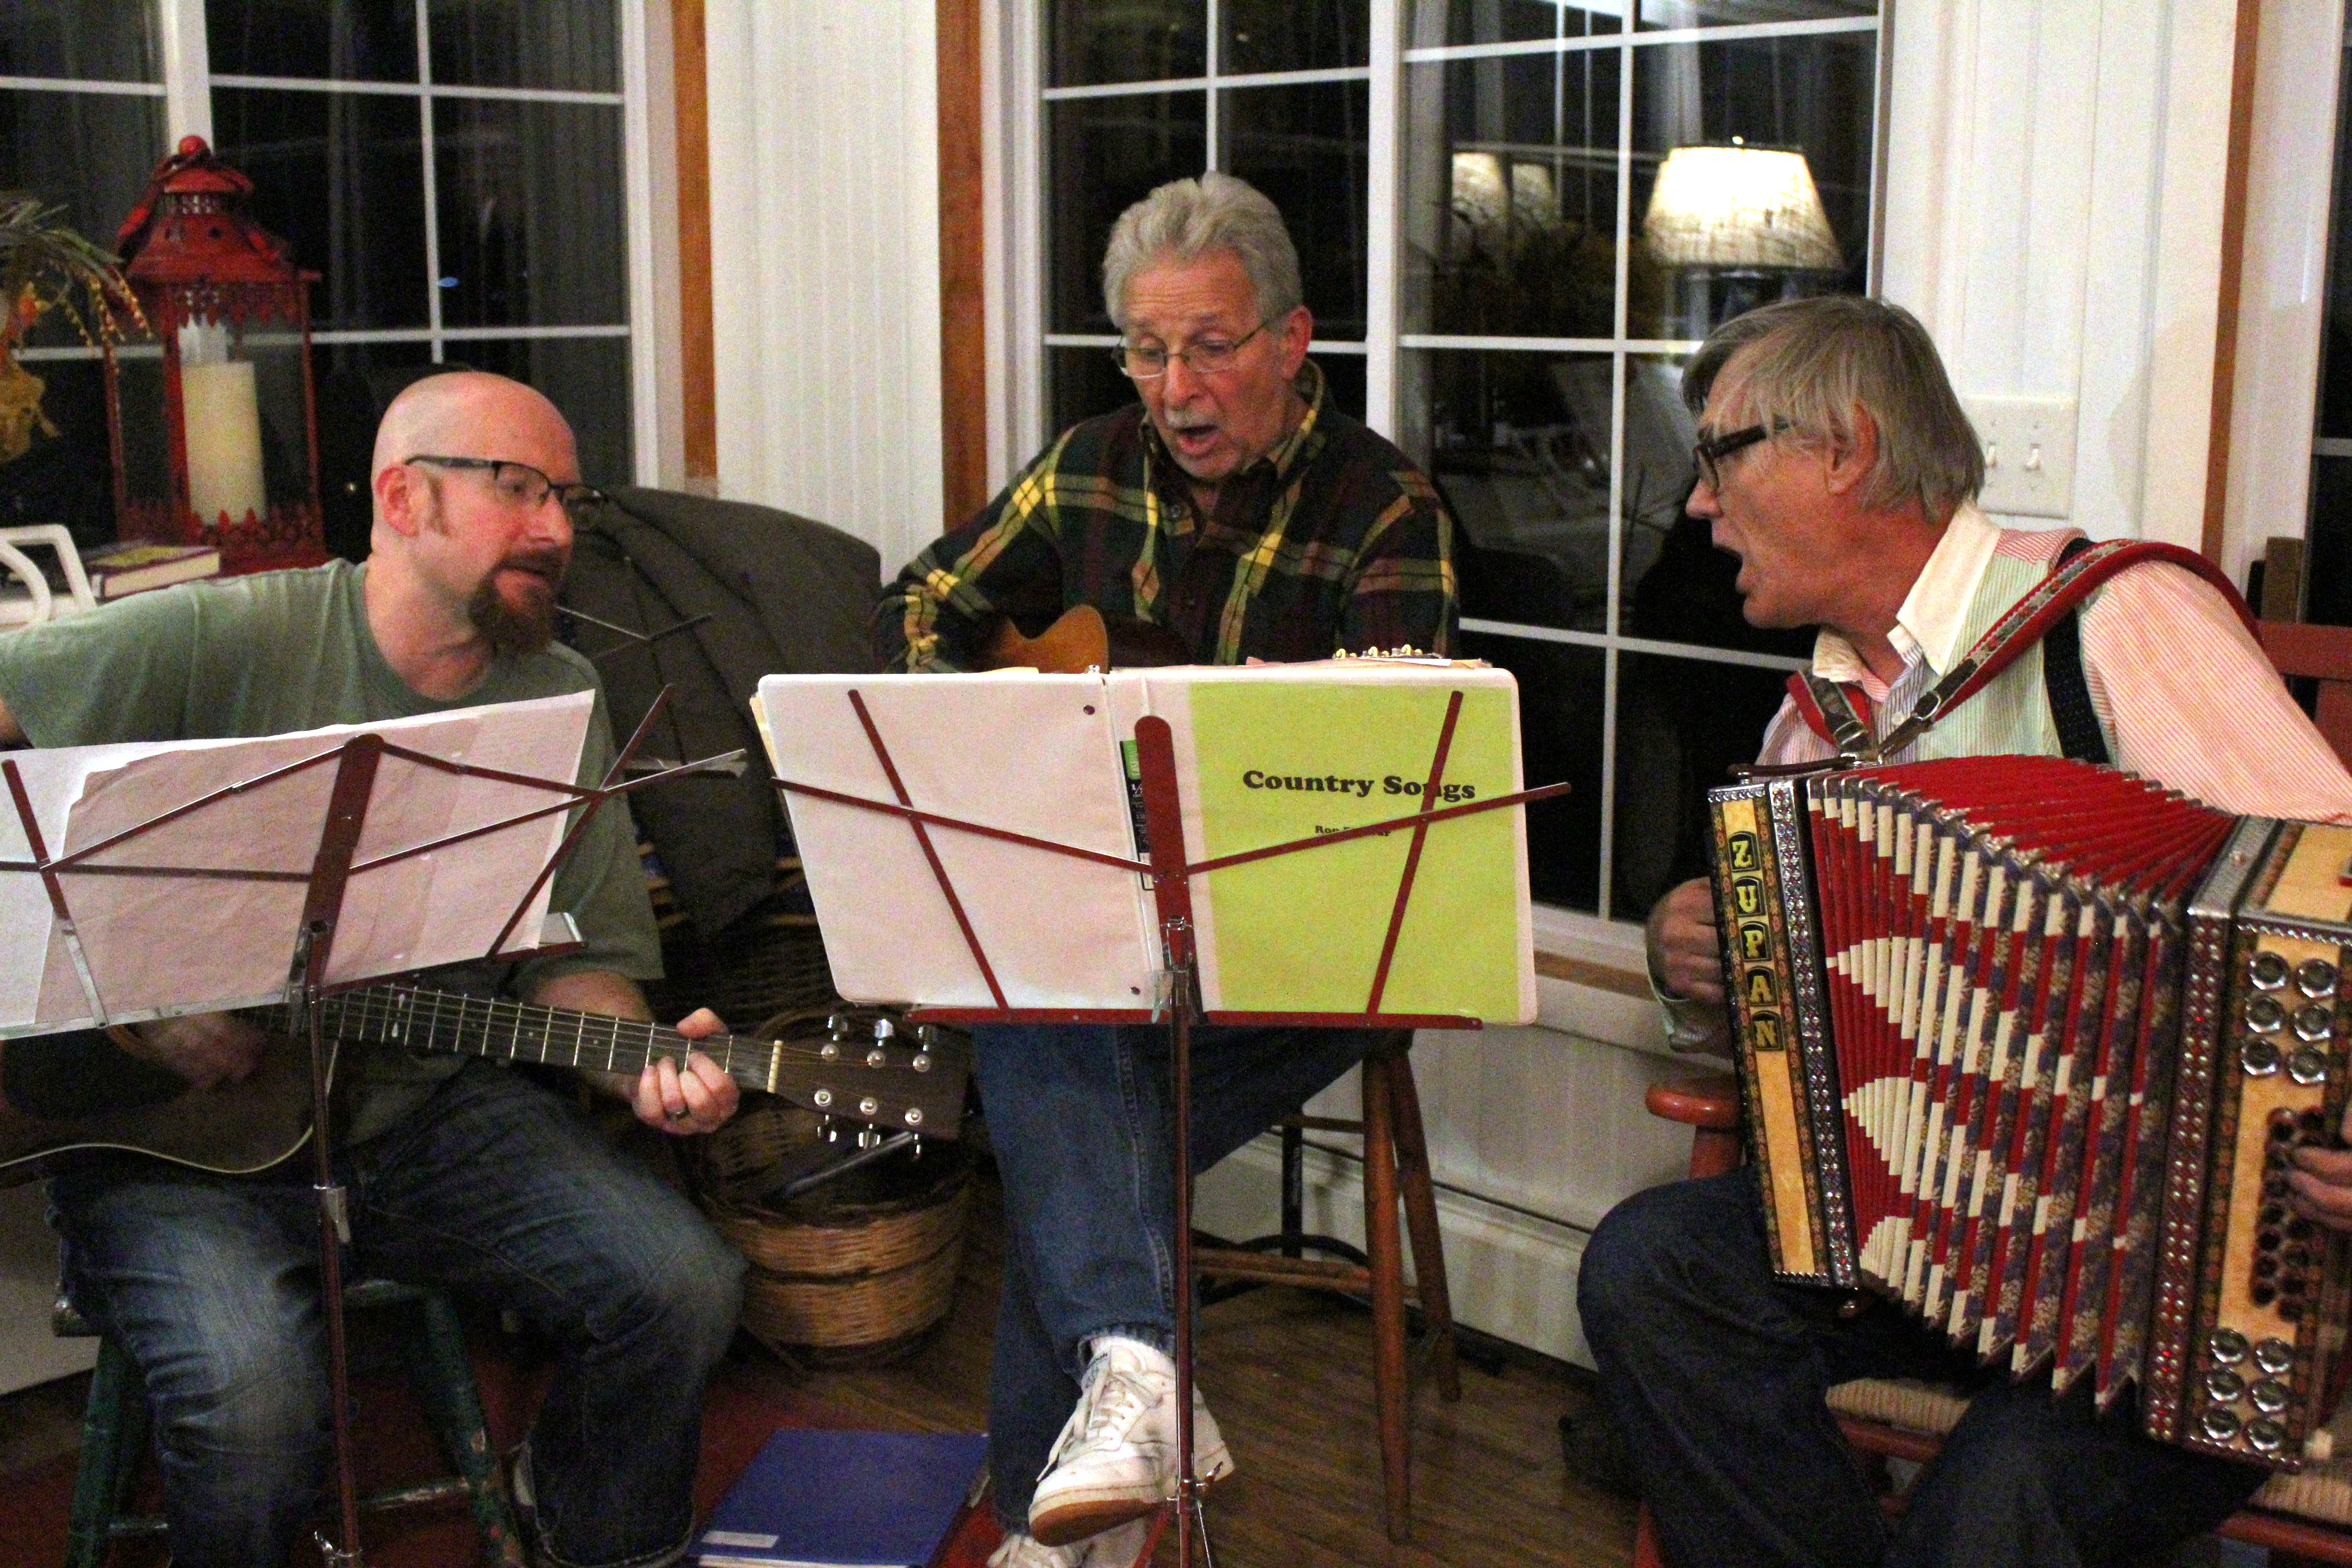
I reminisced about the first Christmas being reunited with my Dad and the wonderful, loving extended family that came along with him.

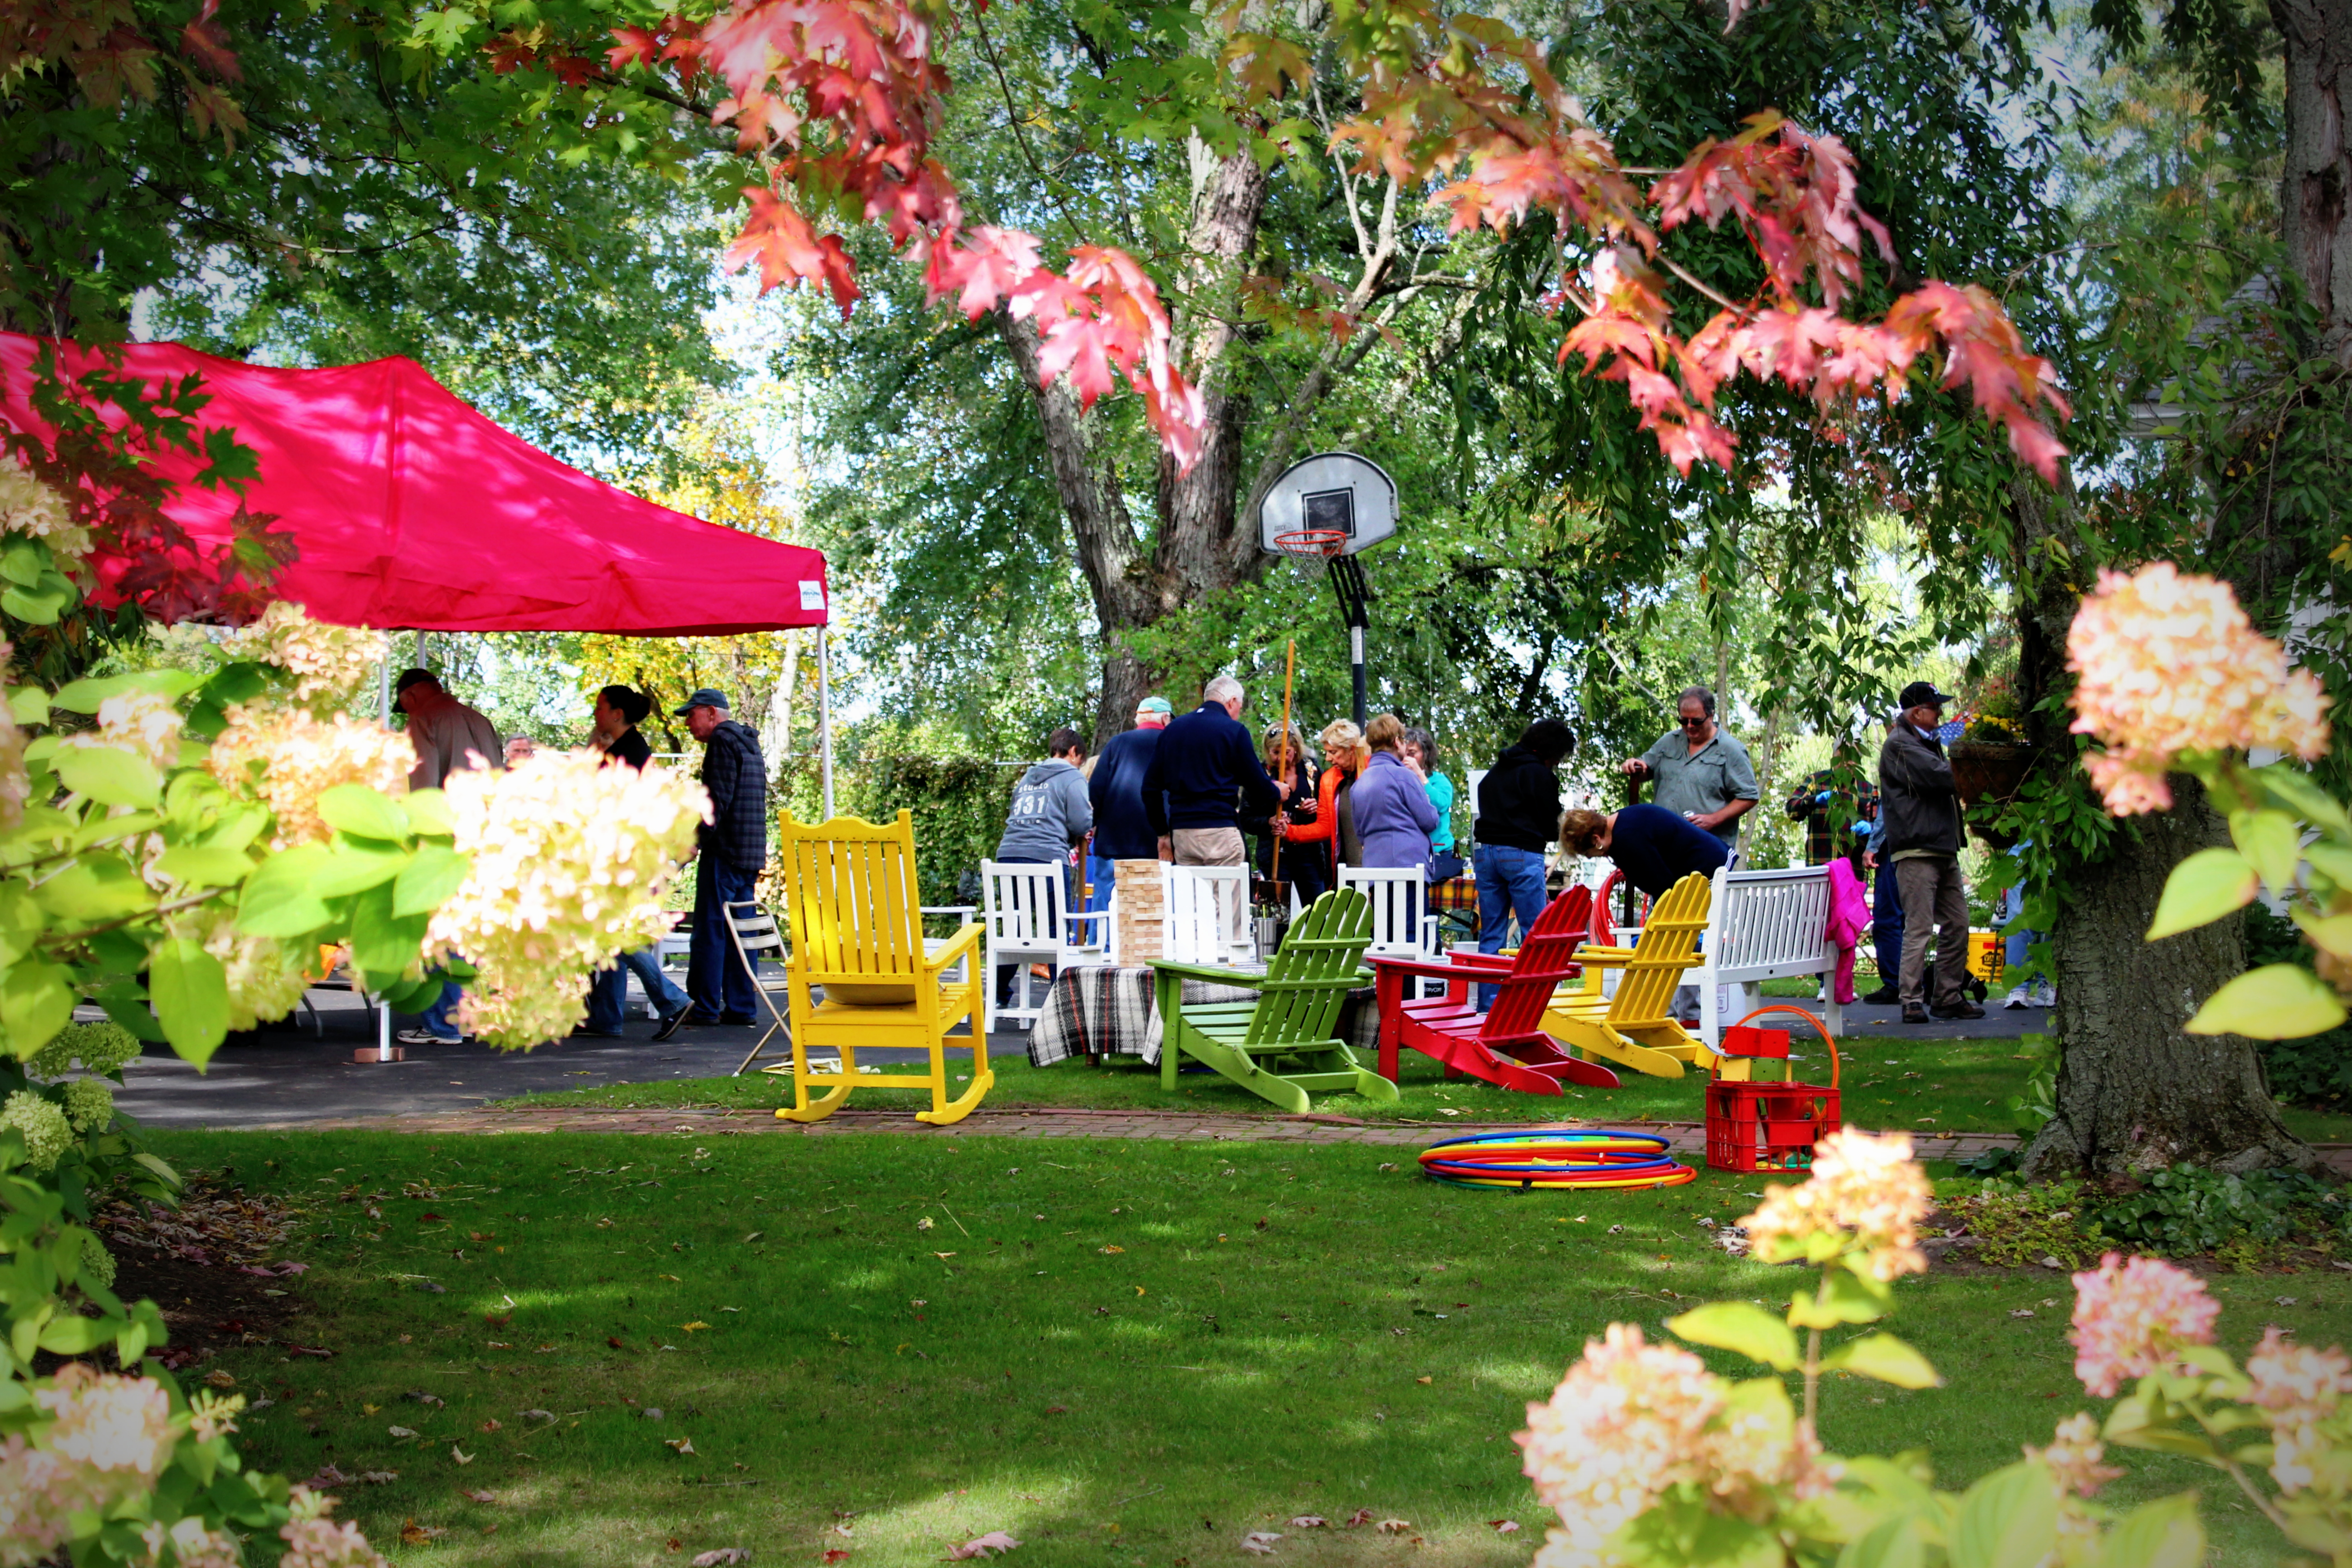
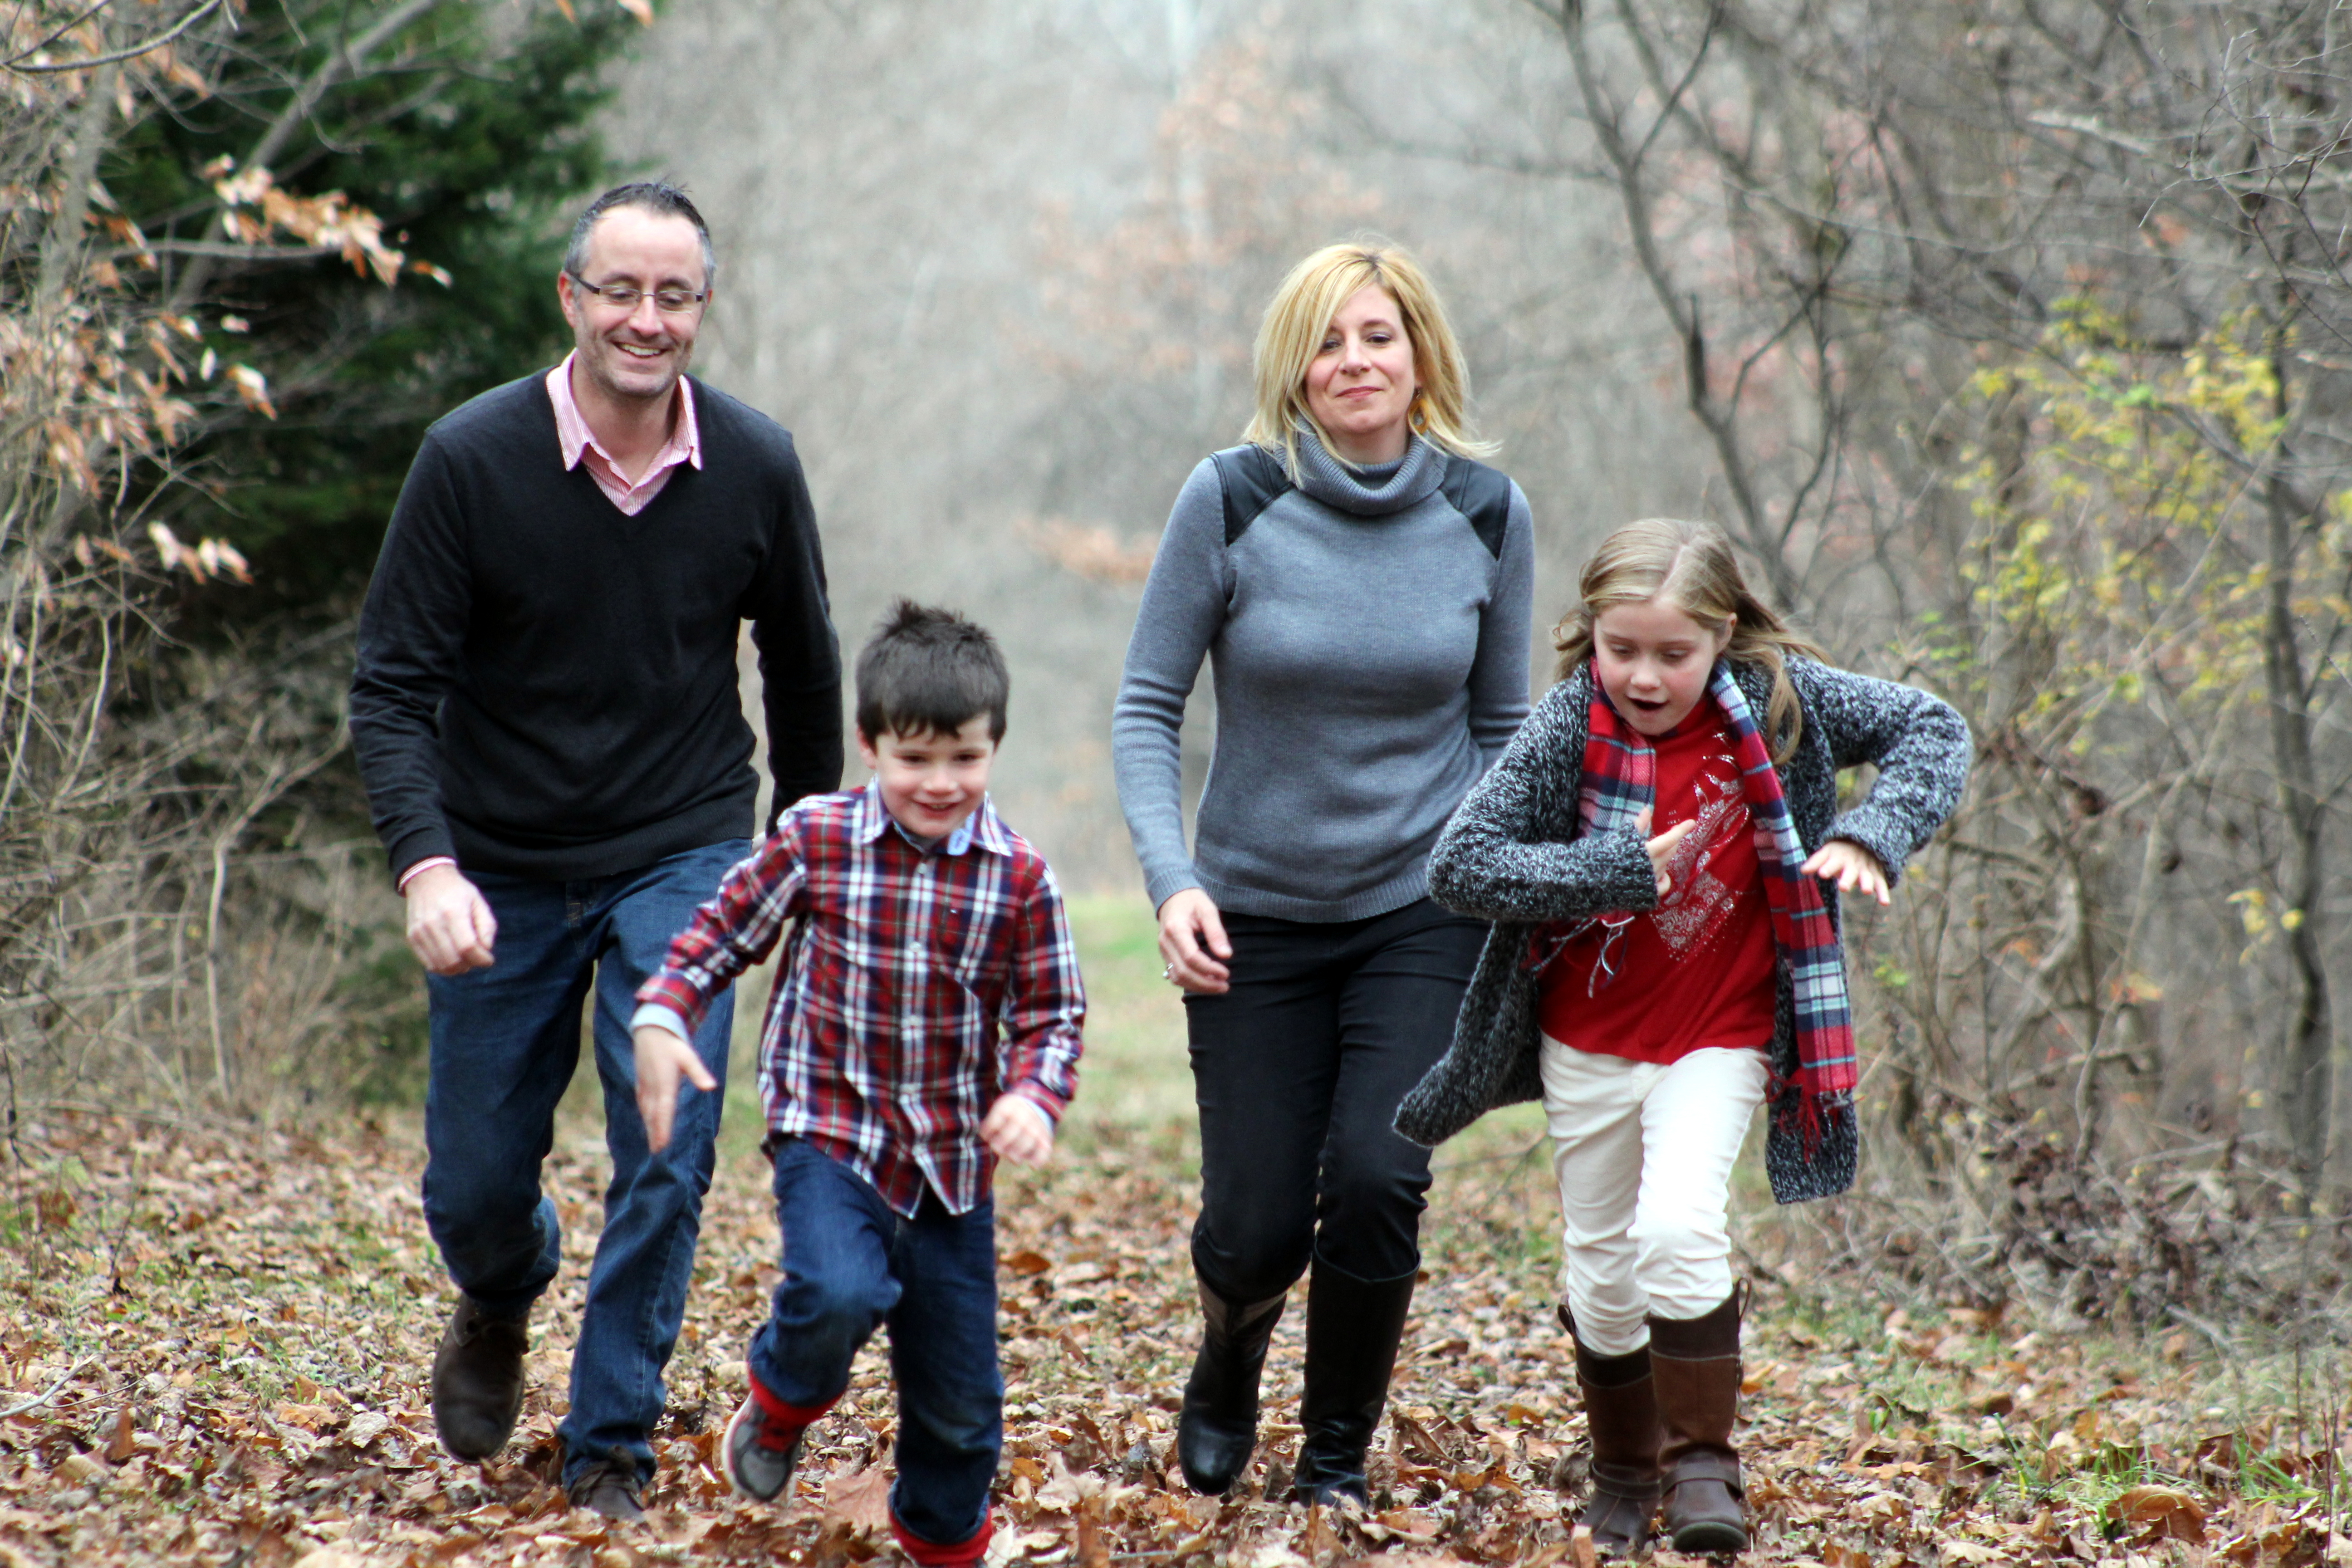
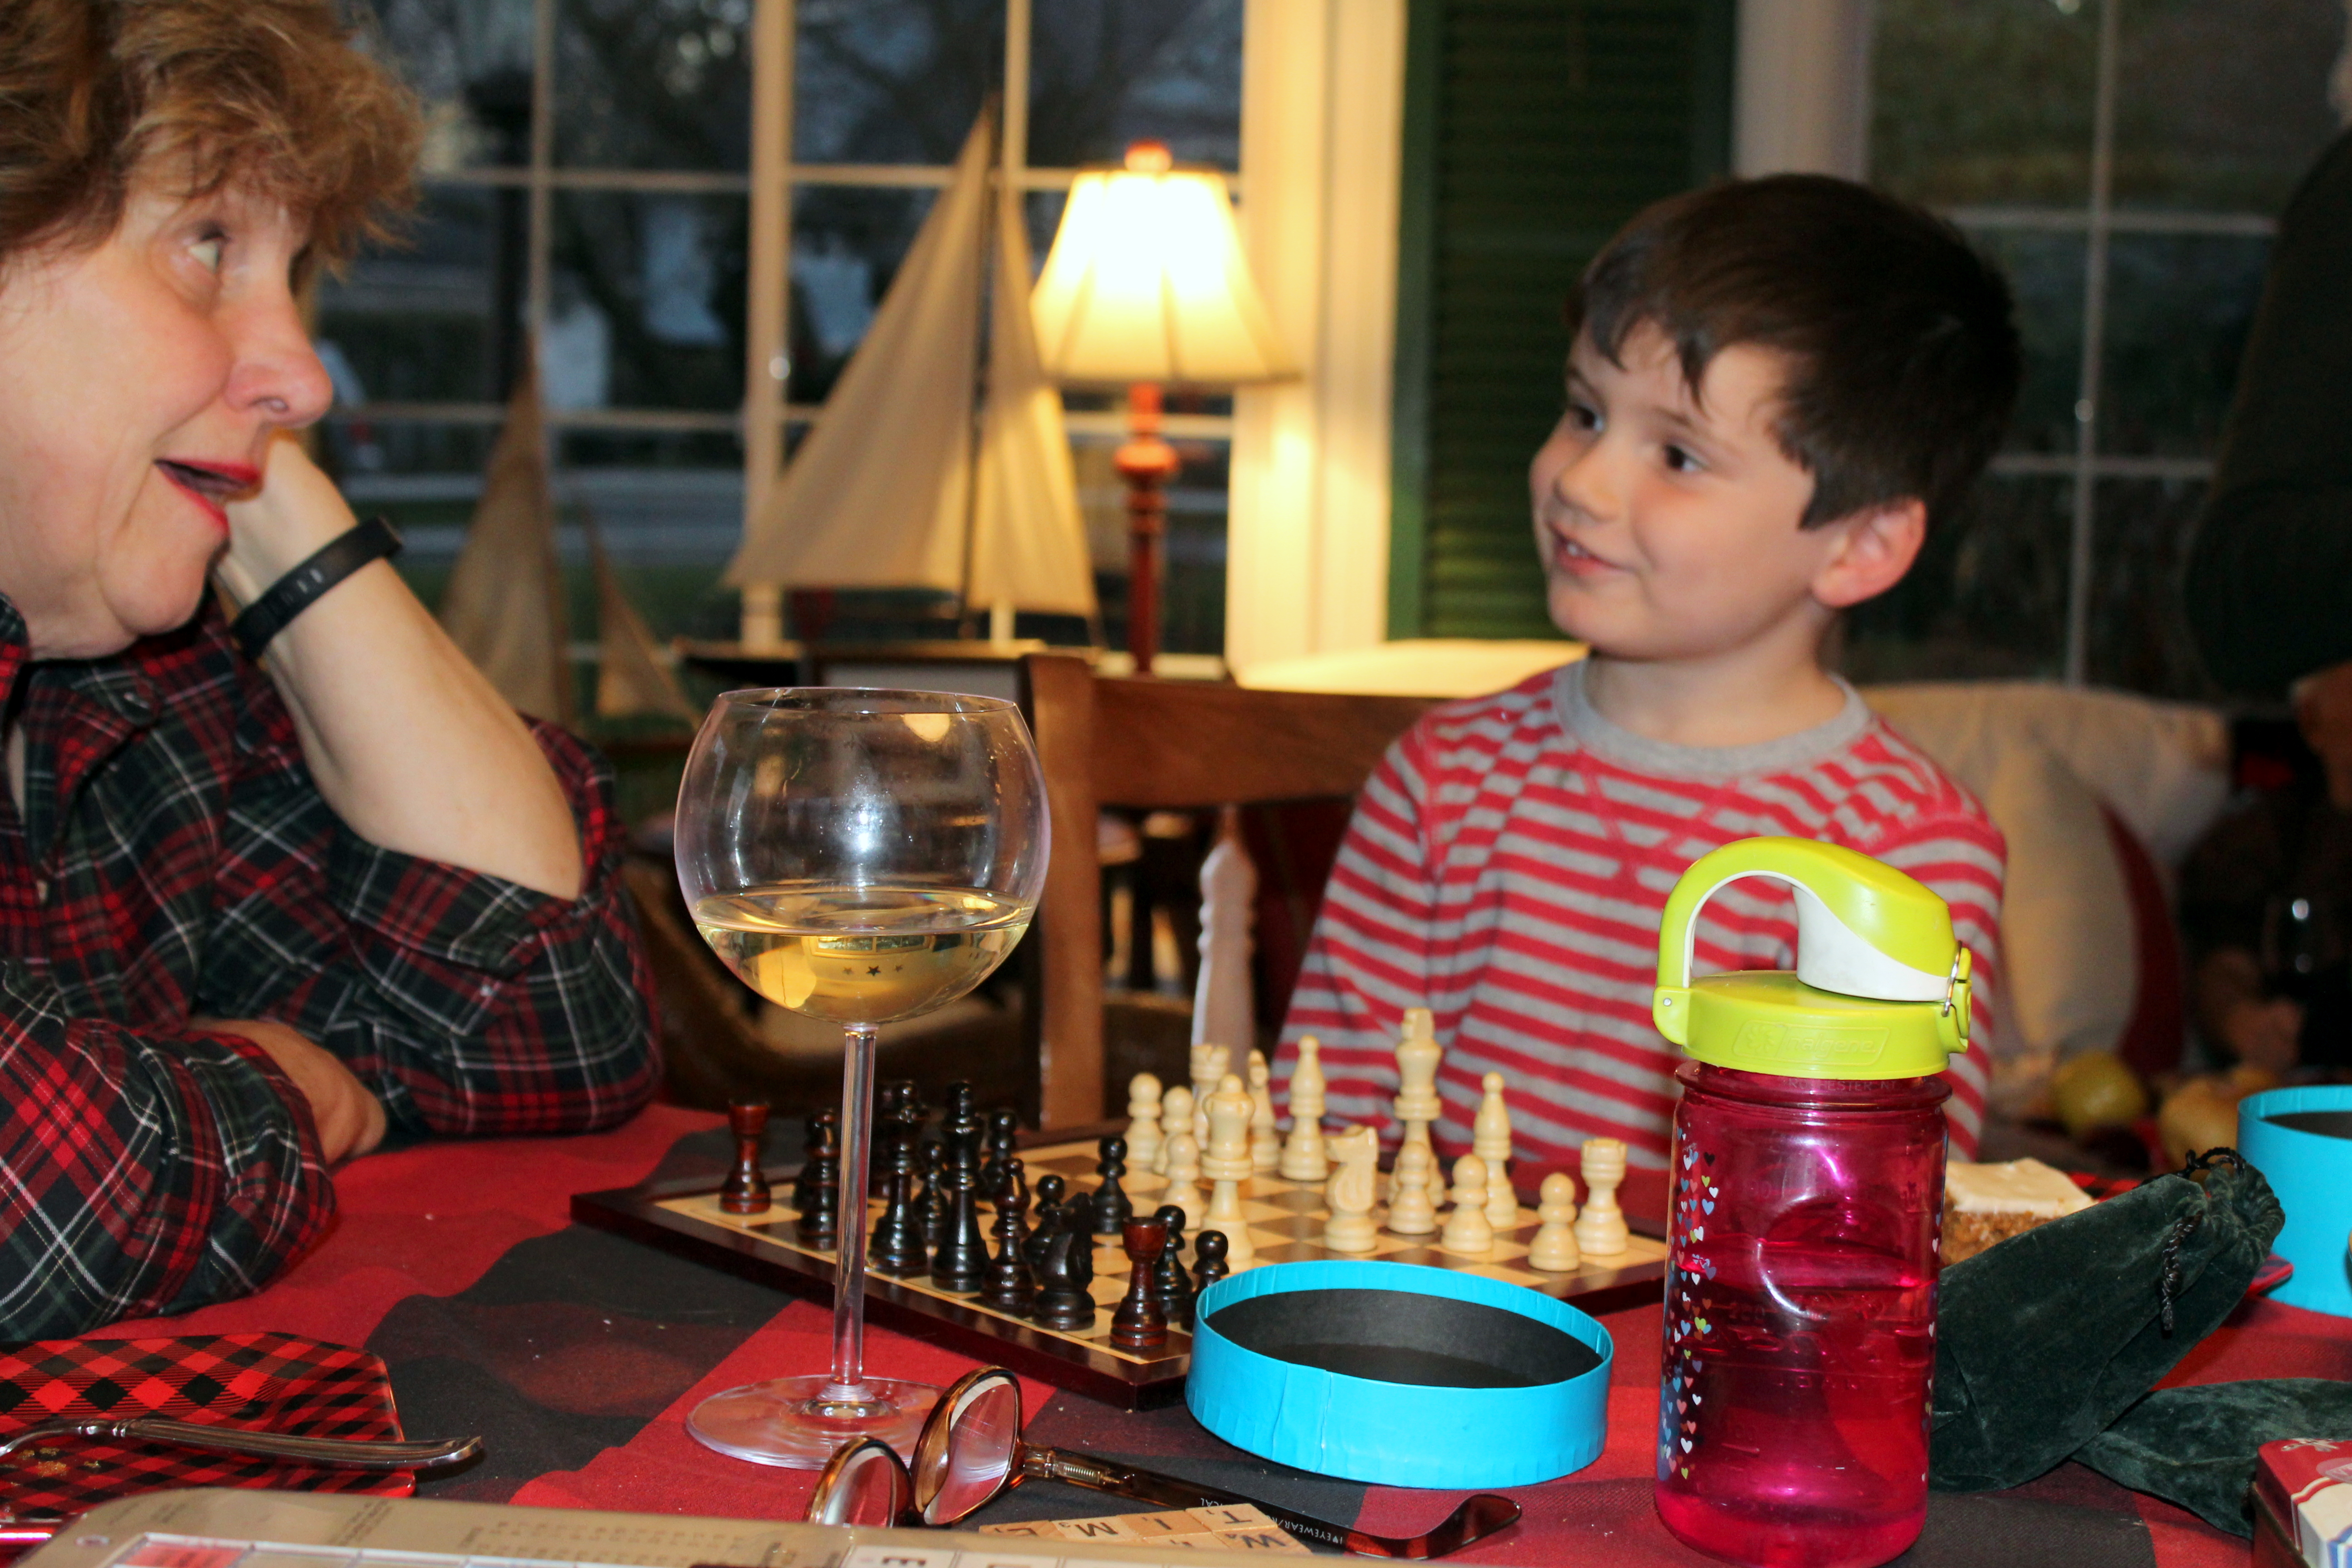
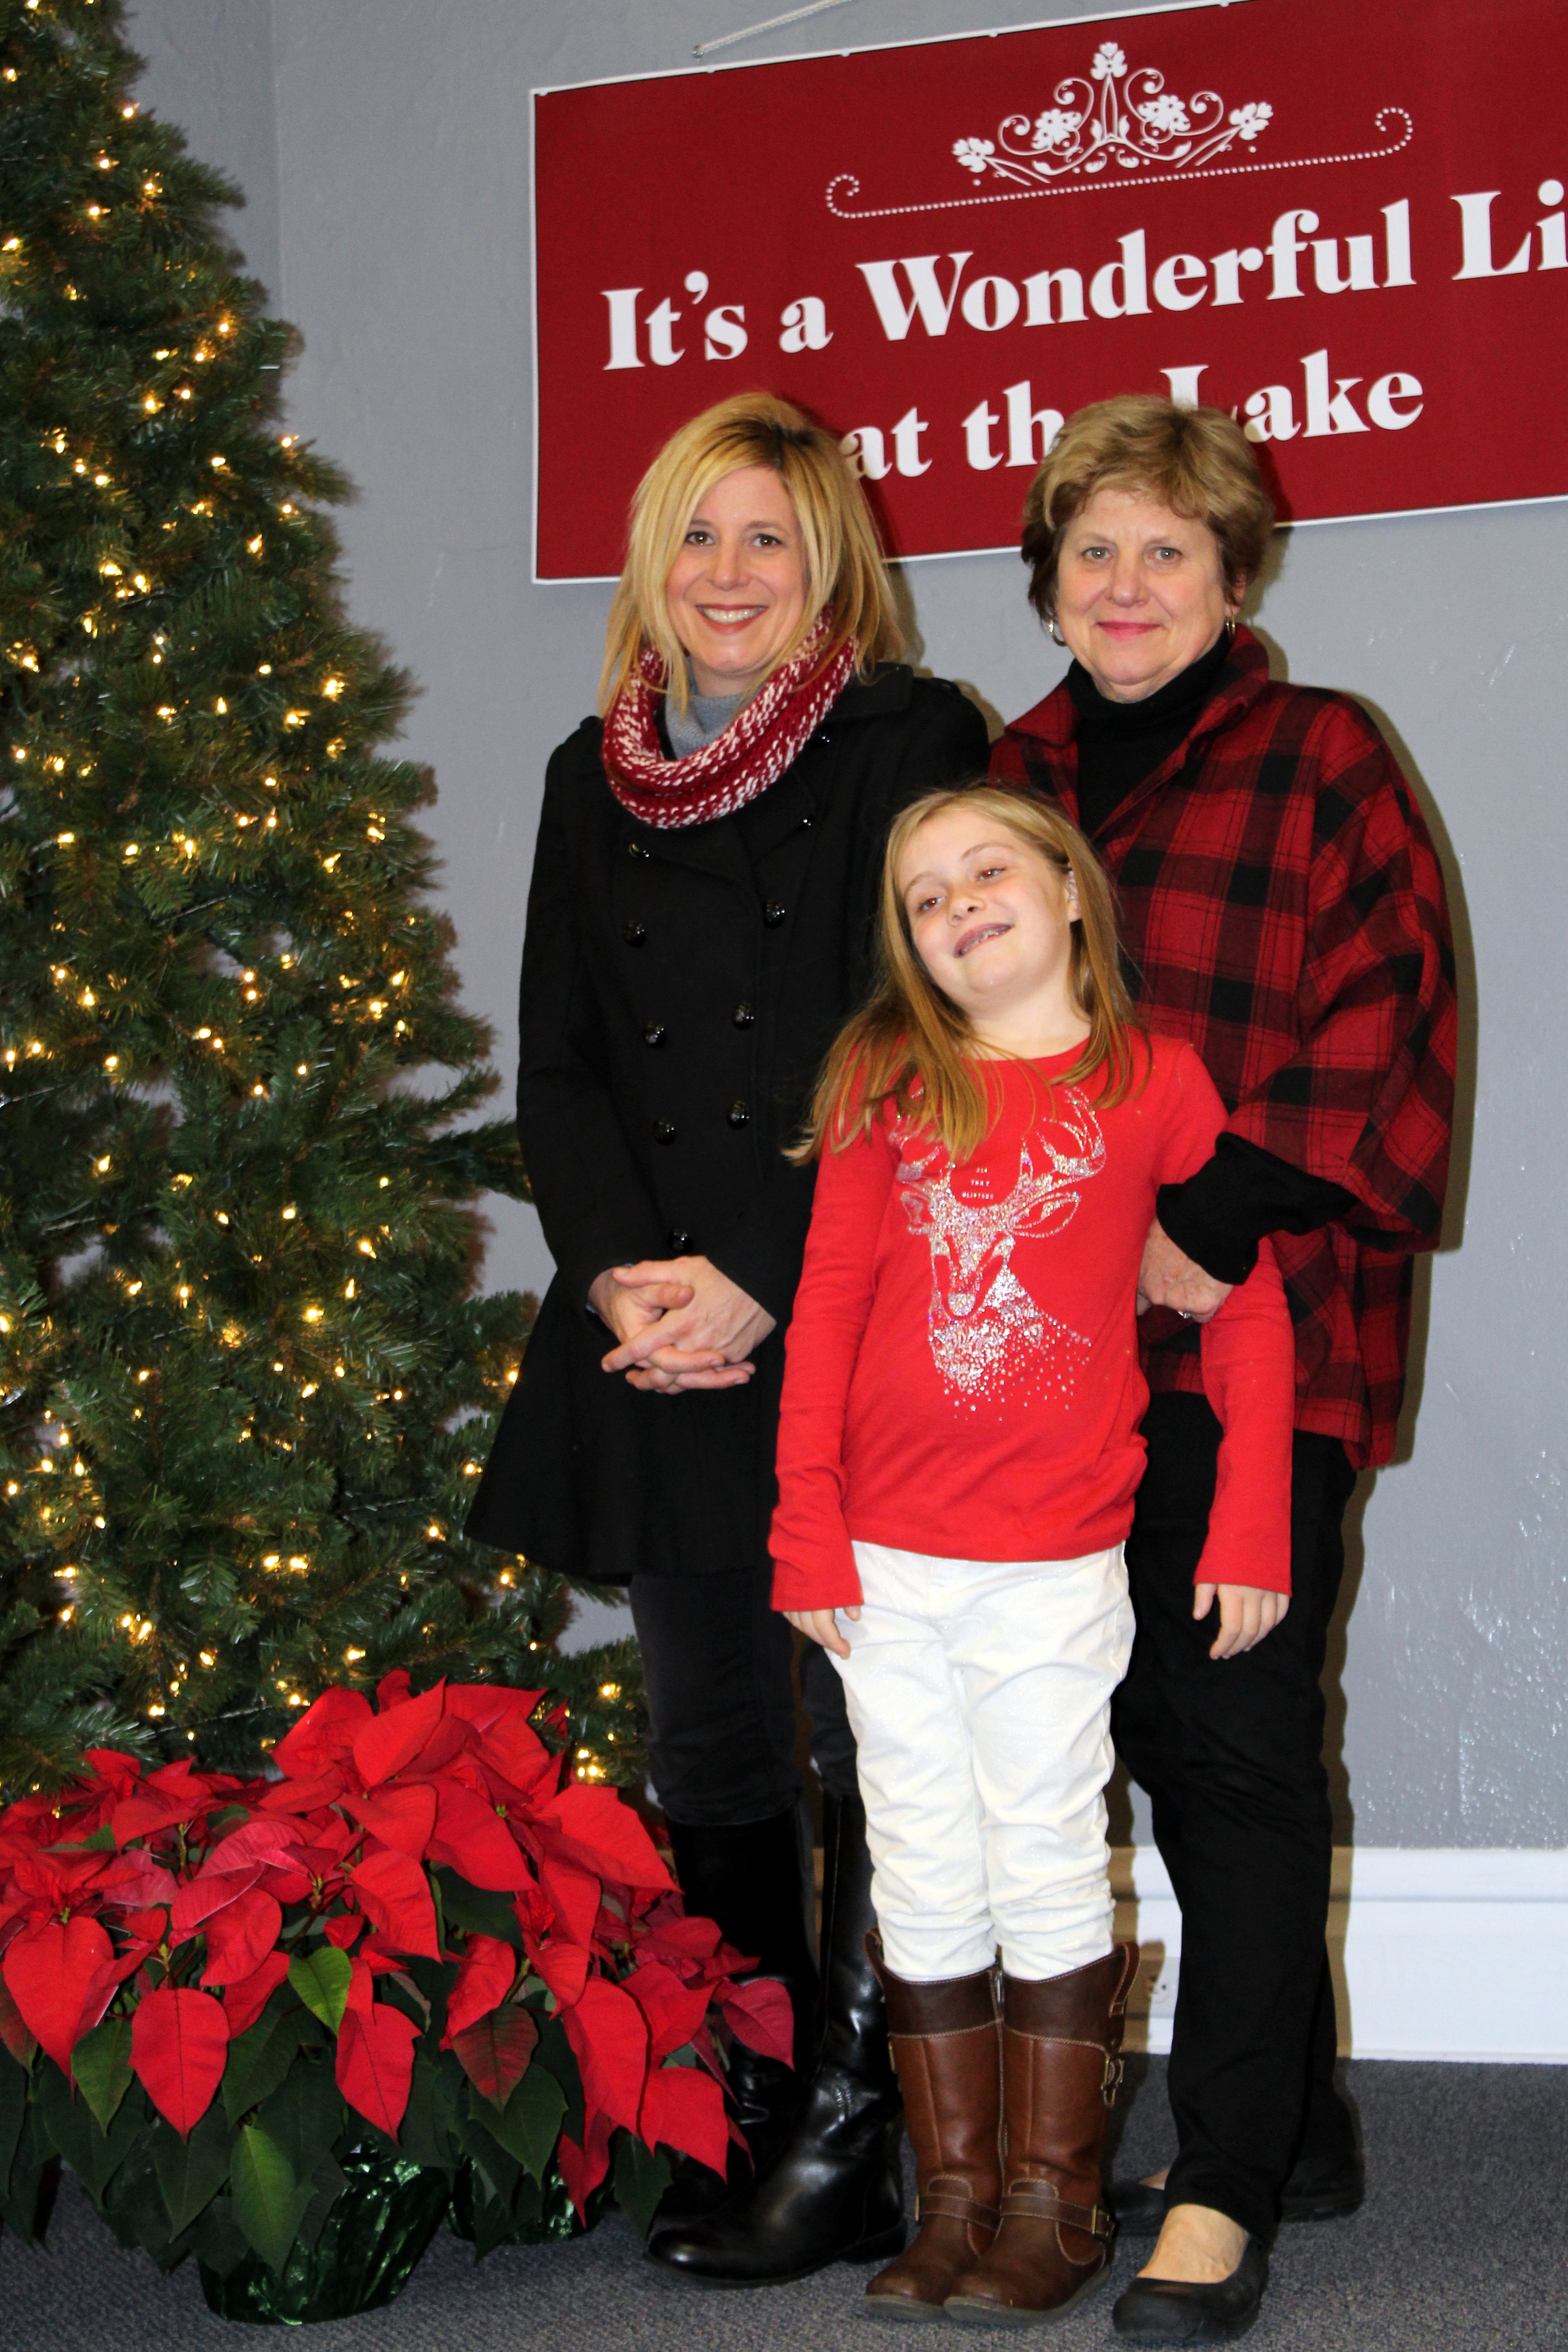
I rejoiced in the renewed joy and magic that grandchildren have brought to Christmas.

And I celebrate life.  I am choosing to celebrate the woman I’ve become through the time and experiences I’ve been given.   I am making an effort every day to be the me I am meant to be – not comparing to others – those younger or thinner or smarter or wealthier or more talented or whatever we all compare each other about.  I am telling myself every day that I am enough.  As Dr. Seuss said, “Today you are You, that is truer than true.  There is no one alive who is Youer than You.”  December is also my birthday month (even if it doesn’t come until the very last day of the month!).  And as a very wise friend, who faced and battled cancer years ago once told me when I said I don’t want to celebrate birthdays any more as I get older… “Celebrate!  Each day and year is a gift.    Not everyone gets this opportunity.”

May you find time to reflect on the memories, joys, sorrows, blessings and gifts of your life.  Have a beautiful December!

Cheers & Hugs,
Jodi

Baking Lady Locks Cookies

Baking Lady Locks Cookies

We’ve talked about it before…. the Pittsburgh Wedding Cookie Table.

As we say around here, “It’s a ‘Burgh Thing.”

And no respectable wedding cookie table would be without Lady Locks.

As much as I love baking cookies, I have never truly mastered the esteemed Lady Lock.

But one of my best buddies has….

She baked them for my first son’s wedding, and she baked them for my second son’s wedding.  So when I offered to help bake some cookies for my oldest daughter-in-law’s sister’s upcoming wedding, I asked Tracy if I could pay her to bake some Lady Locks.

Her reply…

“How about I teach you?”

When I told my daughter-in-law we were going to make them this past Sunday, she was so excited.  She had been googling the recipe to give them a try, but was a bit hesitant to tackle these, so she wanted to join in the lady lock baking lesson too.

Now my grandma made these every year for Christmas and for special occassions like family weddings.  I tried her cryptic recipe a few times years ago, but they never came out quite right.  At one point in time I had her special lady lock pins, but somehow they are nowhere to be found.  (I likely tossed them out of frustration after trying several times!)

Fortunately, Tracy still has her grandma’s, which were handed down to her mom and then her.  I found a local store in the Strip District of Pittsburgh, In the Kitchen, that carries them and sells them online for anyone interested in purchasing (which I did).  It’s important you get the correct kind.  Expert old-time bakers were able to make these on clothespins (and some people still call them clothespin cookies), but I can’t even imagine!

Baking these are not for the light of heart or spirit.  Though they are made from just a few simple ingredients you likely have in your pantry, these tasty little buggers are a bit tedious to make.  (Especially when you double the recipe and have a 1-1/2 year-old helping!)

Tracy generously allowed me to share her Mom’s recipe here, which was a COMPLETE success!  (Probably because she did most of the hard work….. after all…. my granddaughter did need to take a few breaks to swing and play in the pool and eat lunch and join Pap Pap for a tractor ride during the 5-hour bake-a-thon!).  Colleen, her mommy, was a trooper rolling and tapping and filling the whole time – even while 8 3/4 months pregnant (this girl never ceases to amaze me!).

We filled half of our 200 lady locks with pink-tinted vanilla filling and the other half with white almond-flavored filling.  They both are melt-in-your-mouth divine.

Here is the recipe.  The best ever, full-proof success lady locks recipe.  Thanks Tracy!

Lady Locks Cookies

  • Servings: approximately 100
  • Print

Cookie Shell Ingredients:

  • 3 cups flour
  • 1 lb butter
  • 1 cup water

Filling:

  • 1 1/2 cups Crisco
  • 3 1/2 cups Powdered Sugar
  • 3/4 cup canned Evaporated Milk
  • 4 1/2 Tbsp. flour
  • 3/4 tsp. salt
  • 1 1/2 tsp vanilla

Directions:

Mix flour and butter with pastry blender like when making pie crust to form crumbly mixture.  Stir in water until dough forms.  Shape dough into 2 balls, cover with saran wrap, and refrigerate for one hour.

When ready to bake, preheat oven to 350 degrees F.

Prepare the Lady Locks Pins by rubbing your hands with Crisco and then rolling the pins in your hands to grease them.  (You only have to do this for the first batch – they will be greased enough after that from each subsequent baking.)

Roll out dough to 1/8″ thick on floured surface.  Cut dough into 2″ x 1-1/2″ rectangles.  Wrap each rectangle of dough around Lady Locks Pin pinching edges well to seal.  To do this is a bit tricky.  You must pinch the dough together, then roll it in your hands and/or on a lightly flour-dusted counter (or both!) to get them smooth and even. Then take a butter knife and cut through the center of the dough on the pin to create two evenly-sized pieces – pushing  them apart about 1/8″.  (You will get two cookies from each pin).

Fill a cookie tray or baking stone with dough-wrapped pins about 1/4 inch apart.  Bake approximately 10 minutes until just lightly browned.

When they come out of the oven, you can allow them to cool a minute or so, then you need to tap the ends of the pin on the counter to loosen the baked dough and slide off the pin on the narrowest tapered side.  (It’s a bit like playing hot potato, but necessary to remove the shells from the pins.  Tracy says if you leave them cool too long on the pin, the will likely stick to them and break in the process of removing.)

Once you have baked all of your shells, and they have cooled, prepare the filling.

With an electric mixer, beat the Crisco.  Add 1-1/2 cups powdered sugar, and beat again.  Add 1/4 cup canned milk, and beat again.  Add flour.   Beat again.  Add salt.     Beat again.  Add 1 1/2 cups powdered sugar.  Beat again.  Add 1/2 cup canned milk.  Beat again.  Add vanilla (or almond extract).  Beat again.  If you are going to tint your filling, add food color, and beat one final time until incorporated.

Using a pastry tube or decorator with small tip, fill shells with filling.

These cookies freeze well, and actually taste phenomenal straight out of the freezer.

Do you have another favorite Lady Locks recipe?  I’d love to hear how you make them.

Enjoy!

Cheers & Hugs,
Jodi

Apricot Kolaches

This week leading up to Christmas, I am sharing a few of my favorite posts from the past.  It just wouldn’t be Christmas without baking Grandma’s Apricot Kolaches.  This year, I made them for our annual cookie exchange party.  Do you have classic cookie recipes you must make every year?

Apricot Kolaches & Christmas Cookie Baking

I finally got around to some Christmas cookie baking this weekend, and the highlight for my gang is the Apricot Kolaches.

apricot kolaches

Mine are not quite as perfect and beautiful as Grandma used to make, but they are getting thumbs ups around here.  Apricot Kolaches are a traditional Polish tender cream cheese pastry cookie with a sweet-tart apricot filling.  Grandma was 100% Polish, and her cooking and baking were like none other!

apricot kolaches 3

I remember Grandma painstakingly measuring each 2 inch by 2 inch square so that every singly one looked exactly the same.  I don’t have nearly the patience, but I smile remembering those days in the kitchen with her.  I can also now relate to the aching back and feet she had at the end of the day after rolling, cutting, filling, folding, baking, cooling, packing up…  And I wish I had a young Jodi to rub my feet and massage my legs with Jergen’s cherry almond lotion like I did for Grandma in the evening after an all-day baking session.

apricot kolaches 2

But the joy on Marty’s and Nick’s faces and the “Mmmmm’s” that escape their lips between bites make it all worth it!

(and then I have to hurry up and freeze some or they would be gone quicker than it takes me to clean up the dishes!)

I also made some of my Jodi’s Almost Famous Chocolate Chip Cookies – a perennial favorite around here…

chocolate chip christmas cookies

…as well as some with dried blueberries and white chocolate chips using the same recipe (another of Marty’s faves).

And it wouldn’t be Christmas without some Peanut Butter Blossoms…

peanut butter cup cookies

And gotta have some Pittsburgh Thumbprint cookies too.  I made a batch with chocolate fudge and another with colorful sprinkles and green icing centers.

chocolate pittsburgh thumbprints

Here is the recipe I use for the Apricot Kolaches.

(The Chocolate Chips and Pittsburgh Thumbprints can be found by following the links to previous posts.)

apricot kolache making

APRICOT KOLACHES

2 8-oz blocks of cream cheese, softened
2 cups (4 sticks) butter, softened
5 cups all-purpose flour
1 1/2 cups apricot preserves or apricot filling (I use Baker’s)
1 Egg, beaten
Confectioner’s (Powdered) Sugar, for dusting

Beat cream cheese and butter on medium-high speed of stand mixer until light and fluffy, about 3 minutes.  Turn mixer on low, and gradually mix in the flour until a smooth dough forms.

Knead dough on lightly floured work surface, and gently form a ball.  Divide dough into fourths, flatten, and wrap each in plastic wrap.  Refrigerate at least 4 hours.

When ready to bake, preheat oven to 400 degrees F.  Line cookie sheet or baking stone with parchment paper.  Working with one piece of dough at a time (after bringing back to room temperature from refrigeration), roll out to approximately 1/8 inch thick rectangle.  Trim edges and cut dough into 2 inch squares.

Spoon about 1/2 teaspoon of apricot filling into the center of each square.

Fold one corner into the center, dab with the beaten egg, then bring the opposite corner into the center and press firmly to seal.

Place on parchment-lined cookie sheet, and bake for approximately 10 minutes.

Dust with confectioner’s sugar and cool on wire rack.

These cookies freeze well, and thaw quickly.

This recipe makes about a million ….  or at least feels like it when you are making them!  🙂
I hope you and your family will try these and enjoy them as much as we do.

Cheers & Sweet Hugs,
Jodi

Fresh Strawberry & Lemon Poppy Seed Cake

Fresh Strawberry & Lemon Poppy Seed Cake.

If you know me at all, you know Poppy Seed Cake is my favorite of all cakes.

Unusual to most I’m guessing, but most significant to me because my Grandma always made it for my birthday (New Year’s Eve) since everyone is just about over it with sweets by then after the holidays.

I had some fresh strawberries that were on the verge of going bad and lemon on the brain from a cookie I was making for the wedding cookie table, so I decided to whip up and “zip” up a poppy seed cake for Easter Sunday.

A bit of tart and sweet lemon zest in the batter along with chunks of juicy red-ripe strawberries and a thin lemon glaze really “Spring”ed up my usual wintertime poppy seed cake craving.

Hubby loved his with a scoop of vanilla ice cream and an extra handful of fresh strawberries on top.

If you are looking for a fresh, not too sweet, but yummy Spring cake to serve, give this one a try.  It is truly delightful!

Fresh Strawberry & Lemon Poppy Seed Cake*

  • Servings: 1 marvelous cake
  • Print

Ingredients:

  • 1 cup butter, melted
  • 1 cup sugar
  • 1 tsp. lemon zest
  • 3 eggs
  • 1 cup milk
  • 1/3 cup vanilla Greek yogurt
  • 2 tsp. vanilla extract
  • 2 tsp. baking powder
  • 1/2 tsp salt
  • 2 1/2 cups flour
  • 1 1/2 cups fresh strawberries, chopped
  • 1/4  cup poppy seeds
  • Glaze:
    • 2 Tbsp. lemon juice
    • 1 cup powdered sugar
    • 2 Tbsp milk

Directions:

Preheat oven to 375 degrees F.  Grease and flour a fluted cake pan or your favorite.

In a large bowl, beat together the melted butter, sugar, and lemon zest.  Add eggs, one at a time, fully incorporating.  Add milk, yogurt and vanilla next.  Stir in dry ingredients until combined.  Gently stir in strawberries and poppy seeds.

Pour batter into prepared pan and bake for 50-60 minutes, or until cake test inserted comes out clean.

Prepare glaze by mixing lemon juice and powdered sugar until sugar is completely dissolved, then stir in milk until smooth.   Set aside.

Cool cake for at least 20 minutes before drizzling with glaze.

Serve with additional fresh strawberries and ice cream, if desired.  

Enjoy!

Cheers & Hugs,
Jodi

*Adapted from a recipe found on BakerbyNature.com

Buckeye Balls

Buckeye Balls.

Calling all chocolate and peanut butter lovers!  Another must-have “staple” at any Pittsburgh wedding cookie table is the Buckeye Ball!

These delectable little creamy peanut butter delights coated in dark chocolate are called Buckeye Balls because they look like Buckeye nuts and originated in Ohio – the Buckeye state.

Simple, but absolutely delish, this is cookie #9 on my wedding cookie table list.   The freezer is filling up fast, and the wedding date is closing in on us!  Cookie baking continues.

Here’s the recipe.  Hope you will give them a try.

Buckeye Balls

  • Servings: approx. 6 doz.
  • Print

Ingredients:

  • 1 1/2 cups creamy peanut butter
  • 1/2 cup butter, softened
  • 2 tsp. vanilla
  • 4 cups powdered sugar
  • 1 lb. dark chocolate, melted

Directions:

Mix peanut butter and butter in a bowl with wooden spoon until creamy.  Blend in vanilla.  Add powdered sugar, and stir until incorporated and a stiff mixture forms.

Roll teaspoon-sized pieces into balls, and place on wax paper lined cookie sheet or cutting board.  Refrigerate for several hours or overnight.

Melt chocolate in narrow deep container in microwave for 1 minute and then at 30 second intervals until smooth.  Using a wooden skewer, dip balls into chocolate all but for a bit at top.  Place on waxed paper lined cookie sheet.  Allow to cool completely and chocolate to harden.  Smooth over hole created by skewer with a small spatula or your clean finger.

Enjoy!

Cheers & Hugs,
Jodi

Wedding Cookie List Baking so far:

  1. Jodi’s Best Ever Chocolate Chip Cookies
  2. Hershey Kiss Brownie Bites
  3. Pecan Tassies
  4. Peanut Butter Cup Cookies
  5. Pecan Sandies
  6. Carrot Cake Thumbprints
  7. Raspberry Dark Chocolate Shortbread Cookies
  8. Apricot Kolaches
  9. Buckeye Balls


A Christmas Cookie Exchange Party

christmas-cookie-party-2016-group-photo

My sweet daughter-in-law never ceases to amaze me!  With a brand-new baby, she still managed to pull off the loveliest of Christmas Cookie Exchange parties this past weekend.  I am so proud of her.  I love that she values creating traditions and memories for her family…. and admire that she does it on a few hours’ sleep each night!

This year, three new babies attended the party.  Although our granddaughter is the first grandie on our side, she is the fourth on her other side – three of which were born this year!   What a joyful occasion.

Of course no cookie exchange party is complete without a hot cocoa bar (oldest nephew’s fave – especially when stirred vigorously with peppermint candy cane sticks).  And my daughter-in-law’s s’mores cookies made it even more special.

christmas-cookie-party-2016-hot-cocoa-bar

And don’t veggies taste better when shaped into a Christmas tree on the platter?

christmas-cookie-party-2016-vegetable-tray-tree

And cheese and sausage on a bed of aromatic rosemary shaped into a wreath?

christmas-cookie-party-2016-cheese-wreath

Deviled eggs are more festive, too, when dyed red and green.

christmas-cookie-party-2016-red-and-green-deviled-eggs

There is nothing like Christmas through the eyes of children and passing down traditions.

christmas-cookie-party-2016-kids

Lovin’ from the oven!  The best kind.

christmas-cookie-party-2016-cookies

Cheers & Hugs,
Jodi

The Season of Magic

sammy-the-elf

Sammy the Elf – the Magic of Christmas

Long before the Official “Elf on the Shelf” was marketed (and got a bit out of control – but dang!  Why didn’t I think to market it!?!), our family had an heirloom elf who came to visit during the magical month of December.

Sammy (we knew his name because it was written on his shirt) came to visit and watch over our boys to assure they were being good and deserving of Christmas gifts from Santa.  He would move around the house every night, and the boys had so much fun waking up each morning trying to find him and see what he might have been up to the night before.

Sammy always left with Santa on his sleigh after Santa brought the boys’ gifts on Christmas eve, and he didn’t return until the following December 1st.

One important thing about Sammy was that he could not be touched by human hands – never – ever –  or he would lose his “magic.”   The boys never dared touch him.  (He came with a note from Santa the first year telling us so.)

Though our Christmas tree has become a smaller, themed, and artificial version of the live cut trees of years past loaded with sentimental and handmade ornaments, the one thing I still put on our tree is Sammy.

Our boys still often reminisce when they see him, laughing at how they believed so strongly in him and his magic – yet still almost afraid to touch him…

Sammy is an heirloom Christmas “decoration” that was my Grandma’s, so I especially cherish him.  She had what seemed like dozens of these tiny toy elves all over her home doing silly things at Christmas.   She was such a character and had a great sense of humor, so her elves would be hanging from curtain rods and peeking over picture frames and sitting cross armed and legged in the strangest of places.

And then, it seemed for many years, these elves were impossible to find (especially when friends’ kids wanted an elf like Sammy!) – until “Elf on a Shelf” became the rage.

Our sweet Sammy is worn and thread-bare in many places, but he will always have a place of honor on our tree and in our home in December.

He reminds me of the magic of the season.
The magic of Christmas.
The magic of children and believing.
The magic of family memories –
my children and my own childhood.

It is indeed
the season of Magic!

Happy December!

Cheers & Hugs,
Jodi


WordPress Daily Post Weekly Photo Challenge:  It’s Not this Time of Year Without

Krautfest 2016!

krautfest-2016

This past weekend was one of my favorites of the year!  Time for the annual Brugnoli Family and Friends Krautfest Party!

Those of you who have been hanging around here awhile, might remember Krautfest 2015 or even Krautfest 2014.

The festivities kicked off this past Saturday in the beautiful Autumn weather at  Conneaut Lake, PA with our dear “Oh Rob” welcoming guests and instructing newcomers on the sauerkraut-making process.

krautfest-2016-instructions

It starts with cutting….  800 lbs of cabbage cutting!

krautfest-2016-familes-that-chop-together-stay-together

The cut cabbage goes to the shredders, where experienced cutters teach newbies on equipment passed down through generations from grandparents…

krautfest-2016-experienced-shredders-teaching-the-new-guy

and taught to new generations – where Moms teach sons…

krautfest-2016-younger-generations-learn-shredding

and sisters show brothers….

krautfest-2016-big-sister-teaching-younger-brother

and families do together.

krautfest-families-that-shred-together-stay-together

It then gets measured,

krautfest-2016-measuring

and salted,

krautfes-2016-salting-and-meeting-new-friends

and pounded…

krautfest-2016-stompers

while friends and family chat,

krautfest-2016-telling-stories

and laugh,

krautfest-2016-old-friends-shredding-together-and-still-smiling

and hug.

krautfest-2016-hugs

Old friends meet up after decades.

krautfest-2016-old-friends-reuniting

and new relationships bloom.

krautfest-2016-new-couples-sharing

There is plenty of fun for kids of all ages!

krautfest-2016-high-jumping

From Jumbo Jenga…

krautfest-2016-jenga

to pick up sticks…

krautfest-2016-pick-up-sticks

krautfest-2016-noah

to lawn bowling,

krautfest-2016-lawn-bowling

and searching for bones and candy and money in hay.

krautfest-2016-bones-in-the-straw

There was pumpkin painting…

krautfest-2016-kids-pumpkin-painting

krautfest-2016-pumpkin-painting

krautfest-2016-pumpkin-painting-2

and t-shirt painting.

krautfest-2016-tshirts

krautfest-2016-tshirts-2

krautfest-2016-from-the-greenhouse-shirt-painting

There was apple picking…

krautfest-2016-picking-apples-to-press

and apple pressing.

krautfest-2016-apple-pressing-2

The kids loved learning how to turn apples into fresh apple juice!

krautfest-2016-teaching-the-kids-about-the-apple-press

and so did some of the parents and grandparents!

krautfest-2016-teaching-the-kids-about-the-apple-press-2

krautfest-2016-apple-pressing

There was lots of food.

krautfest-2016-food

I made Grandma’s halupki – another Krautfest tradition served up next to hot dogs and kraut and homemade pierogies and cheesy polenta and fresh smoked ham and lots of other yummies.

krautfest-2016-halupki

There was an entire dining room table filled with desserts.

krautfest-2016-dessert-table

and of course plenty of wine.

krautfest-2016-wine

There was tire swinging,

krautfest-2016-tire-swing

and bonfire-building.

krautfest-2016-lighting-the-bonfire

There was Marty (hubby – on the left) and Martin.

krautfest-2016-marty-and-martin

There were quiet moments from afar,

krautfest-2016-through-the-hydrangeas

and lots of singing and music after the sun went down and drew us indoors.

krautfest-2016-music

krautfest-2016-singing

krautfest-2016-music-2

Even dogs of all sizes made friends!

krautfest-2016-bear-and-olive

Can you imagine a better time?

conneaut-krautfest-2016-group-photo

Thank you Joyce and Oh Rob!  We love you!   We ALL do!

Cheers & Hugs,
Jodi

Thanksgiving Family Photo Shoot

s14

We had the opportunity to spend Thanksgiving this year with some very special family members.

s19

And I got to have fun playing with my camera afterwards doing a little family photo shoot.

s18

Little Mason was being a bit of a “stinker,” but oh what fun will this photo be to look back on a few years from now – eh?!  (Heck – it’s even pretty funny now!)

s20

It was a gorgeous day at the Lake House, so we took full opportunity to goof around outside and run…

s21

and walk…

s23

and take in views of the glistening lake.

s9

Ella is growing into quite the young lady, and we have such a special relationship.

s2

But nothing can beat riding the tire swing with your brother when you are 8 and 5 years old – right?!

s38

Remember those Reese’s Chocolate Peanut Butter Turkeys I made?

ella chocolate turkey thanksgiving 2015 new braces

Two thumbs up from these turkey lovers.

Poppy and Mason Thanksgiving 2015

Our amazing hosts and our dearest family set out a beautiful and delicious feast.

thanksgiving 2015

And Mason beat Mimi in a game of chess afterwards while the rest of us played Apples to Apples (and Oh Rob lost!).  Ohhhhh Roooob!

Mimi and Mason chess

The next day brought setting up for “It’s a Wonderful Life” at the town center, so I had a chance to snag another photo of three of my favorite girls…

Mimi and her girls

and two of my favorite guys.

s45

It’s December 1st and time to get ready for our family’s next big holiday celebrations for Christmas!

It is “The Most Wonderful Time of the Year!”

Cheers & Hugs,

Jodi

Fall Cookie Baking: Pumpkin Cinnamon Spice & Gingersnaps

pumpkin cinnamon spice cookies

Fall is such a great time to bake.  I bake all year round, but Fall really lends itself to baking as it warms up the house and makes it smell so good…..  apples, cinnamon, pumpkin, ginger….  awwwhhhh….

gingersnap cookies stack

A couple of my favorite Fall cookies include a new one (Pumpkin Cinnamon Spice) and an old-time classic (Gingersnaps).  So today is a TWO-fer cookie recipe day, as I couldn’t decide which to share!

gingersnap cookie

The Pumpkin Cinnamon Spice were a first time effort, and we loved them!  I found a recipe at Sally’s Baking Addiction Blog.  The original recipe called for cinnamon chips, which my local supermarket was out of, so I found some Pumpkin Spice Hershey’s Kisses and chopped them up in the recipe.  They turned out AMAZING!  A couple weeks later, I found Nestle is now making Pumpkin Spice chips (so I snagged those along with several bags of Hershey’s Cinnamon Chips which were back in stock!)  WOOHOO!  I’m set for a while now!

The Gingersnaps are a perennial Fall favorite.  My son, Nick, loves them best.  I, however, reminisce about the memories they conjure up…

When the boys were little, we had a Thanksgiving Turkey Bowl (football game) every Thanksgiving morning in a ballfield our kids created with the neighbors between our yards.  It was basically a clearing in the woods that was a baseball field in the summer and football field in the Fall/Winter.

All the neighbors would gather while fathers and sons played football, little girls played cheerleaders, and us moms took a break from cooking and watched the game standing by a bonfire with hot coffee or cocoa (or Beer! 🙂 ).  I would always bake a fresh-out-of-the-oven batch of Gingersnaps that taste even better outside in the cold by a fire after playing football.

So here are the recipes.  Ready?  Set!  Bake!

Pumpkin Cinnamon Spice Cookies

  • Servings: 4 dozen large cookies
  • Print

Ingredients:pumpkin cinnamon spice cookies

5 cups all-purpose flour
2 teaspoon baking soda
1 teaspoon baking powder
1 teaspoon salt
4 teaspoons ground cinnamon
1 teaspoon ground nutmeg
1/2 teaspoon ground ginger
1 1/2 cups butter, at room temperature
1 cup granulated sugar
1 cup packed brown sugar
1 1/2 cups pumpkin
2 large eggs
4 tsp vanilla extract
2 cups pumpkin spice chips, cinnamon chips, or chopped pumpkin spice kisses

Cinnamon Sugar Topping:
1/2 cup granulated sugar
4 teaspoons ground cinnamon

Directions:

Preheat oven to 350 degrees F.

In a medium bowl, whisk together flour, baking soda, baking powder, salt, and spices. Set aside.

Using a mixer, cream the butter and sugars together until light and fluffy, about 3-4 minutes. Add the pumpkin, eggs, and vanilla and mix until combined, about 3 minutes. Slowly add in the dry ingredients. Mix until just combined. Stir in the chips.

In a small bowl, mix together sugar and cinnamon. Shape dough into rounded tablespoons and roll in the cinnamon sugar mixture. Place balls 2 inches apart on prepared baking sheet. Lightly press down on the cookies with a spatula or the palm of your hand.

Bake for 10-12 minutes.  Let cool slightly on baking sheet before removing to cookie rack to completely cool.

Gingersnap Cookies

  • Servings: 4 dozen large cookies
  • Print

Ingredients:gingersnap cookie

4 cups flour
2 Tbsp ground ginger
4 tsp ground cinnamon
1 tsp salt
1 1/2 cups shortening
2 cups white sugar
2 eggs
1/2 cup dark molasses
1/3 cup cinnamon-sugar mixture

Directions:

Preheat oven to 350 degrees F.

Mix the flour, ginger, baking soda, cinnamon, and salt together in medium bowl, and set aside.

Place the shortening into large mixing bowl and beat until creamy.   Gradually beat in the sugar, then the egg, followed by the molasses.

Add in the dry ingredients gradually, and mix until a soft dough forms.

Form tablespoon-sized balls and roll in cinnamon sugar.

Bake about 10 minutes or until tops are rounded and slightly cracked.  Cool on wire rack.

Happy Fall Baking!

Cheers & Hugs,
Jodi