The Golden Glow of Indian Summer

golden glow indian summer

A gift to be cherished
like a rare and perfect gem

the glow of Autumn’s
final exhibition

against a backdrop
of molten sapphire

Glistening in the sunshine
the tree beckoned me

Breathing in deeply
I savored the golden glow

An Indian Summer afternoon
walk and respite
to warm my heart and soul.

Cheers & Hugs,
Jodi

Lemon Strawberry Pound Cake

lemon strawberry pound cake photo

Lemons and strawberries in November?  (A time when we are usually baking with pumpkin and cinnamon and apples….?)

Well – we are experiencing some amazing Indian Summer weather here in Mars – with temperatures in the 70’s, the sun shining brightly, and the sky a vibrant shade of blue – so why not – right?

lemon strawberry pound cake 3

Well – the truth be told – that same cute little bugger who requested the Royal Flush Halloween t-shirts recently found a photo on Reddit that struck his fancy a few days ago of a freshly baked loaf of lemon pound cake with strawberries.  He texted me the photo saying, “Please make.”

Well…. how could I resist?  (I know….. pushover! – but really…. I live for this stuff!)

Turns out the sweet young lady who posted the photo stating “this just came out of the oven” did not post the recipe!  How dare she??!!  More than one reader called her “evil” for not posting the recipe!

I did some digging, however, and found the source and the recipe… Score!!  (I know – I have issues!)

Turns out Bianca Davies, the “evil” baker/Reddit poster, is a trained chef from Cape Town, South Africa, who attended Le Cordon Bleu in Paris, but is equally inspired by her Granny and Granny’s lemon trees.

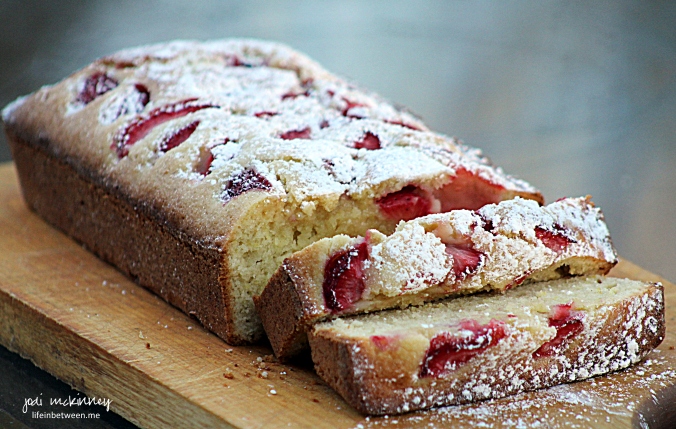
Per Bianca, Granny likes a cake that is “rich, moist, light, airy and slightly fudgy.”   This little pound cake amazingly delivers on all of that – and more!

lemon strawberry pound cake 4

So before we get seriously into Autumn and Winter baking and cooking, you might want to enjoy one last taste of summer!  You will not regret it!

Lemon Strawberry Pound Cake

Ingredients:lemon strawberry pound cake photo

  • 3 eggs
  • 1 ½ cups powdered sugar, sifted
  • 2 tsp vanilla extract
  • 1 ½ cups plain flour
  • ¾ tsp baking powder
  • ¾ cup salted butter
  • zest of 2 large lemons
  • 8-10 fresh strawberries

 Directions:

  • Preheat oven to 350˚F.
  • Grease a loaf pan well with butter.
  • Whisk eggs, sifted powdered sugar and vanilla together in a bowl.
  • In a separate bowl whisk flour and baking powder together.
  • Place butter in a small saucepan. Zest lemons into your butter and place on a low heat to melt. (Do not boil)
  • Combine all three mixes together a little at a time. Do not over mix.
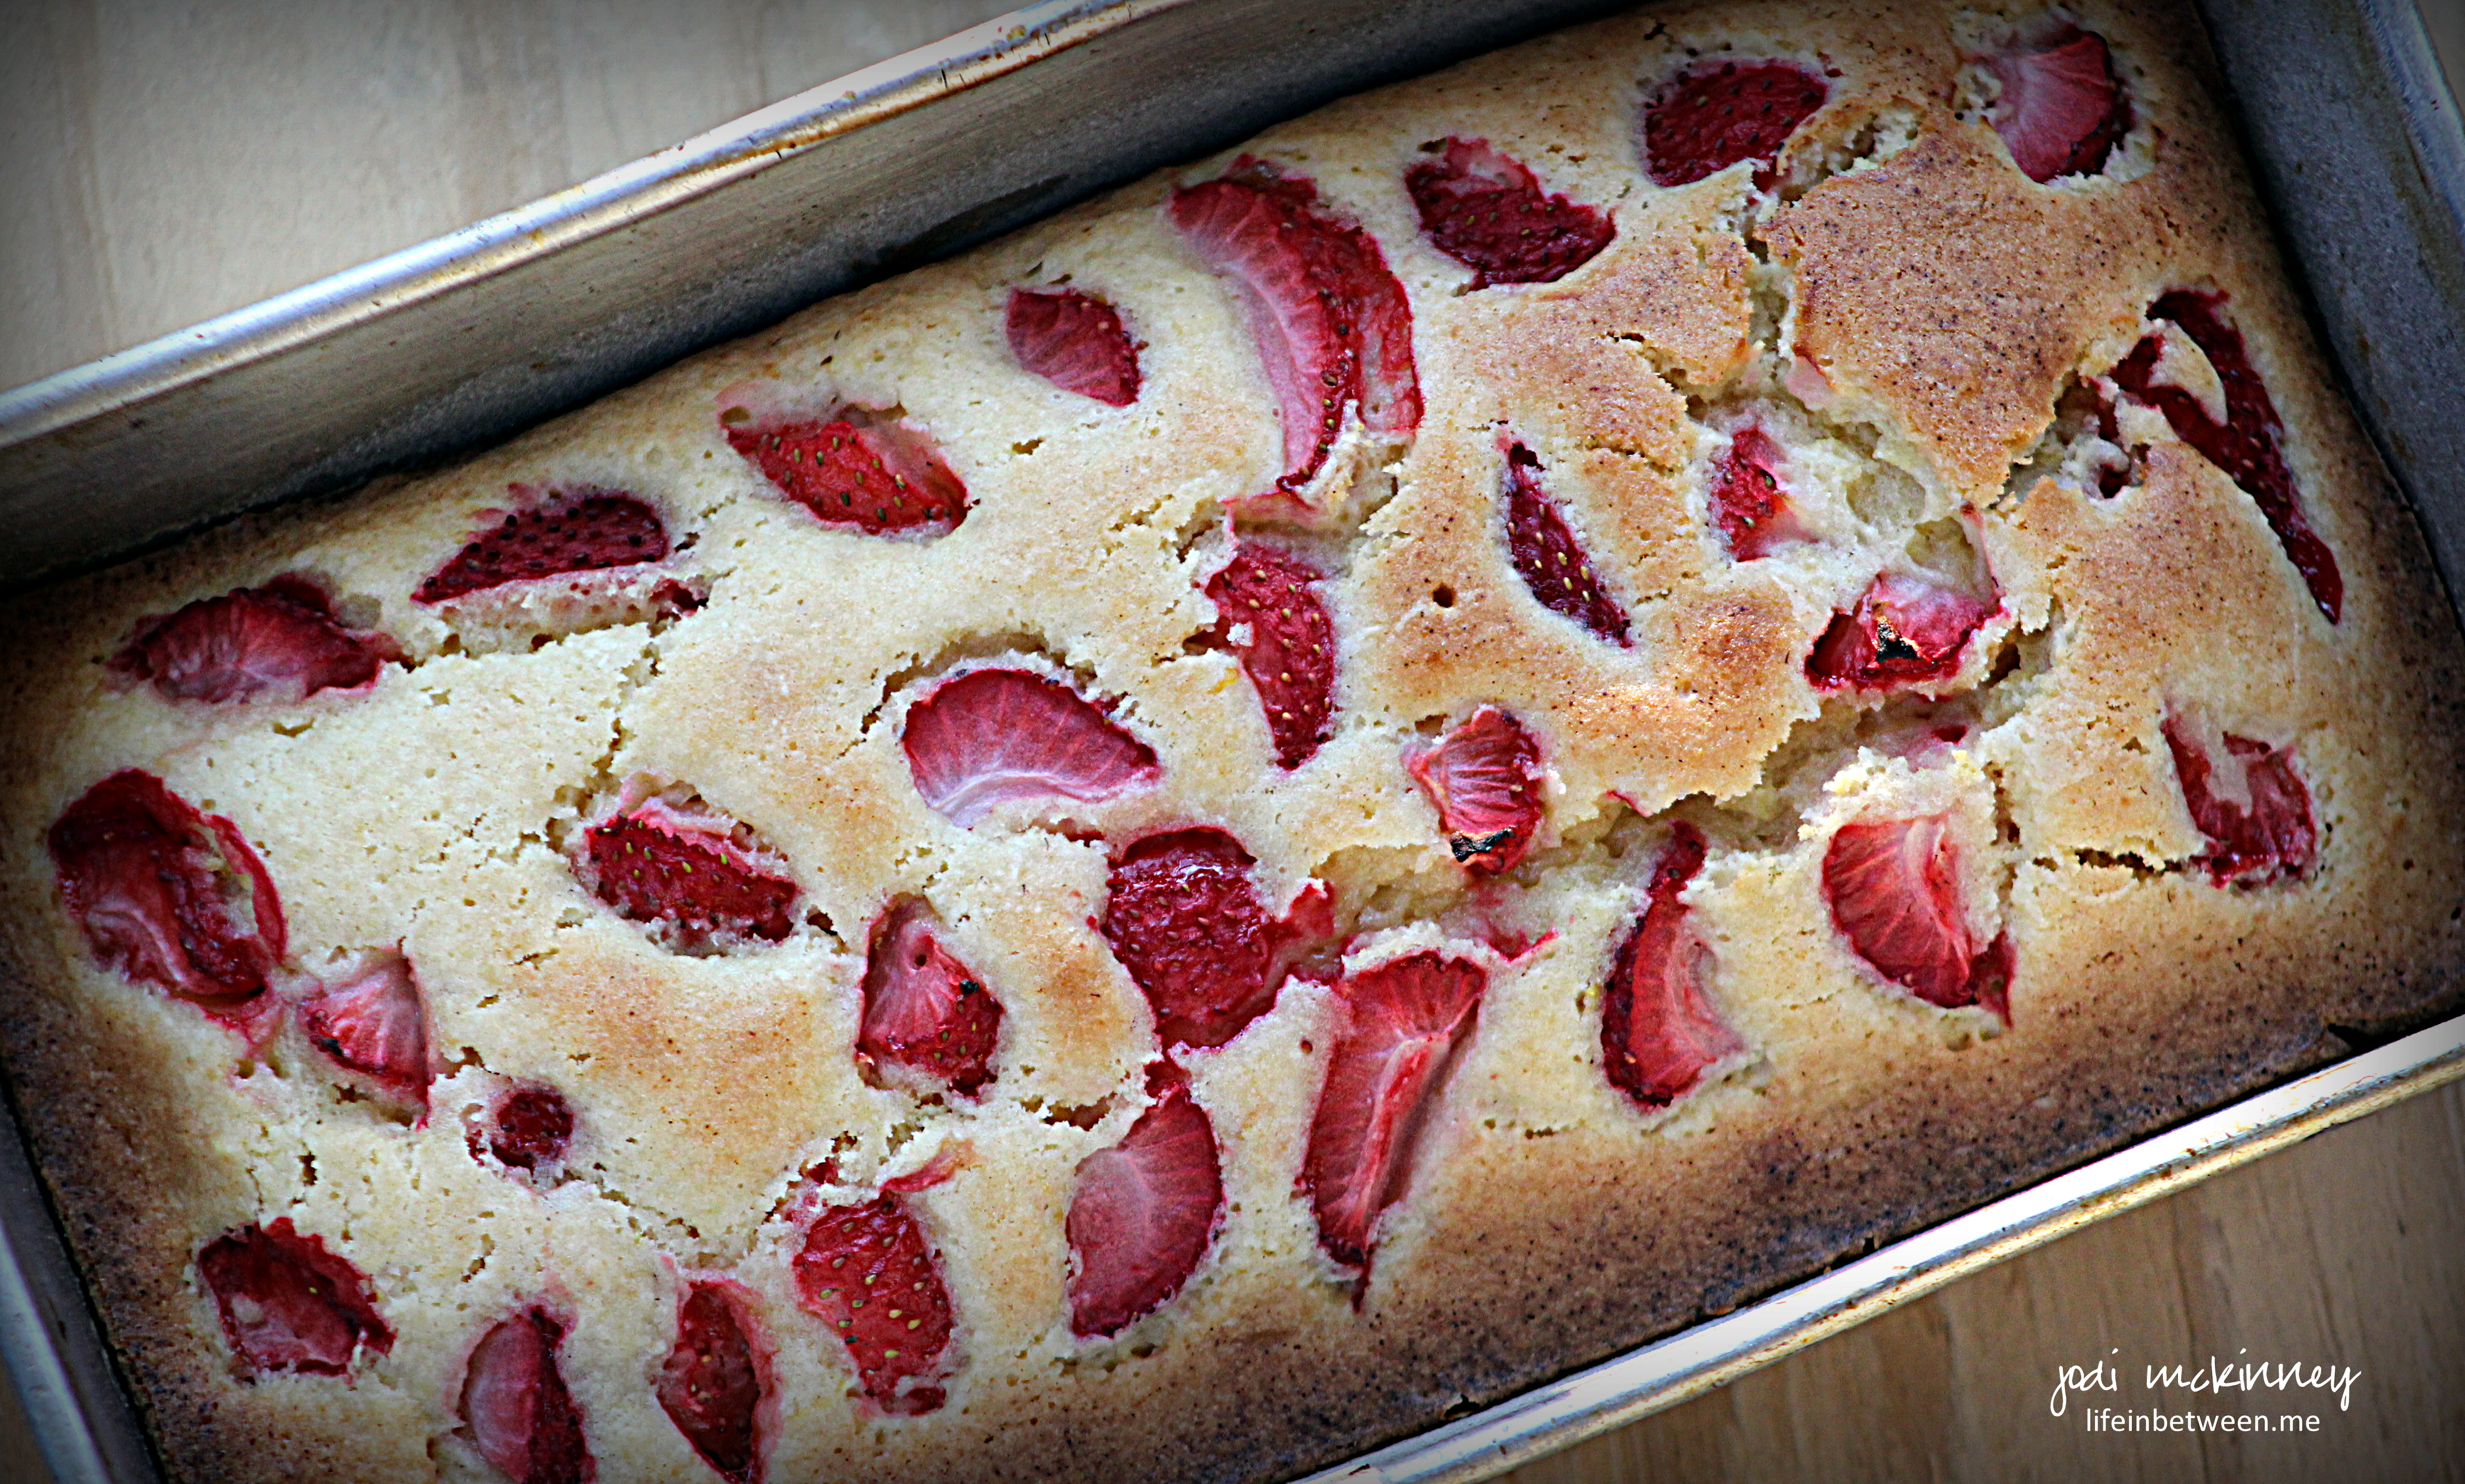
  • Pour into your prepared loaf pan.
  • Chop your strawberries into quarters and arrange evenly on top of the batter.
  • Bake in the middle of the oven for approximately 40 minutes. (The cake should be golden brown and ‘just’ done with your knife or cake tester not coming out completely clean. Do not over bake.)
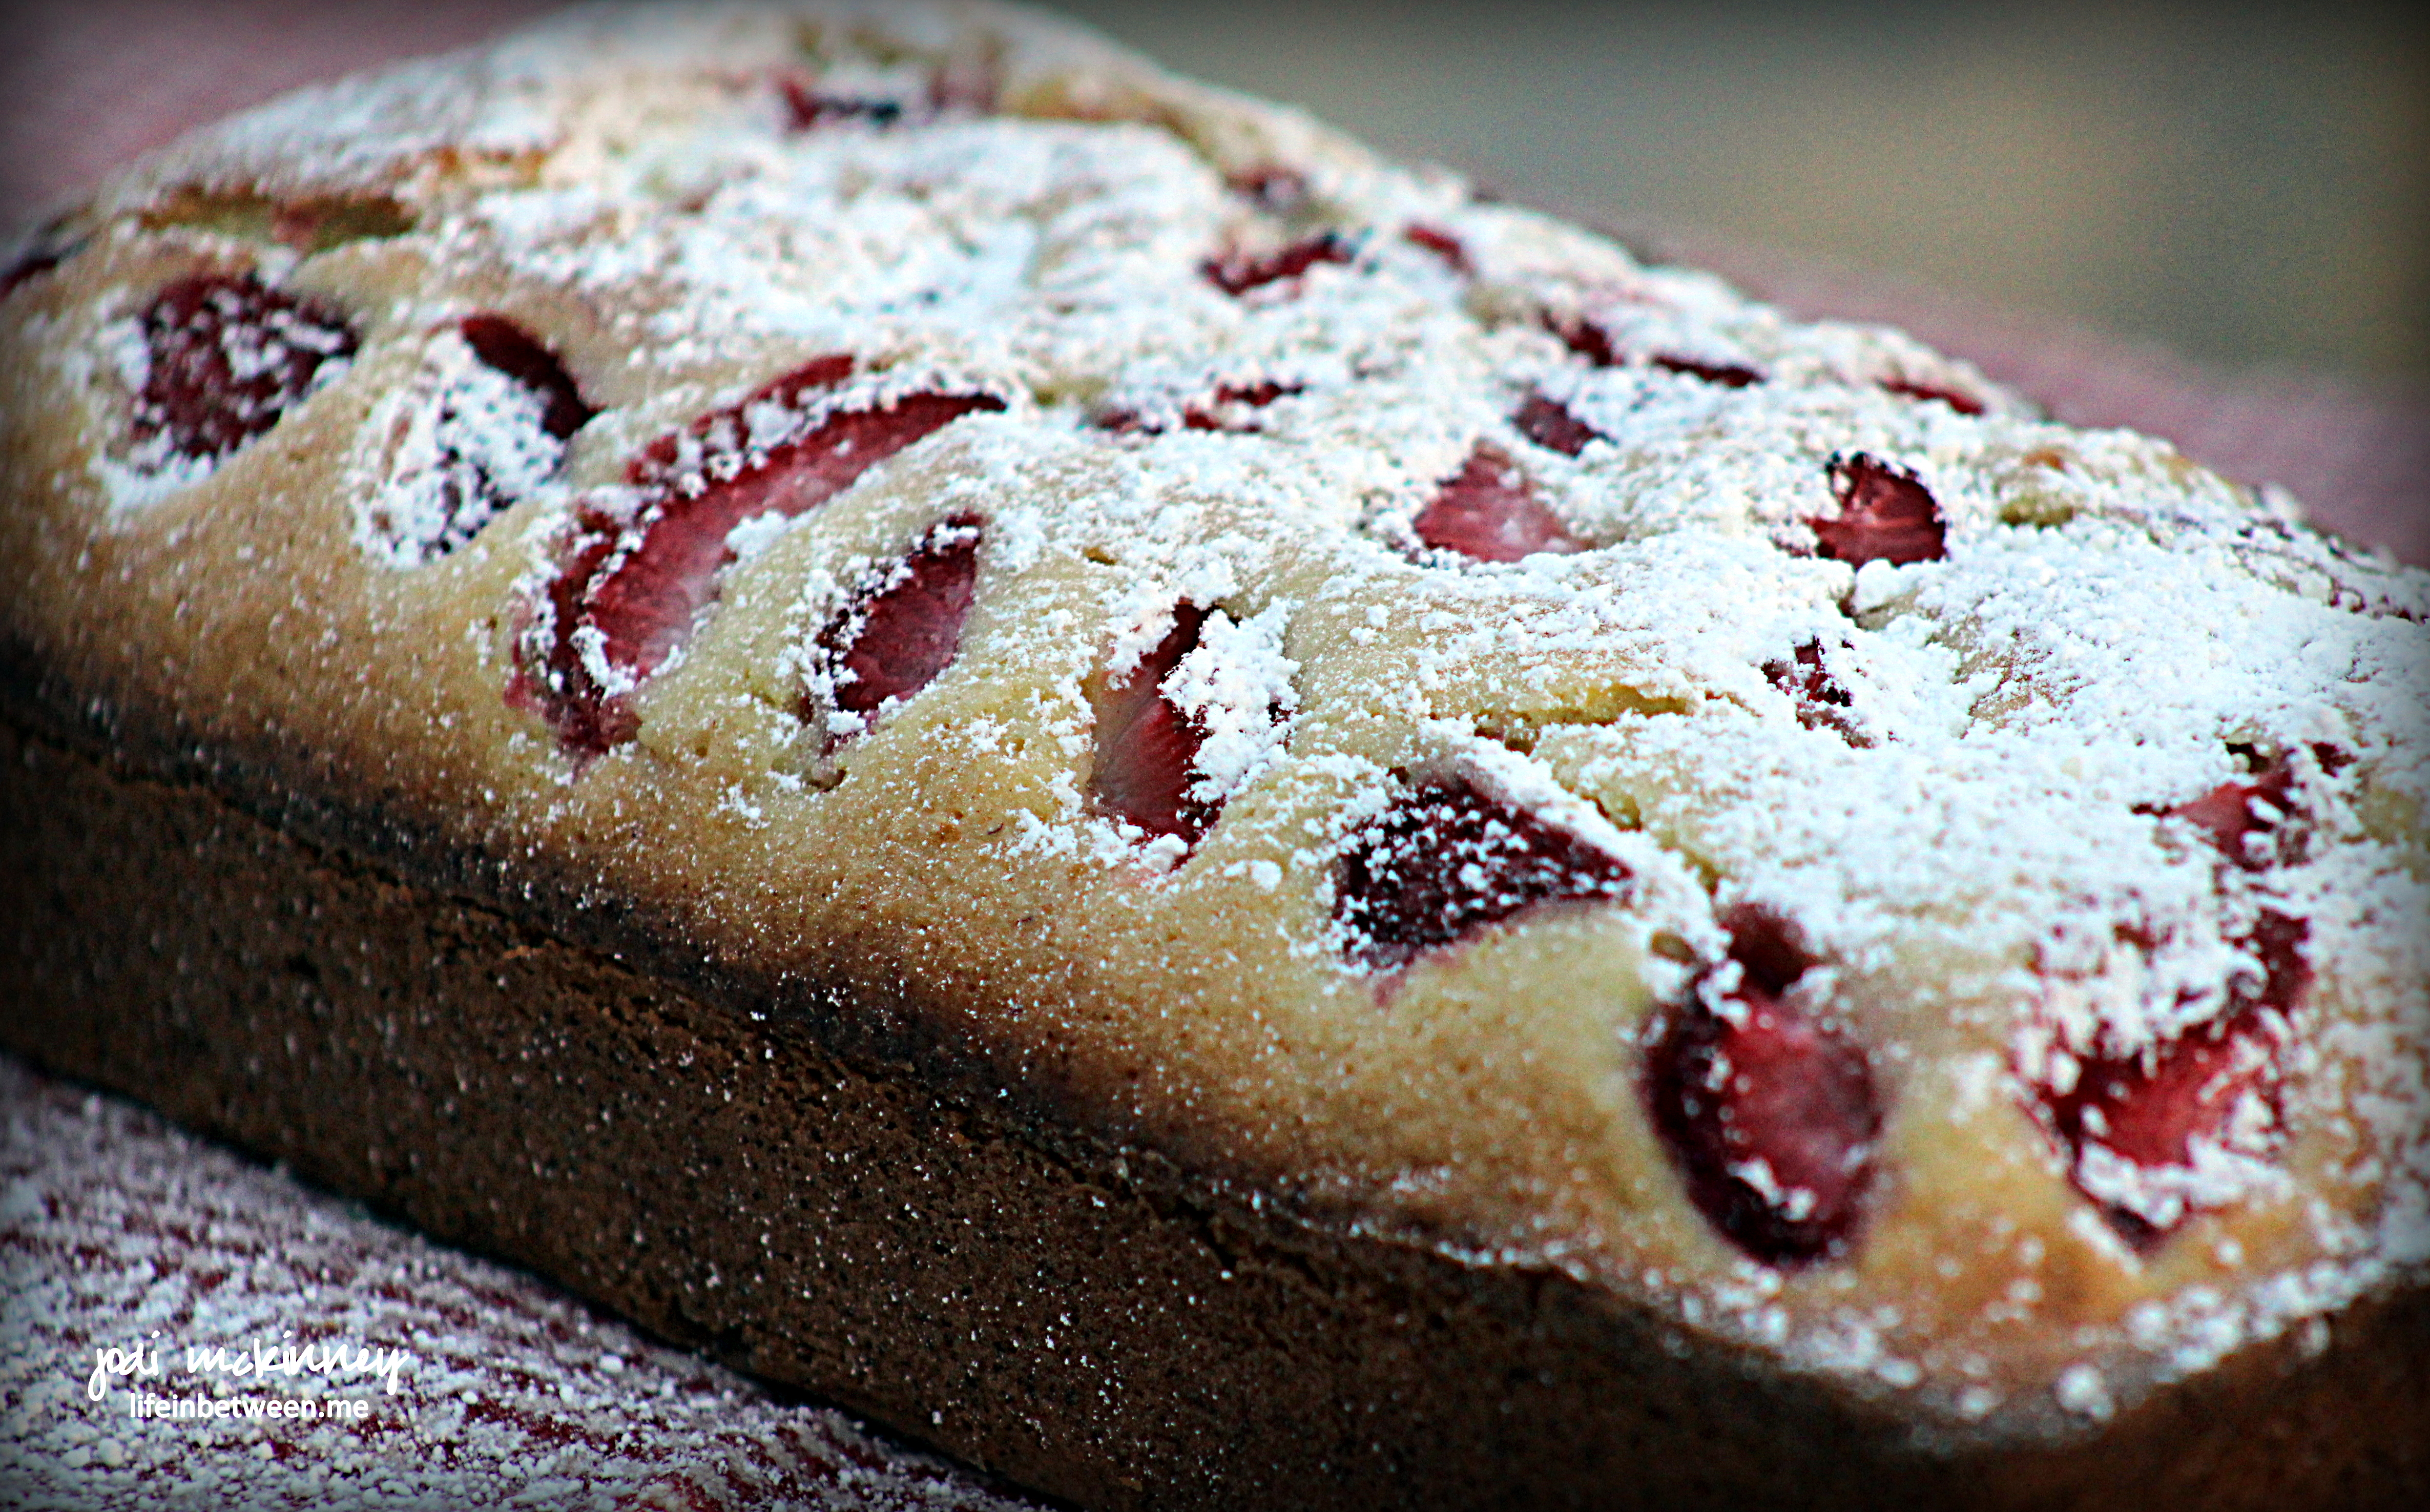
  • Let cool slightly in the pan, turn out gently and leave to cool on a wire rack.
  • Dust with powdered sugar and try not to eat the whole cake in one go!

Converted recipe from http://thesecretlifeofbee.co.za/ (Bianca Davies, Cape Town, South Africa)

Cheers & Hugs,

Jodi

A Royal Flush

image

You know you are a  blogger when.………

your family bribes you with permission to use their photos if you will do them a favor.

image

Which is what happened a couple of weeks ago.

image

“Hey Mom, if we send you pictures and let you post them on your blog, will you paint us a set of Royal Flush t-shirts for Halloween costumes?” asked my youngest son, Nick (the King of Spades above) with his sweet Liz (the Queen) standing nervously beside him.

Trying to wait for at least a few seconds to pass before too eagerly blurting out…

Sure!

Under breath – “YIPPEE!  Theme party ideas!  The kids still need me!  They are asking ME to help!  Painting!  Crafting!  Creating!”

Liz smiles sheepishly,  “Are you sure?”

Nick replies, “SEE!  I told you!  She loves this stuff.”

image

And the happy King and Queen partied on happily ever after.

And I’m pretty sure by the look on my son’s face in this one that this photo was likely taken well into the party!

I LOVE IT!

And them.

And SSSSHHHHHH!  Don’t tell them….

but I would have done it even without the bribe!

Cheers & Hugs,
Jodi

Thanks for letting me do it gang!
What are we doing next year?
Oh – – – I am so too eager….….

Thanks ever so much and a Card Giveaway!

PP269 Let us Give Thanks Fall Theme Card

How did it get to be November already?!  (And as hubby reminded me yesterday, only a little over seven weeks until Christmas!)

I do enjoy this time of year with all of the holidays and preparations and family time.

November reminds me to be thankful, and our theme for this week’s Paper Players Challenge seems so fitting:  Let Us Give Thanks – Fall Thank You Cards (PP269).

So on this first day of November, I want to say Thank YOU ever so much my “lifeinbetweener” friends.  I so enjoy sharing this journey with you and appreciate your comments and kind words whether in the form of a like or comment here, on Facebook, Twitter, an email or card, or in person.  Thank you for sharing lifeinbetween.me with your family and friends.  I am always amazed when someones comes up to me and says something like, “My friend told me about your blog, and I read it every day,”  And then I love when they tell me what they like best – whether it’s the recipes or stories or photos or DIY cards or watercolor art or crafts or chuckles with Charlie – all the stuff I love to do “in between.”

I would like to send this card to one of you to use to send to someone you want to thank.  Simply leave a comment –  a simple hello or anything that is on your mind, and I will do a random drawing on Friday to choose someone to send this too.  I may even add another bonus card or two!

PP269 Let us Give Thanks Fall Theme Card flat

For my stamping and papercrafting friends, here is how I made this card:

  • I masked off an oval in the center of a piece of very vanilla card stock and stamped it with the Penny Black Script Letter Background stamp in Memento Black ink.
  • I then randomly stamped on top of the edges with the Inkadinkado Maple Leaf stamp.
  • This was followed by sponging the edges in three layers of color beginning with StampinUp Crushed Curry, Pumpkin Pie, and finally Cajun Craze inks.
  • I cut out two ovals with StampinUp Oval Framelits using #2 and #3 from the smallest – #2 in very vanilla and #3 in black.
  • Same sponging was done on the small oval as the larger piece, and then I stamped the Thanks ever so much Sentiment on using the Paper Smooches Pretty Phrases stamp set.
  • To put it all together, I matted with another piece of black onto a Crushed Curry Base.
  • Embellishments to finish it off included some dark brown candy dots, a bow of linen thread, and a ribbon of burlap.

Be sure to check out the other design inspiration cards by our amazing design team at The Paper Players and play along with us.

Thanks again friends, and be sure to leave a comment for the drawing!  I can’t wait to share this with someone.

Cheers & Hugs,
Jodi

Happy Halloween!

scarecrow halloween card watercolor doodlewash

Happy Halloween!

I doodlewashed this scarecrow by sketching it first in pencil  on watercolor paper, then dropping in water color paint, and finishing off by outlining with a Black .05 Micron Pen.  (inspired by an adorable design I saw at  Free Dearie Dolls Digi Stamps via a Google Image Search).

l made this little cutie into a card and sent to my sweet bestie, Jill, as a thank you for the adorable Halloween treats she sent from Wicked Good Cupcakes!

Wishing you a few fun tricks
and lots of treats
on this Halloween holiday!

Cheers & Hugs,
Jodi

The other side of the fog

foggy barbara j conneaut lake black and white monochrome

When life gets foggy,
thick and blurry,
and you can’t see as far ahead as you would like…

When there is no other direction to go
except through it…
do it!

Things are clearer
once you get through it…
on the other side of the fog.

Cheers & Hugs,
Jodi

A”pear”antly Pears!

pears in watercolor

I am having so much fun loosening up and watercolor painting while learning online with Art Tutor.  What a great way to learn and grow at your own pace with lots of great tutorials!

These pears are a practice in negative painting in watercolor that I did last weekend.

I lightly sketched two pears in pencil, loosely dropped some yellow and red in them, let dry, and then negatively painted in blue and red.

Trying to get my creative groove back – loosening up and having fun!

Cheers & Hugs,
Jodi

Cinnamon Chip Brown Sugar Cookies

cinnamon chip cookie stack

I’ve been bursting with excitement to share this recipe that is bursting with cinnamon flavor!

cinnamon chip cookies

I daresay this is my absolute FAVORITE new cookie recipe. So cinnamony perfect and delicious for this time of year!

cinnamon chip cookies 2

If you are a fan of cinnamon, this cookie is going to ROCK your WORLD!

I found this recipe on LemonsforLulu’s blog and couldn’t wait to try.

All I can say is – STOP reading right now… preheat your oven…. get out your mixer… “Do Not Pass Go,” “Do Not Collect $200.”

Thank me later…
I’ll be waiting to hear!

Cinnamon Chip Brown Sugar Cookies

  • Servings: 4 dozen large cookies
  • Print

Ingredients:cinnamon chip cookie stack

  • 2 cups butter (at room temperature or you can slightly melt in microwave)
  • 3 cups brown sugar
  • 2 eggs
  • 4 1/2 cups flour
  • 4 tsps baking soda
  • 1 tsp salt
  • 1 1/2 tsps cinnamon
  • 2 10 oz bags Hershey’s Cinnamon Chips

Directions:

Preheat oven to 375 degrees F.

In a bowl of a mixer, combine butter and sugar and beat until creamy. Add the egg and mix well. Add baking soda, salt and cinnamon, and combine.   Carefully add flour and combine until soft dough forms.  Stir in cinnamon chips.

Drop dough by tablespoons onto baking stone or cookie sheet. Bake just until edges are set, about 8­-9 minutes. Do not overbake.  Let cookies cool for another minute or two on the stone or baking sheet before removing to cooling rack to cool completely.

These are absolutely the most amazing cinnamony luvin’ from the oven cookies ever!

Cheers & Hugs,
Jodi

The Fragility of Life

bird silhouette on window

Oh beautiful bird
please be careful.
The reflection you see is deceiving.
The imprint you leave so haunting.

This photo is of a window in our breakfast nook where a bird recently hit, but survived (as far as we know).

I often look at it – –  and see
what looks like
angel wings…
or a spirit…
a symbol of flight…
a symbol of freedom….
a reminder of
the fragility of life.

Hugs,
Jodi

Healthy and Oh So Yummy Italian Spaghetti Squash

spaghetti squash 1

I know I often post yummy cookie and dessert recipes (and do I ever have an amazing Cinnamon Chip Brown Sugar Cookie recipe I will be posting later this week that I think has become my ALL TIME FAVORITE cookie ever!  Get READY cinnamon lovers!)…

But I had to share this amazingly delicious, totally healthy, guilt-free recipe for SQUASH (of all things squash!) that has even won over hubby and son despite it’s “healthiness!”  Yahoo!

spaghetti squash 2

It is spaghetti squash – Italian style, and it barely has any calories despite it’s full-flavor and filling-ness.  You can eat oodles of this and not feel a bit guilty!

spaghetti squash

You can serve it as a vegetarian main course or as a side dish with a protein.

We had it as a side with dry-rubbed pork tenderloin on the grill and a fresh salad for Sunday dinner.

Here’s the recipe as I make it.  Hope you will try, and let me know what you think.  I would love to hear how you make it too!

Italian Spaghetti Squash

  • Servings: approximately 6
  • Print

Ingredients:spaghetti squash

  • 1 large spaghetti squash
  • 3 Tbsp olive oil
  • 1/2 sweet onion, diced
  • 3 large cloves garlic, minced
  • 1 large can diced tomatoes
  • 2 Tbsp dried Italian Seasoning (oregano, basil, thyme)
  • Salt and pepper to taste
  • Fresh Parmesan cheese to taste

Directions:

  • Pierce whole squash 3-4 times with a fork, and microwave for approximately 12 minutes.
  • Let cool slightly until manageable to work with.
  • Cut squash in half and remove seeds.
  • Scrape squash with fork forming strands of “spaghetti,” and set aside.
  • In a large skillet saute chopped onion in olive oil and a sprinkle of salt until “sweated” out – 2-3 minutes.
  • Add minced garlic and saute another 1-2 minutes.
  • Add spaghetti squash and saute all together.
  • Add diced tomatoes and seasonings and saute all together.
  • Top with freshly grated Parmesan cheese.
  • Serve immediately.

I hope you enjoy this as much as we do!  It sure is great when you can find a recipe that is healthy, hearty, and full-flavored too!

Cheers & Hugs,
Jodi